If you love DIY Advent Calendars, you’re going to love this project. I may be addicted to vinyl crafts 😉 Vinyl all the things!! And in additional to vinyl, I have a weak spot for advent calendars – I love the fun of counting down until Christmas! And so today I have a super simple (really!) and super thrifty (super super thrifty!) Vinyl Christmas Countdown project to share with you. I love how it came out!!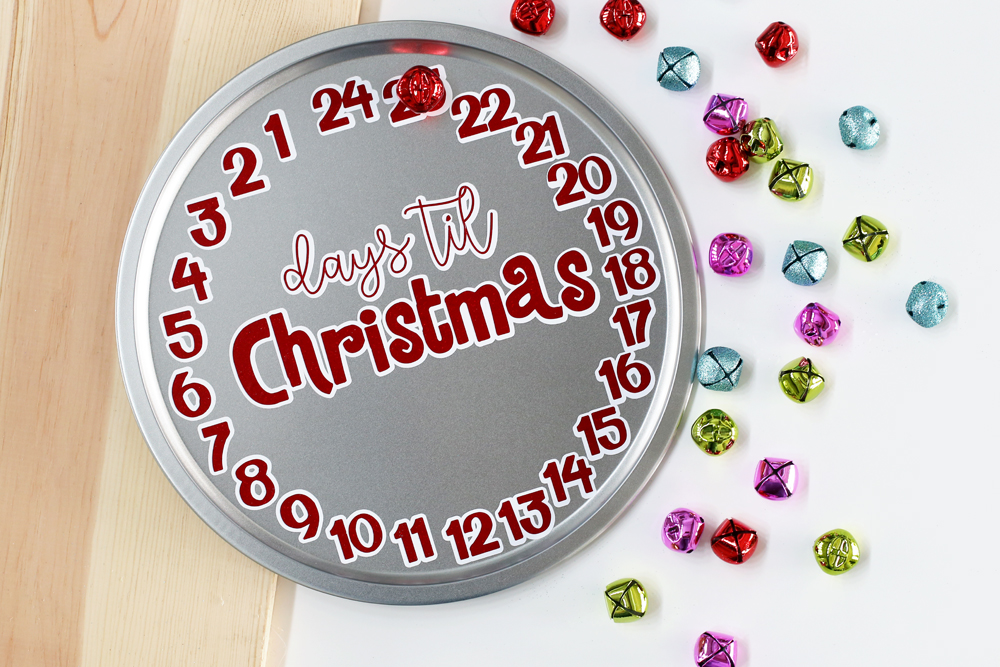
You’ll be able to make this in no time!! AND, if you’ve never used the “offset” tool in your Silhouette software, you get the side bonus of learning how to make a letter outline shadow thing, aka, offset.
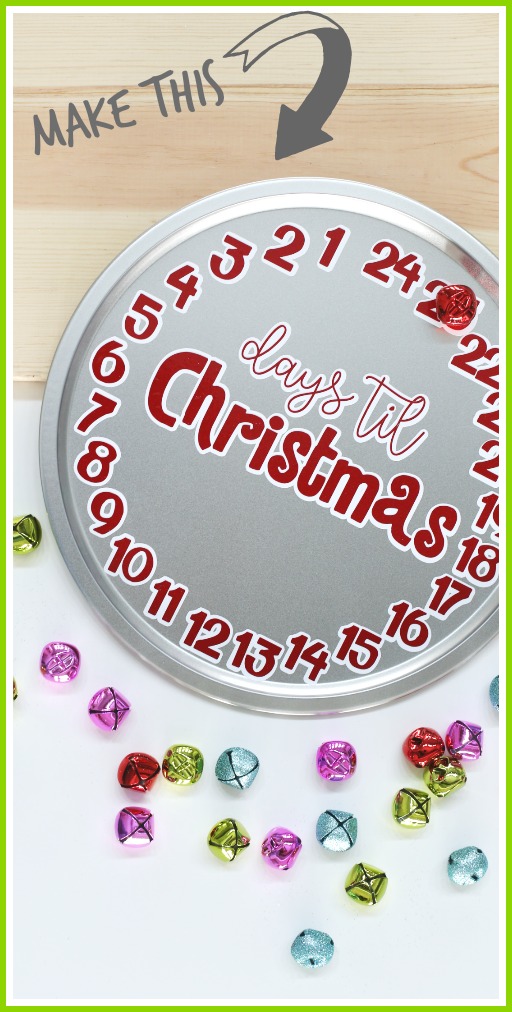
Vinyl Christmas Countdown
Let’s get started! You’ll need:
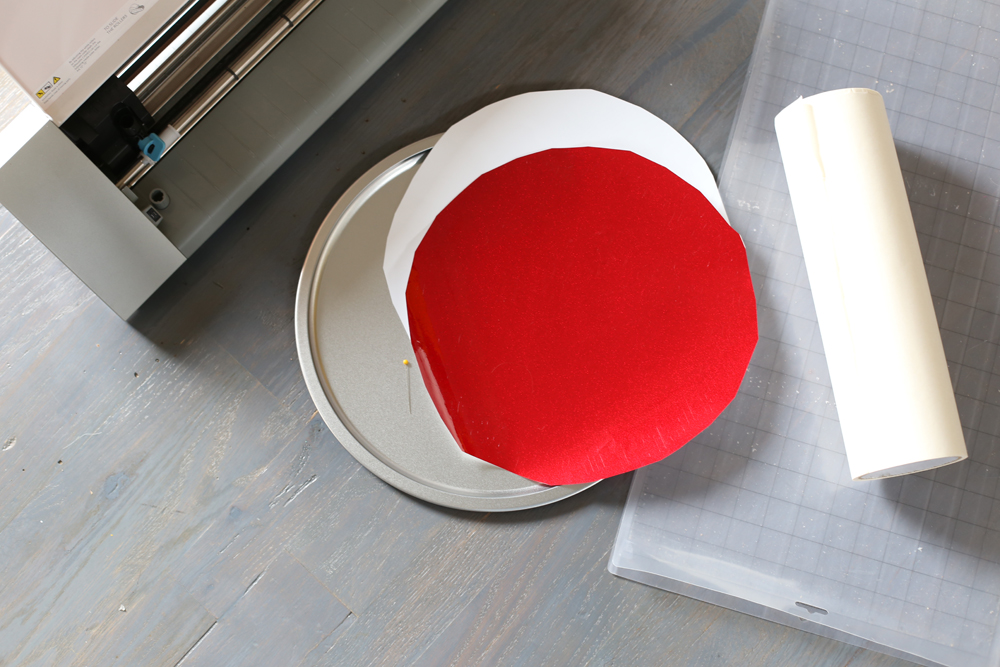
–cheapo pizza pan (I got mine at the dollar store, and then later found one at Walmart for only $.88!! I was jipped my 12 cents!)
—12×12 Expressions Adhesive Vinyl in background color (mine is white) and main color (mine is red glitter!) (affiliate link)
—transfer tape, cutting machine, scissors, etc
–cut file – I have a FREE one for you down below
Christmas Countdown FREE Cut File
So you can totally design this on your own, with your own font choices, etc, and I’ll walk ya through that – – BUT, if you just want to grab the FREE CUT FILE (I have it as BOTH an SVG and a Silhouette Cut File), you can do that!
To get the FREE CUT FILE, just enter your email below:
VIDEO Tutorial
If you would like to see me make this LIVE, check out the video, here: Christmas Countdown Advent Video Tutorial
Vinyl Christmas Countdown Tutorial
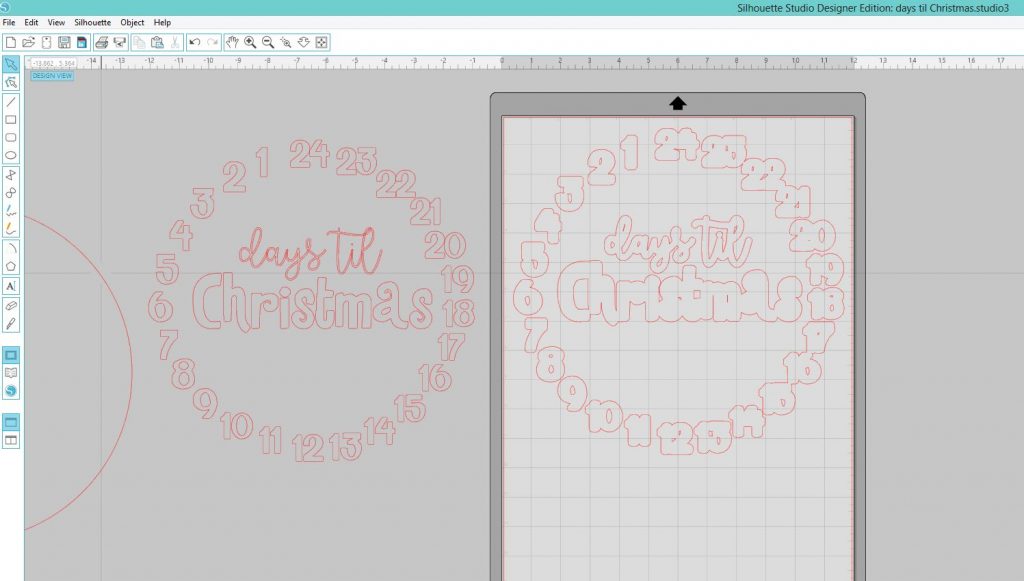
First up, type out your words and numbers how you like them (the pan is about a 11.5 inch diameter). Group your whole design. Then go to the “offset” button – you can see it highlighted in blue below:

Now once you click “offset” in the dialog box on the right, it’ll make that offset outline around all of your words and numbers. You can use the slider for “distance” to make it bigger or smaller.
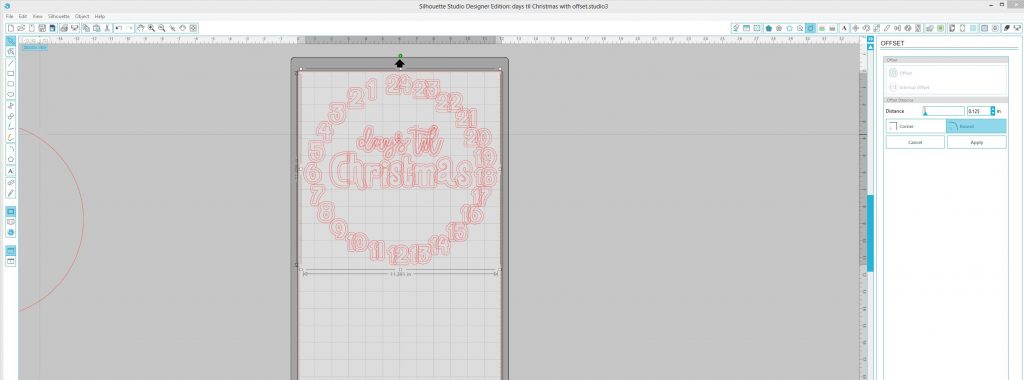
Once you have it where you like it, you can pull off your main design, and the offset design is left as shown.
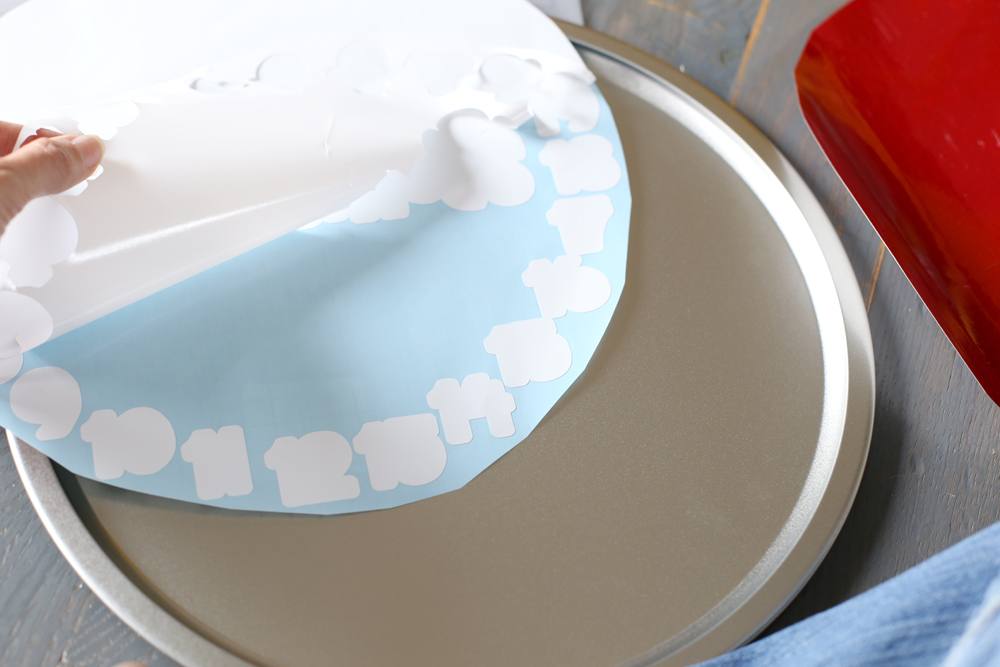
On to cutting!! Cut the offset, or the background, out of the background vinyl (mine was white). Then move it off the cutting mat in the design software and cut the main image out of main vinyl (I used red glitter). Then the weeding starts! Weeding is simply pulling out the background and discarding that vinyl – you’ll pull out the big piece, and also all the small background pieces (like the inside of letters like “o”)
And then weed the main vinyl too!
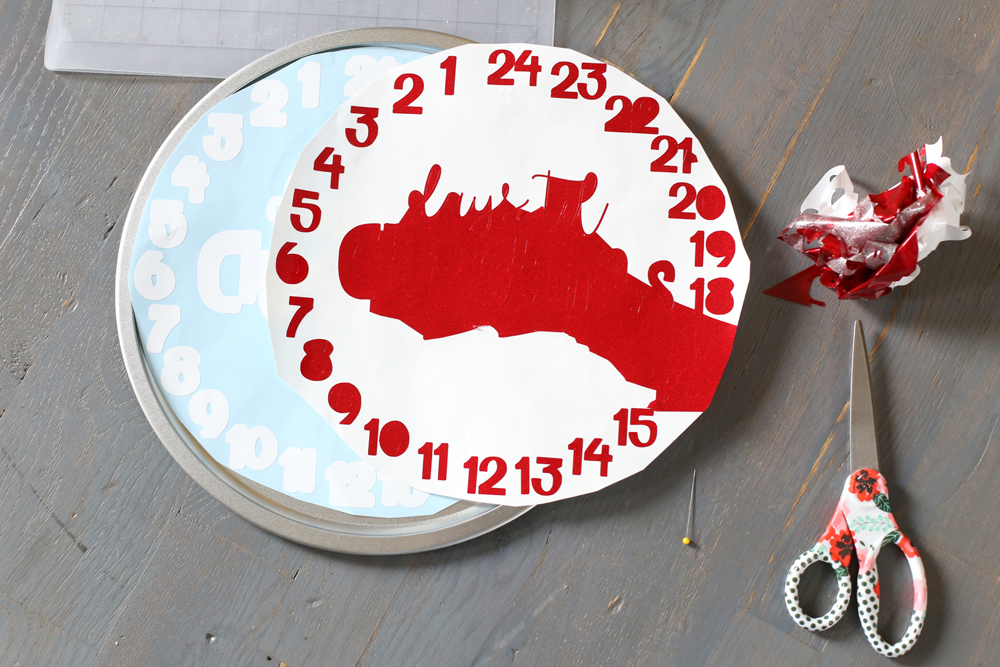
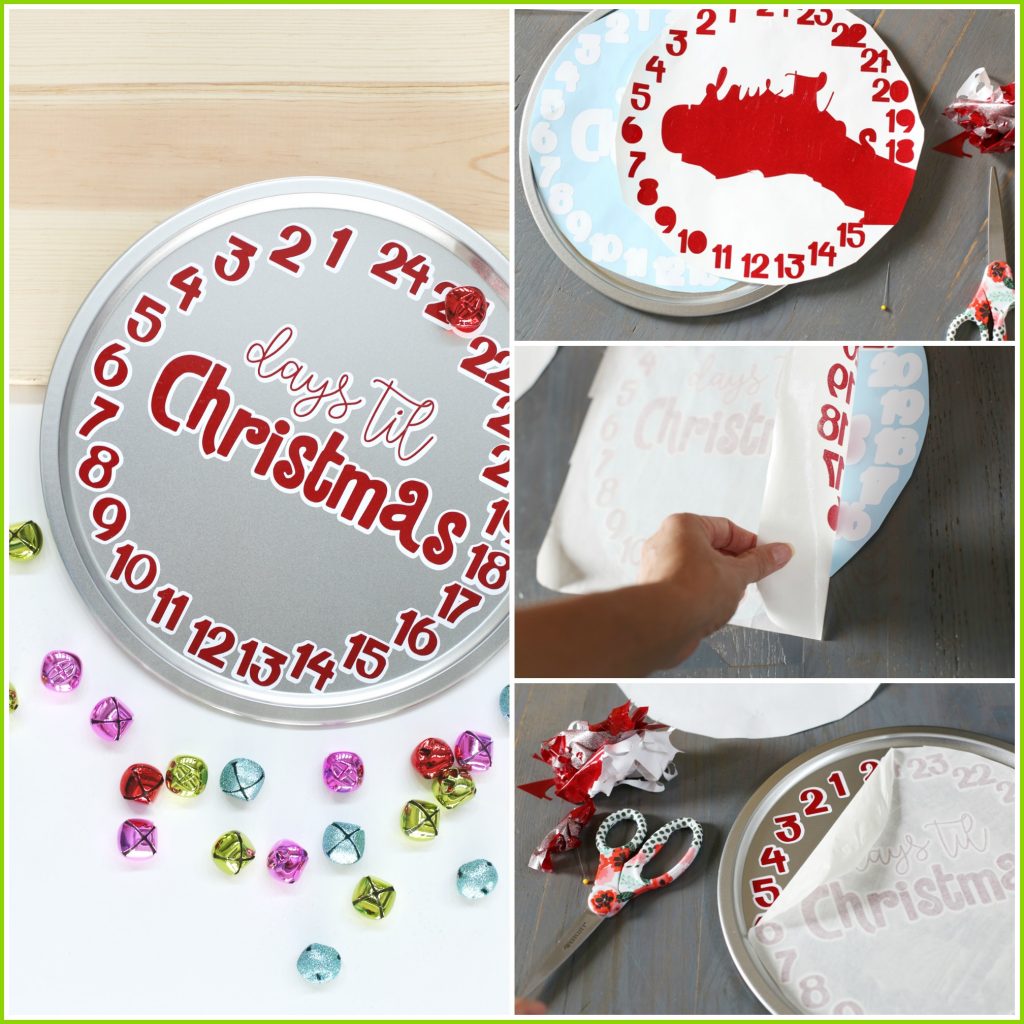
Then you use transfer tape to move your design onto your project (cause moving it piece-by-piece I would never get it straight!). So stick your transfer tape on the top/front of the main vinyl…
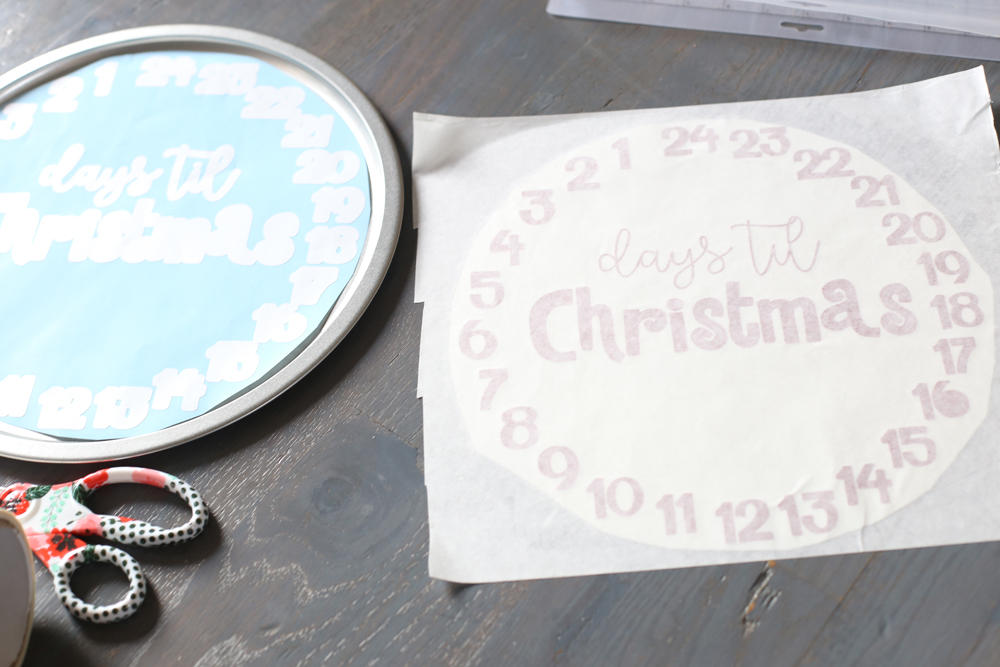
Then flip it over and peel of the backing from the vinyl – look at that pretty glittery back-side!
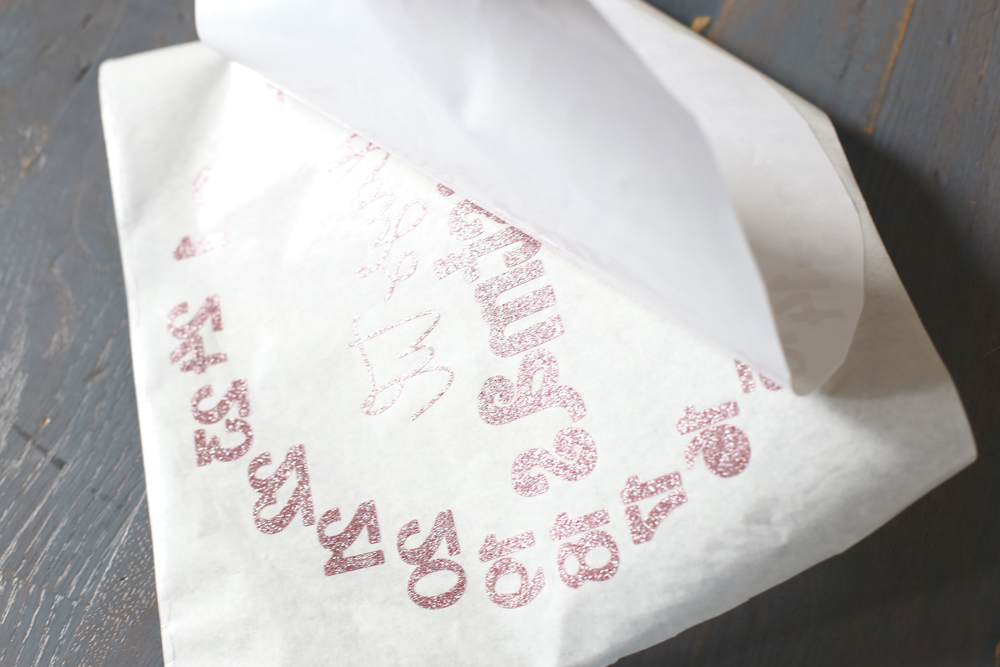
Now, this is the tricky part… I had to have my kiddos each hold a corner… CAREFULLY place the main vinyl on top of the background vinyl. This would be MUCH easier with clear transfer tape, but I couldn’t find mine (of course!). You need to get it centered right onto the background letters and numbers.
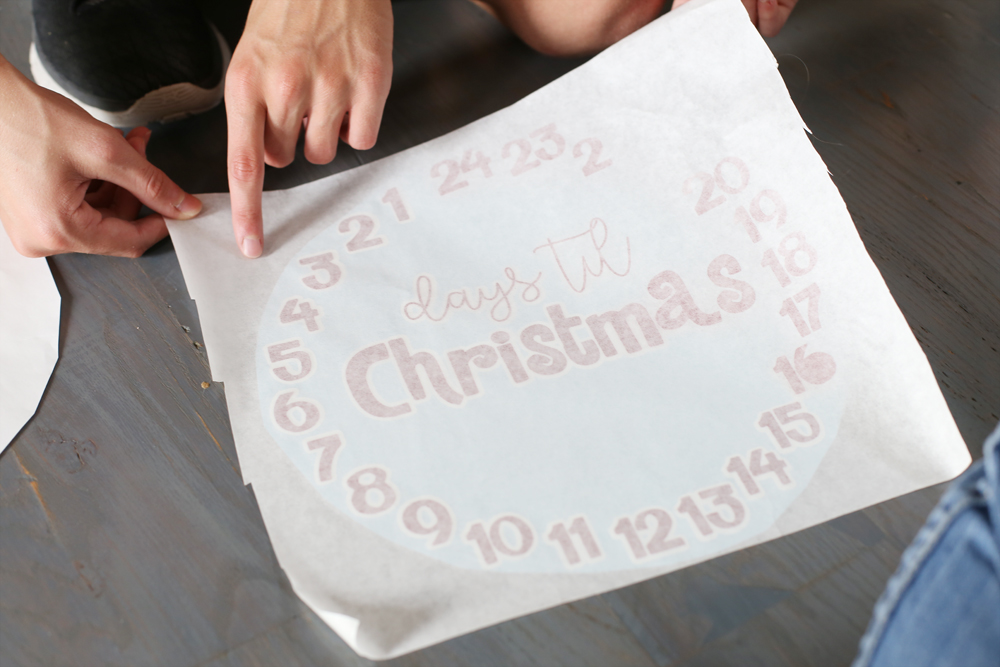
See how it’s going to land it just the right spot?
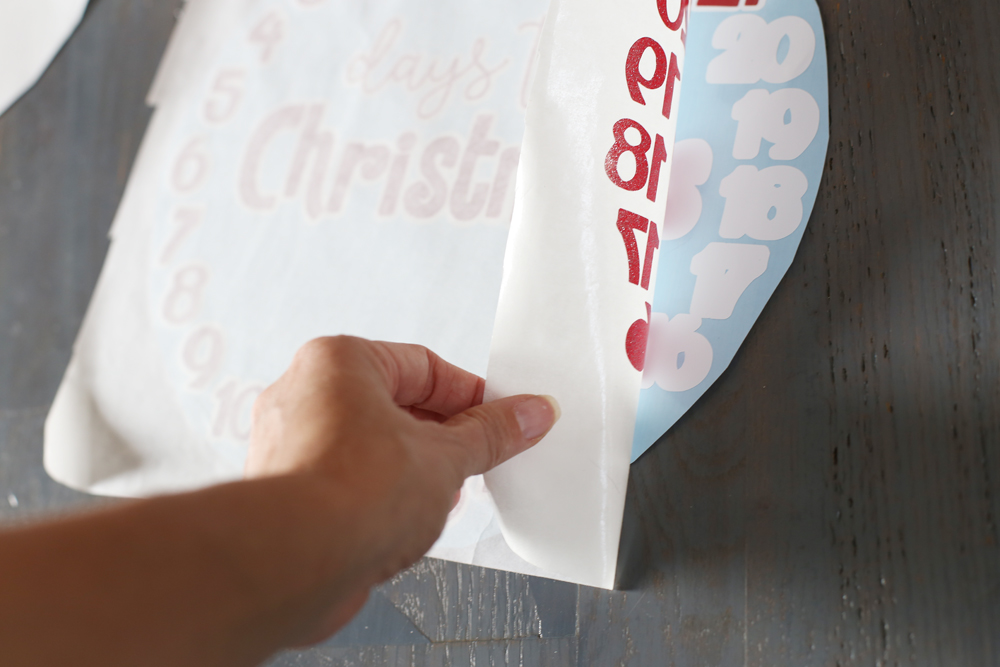
Now peel the backing off of the background vinyl – –
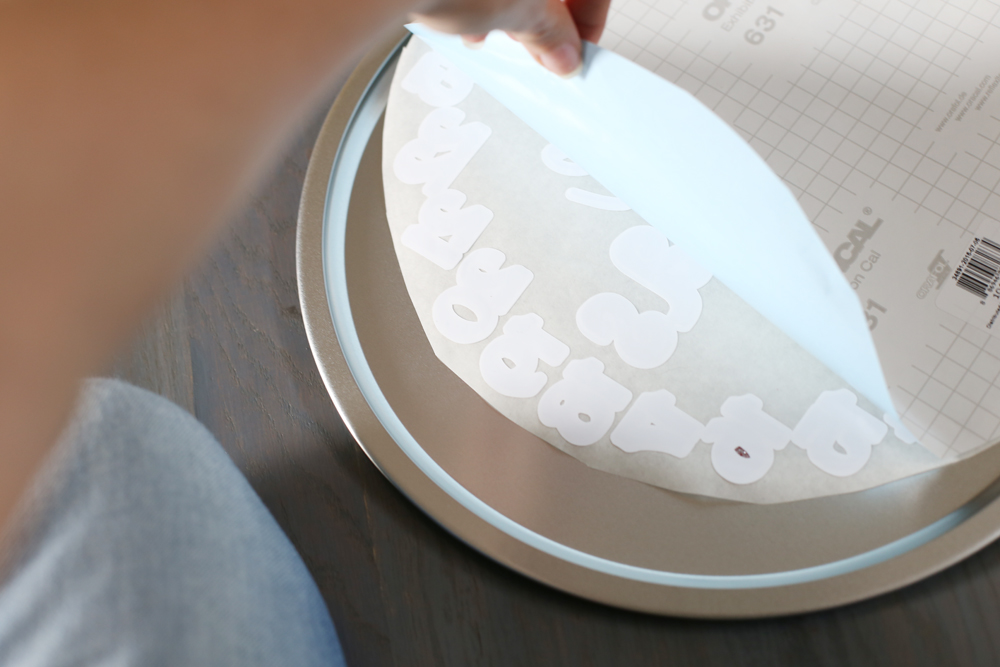
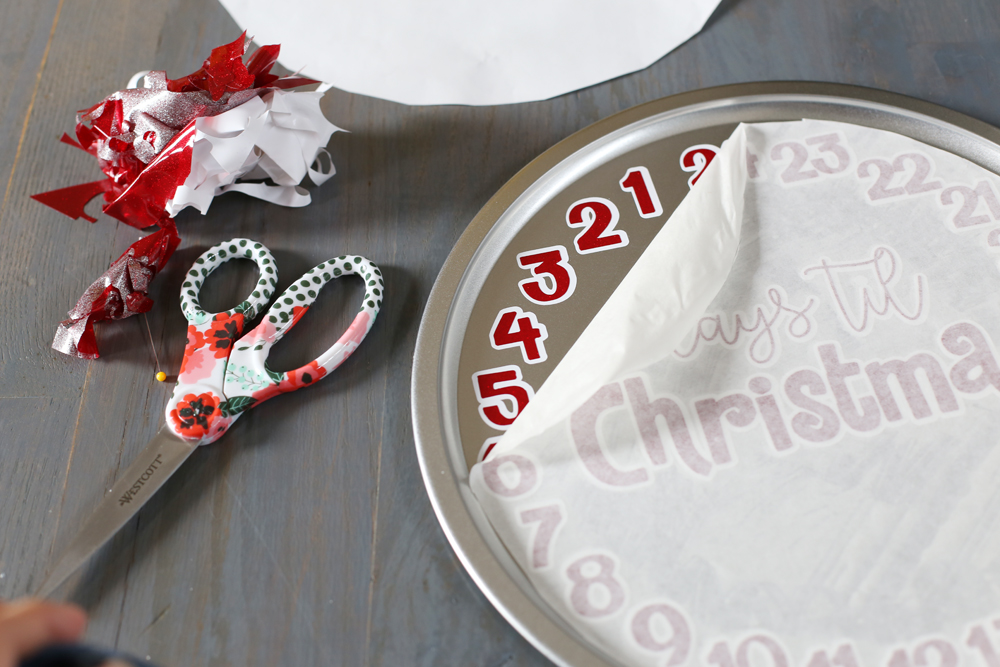
And place it centered onto your pizza pan. Then peel off the transfer tape and reveal the awesomeness!
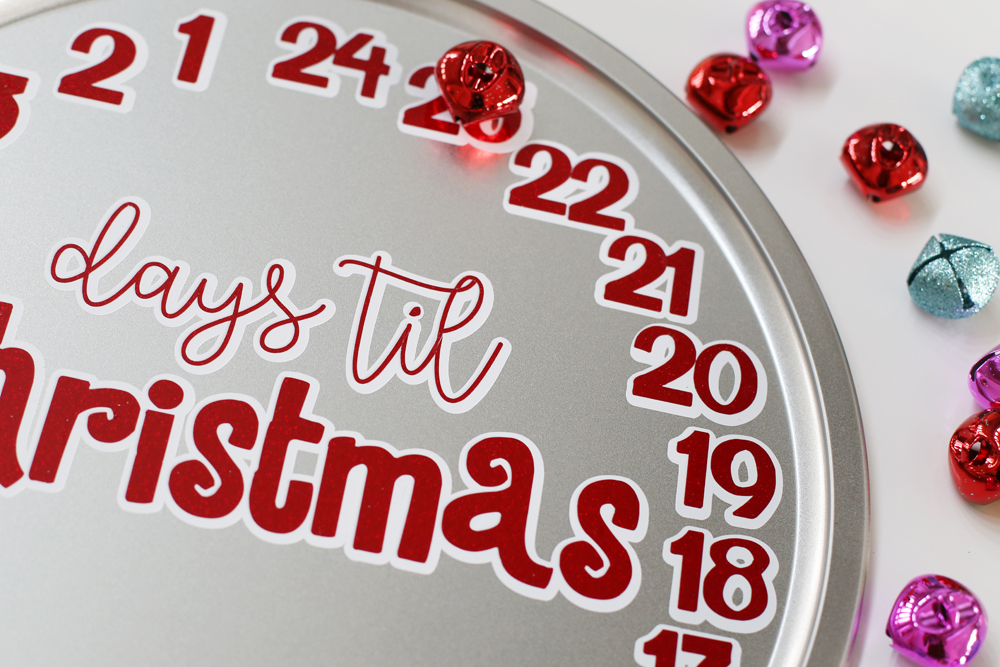
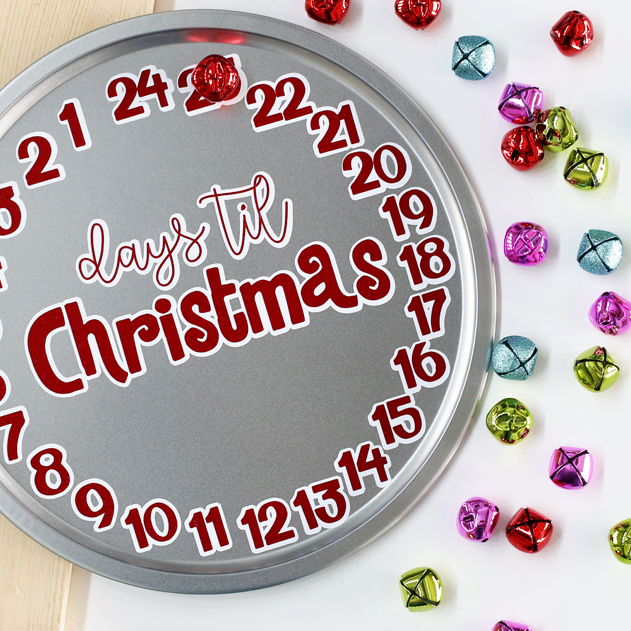
Then let the counting-down begin! Just find a marker (like a jingle bell or button or rock) and glue a magnet to the back. Then move it along each day to mark how many days are left until Christmas!
Wouldn’t these make fun gifts as well?? Enjoy making some of your own!
Other Vinyl Craft Ideas
Don’t miss all of these amazing vinyl crafts – so much inspiration!
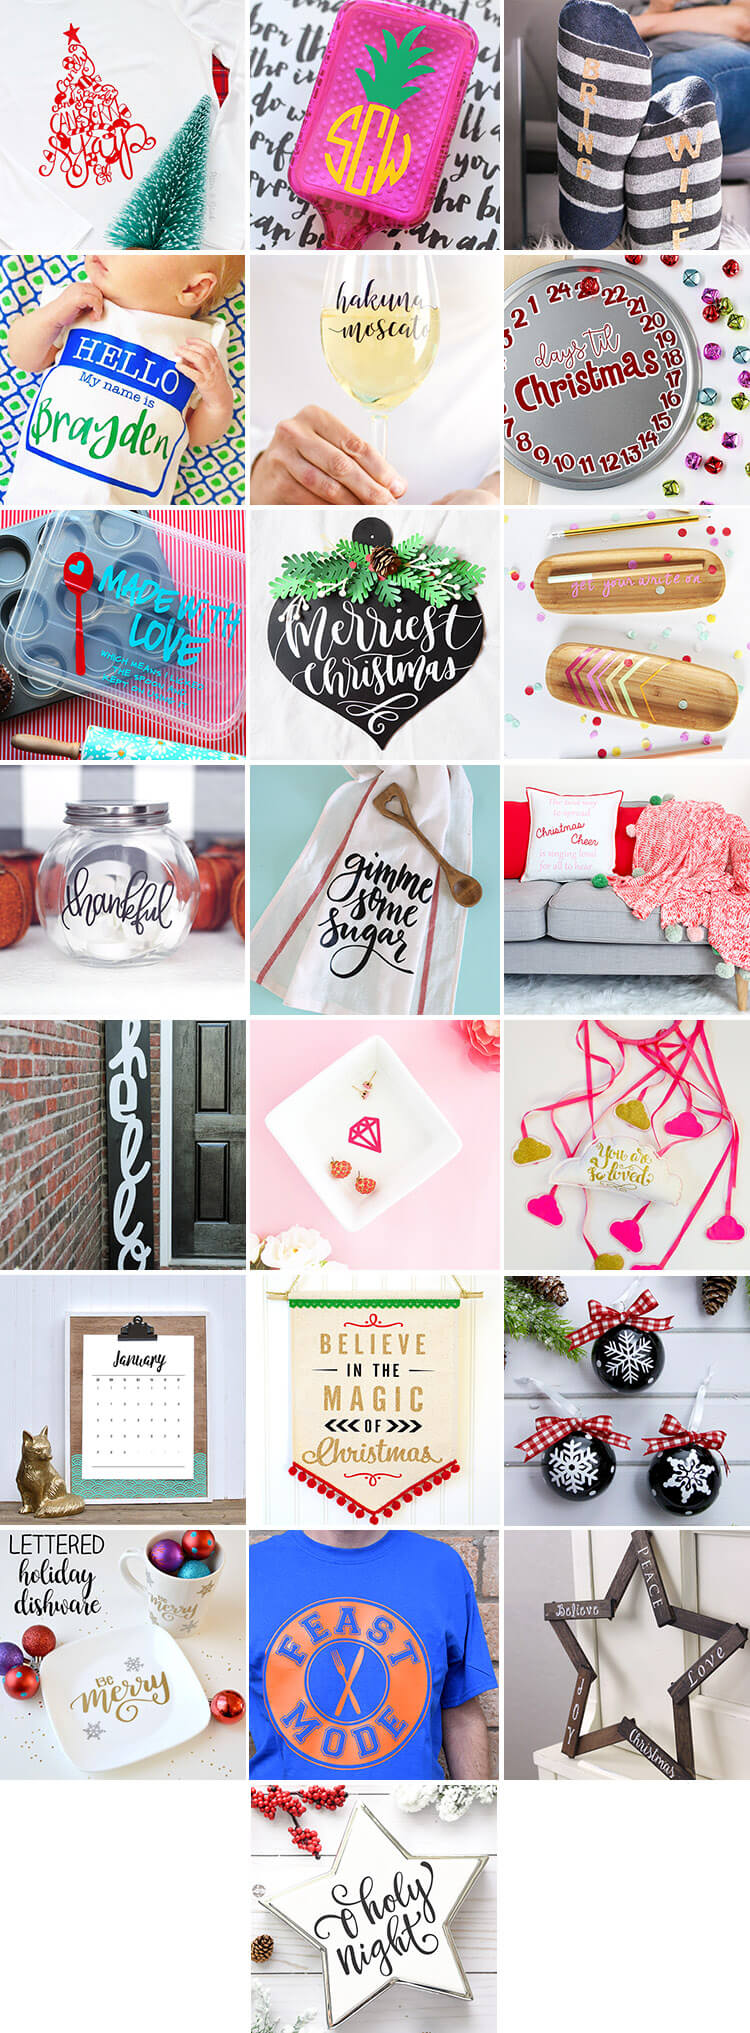
Hand Lettered Elf Food Groups T-Shirt – Pitter and Glink
Monogramed Hairbrush – The Craft Patch
Bring Wine Winter Socks – Tried & True
Hello My Name Is Personalized Newborn Onesie – Where the Smiles Have Been
Hakuna Moscato Wine Glass Decal – That’s What Che Said
Vinyl Christmas Countdown – Sugar Bee Crafts
Made with Love Vinyl Gift – A Girl and a Glue Gun
Merry Christmas Door Hanger – Minted Strawberry
Get Your Write On Pencil Holder – Delineate Your Dwelling
Thankful Jar – Kiki & Company
Gimme Some Sugar Hand-Lettered Dish Cloth – Persia Lou
DIY Elf Quote Christmas Pillows – A Kailo Chic Life
Giant Hello Sign Tutorial – Ginger Snap Crafts
DIY Diamond Trinket Dish – Maritza Alisa
DIY Baby Mobile – Sew What Alicia
DIY Framed Clipboard – Sisters What
Believe in Magic Christmas Banner – Happiness is Homemade
Chalk Style Snowflake Ornaments – Flamingo Toes
Merry Plate – One Artsy Mama
Feast Mode Thanksgiving T-Shirt – Dream a Little Bigger
DIY Christmas Star – Cutesy Crafts
O Holy Night Christmas Star – A Pumpkin and a Princess
Tis The Season Shadow Box – Practically Functional
About ConnieD
- Simple Reversible Doll Skirt - January 9, 2017
- Vinyl Christmas countdown (with letter outline shadow) - November 14, 2016
- Show and Tell, Link Party Time! - October 31, 2016
- DIY Walnut Table Tutorial - October 31, 2016
- How to Start Your Own Craft Club - October 27, 2016
- Camp Tees Layering Vinyl - October 25, 2016
- Show and Tell, Link Party Time! - October 24, 2016
- Choose Happy Mesh Embroidery - October 24, 2016
- Apron Tutorial and Pattern Roundup - October 22, 2016
- Show and Tell, Link Party Time! - October 17, 2016


I LOVE it! <3
This is such a fun idea! Love!
Such a great idea! I love it!
Thanks for the download. That was tricky! I used silver glitter for the outline shadow. Maybe glitter on glitter is not the best idea (on a non-stick pan), but it does look extra sparkly. I had trouble transferring the glitter vinyl. My transfer paper was either too sticky or not sticky enough, but I finished it and it looks very nice.
oooh, I love the idea of glitter on glitter – I get it was worth the trouble!!
Good evening. I was unable to import the design into my silhouette studio. I thought I Was a fairly advanced user, but maybe I am doing something wrong? Thanks for any help.
Please disregard. I was having a senior moment. Thanks again! Can’t wait to surprise my wife with this.
glad you were able to get it to work!
Hi, when I clicked on the SVG file I am only seeing the shadow(offset) and not the other. Am I doing something wrong? This would be my first time doing this so that I can use it on my Cricut. Any help is appreciated. Thanks.
I was seeing the same thing, but once I uploaded into Design Space, it showed everything.
thanks for the heads up!!
I’m writing to extend my condolences about your 12 cents. I have experienced similar losses in my life, and I know the struggle! On a happier note, this is adorable, especially with the shiny bells.
WOW!!! great idea, .Thanks for the information I need to try these!! for this Christmas..
Can I get the countdown to christmas cutting file
there’s a box to enter your email address and that will take you to the free cut file download page
Not able to download the countdown to christmas
Sarah recently posted…Easy T-shirt Costumes
Hi Sarah! It won’t download at all? Or are you having trouble opening it?