So on our land, there are lots of wooded areas. We recently had a bunch of walnut trees harvested and had some of the trees cut into wood planks. We have plans to make a really long (or possible two smaller) farmhouse table. But you know, busy busy, and we haven’t gotten it done it. BUT, my brother made his, AND was nice enough to take pictures of the process along the way. So today he’s walking us through how he made their awesome table!
DIY Walnut Table Tutorial
We recently had a bunch of walnut trees harvested from our land. Part of the deal was that we wanted enough boards to make 3 kitchen tables. This is how I did mine.
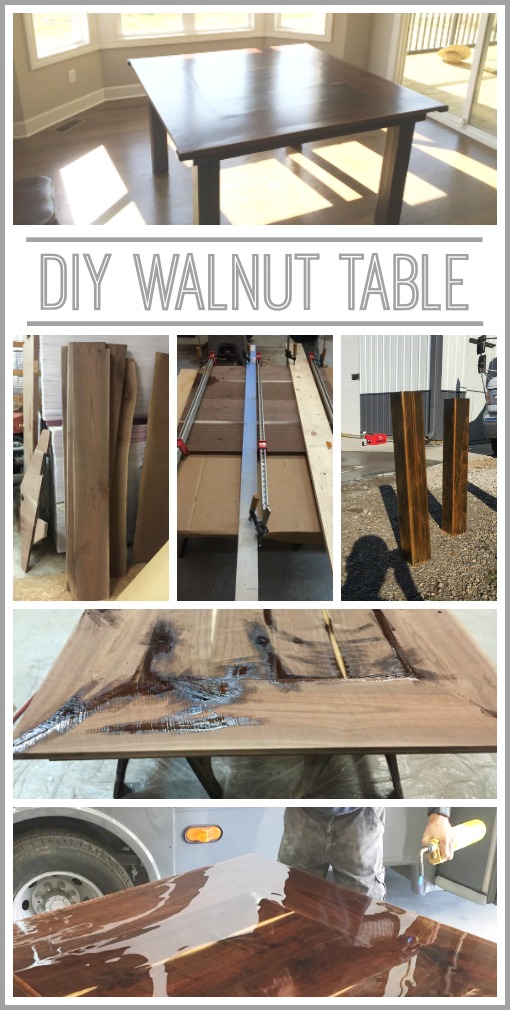
Boards came a little rougher than this. We took them to a guy who took them down to 1′ thick and plained them level for us:

To make a straight board we had to first cut a side with a skil saw which we clamped down a guide board to accomplish. Then by having a pretty straight line, we used a table saw to cut the other side perfectly straight, then flipped the board over to cut another perfectly straight line where the skil saw edge had been.


It was clamped together overnight. Its also clamped down on a project panel that the table sits on. The boards weren’t all perfectly the same thickness, so by using the project panel we were able to make sure that the top side would end up flat.

boarder pieces on

laid tape and marked it so we new exactly where to cut the biscuit slots.

biscuited, glue and clamped over night.

put on a skirt to hide the project board. this was biscuited, glued and clamped overnight as well

all the cracks were filled with a plastic epoxy, which will also be used for the top later. this way they could fill up so the final top coat would lay flat

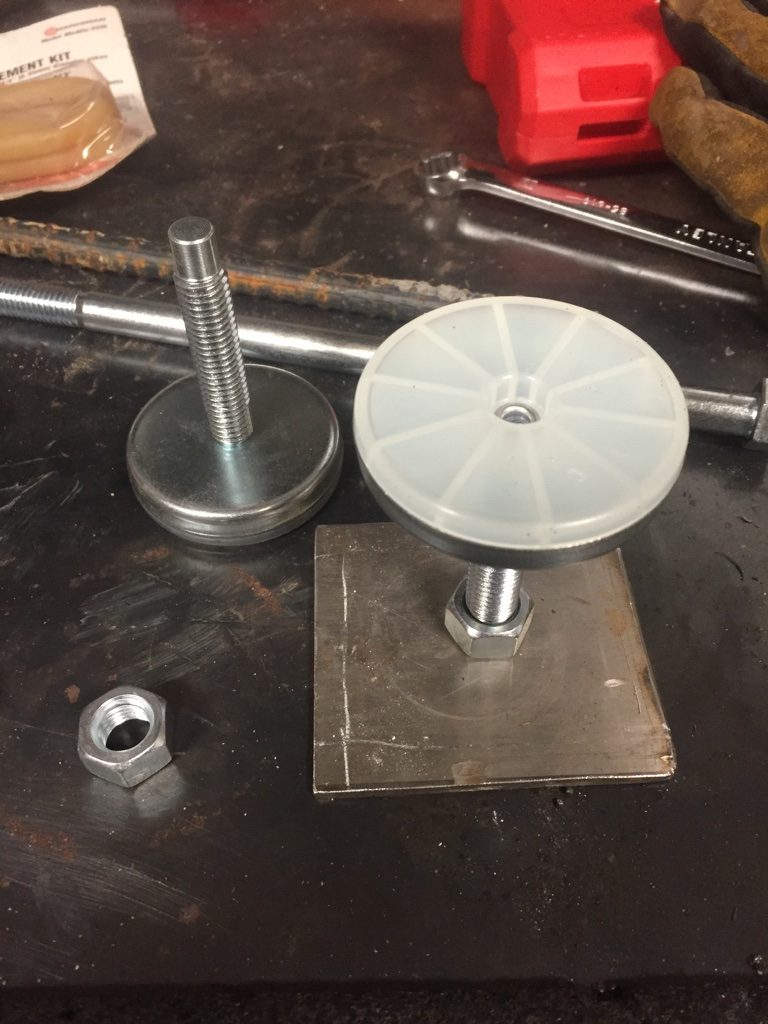
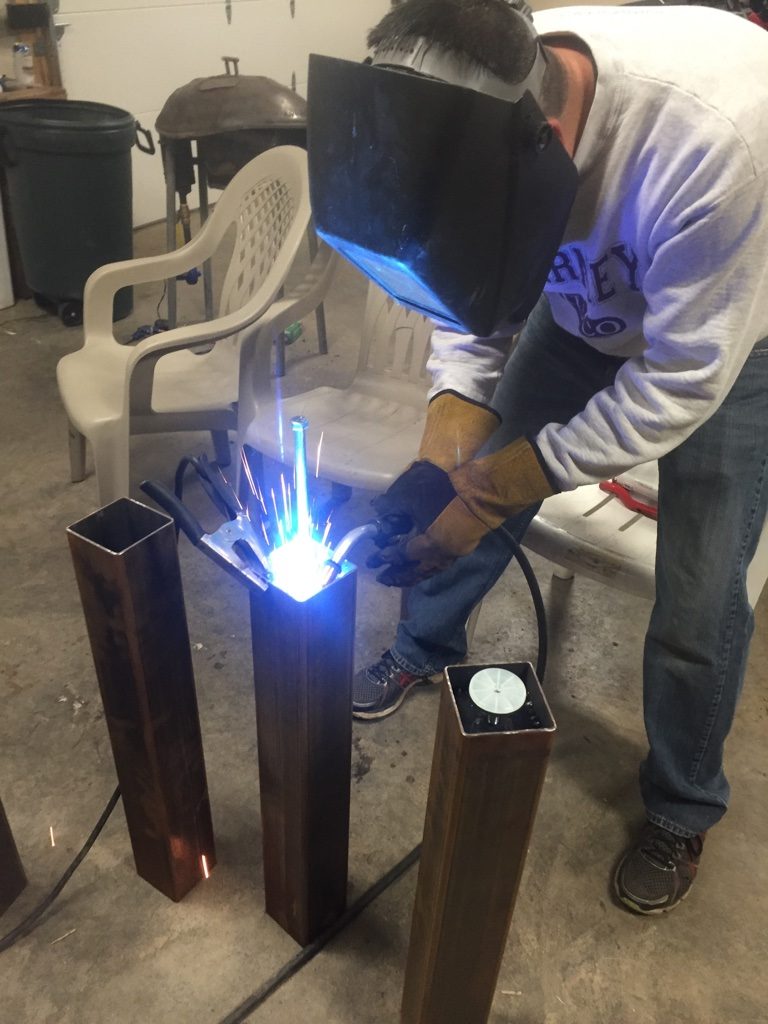
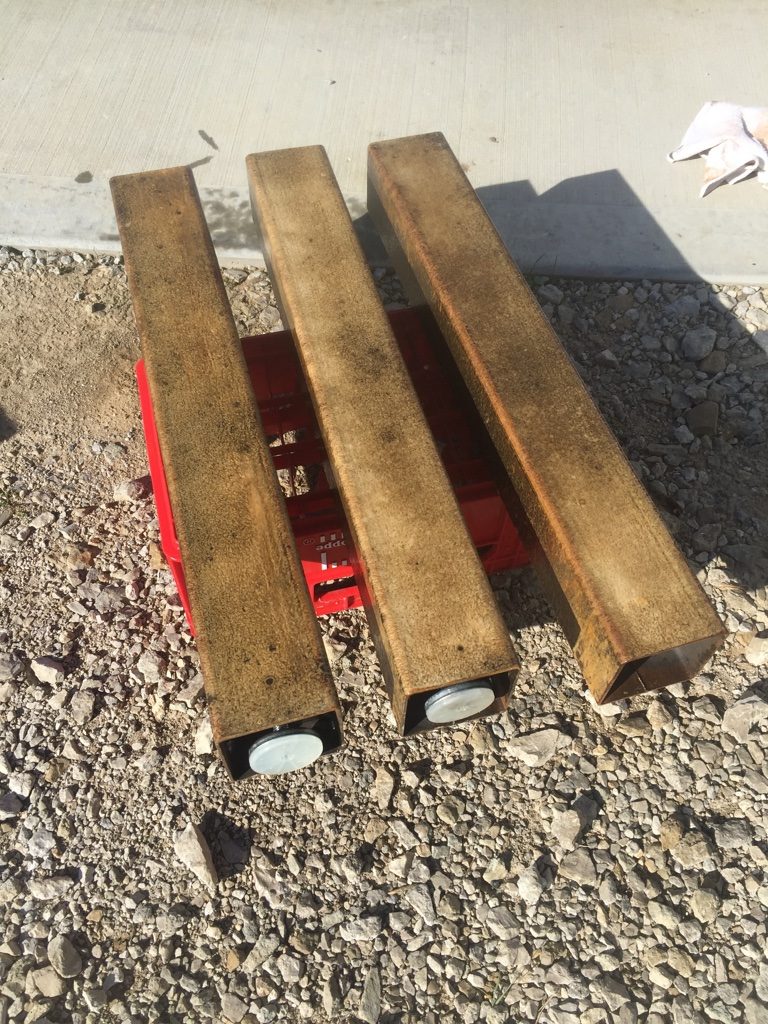
I had 4″ square metal tubing cut for the legs, 29″ long

I wanted the legs to look old and rusted. I mixed together hydrogen peroxide, vinegar and salt and applied it with a spay bottle. The metal rusted immediately like magic.


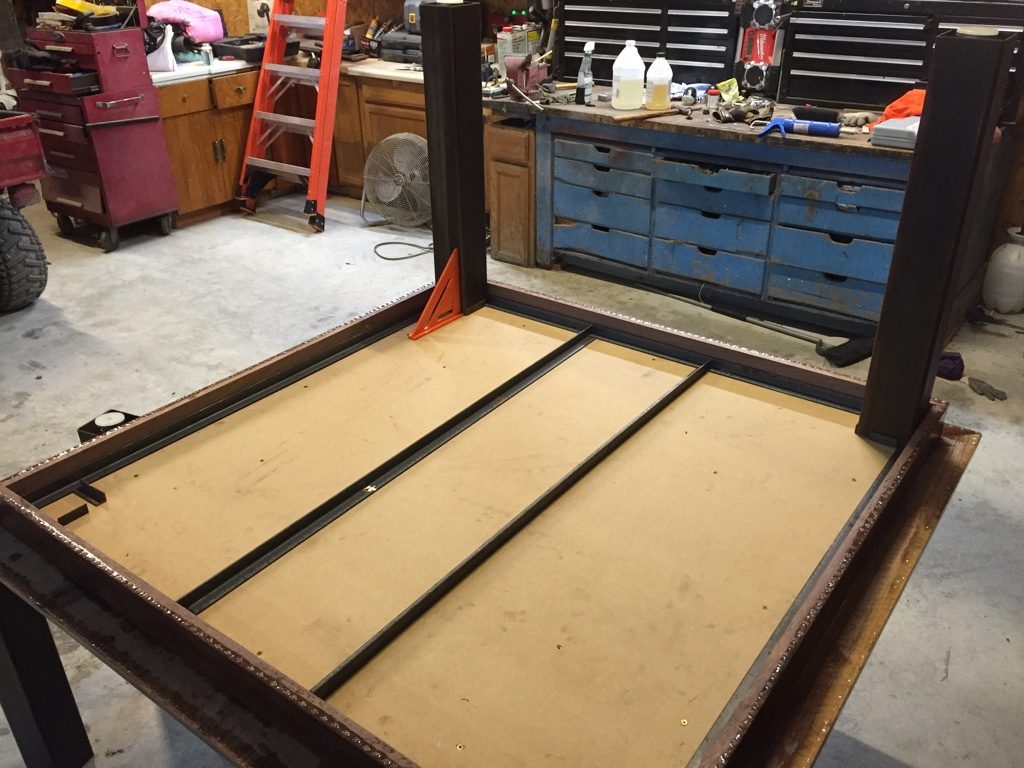

We did a 2 part epoxy for the top, its the same stuff you would see on top of a bar. When you pour and spread it, numerous bubbles are present. You simply hit the wet epoxy with a torch and all the bubbles come out like magic.
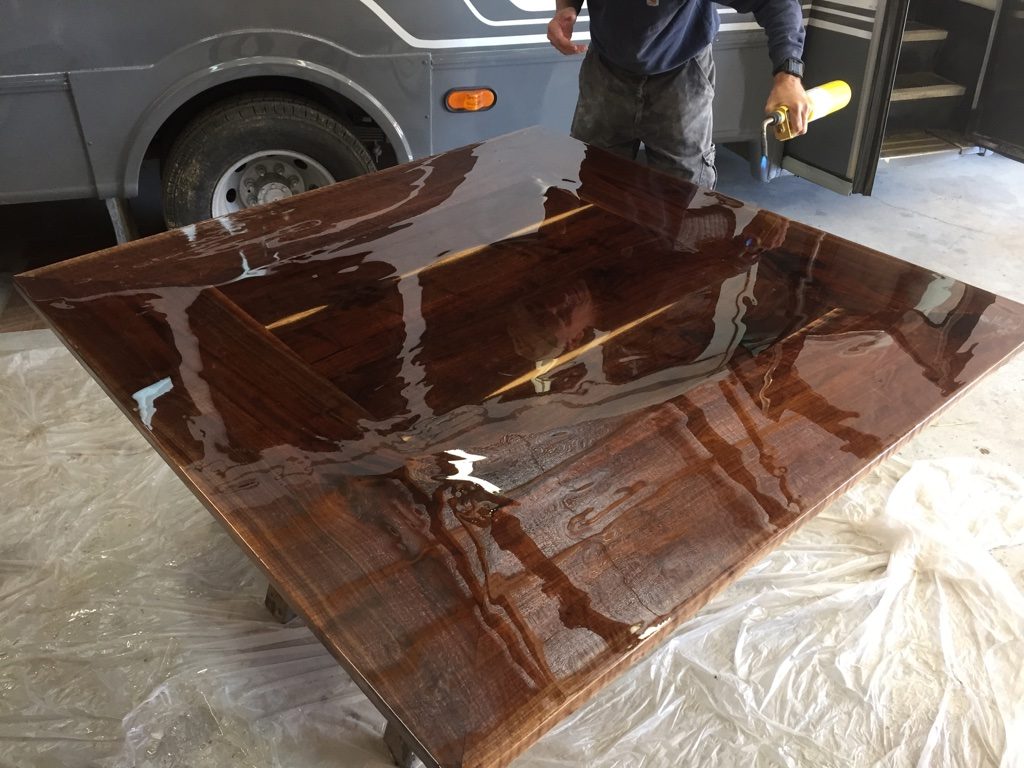
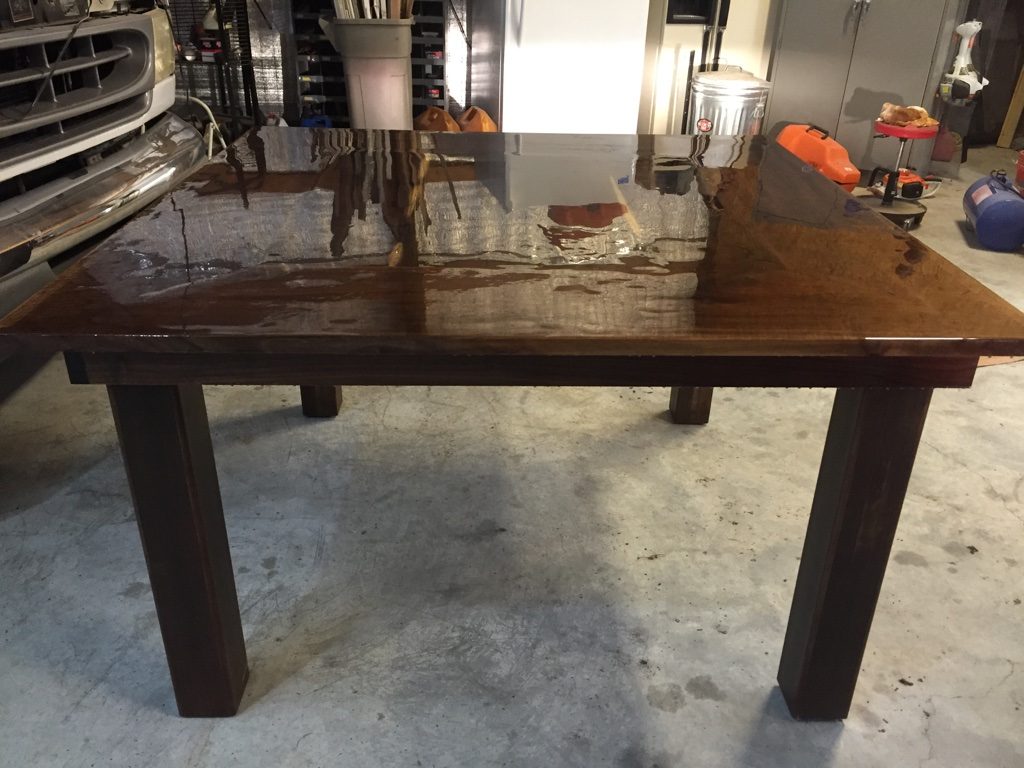
Completed epoxy top:
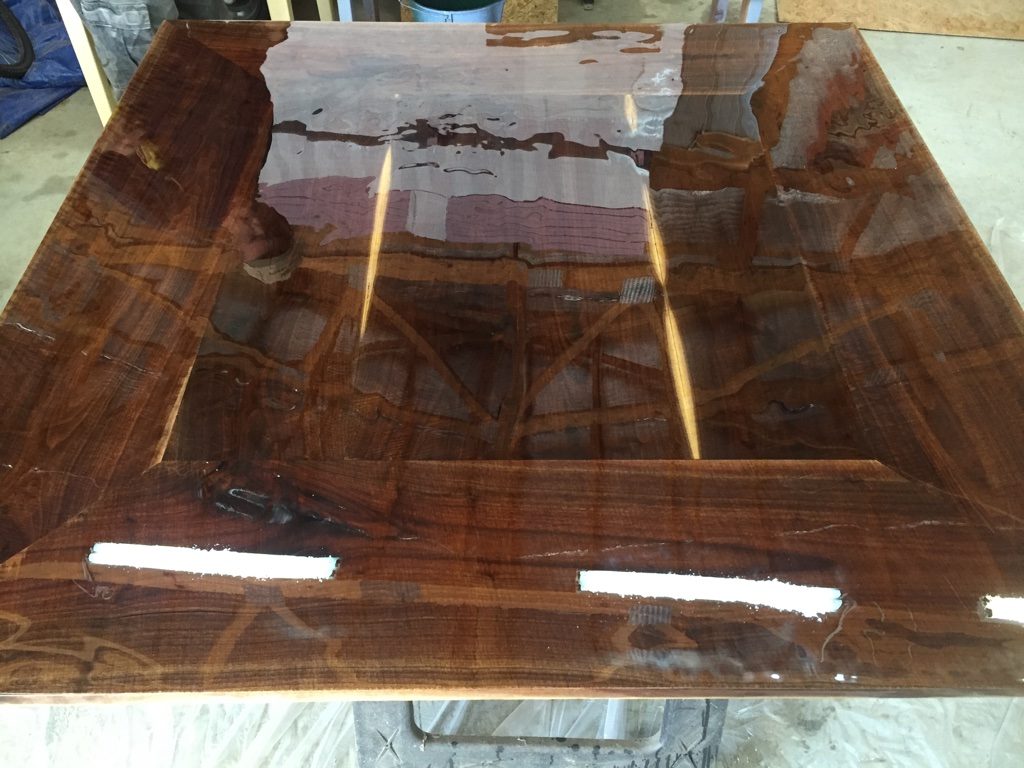
Here is the table with just the epoxy on. It was a little too shiny for my liking, so I sanded down with 400 and also removed all the dried up drips on the edges. I then took a matte finish polyurethane and wiped the top down with it. The epoxy protects the wood from damage while the polyurethane gives it the look that we want.
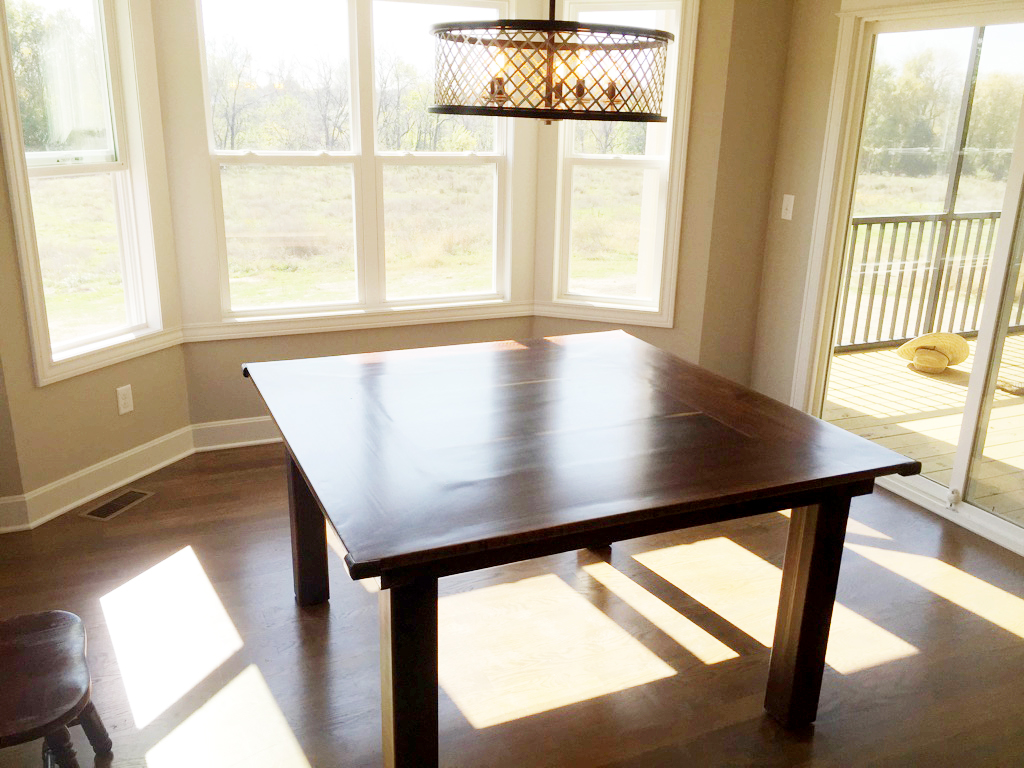
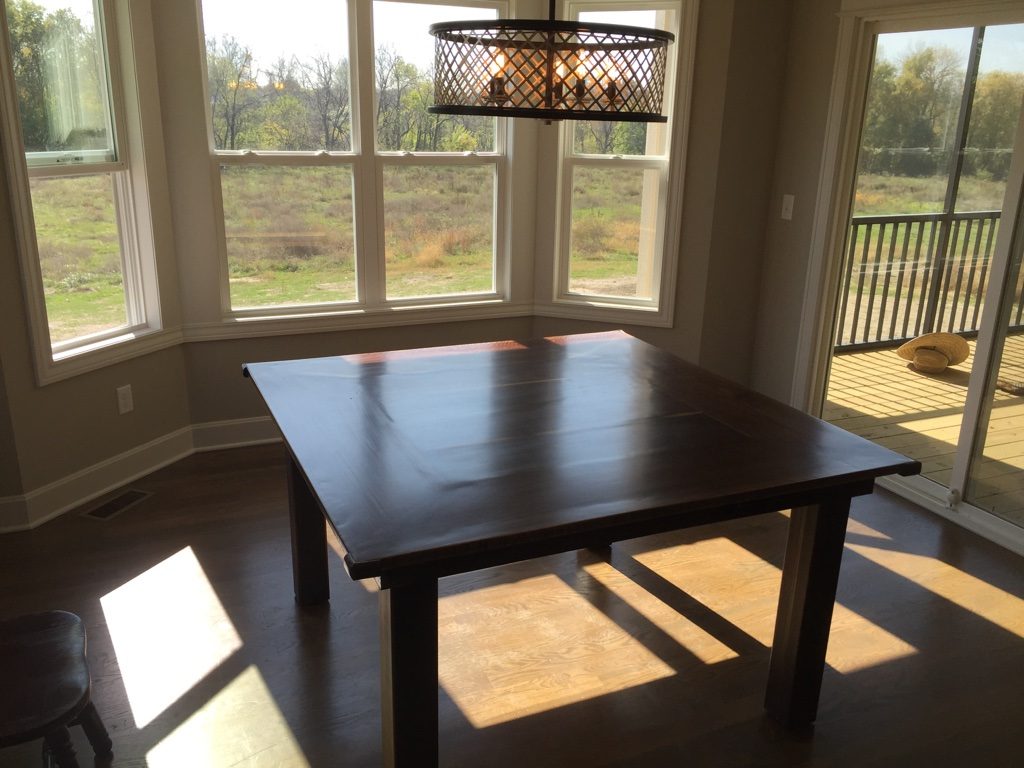
Finished product. A hand made farm table, out of a tree from the back yard. The perfect gift to my wife for our new home.
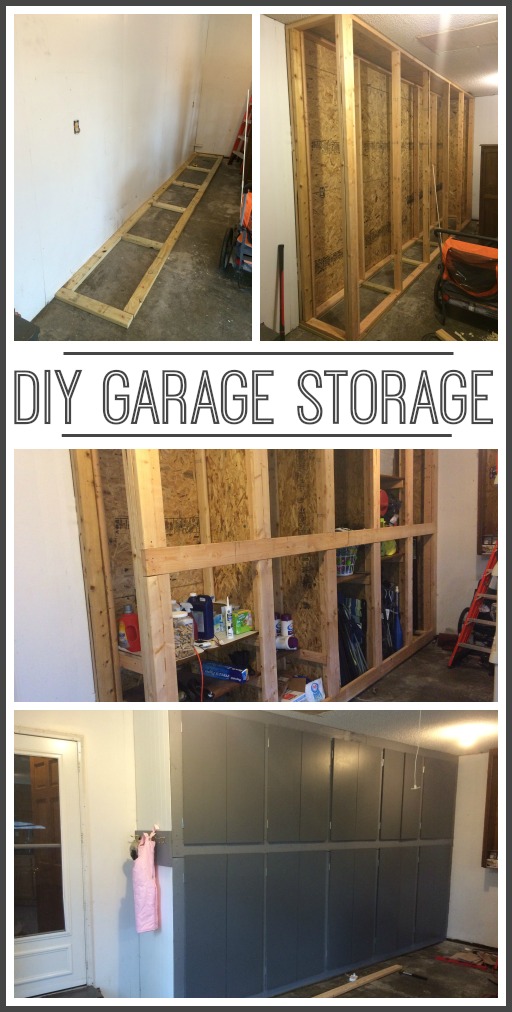
—-thanks for walking us through the process!! If you want to see another project from my brother, check out his DIY Garage Storage Cabinets:
About ConnieD
- Simple Reversible Doll Skirt - January 9, 2017
- Vinyl Christmas countdown (with letter outline shadow) - November 14, 2016
- Show and Tell, Link Party Time! - October 31, 2016
- DIY Walnut Table Tutorial - October 31, 2016
- How to Start Your Own Craft Club - October 27, 2016
- Camp Tees Layering Vinyl - October 25, 2016
- Show and Tell, Link Party Time! - October 24, 2016
- Choose Happy Mesh Embroidery - October 24, 2016
- Apron Tutorial and Pattern Roundup - October 22, 2016
- Show and Tell, Link Party Time! - October 17, 2016


This is so cool! It looks amazing, and how awesome that when people compliment you on it you can tell them that you made it from a tree in your backyard!!
Chelsea @ Life With My Littles recently posted…Currently: November 2016
Definitely building myself a table now. This looks so prettyyy