It’s that time of year again – the Michael’s Dream Tree Challenge!! I love the challenge of doing a dreamy Christmas Tree each year because it’s fun to try and come up with new and different themes. If you remember, last year I painted my tree tuurqouise, and it turned out ah-mazing. I thought it would be hard to do a tree I loved as much as that one, but this floral tree is just that, I really really love it and wish you could come see it and it’s amazingness in person! I never knew I’d be so excited about a Floral Christmas Tree, but I’m in love with it – –
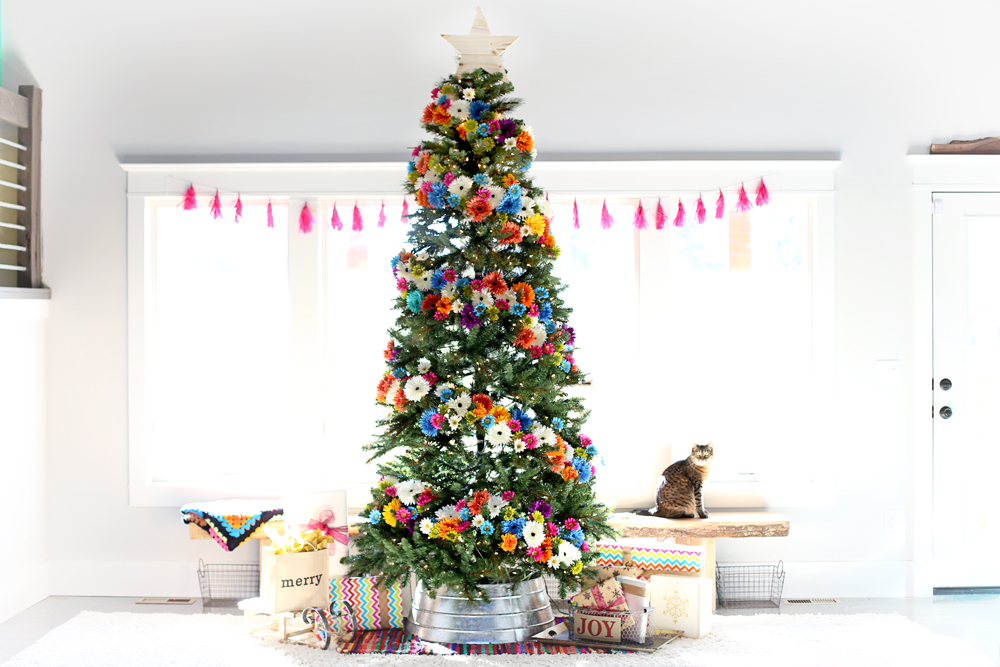
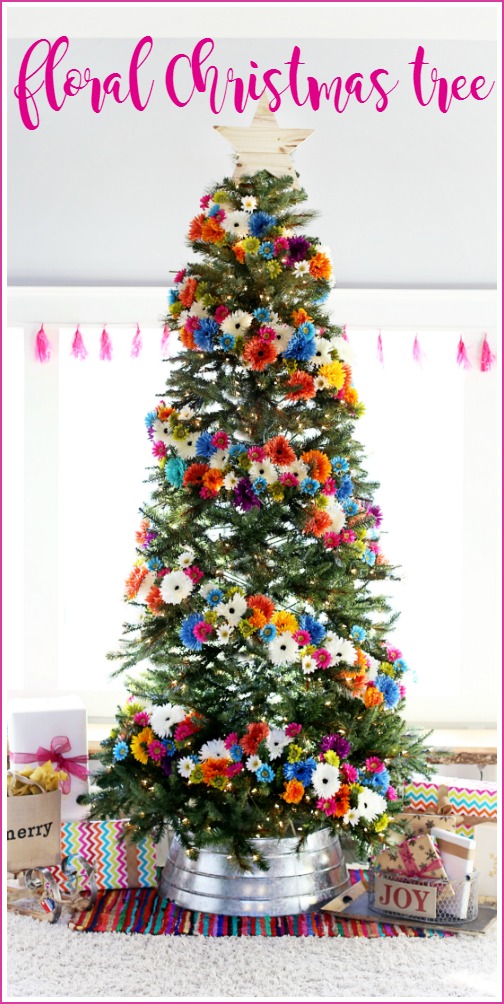
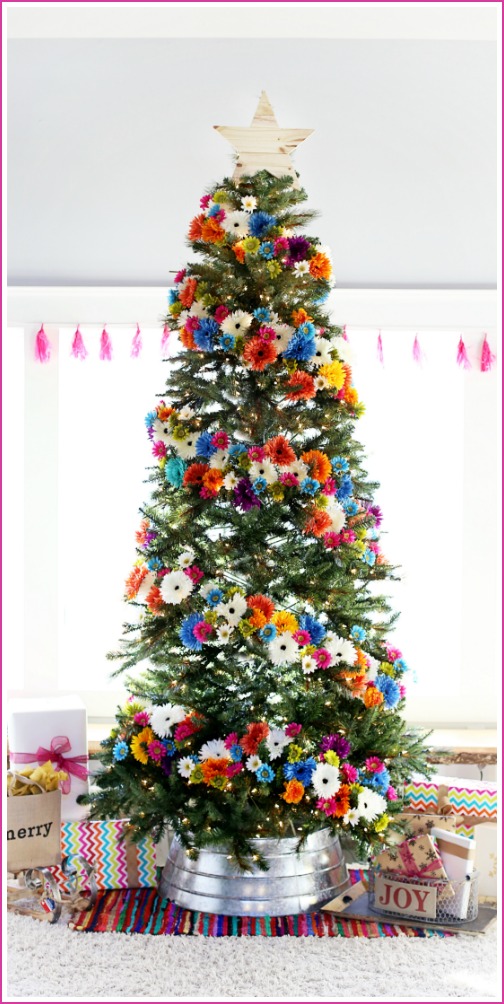
Michaels has their largest tree assortment this year, including colored and flocked trees. Check out all of their trees, ornaments and coordinating holiday décor on Michaels.com. The 4 trends this yearare Peppermint Lane, Pinecone Lodge, Shimmer Noel, and Classic Traditional.
The tree from Michael’s is my most favorite – it’s 9ft tall, and prelit. But the coolest part is that you don’t even need to connect the light strands – they automatically connect through the stem of the tree. SO easy to set it up – I set it up myself in less than 5 minutes. And it looks really great!
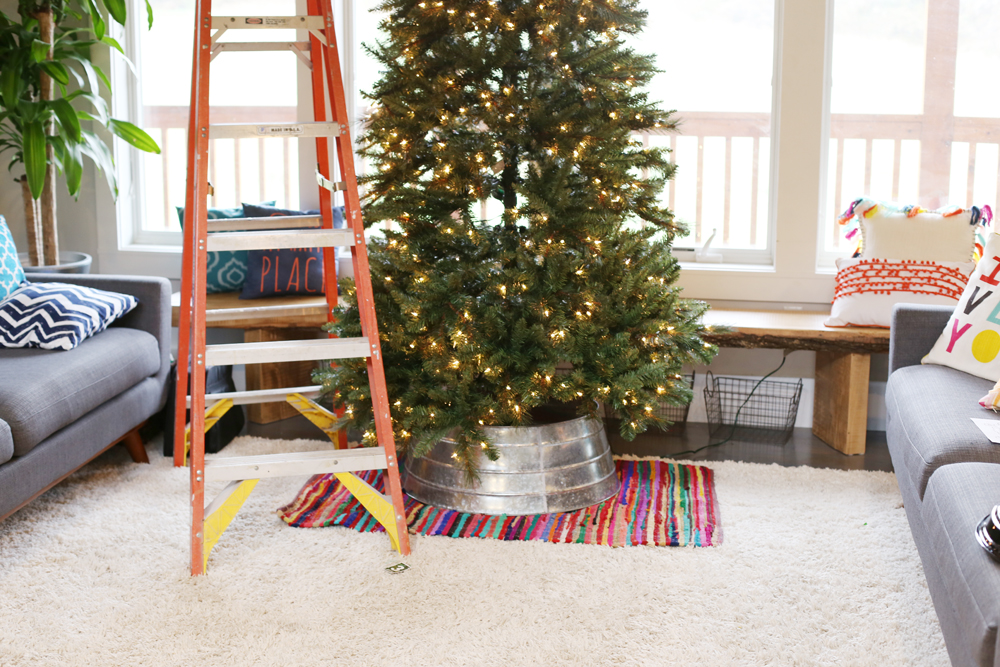
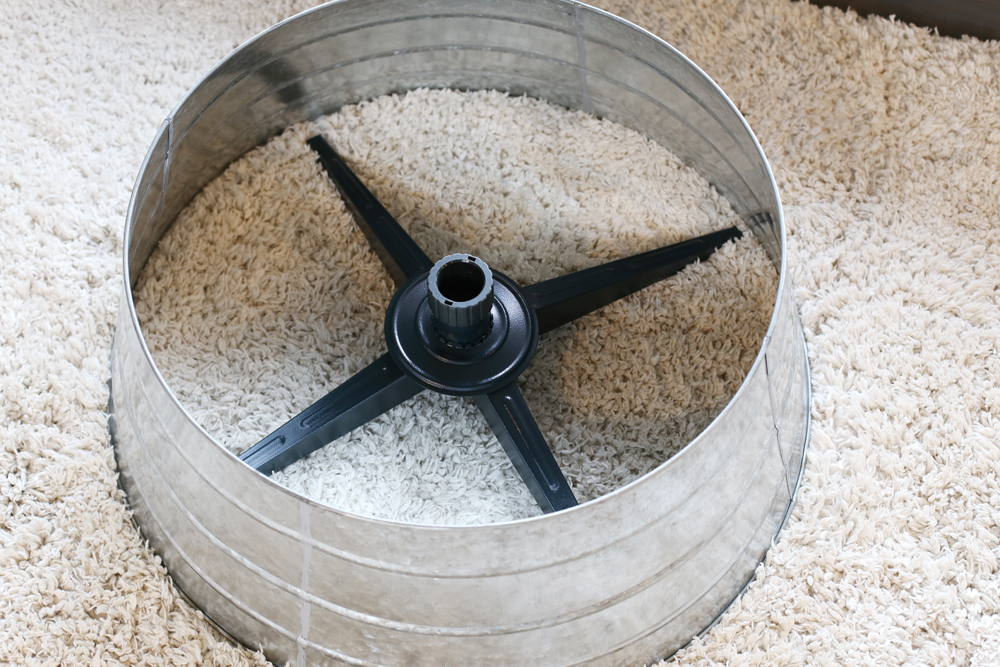
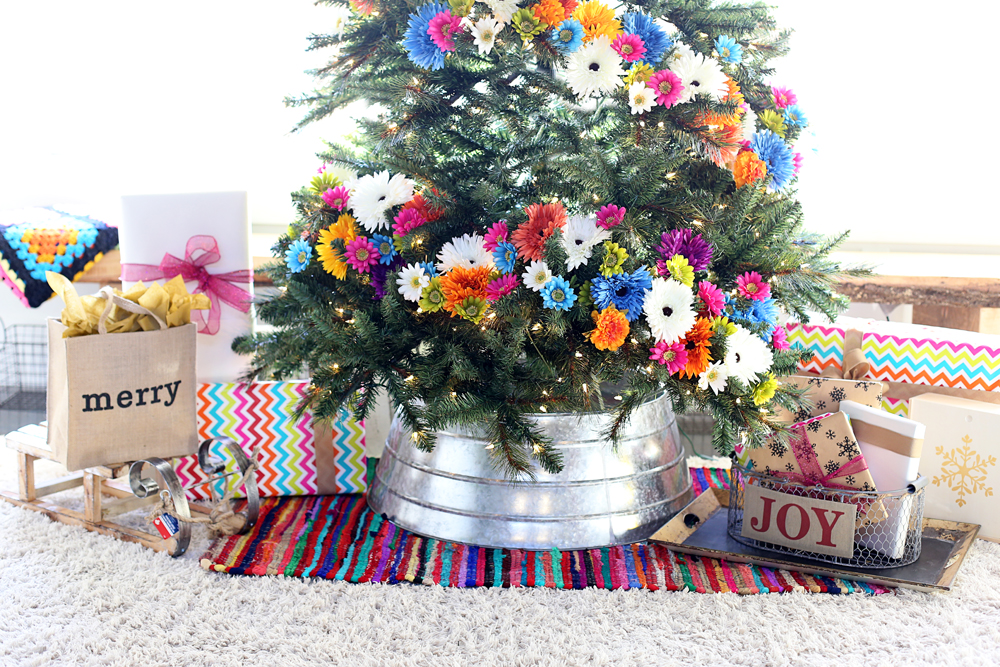
That may look like a galvanized tub, but it’s actually a specific tree skirt, and I love that! It’s open on the top and bottom, so you can have your tree sitting right inside of it like so:
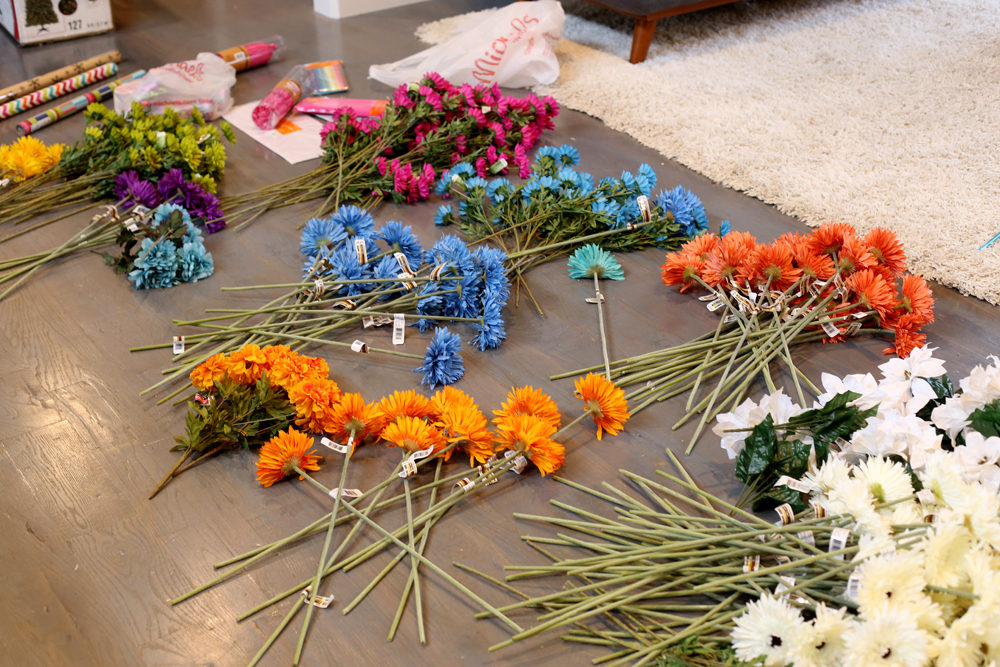
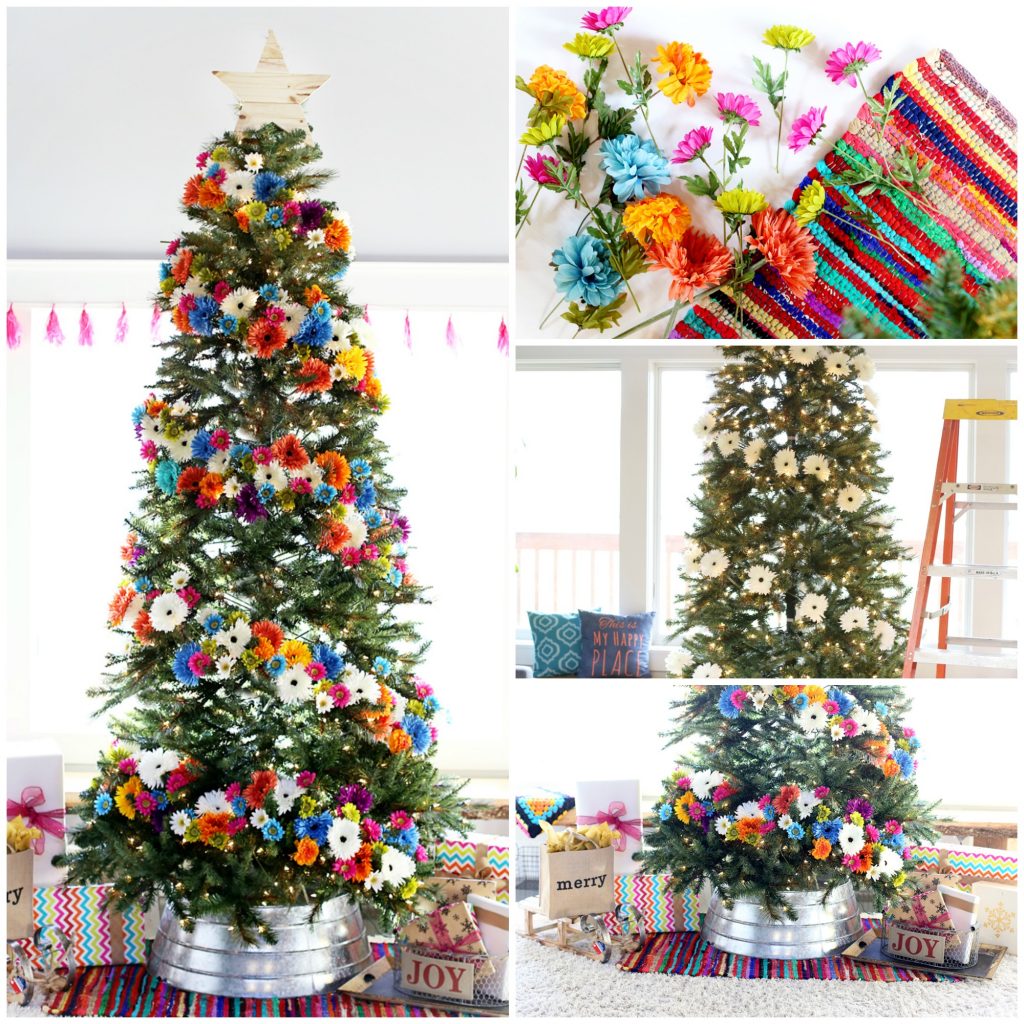
I wasn’t sure how many flowers I would need, so I filled my cart full. And that was just about right! I grabbed a variety of colors, and lots of them were on clearance, which was great.
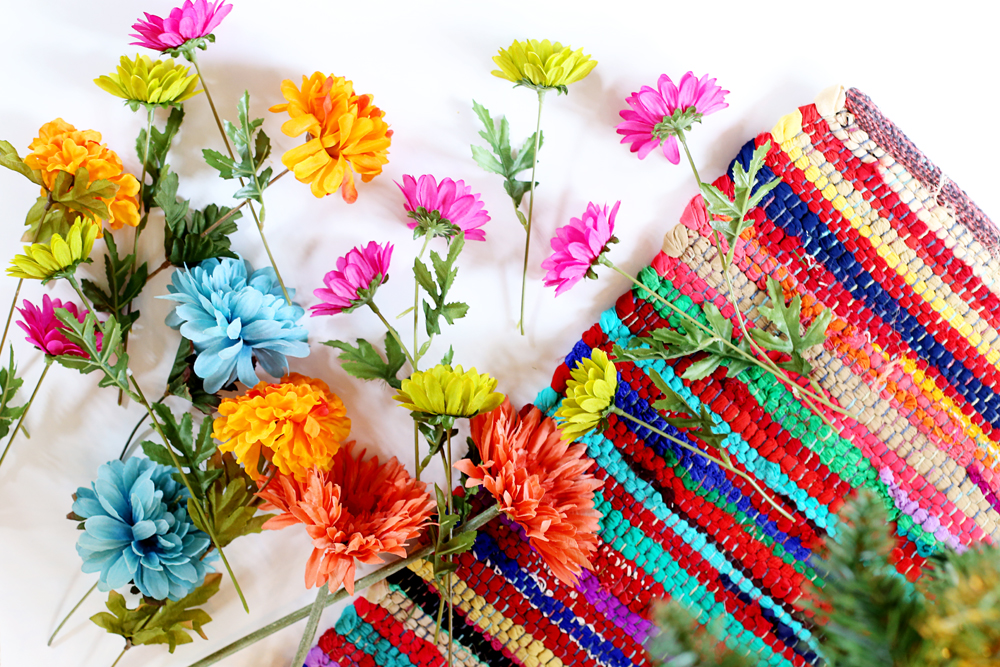
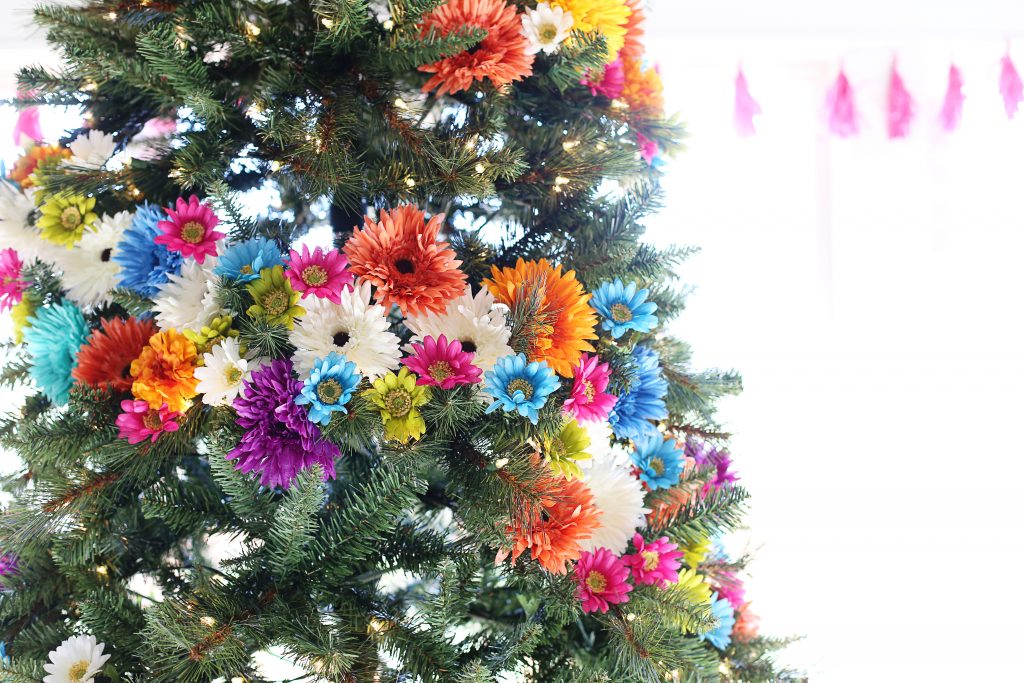
For the ones in bunches, I used wire cutters to cut off each individual bloom, that way I could stick them in spread apart instead of in a lump bunch.
And then I just started with one color, and worked my way through each color. I started with white and outlined the garland path:
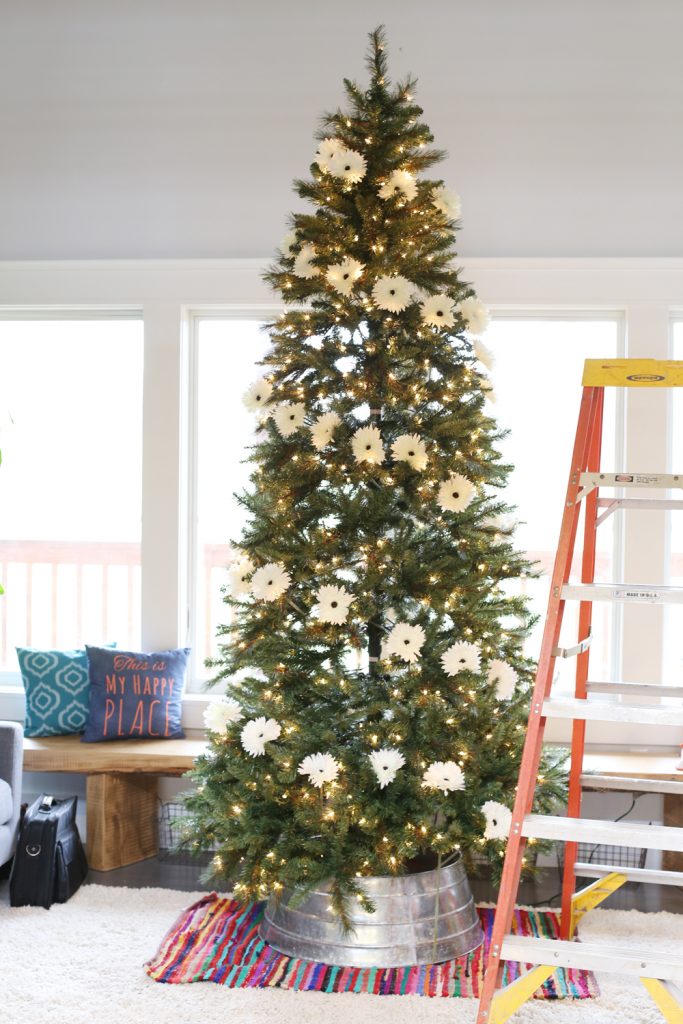
And then just kept adding in colors. I think I went with oranges and greens next, then purples and pinks and blues.
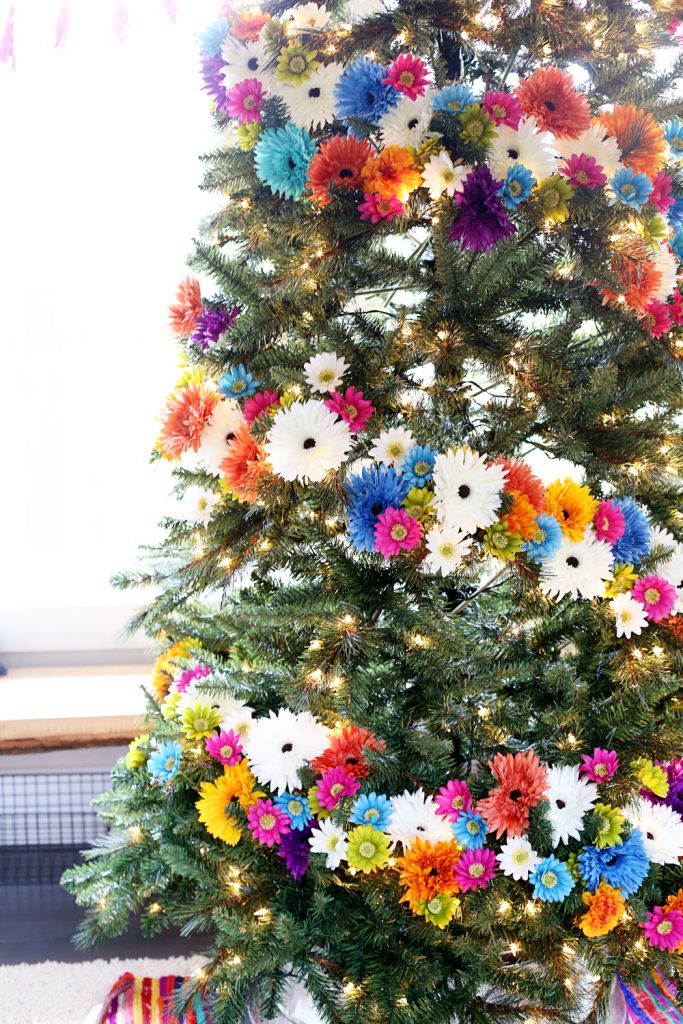
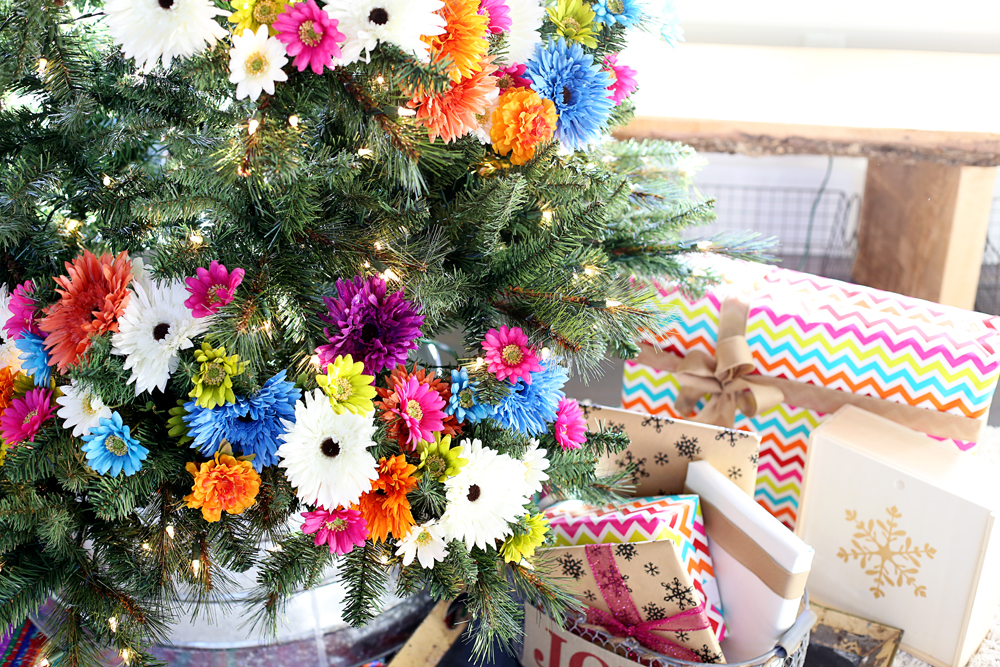
The bright colors look so great against the tree!
Under the tree I went with fun colored paper mised with kraft papers. I love the light colored wood thrown into the mix.
Oh, and I had a fun rug that I placed under the tree as well, to help define it in the room. Here’s a view looking down from our landing above:
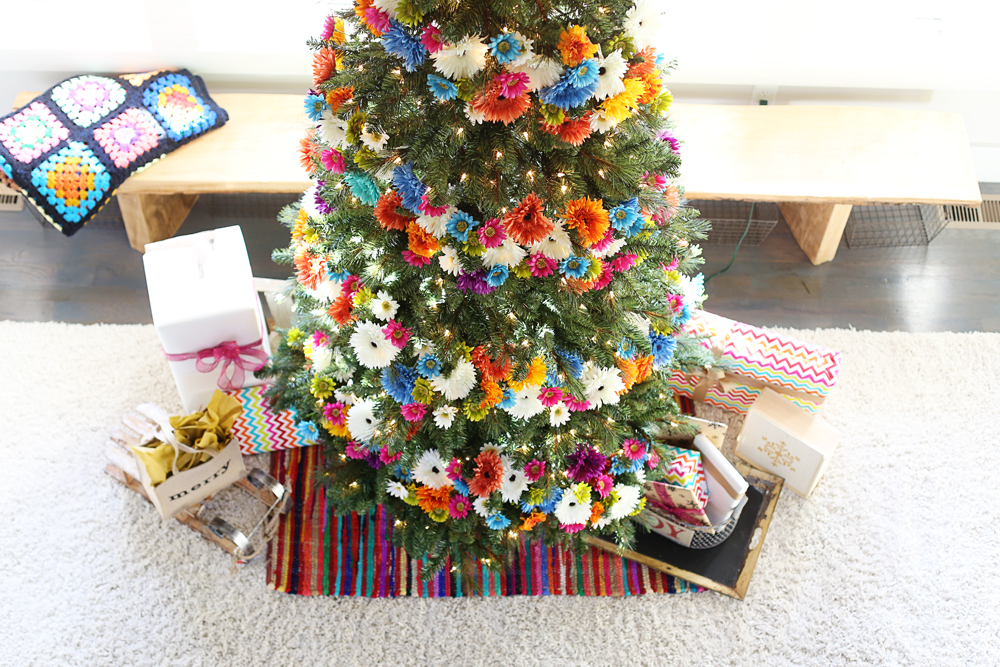
and the the fun of stacking boxes and presents – –
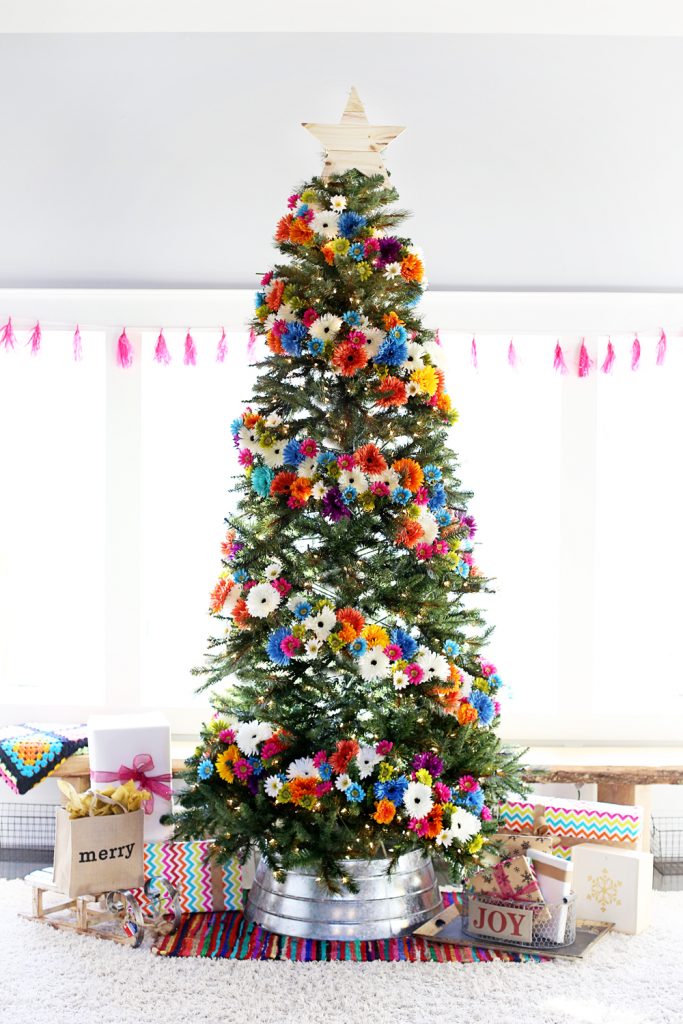
And voila, you’re done before you know it! The big debate was the star, and I ended up going with a light wood, to coordinate with the kraft paper on the gifts under the tree.
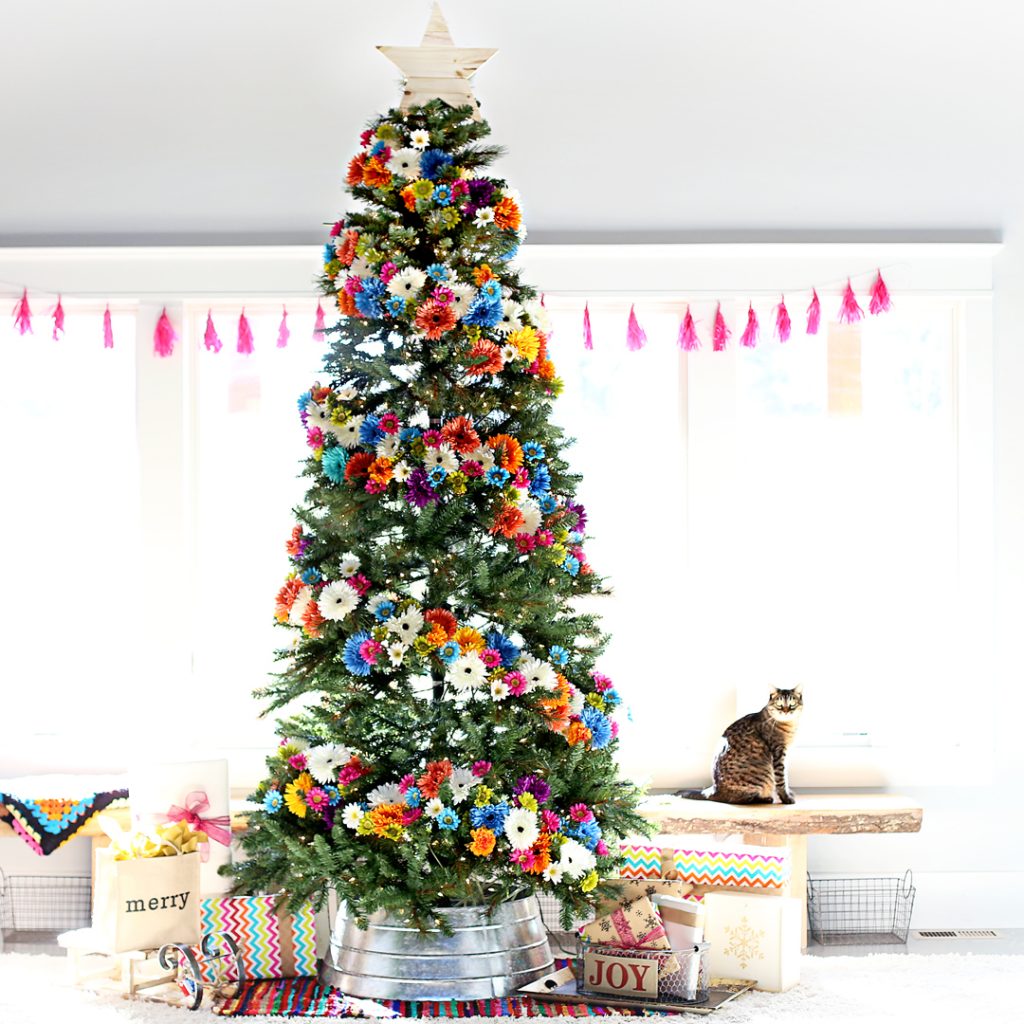
I just love it!
Inspired to start decorating your own tree? Make sure you visit Michaels’ blog, The Glue String, to see the rest of the Michaels Makers’ dream holiday trees that were created this year:
 Loading InLinkz ...


Mandy! This is so freaking cool! I love that you went colorful and non-traditional. It’s just so perfectly you and cheery and bright. Love it!
thanks so much!!! I wish you were doing one this year – there’s always next year! 😉
Just darling. So cute and clever.
thanks so much!!
I love this tree so much! It’s amazingly creative and looks fabulous!
thanks so much!!!
It’s so beautiful! I love the colors you chose! Great idea!
Chelsea @ Life With My Littles recently posted…What Pregnant Women Need to Know About Postpartum Depression
I love this tree garland! I’m mad now that I donated all my faux gerber daisies. Visiting from Show + Tell party.
Well, I think this is a good start, but were are the ornaments that would really make it special? It looks unfinished to me.
I actually ended up adding all our family ornaments to it – it was great both ways!