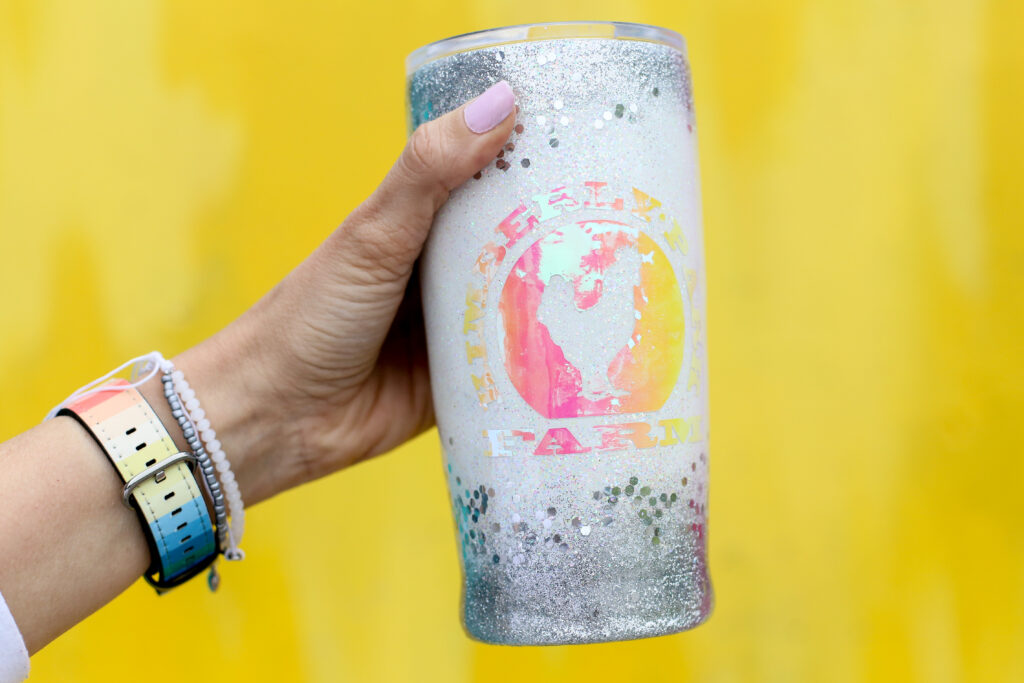
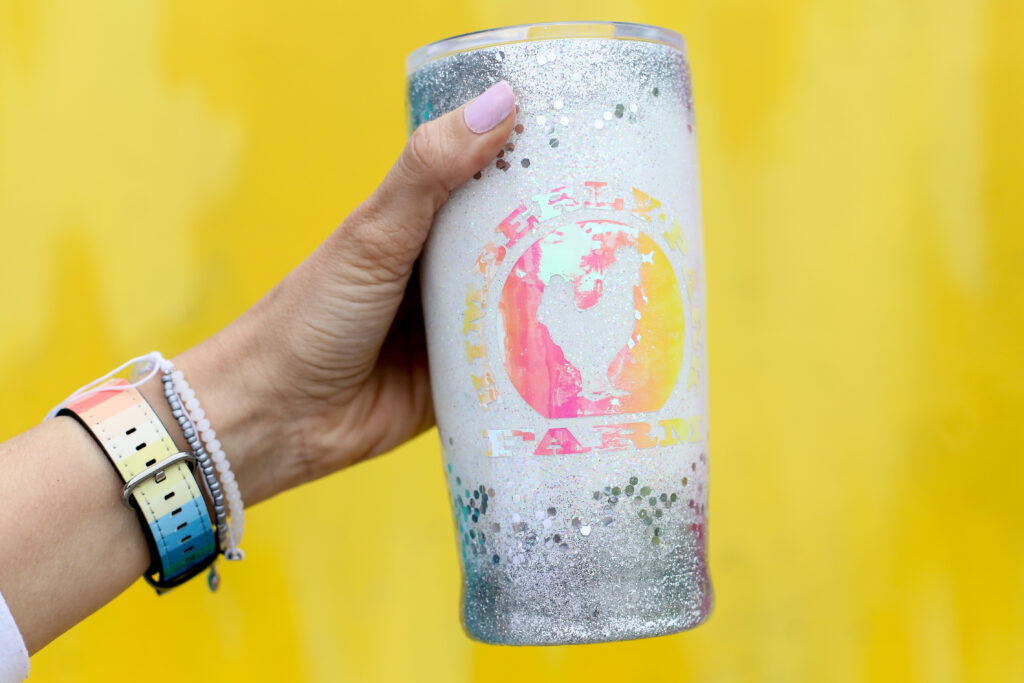
Have you noticed that those Glitter Tumbler cups are all the rage?! They’re everywhere! Of course instead of buying one, I wanted to actually MAKE one! That’s the heart of a crafter, right? 😉 I’m the first to tell you that I am no expert, I’ve only made this one cup. BUT, I feel like I learned a lot along the way, and I have the perspective of a beginner. So if you’re a beginner too, I have Tips for a Glitter Tumbler for you!

I do have these images that you pin so you can save this post and reference it later. Here ya go! This post may contain affiliate links.
Supplies need to make an Epoxy Tumbler Cup
You’re going to need:
—blank steel tumblers
—epoxy resin
—cup spinner
—measuring cups!!
—spray paint in white
–desired glitter
–vinyl decal if desired (I used OPAL vinyl!)
–wood craft sticks
—protective gloves
—fine sandpaper
optional: heat gun
Tips for making a Glitter Tumbler
This won’t be a step-by-step tutorial, there are a billion out there, be sure to check out youtube for sure. Instead I wanted to outline my TIPS as a beginner.
- use spraypaint to paint your cup white to start with – that way the glitter color shows true. The spraypaint with primer worked way better than the cheapy spraypaint.
- to make the epoxy, you mix exact parts of A and B – USE MEASURING CUPS. I learned this the hard way when one of my layers didn’t dry and remained tacky because my measuring wasn’t exact.
- stir your epoxy VERY slowly! and long, make sure it’s mixed well.
- use your gloved fingers to scoop out the epoxy and rub it onto the cup – when I tried to pour it I felt a little out of control 😉
- use a variety of glitter, I liked having some chunky and some regular
- be sure to press down the glitter into the epoxy
- use a SPINNER! your epoxy won’t evenly dry without a cup spinner.
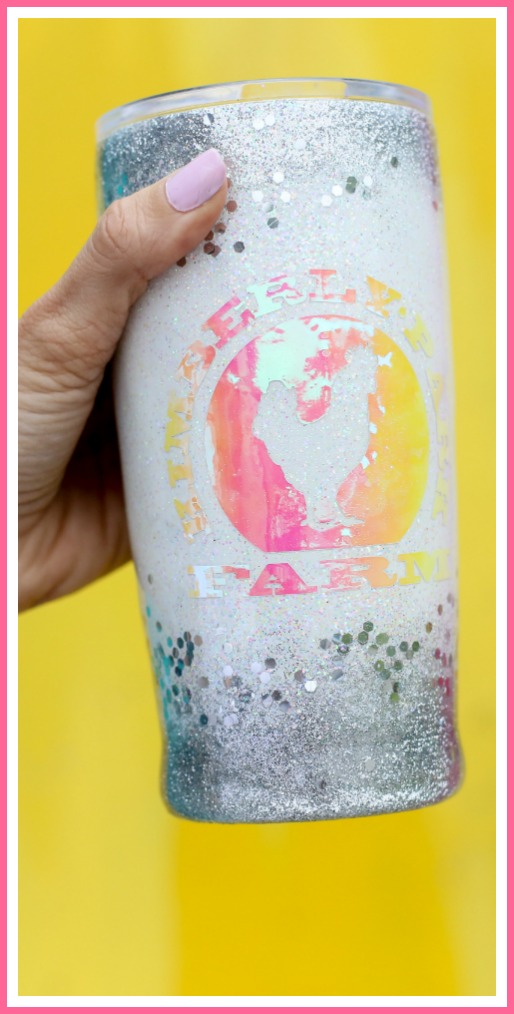
- If adding a vinyl decal, be sure to add a layer of epoxy over the glitter FIRST. Then if any glitter is still rough on the surface, SAND IT SMOOTH. Then add your decal and then and a final layer of epoxy over the top of the decal.
- be sure to make sure to smooth the epoxy on the bottom of the cup as well as the sides
How to fix a sticky layer of Epoxy
Due to not measuring exactly as I mentioned above, I had a layer of epoxy that was sticky. Not super wet, but just tacky to the touch. To fix it, I simply mixed up another layer of epoxy (being careful to measure the parts exactly) and applied that layer over the layer that was sticky. It worked! The final layer turned out great!
Hopefully these tips are helpful for you! I can’t wait to take my own advice and try making my second cup even better than the first!

Glitter Craft Ideas
Love glitter? you might also want to check out these projects:


