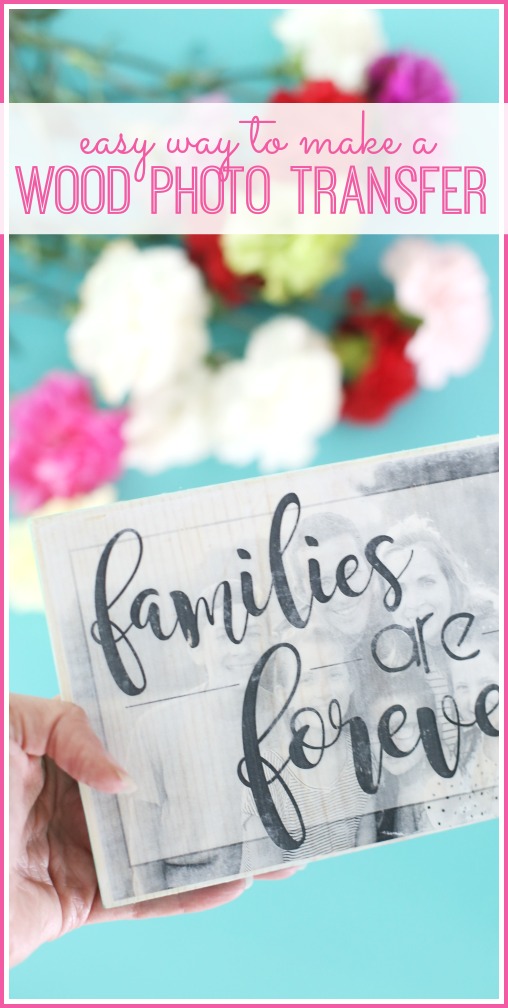
This post is in collaboration with Photoshop Elements via Instagram. This post may contain affiliate links.
Transferring a photo onto a piece of wood is a craft that I’ve always wanted to try – – and I finally did! And now I’m wondering why I haven’t done this sooner, and I want to try it on a bunch of other things!

FREE trial
You can grab a FREE Trial of Photoshop Elements to try it out for yourself, HERE.
Photo Wood Transfer
You’ll need:
–Edited photo (if you add text, be sure to mirror it!) – I used Photoshop Elements. Printed onto REGULAR paper (not photo paper).
—Photo Transfer Medium (THIS is what I used)
–Piece of wood (THESE would be awesome to use!)
–sponge brush, wet cloth
Today I have a video tutorial for you to give you a quick overview of a Photo Wood Transfer – yea for video to walk you through it!

Photo Wood Transfer, Video Tutorial
So fun, right?! Enjoy making one for yourself!


This is so cute! What a fun, easy idea!
Chelsea @ Life With My Littles recently posted…The Do’s of Pregnancy
Great idea. What font did you use?
I think I used Magnolia Sky – love that one!
Did you print your photo using a laser printer or an ink jet printer?
I used ink jet for this, I think?! the mod podge transfer bottle suggests which to use, I can’t remember 100% for sure…