


Have you ever made your own spirit wear? I couldn’t find what I wanted and so it was DIY to the rescue!! In doing so I wanted to have the layers cut out around each other and so I thought I’d show you how to outline and knock out vinyl layers!

This is a fun technique that can really bring your htv projects up a notch – it looks super professional!!
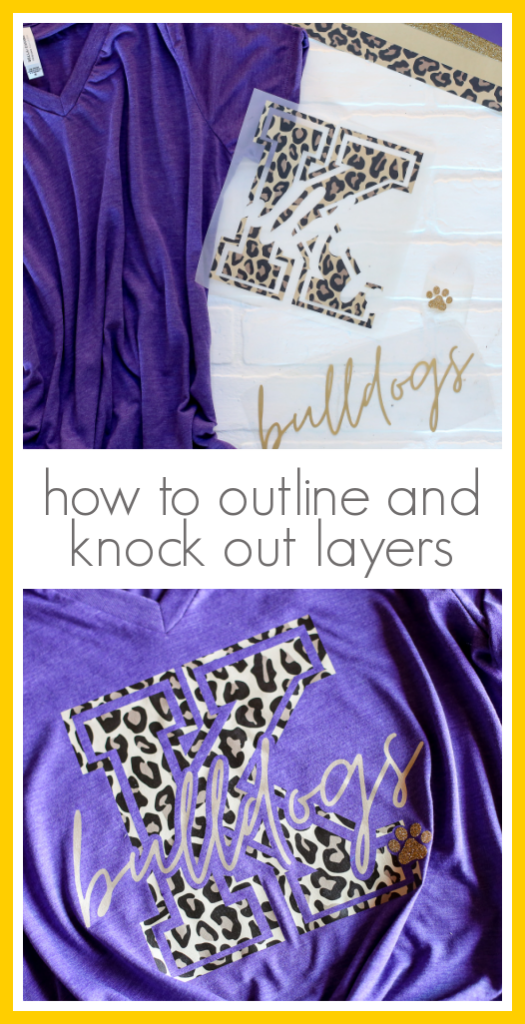
How to Outline and Knock out Vinyl Layers
You’ll need:
–Cutting Machine (I recommend THIS ONE)
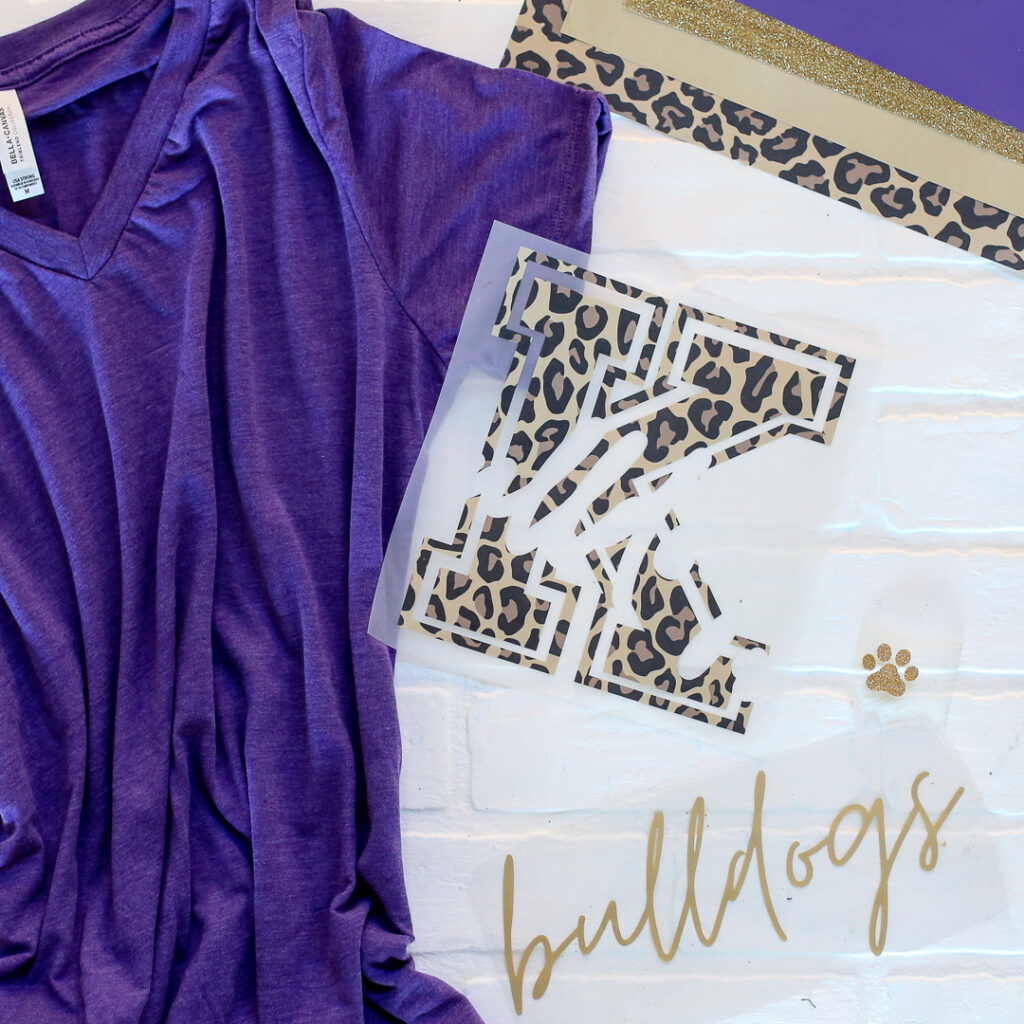
–Heat Transfer Vinyl (I get all mine at Expressions Vinyl) – I had some in leopard, gold, and glitter gold
–Blank Tee (I went with a v neck blank tee)
—Silhouette Software – this tutorial shows you how to make this design using the FREE Silhouette Software (even if you use a Cricut, you can make designs in the Silhouette Software and save them and then load them into your Cricut software).
For these tshirts, I used heat transfer vinyl and a cutting machine. Sometimes you can hand-cut vinyl, but these are more intricate designs so you’ll need a cutting machine. If you’ve never cut vinyl on a cutting machine, I have a video tutorial for that here: How to Use Heat Transfer Vinyl.
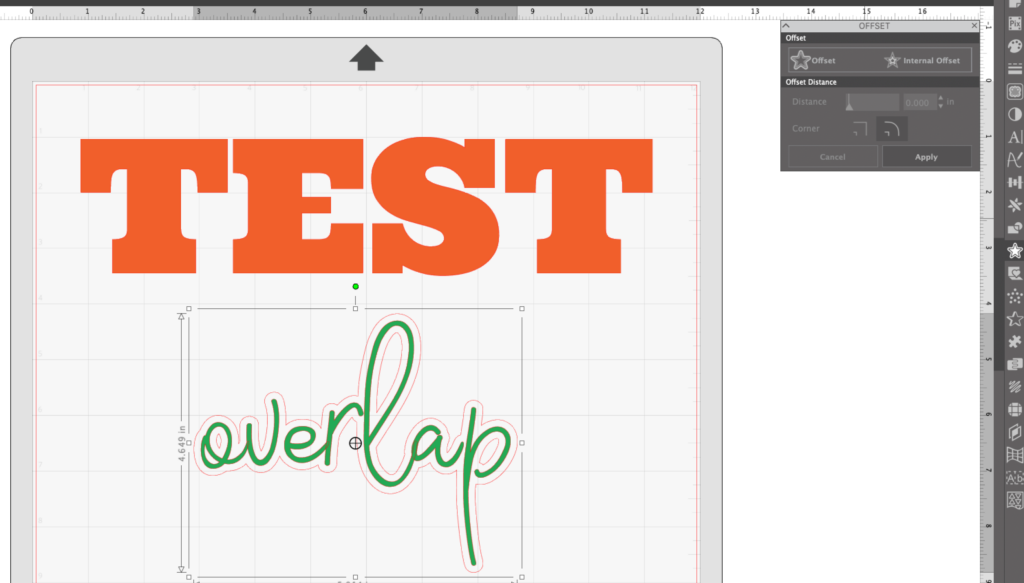
How to outline
For this project, you are layering a design “bulldogs” on top of a background “K”. I wanted an outline around the “bulldogs” layer, so that’s your first step.
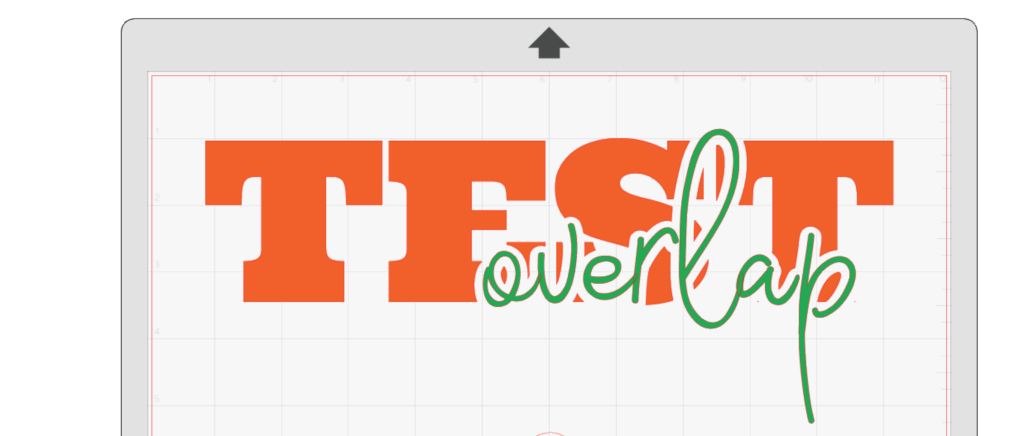
To outline the test text “overlap”, click on the text to select it and then click the Offset tool (it’s a star icon with an outline around it). The Offset box will open, click “offset” and then click “apply”. That’s it! Your text is now outlined.
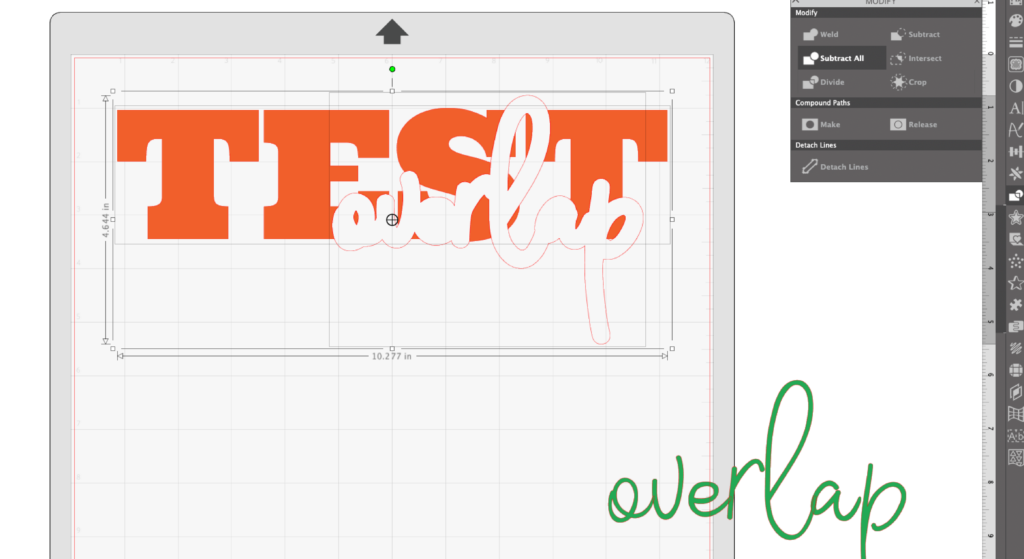
How to knock out layers
So with this design, you want to knock out the outline of the text. Go ahead and move the text out of the way, leaving just the outline to work with. Put the outline on top of the background where you’d like it. Select BOTH the background and the overlay at the same time. Once they’re selected, click the Modify tool (it’s icon is overlapping rectangle and circle). That opens the Modify tool window. From there click “subtract all” and it will take away all the pieces that are overlapping from the two layers.
Layer Vinyl with spacing
Now instead of putting one layer of vinyl over another, there’s spacing in between. Move away your outline layer and move your actual text layer into that void, and voila, outlined and knocked out layers!
Here you can see that they’re layered with spacing:
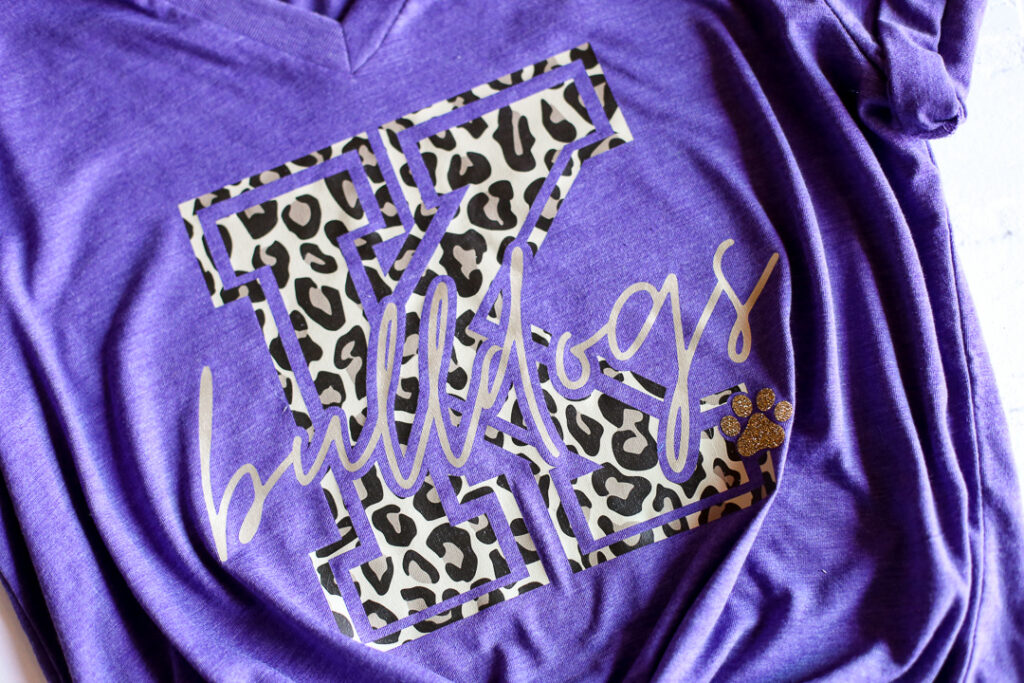
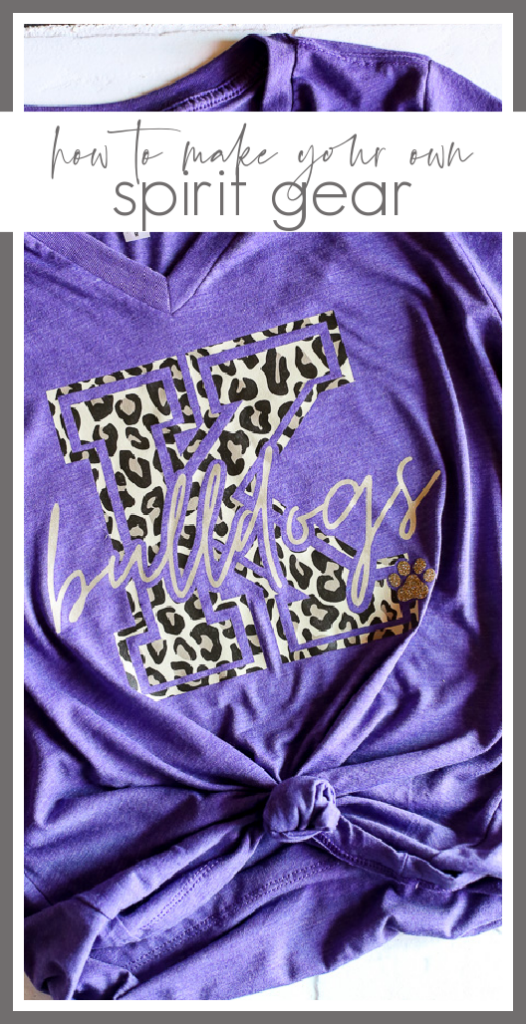
DIY Spirit Gear
Now you can use this technique to make your own spirit wear or any thing really! Possibilities are endless!

Heat Transfer Vinyl Tips
Looking for other tips when it comes to using heat transfer vinyl? Be sure to check out all this info:
— how to get perfect placement of HTV layers
— tips for using patterned HTV
— using Heat Transfer Vinyl
— screenprinting vs. heat transfer vinyl