Stickers are all. the. rage. I think everyone wants them to put stickers on their hydroflasks and stickers on their notebooks and stickers on their laptops – you name it, it needs a sticker! Did you know that you can make your own?! YEP! I’m going to show you How to Make Vinyl Stickers!
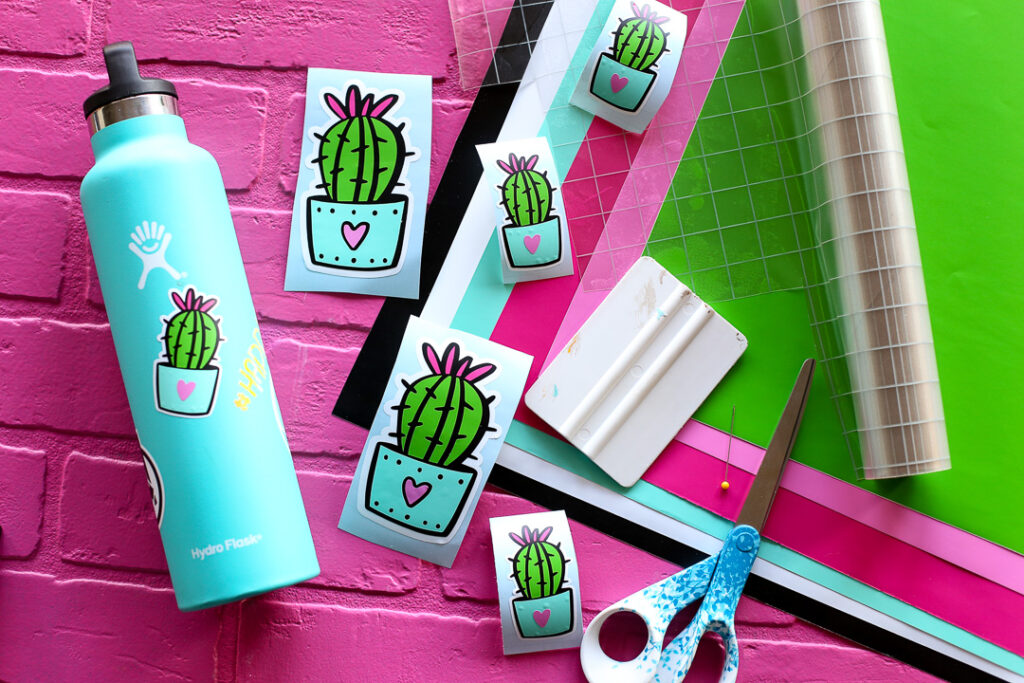
Here’s some images that you’ll want to pin so you can save this info for later. This post may contain affiliate links where we receive a small commission.
Supplies for making a Vinyl Sticker
—my FAVORITE kind of transfer tape
–something to put your sticker on, like a Hydro Flask 😉 (kinda pricey for a water bottle, but seriously so amazing! ice stays all. day. long.)
Vinyl Sticker Video Tutorial
This project is best explained in video so that I can talk you through it – it’s not too long, so go ahead and watch and learn how to design your image in Silhouette Studio and how to layer the vinyl after you cut it:
How to Design a Sticker in Silhouette Studio
I used a Design from the Silhouette Design Store as my sticker. But I still needed to modify it to make it in sticker form. The biggest way to give a decal a “sticker” look is to add an “offset”, or an outline, around the design. Cut this out of white vinyl for the sticker vibe.
You can also change all to pieces of the design to be filled in color. Then you can cut by color when you are in the Send Panel. Watch the video and be WOWED by this tip!!
When cutting, you’ll cut each color individually. Cut the pieces for the flower out of pink vinyl, cut the pot out of blue vinyl, etc.
How to Layer for a Vinyl Sticker
Again, the different between a “sticker” and a decal look is that white outline! Other than that, this is just like any other layered vinyl project. You can see another example of How to Layer Vinyl here.
Start with all of your individual layers and weed each piece.
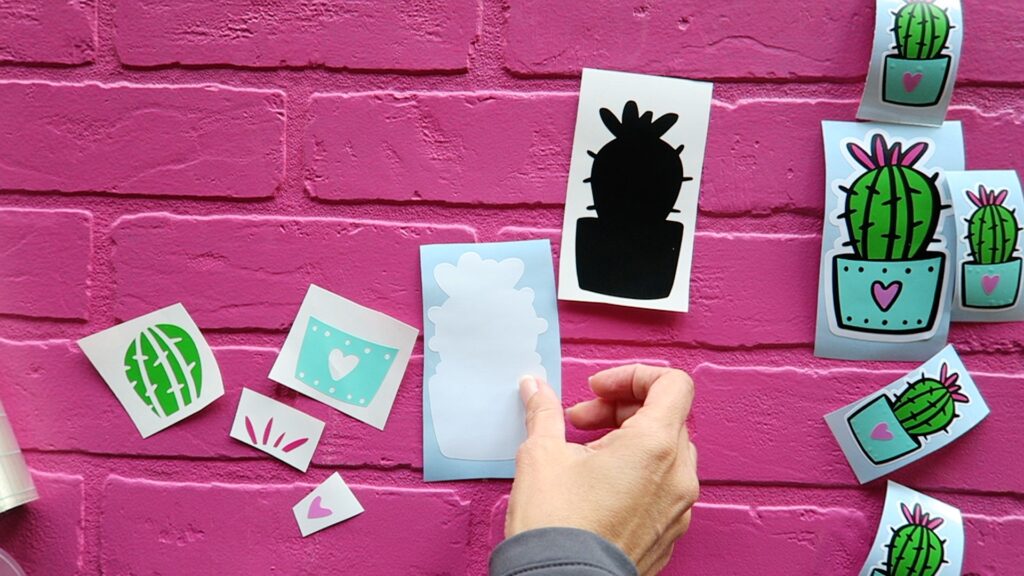
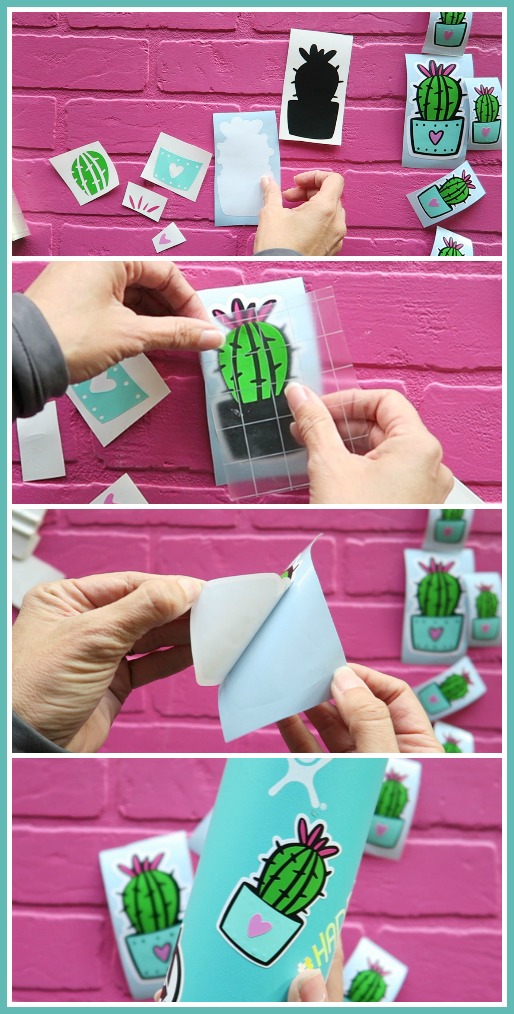
Now, time to start layering!! We’re going to work from the back to the front. So here, the white outline is the very back, the base of the sticker. Next up is the black, so using transfer tape, you’ll move the black over onto the white.
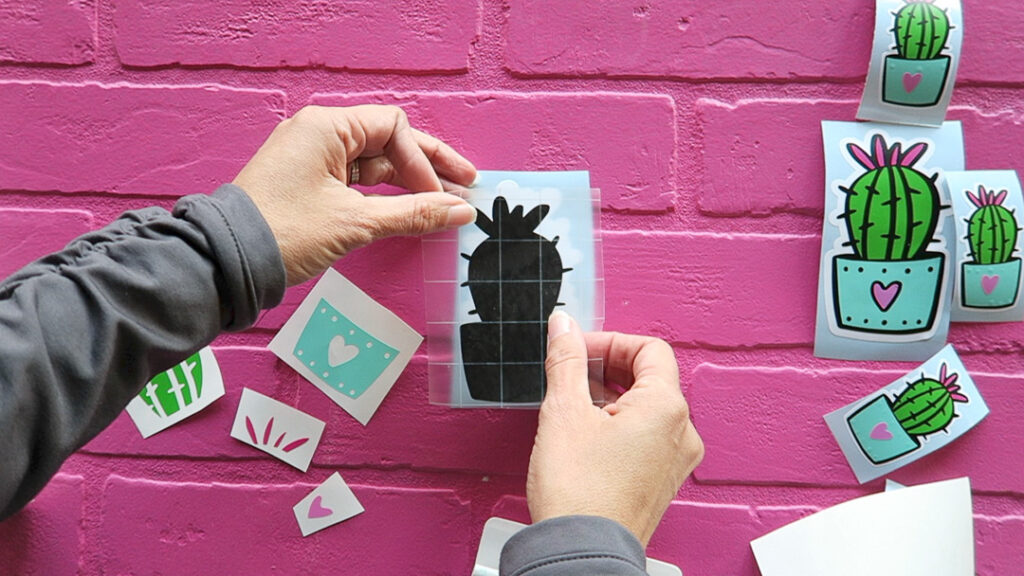
When you go to remove the transfer tape, pull it off to the side, not straight up – this will help the base layer stay put.
Now keep layering and repeat for all layers. I really love using the clear gridded transfer tape because you can actually see it through it and make sure you’re putting everything in the right spot!
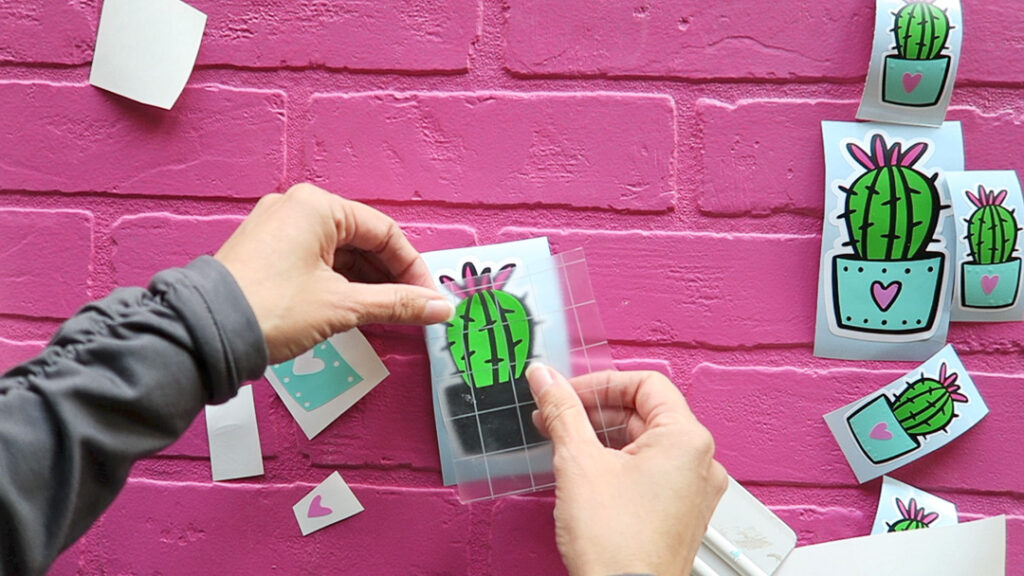
Once all the layers are on, you can peel the completed sticker off and attach it to wherever you’d like to put it!
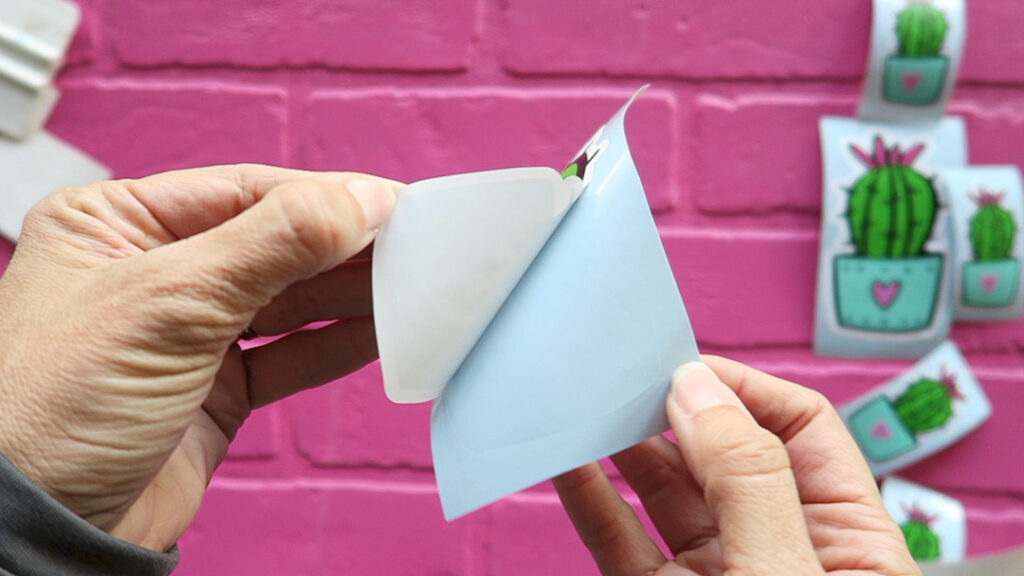
This is a GREAT project for using up all those vinyl scraps!!
More Hydro Flask Stickers
If you want more ideas for Hydro Flask and Laptop stickers, you can definitely browse all the cute Sticker Options here.
Vinyl Tutorial Ideas
If you loved learning about layering vinyl, you might also like to learn:


