


Check out this awesome and easy way to personalize store bought or home made stockings using the easiest of embroidery stitches.
This is Havalah from Sisters, Sisters (Or Sisters What – we answer to both : ). We’re another sisters blog that we started because we were all living so far away from each other. We thought a blog would be a fun way to share with each other and everyone who wants to see it, the fun and creative things that we make. Come check us out.
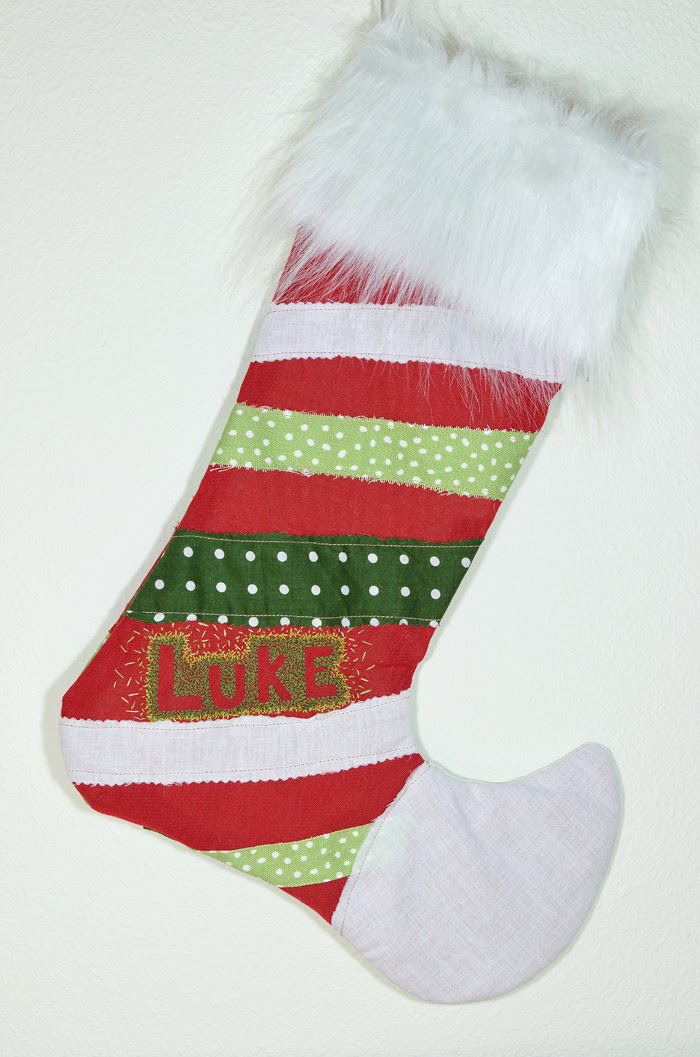
Today I’m going to show you how to personalize your stockings with embroidery. I saw this idea a few years ago where instead of embroidering the name, you leave that space empty and embroidery around the space to create the name. I just love the unique look of it. And did I mention it’s SUPER easy. Yep. You can go HERE to see my other stockings I’ve made
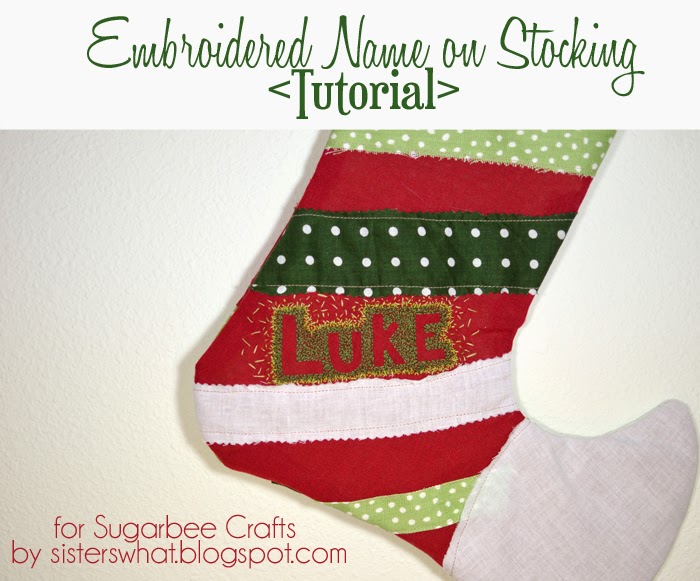
Embroidered Name on Stocking Tutorial
Supplies:
– Stocking
– Embroidery thread (multiple shades of the color if you want to do ombre)

//1// option A: If you have a Silhouette or Cricut, you can cut your name out onto freezer paper and then iron it on to the stocking. Then trace with pen then remove freezer paper.
option B (no silhouette or cricut): On Microsoft Word or any photo program, pick a font that is bold and simple. I used impact; bold, chunky and simple. Measure how big you want the name to be on the stocking and then make it that size on Word. Then print, cut out and trace onto your stocking.
option C (old school-eyeball it): Or you can do what I did with my first little one’s stocking that I made two years ago, eye ball it and write on the name.

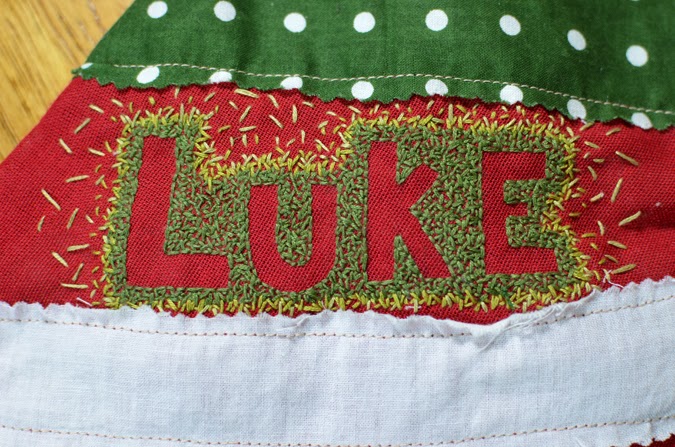
//2// now using simple embroidery stitches, add embroidery over the outline of the name.
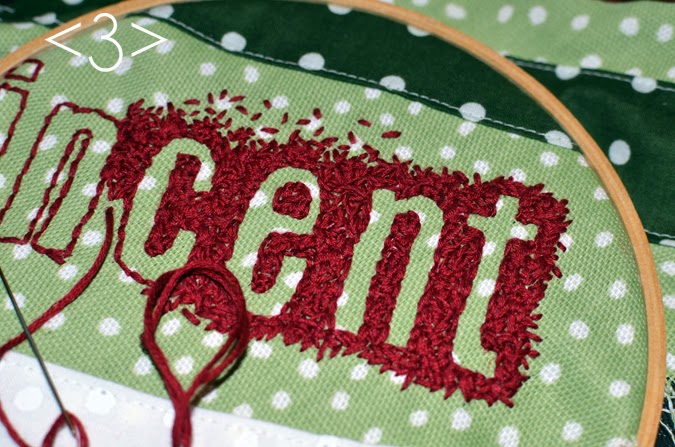
//3// Now for the fun part; after you finish the outline, start doing random stitches (big and small) on the outside of the name. There is no rhyme or reason or pattern, just do stitches around each letter covering the space outside. This is a great little project to do while watching your favorite shows. It can take some time, hence why I haven’t finished the above one yet. After you finish with one color, you can add a different shade or a different color.
See, way easy. Come visit our blog soon to check out the finished stocking for my little one Vincent. Maybe I’ll even show you how to make an elf stocking.
Also come check out some of our other fun Christmas projects:


Thanks for checking out this post from www.SugarBeeCrafts.com – – click on over to read it in its entirety – you’ll love it!