Chalkboard stencils are very popular right now, but instead of grabbing one I’ve wanted to make my own – because I LOVE being able to make just what a want. I love that about crafting, being able to make custom things just for you! SO, I tried making a chalkboard stencil and it worked great. Here are all my tips and tricks on How to make a Chalkboard Stencil.
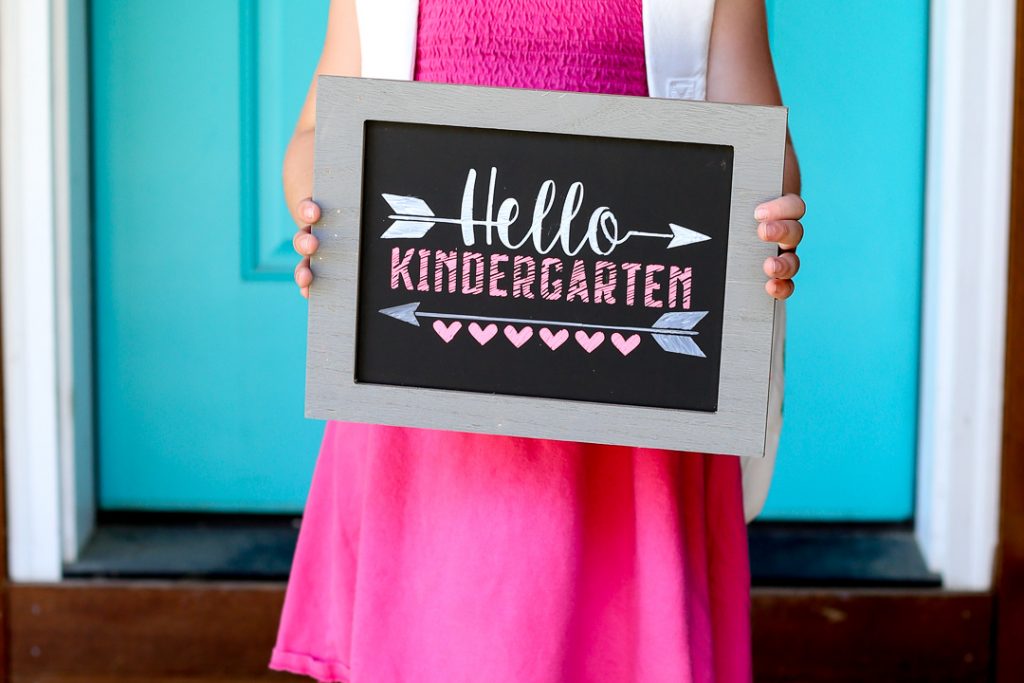
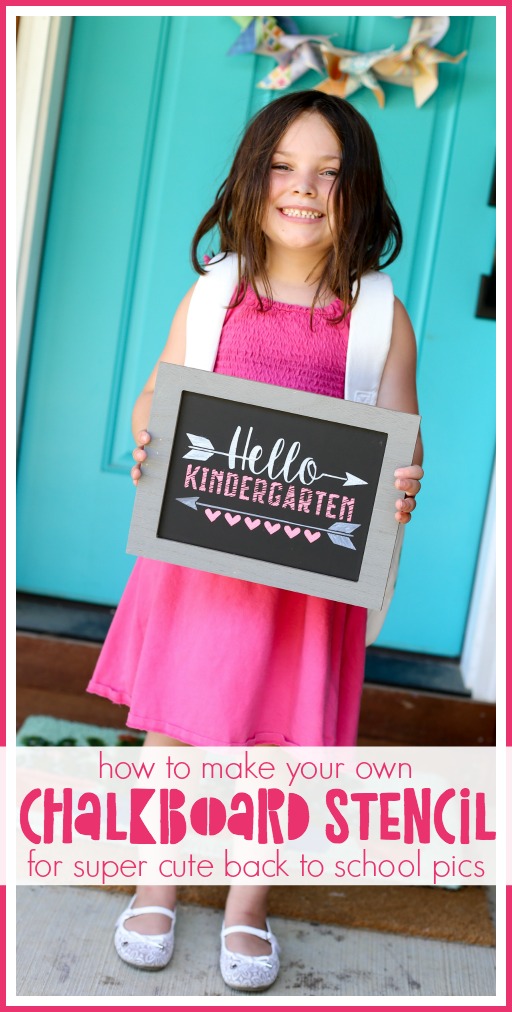
I love that you can make it for whatever occasion you need! Here I used it for a back-to-school chalkboard for all of those cute First Day of School Pictures.
 .
. 
This is a sponsored post in collaboration with Craft Bundles – they have awesome cut file bundles and fonts for ah-mazing deals!! May contain affiliate links.
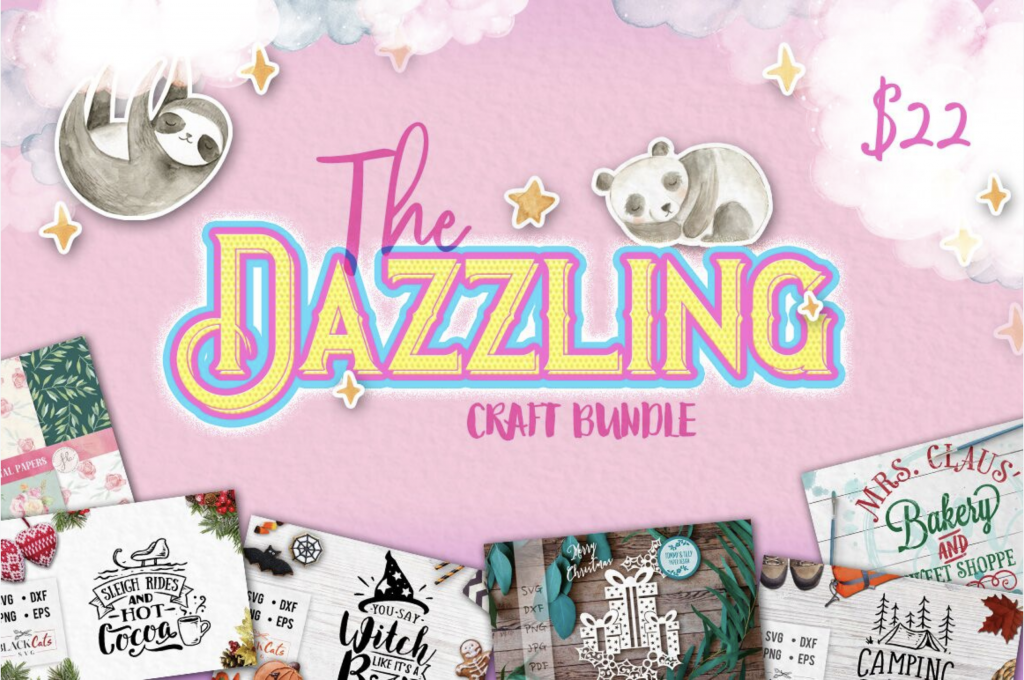
The Dazzling Craft Bundle Deal
Right now the Dazzling Craft Bundle is on one of those amazing deals! You can get The Dazzling Craft Bundle packed with 19 premium fonts from 11 font families and over 160 SVG cut files, watercolor designs, and digital papers! Normally priced at $330, now you can download it for ONLY $22 with full commercial license included! See, that’s awesome! This first day cut file was included in the bundle.
Make Your Own Chalkboard Stencil
You’ll need:
—Dazzling Craft Bundle cut file
–Cutting machine (I used my Silhouette Machine)
–Transfer Tape (my favorite is the clear gridded)
–Chalkboard (I found this one in the Target Dollar Spot)
–Chalk or Chalkboard Markers
Chalkboard Stencil Video Tutorial
Yep! I have a video tutorial for you, just about a minute long – enjoy!!
How to Make a Chalkboard Stencil
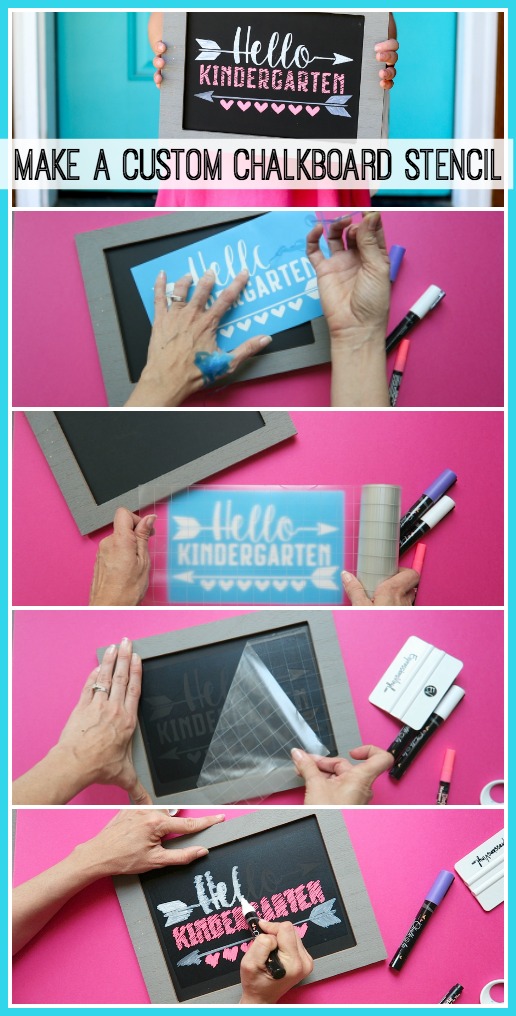
- Cut your decal using your cutting machine. Cut it out of Stencil Vinyl – if you are unsure what stencil vinyl is, be sure to read all about that HERE.
- Weed out the parts that you are going to want to chalk. So here I weeded out the words because that’s what I wanted to chalk onto my board. Leave in the middle of the letters, etc.
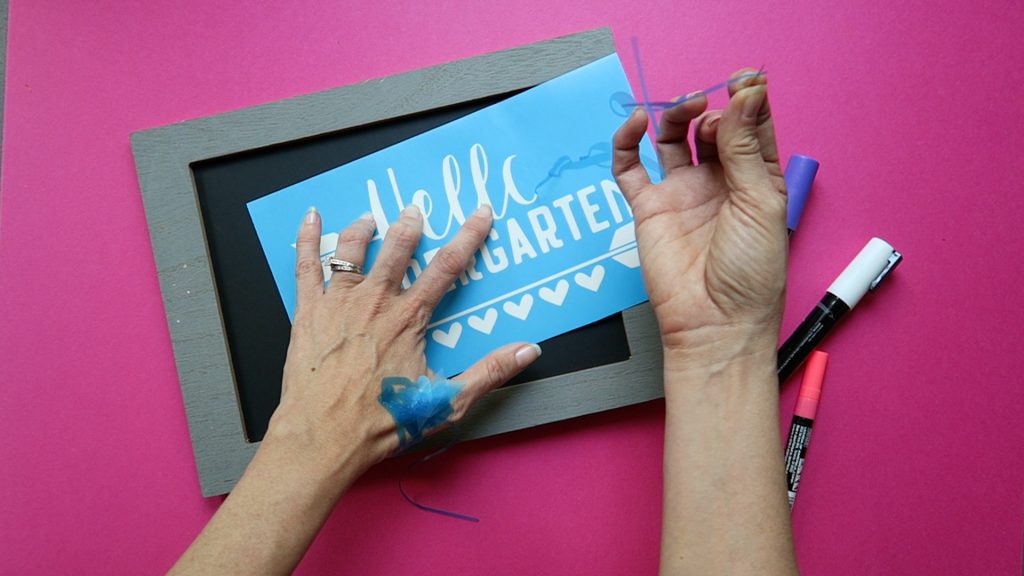
3. Then use your transfer tape to move the vinyl onto your project. Place the transfer tape on top of your design and then remove the backing paper from your design.
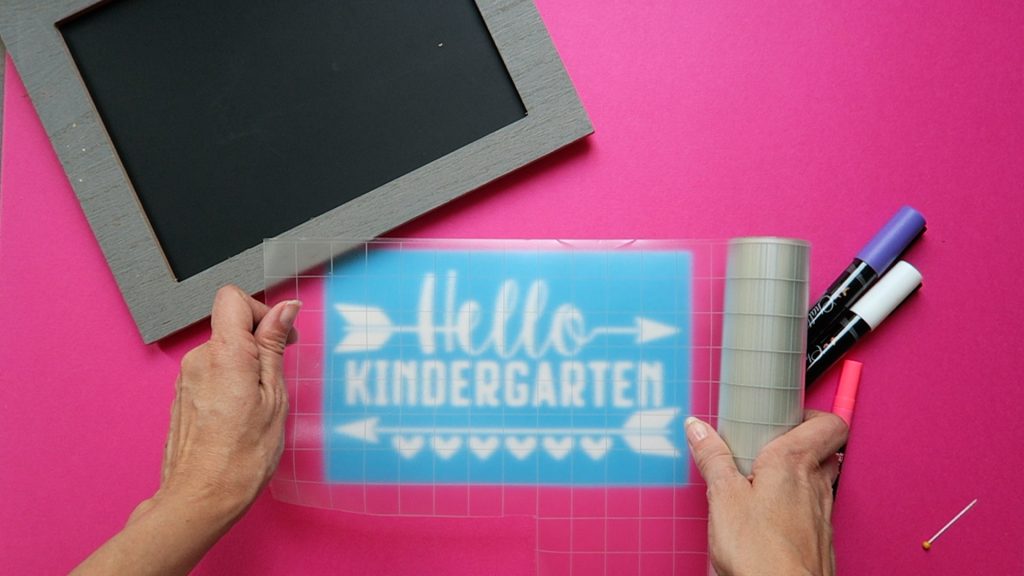
4. Now it’s time to attach the decal stencil to your chalkboard!
Using a Chalkboard Stencil
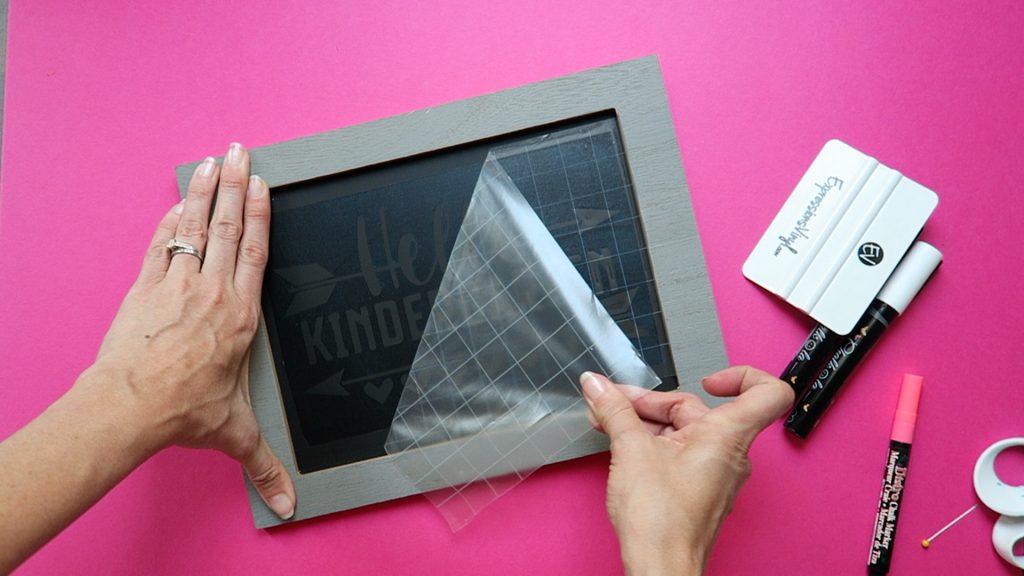
- Make sure your stencil has been pressed firmly onto your chalkboard. If your chalkboard is brand new, you’ll want to “season” your chalkboard before attaching the stencil. Seasoning a chalkboard is simply covering the whole thing in chalk and then wiping it off.
- Using either chalk or a chalkboard marker, color in the stencil. If using chalk, sometimes it helps to get it wet to get it to write in a deeper color.
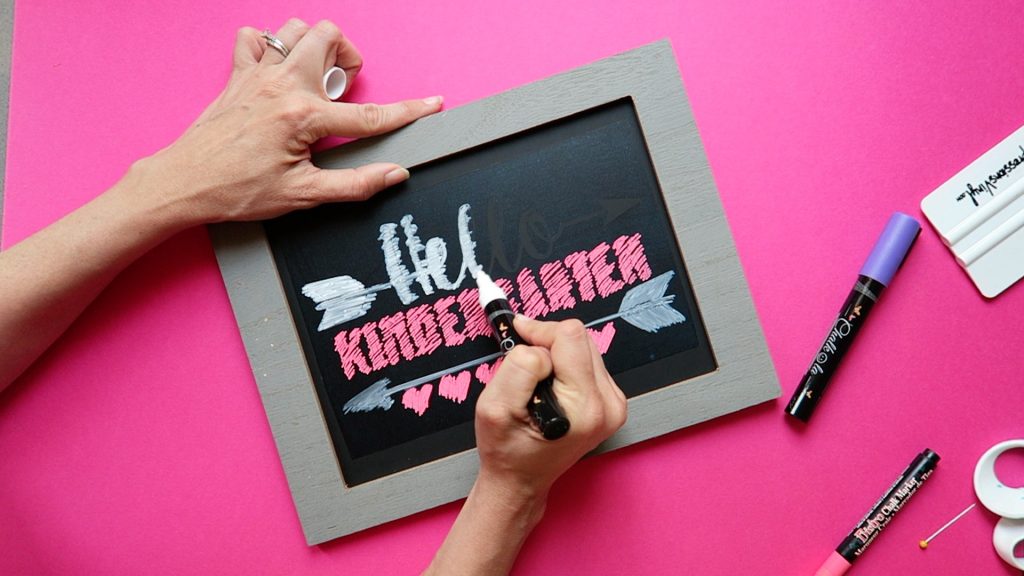
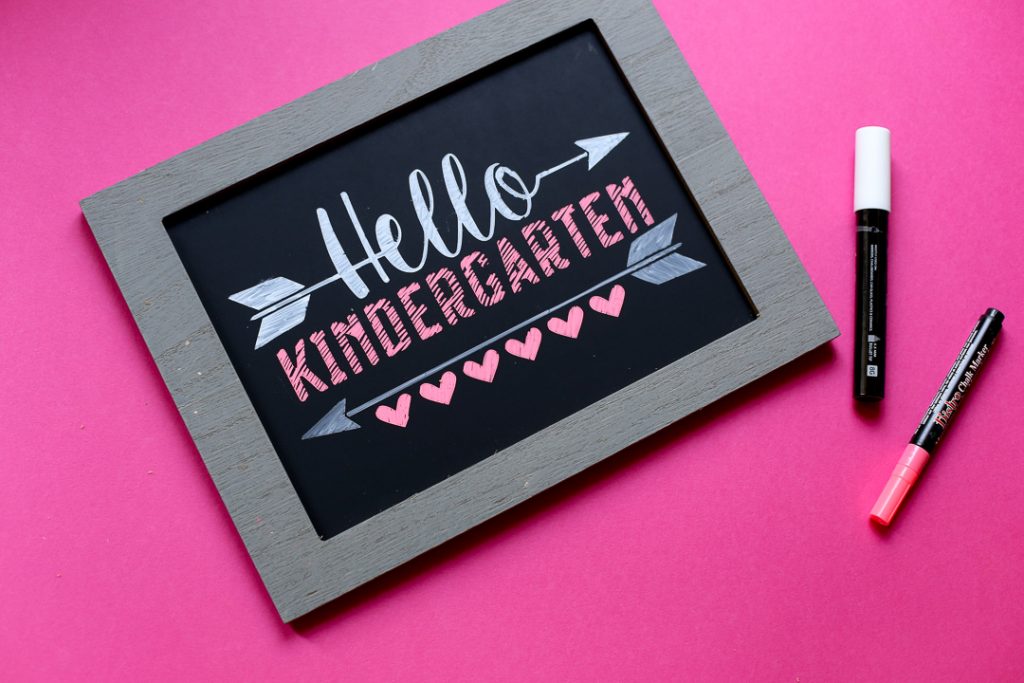
3. When dry, remove the stencil vinyl. Don’t forget to pull out all the centers of letter, etc.
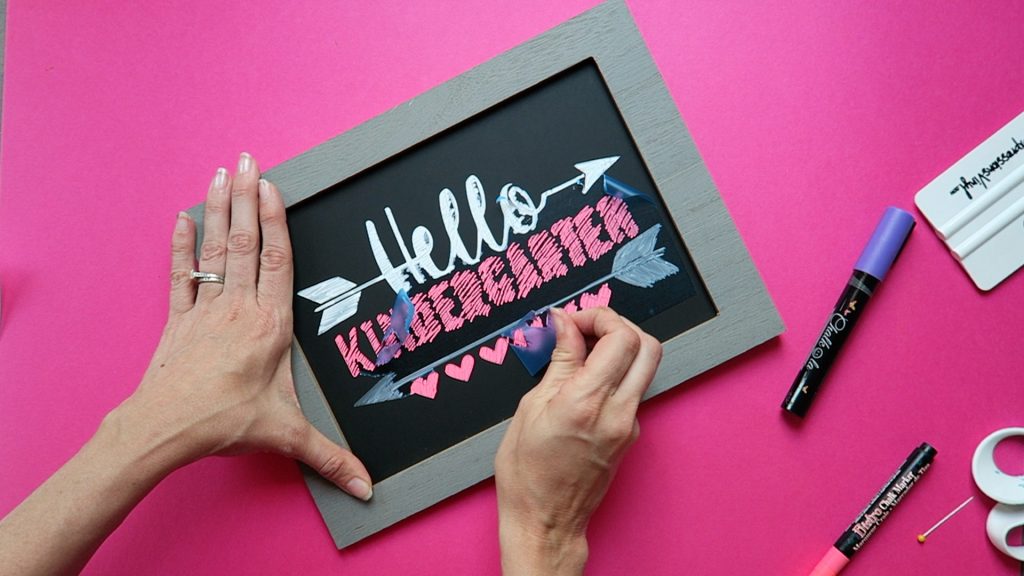
That’s all there is to it! Hope you had fun learning How to make a Chalkboard Stencil! And don’t forget to check out that awesome cut file and font bundle at Craft Bundles!


[…] How to Make a Chalkboard Stencil Sign From Sugarbee Crafts […]