You all know that I LOVE taking pictures – and I love sharing that love with others. I was recently asked if I would teach a kids’ photography class, and I thought it was a great idea! It was seriously SO FUN, my favorite kids’ “craft” class I’ve taught this summer, so I thought I’d share my insights with you guys on How to Teach Kids Photography. Plus if you’re just looking for a fun outdoor activity, I have that too – because everyone loves a scavenger hunt!
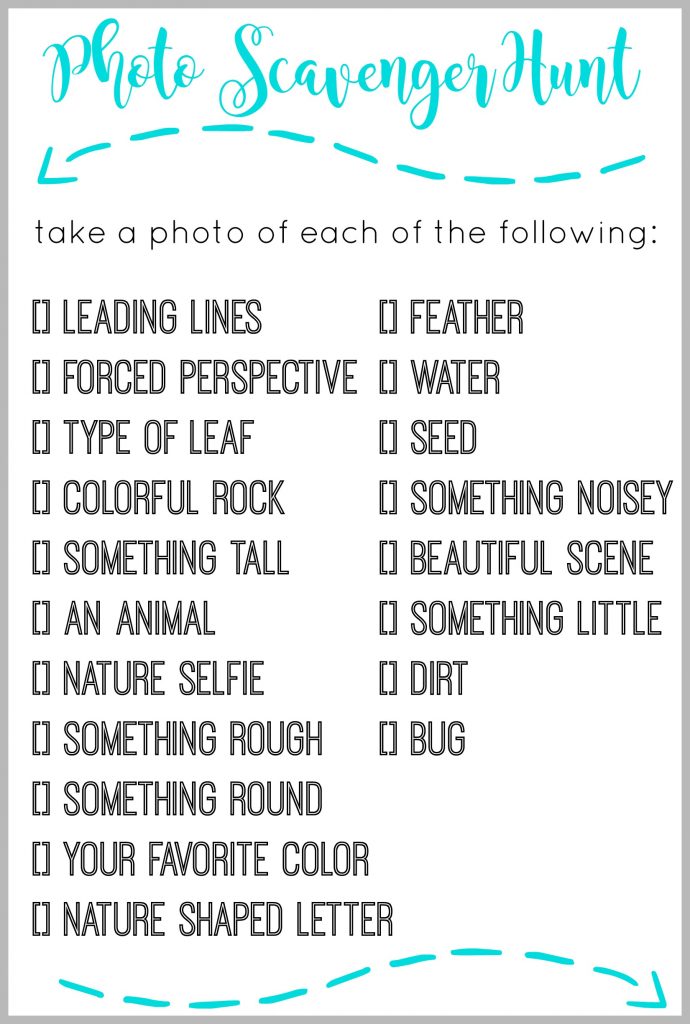
If you’re just here for the Kids Photography Scavenger Hunt, here ya go – I found a few online, but none were quite what I was looking for, so I just put together our own list. You’re welcome to use it!
How to Teach Kids Photography
I opened the class up to kids 10-14yrs old, and it was so great to have them that age, a little older than some of my kid craft classes. They were there because they really did want to learn about photography! I ran it for 3 hours, from 9am-12noon. I requested that they all bring something that they could take a picture with, whether it was a tablet/kindle, phone, camera, dslr, etc. The point of this class was to teach an overview of the basics of photography, and get them all excited and interested – it wasn’t a class to dive deep into how to use a big camera on manual mode.
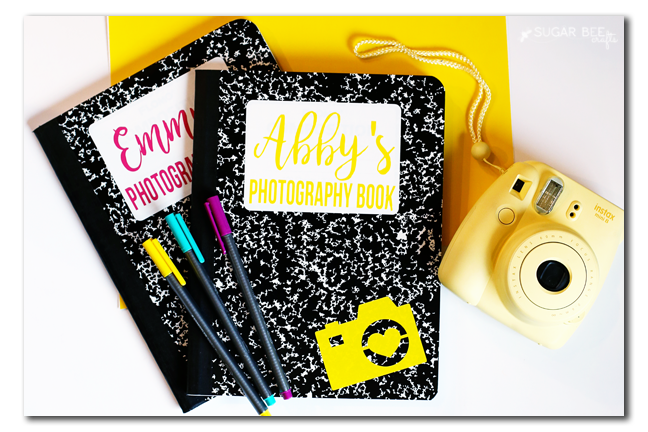
So to prepare, I made each kiddo a notebook with their name on it – that way they’d have something that they could take notes it not only the day of the class, but in the future. I told them they could use it to make lists of things they wanted to photography, even paste in pictures, etc. Some of them took amazing notes! I should have probably borrowed them to write this post 😉
Class Outline:
–intro – have each kiddo tell their name, age, and why they love taking pictures (I loved hearing all their answers!!)
BORING STUFF FIRST 😉
–Care of Camera – case, strap, protect it
–Stance! Solid base, 2 hands – demo a kiddo standing on one foot and push them, versus a kiddo standing on two feet, shoulder-width apart with a push.
NOW THE FUN STARTS
- –Rule of 3rds – we talked about what it was, how to use it, and then I pulled up a google image search for Rule of 3rds and looked at various examples and discussed why they worked, etc.
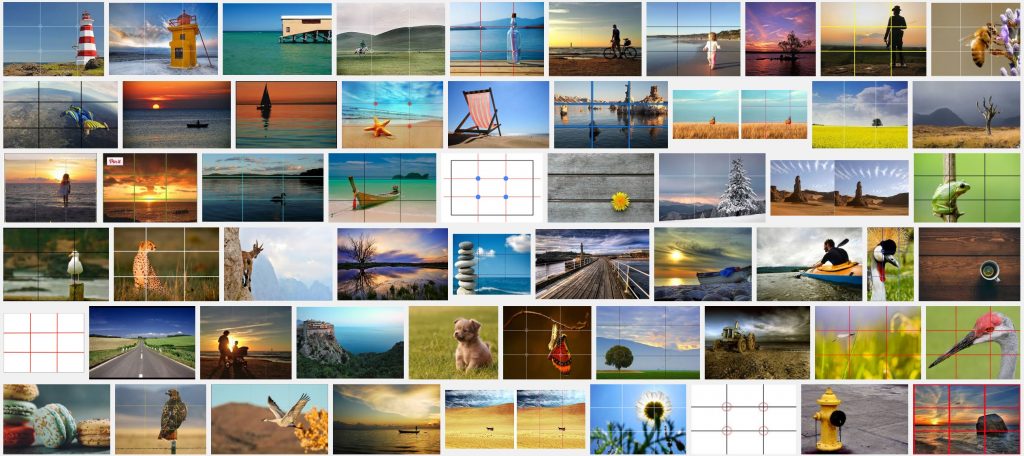
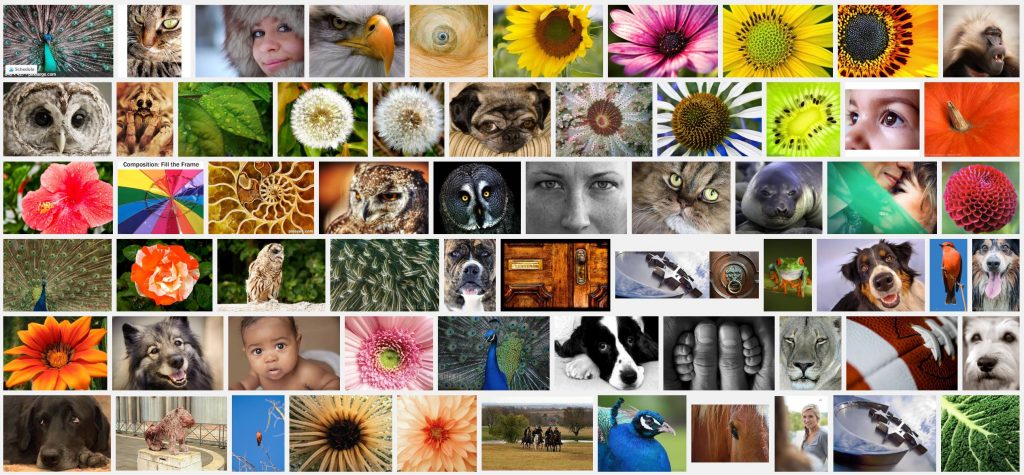
2. –Filling the Frame – we talked about what it was, how to use it, and then again we pulled up a google image search for Filling the Frame and discussed why they worked. We also used our knowledge of Rule of Thirds and showed how sometimes you can have both Fill the Frame and Rule of 3rds working in the same image.
APPLICATION
—–> we then took a hands-on break, Stuffed Animal Challenge. I had a stack of Beanie Boos for everyone to pick one, and then challenged them to go wherever they would like and use the stuffed animal to set up photos using the Rule of 3rds and Filling the Frame. Here you can see that we’re not focusing on other photography skills, we’re just practicing rule of 3rds (one of the kiddos took this during class)
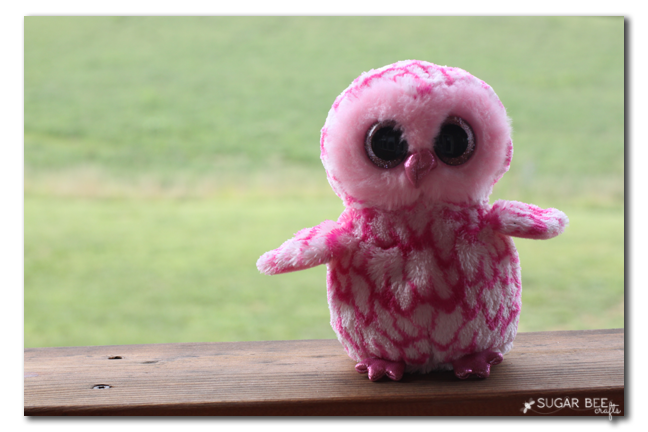
–I gave them about 15 minutes to practice. Then we gathered back together and I had each kiddo pull up one of the pictures that they took – they showed it off to the group and we talked about which rule they used and how well it worked, etc.
3. —-Lighting (backlit v. foreground) – we talked about how light is so important in photography. We touched on how to use natural light and avoid using the flash. We talked about going outside for pictures. We talked about backlight versus foreground light.
APPLICATION
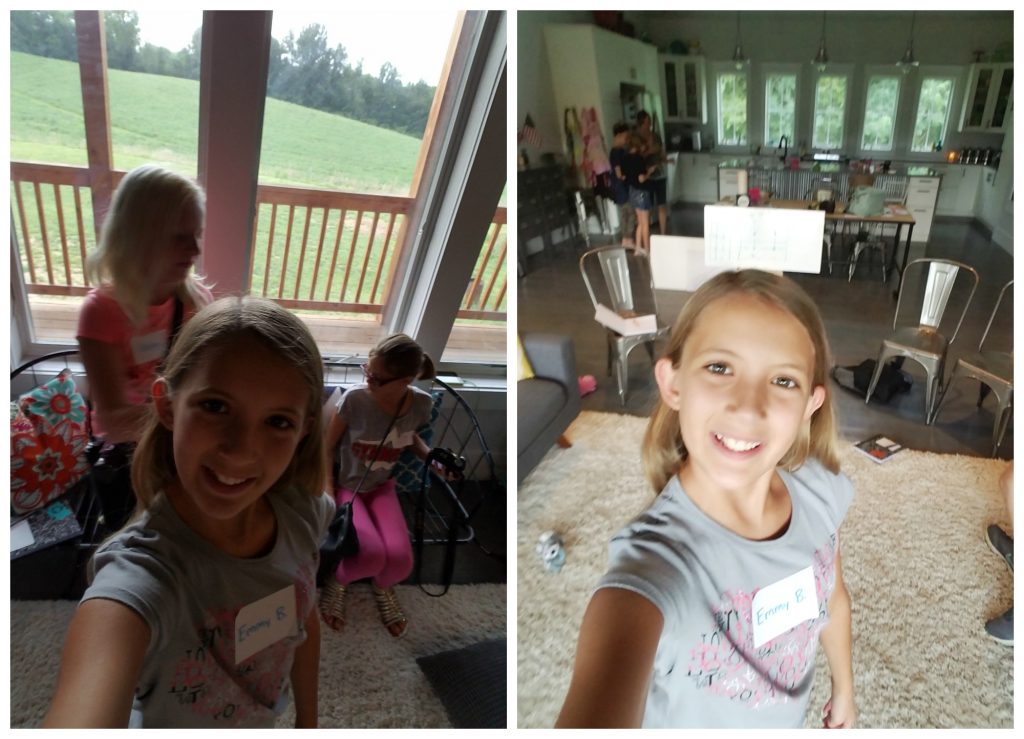
—-> Selfie Challenge – I challenged them to take 2 selfies in the same spot, one with the light BEHIND them, and one with the light IN FRONT of them. That way they really got a hands-on feel of how lighting can really change a picture, even from standing in the same exact spot. Another pic example a kiddo took in class:
4. –Leading Lines – we talked about what it was, how to use it, and then I pulled up a google image search for Leading Lines and looked at various examples and discussed why they worked, etc.

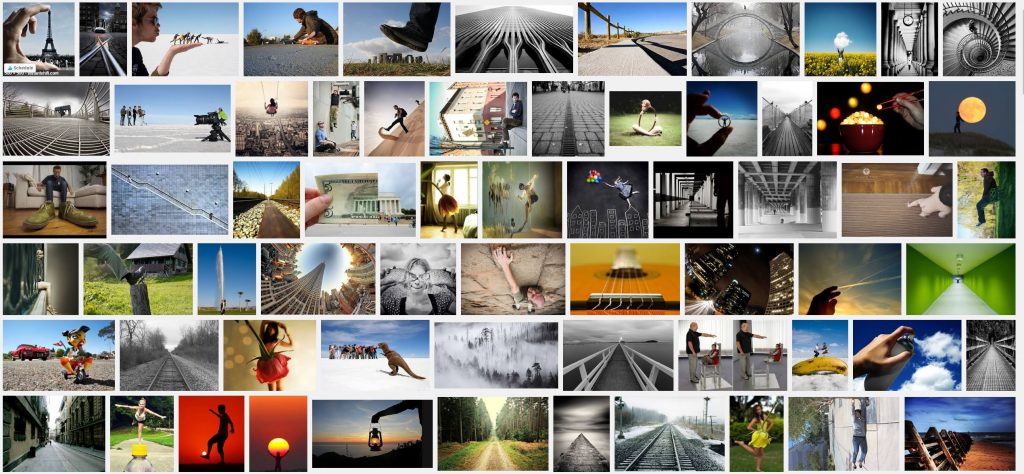
5. –Forced Perspective – this is a fun one! We talked about perspective and seeing things in different ways, etc. Then we talked about forced perspective – how images are 2d but life is 3d so we can manipulate things like carrying the moon or squishing a friend. We pulled up a google image search for Forced Perspective and looked at various examples.
APPLICATION
—> I challenged them to get creative with a forced perspective shot – they divided in groups so that they could help one another get the shot. I also challenged them to try to find leading lines and take that image. I gave them about 20 minutes to practice. Then we gathered back together and I had each kiddo pull up one of the pictures that they took – one group even did a forced perspective video, so that was fun!
6. –Background is important – we talked briefly about making sure the background wasn’t too busy, too clean up a room before you took a pic in it, etc.
APPLICATION
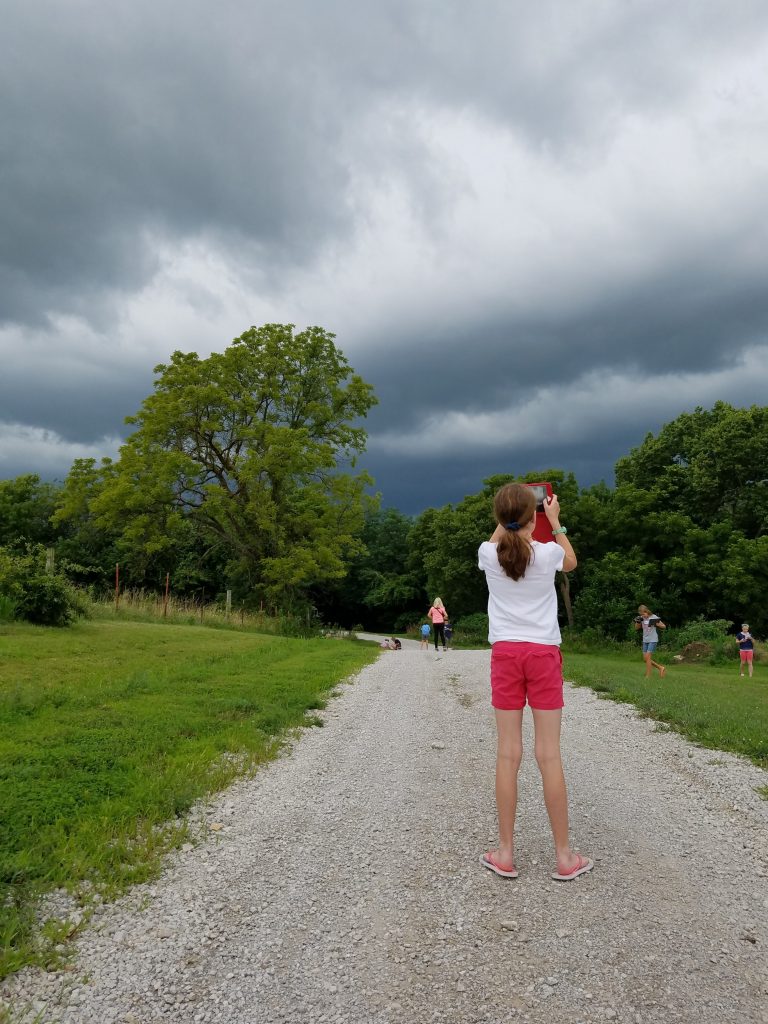
Next we took a long break for a Photo Scavenger Hunt – it was cut short because it started to rain, boo! But they were able to take their sheets home.

7. –Editing: PicMonkey – after the scavenger hunt, we headed back in and talked a little about editing software. We pulled up the free PicMonkey site and in groups they took turns editing some of the photos they had just taken on the scavenger hunt. That was the last 20 minutes or so of the class.
RECAP – at the end, I had them each pull up a favorite picture they took that day, and show it to the group and tell us why they liked it. I also had them tell which was their favorite technique they learned about (Rule of 3rds, Fill the Frame, Leading Lines, Forced Perspective) and why. They all had different favorites and it was fun to hear them talk about them.
Overall, it was so so fun!! I hope I’ve given you a little direction on How to Teach Kids Photography!
And while you’re looking for awesome summer fun, check out these other great ideas – –
Photography Fun for Kids – Sugar Bee Crafts
Milk Dud Cake Mix Bars – Kleinworth and Co
Turtle Bookmarks – Lulu and Celeste
Wand Holster – Rae Gun Ramblings
DIY Stacking Dolls – Nap-Time Creations
Head over to Nap-Time Creations/Summer Fun to see all the posts in the series.


such great tips for kids! My son is really interested so I should start teaching him the basics now!!
Emily recently posted…DIY Stacking Dolls & Summer Fun #6
These are GREAT tips, Mandy!!! It’s so fun to give kids the tools to capture their lives through their eyes. It gives us a whole different perspective. Thank you for the shout- you made my day!
Have a wonderful weekend!
My granddaughter is very interested in photography. I look forward to sharing these tips with her. Thank you for sharing.
Awesome! Photography is a fun, creative hobby that can be picked up early on! Nice pointers! Thanks for the advice!
great break down of the basics for kids thank you!!
This has inspired me SO MUCH!!! I am a photographer hobbyist and would love to teach kids. At first I thought, well, I don’t know enough to actually teach, but after looking at what you covered, I know I can do that. This is so exciting. Thank you so, so much for the fantastic and detailed description on how you did everything!!! I really do appreciate it.
you’ll have a ton of fun! good luck with it!
Mandy…just to clarify. You did the photography class for just one day for three hours, correct? I just wanted to be sure it wasn’t an ongoing class that you did over a certain period of time. I want to be sure I can cover everything in one class. Thanks!
Marion Esposito recently posted…Embellish Your Look!
Yes, I just did it one day for 3 hours. It was a little rushed, but that’s okay. Since it was just an overview of everything, I think it worked out well.
Last question…. 🙂 After all the kids took their photos, how did you load them all during the class? Some might have phones, some cameras. It seems like that would take a long time to do, but it would be nice to view on a larger screen. And editing….did all the kids have their own laptops to work on?
Great and easy to use! I’m looking forward to sharing with my kids!