I’m super excited to be part of the Back to School blog tour with Riley Blake – you know I’m smitten with all their fabric lines! And I really love love love the school spirit chevron and polka dots that they offer.
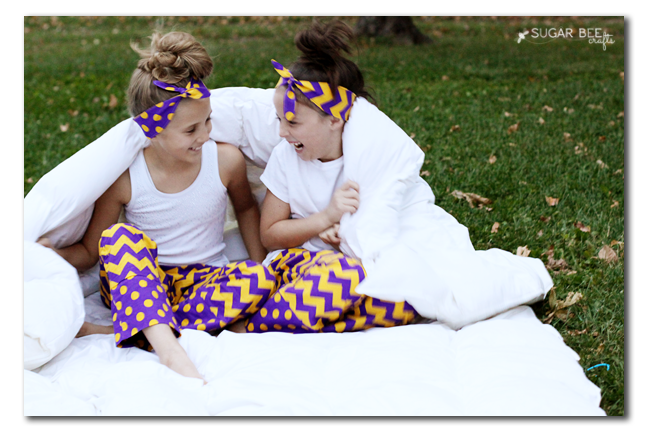
Last year as part of the Riley Blake team I made school spirit pajama pants, and I’m excited to share that tutorial again with you today – you can find all the details on how to make those pj pants here: School Spirit Pajama Pants (and, because I know you’ll ask, I have a tutorial for the Fabric Knotted Headband as well).

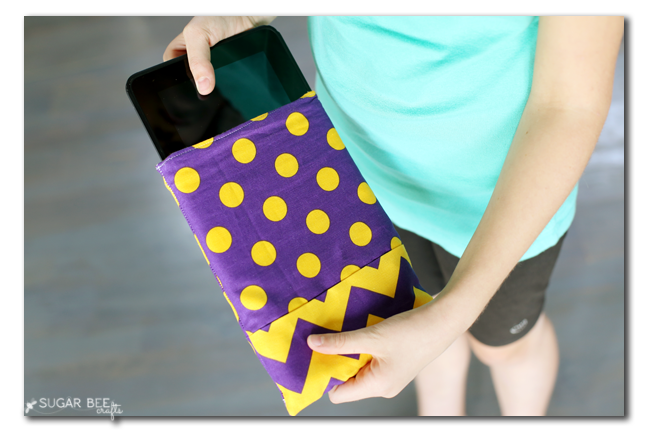
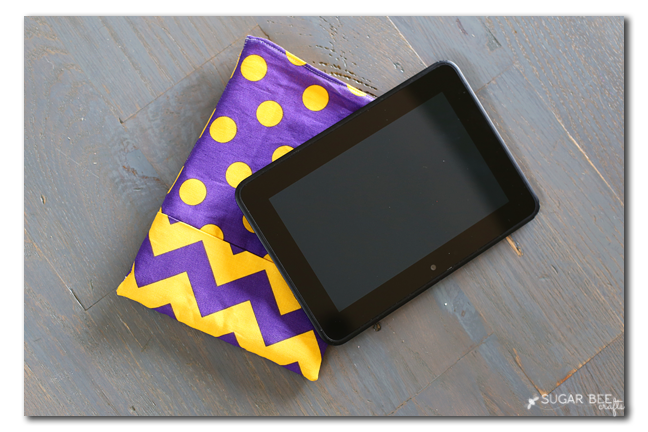
As part of the blog tour, I wanted to add even another project to make with school fabric. I immediately thought of all those electronic devices the kiddos have, some use them for school work, etc. My daughter saved up and bought herself a used kindle, but she doesn’t love the case that it came with. So instead of it just sitting around unprotected, I sewed up a sleeve for it to slide in and out of – this is a quick, easy project, which is perfect for beginner sewers. And I’ve got a tutorial for you!
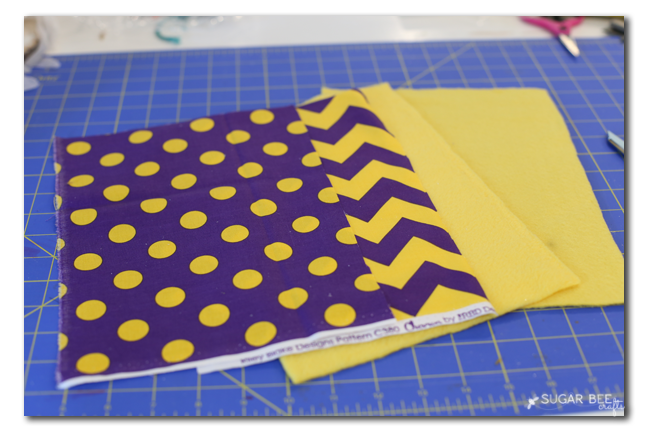
Let’s get started! You’ll need 4 pieces of fabric the size of your device – 2 for the inside (I used soft fleece) and 2 for the outside (perfect spot for school colors fabric).
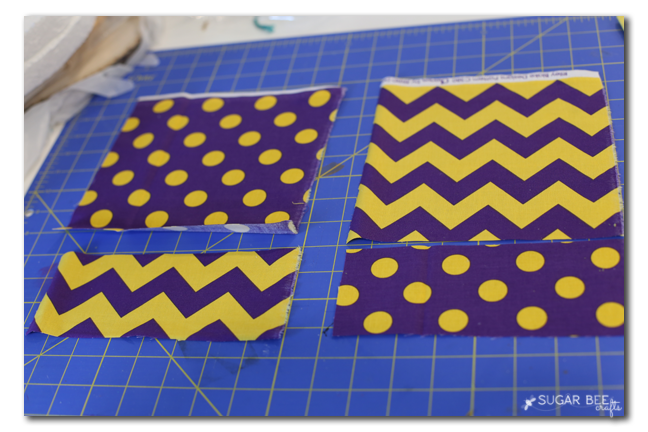
I wanted a little interest, so with the 2 outer pieces, I cut about 3 inches off the bottom and then swapped them and sewed it back together. So it has a fun contrasting band across the bottom.
Then, with right sides together, sew along the sides and bottom of both the outside pieces and inside pieces. When sewing the inside pieces, leave a 3-4 inch section unsewn on the bottom seam – this will be where you turn the sleeve right-side out.
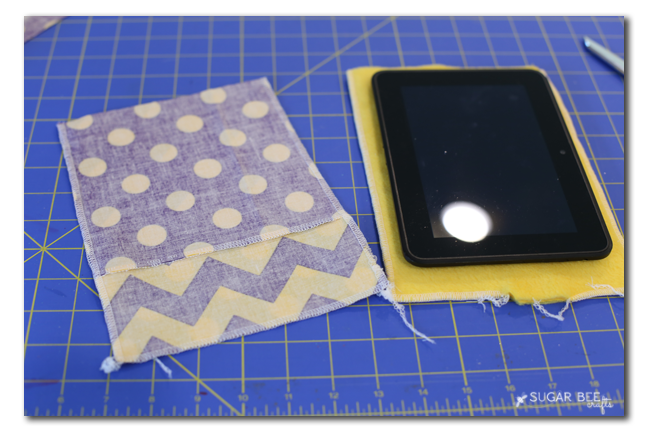
Now you have 2 separate sleeves, the outside and the lining. With right sides together, put the lining inside the main fabric. Sew them together all the way around the top edge.
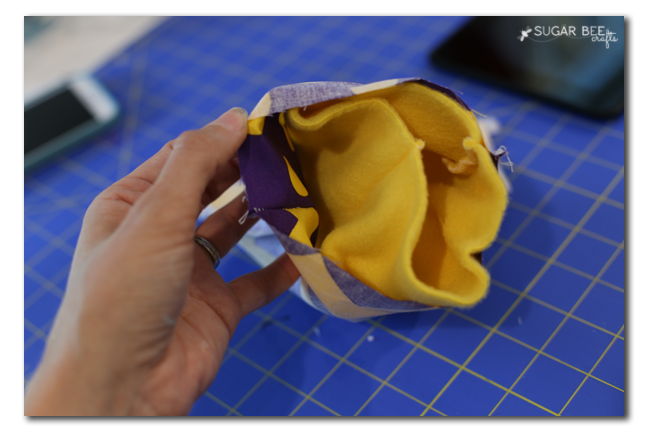
Then through that opening you left, pull them right-side out. Here’s what it’ll look like when you’ve pulled them out half-way. Then keep pulling it out until the main fabric is on the outside and you can tuck the lining into it.
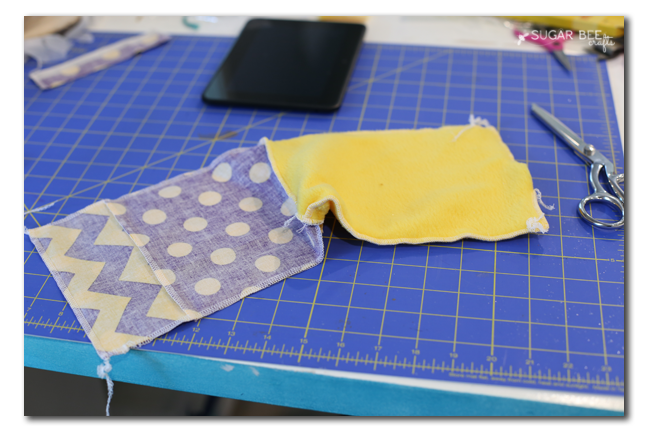
After that, you can sew that opening in the lining shut (or leave it open, it won’t matter too much) and topstitch all the way round the top edge. You can see the topstitching a little in this pic:
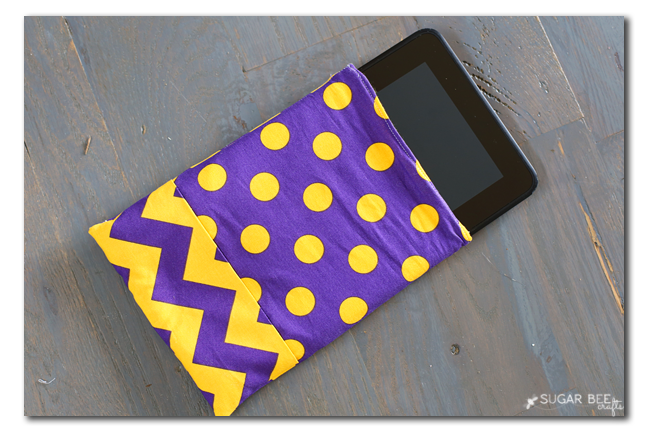
And that’s all there is to it! It’s easy enough for her to slide her kindle in and out, so that way she’ll actually use it!
Be sure to check out ALL the awesome projects that other bloggers on the Riley Blake Back to School Tour are creating!
8/17 – Riley Blake Designs
8/18 – Beri Bee Designs
8/19 – Simple Simon & Co.
8/20 – Quiltscapes
8/21 – Jina Barney Designz
8/24 – Fishsticks Designs
8/25 – Riley Blake Designs
8/26 – The Crafting Chicks
8/27 – Violette Field Threads
8/28 – Riley Blake Designs
8/31 – Modkid Boutique
9/1 – Izzy & Ivy
9/2 – Sugar Bee Crafts
9/3 – Tie Dye Diva


[…] 9/2 – Sugar Bee Crafts […]