This post is my contribution as an Ambassador for Valentine’s Week at Expressions Vinyl – may contain affiliate links
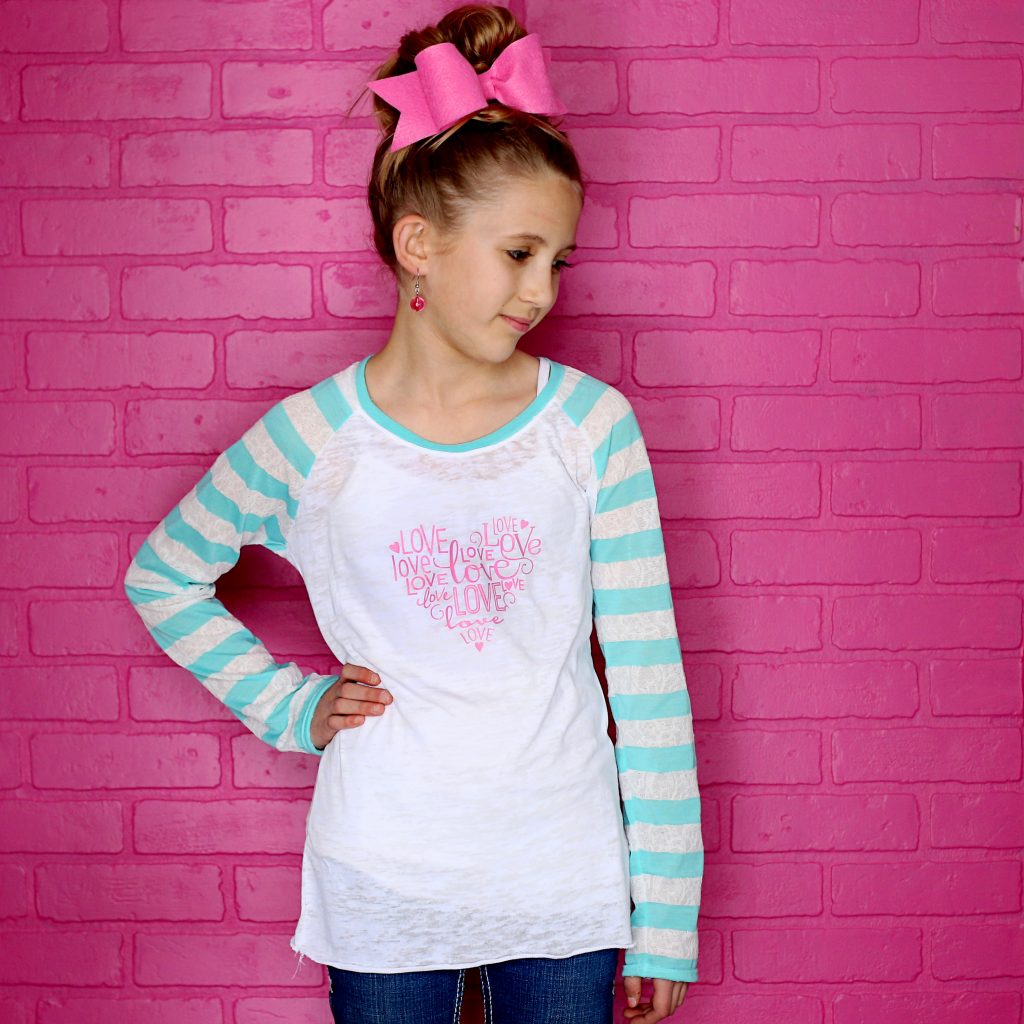
As you know, one of my favorite things to craft is tshirts – I love that you can create custom things in just minutes. I cranked out a Love Heart Tee for my 11-year old, and we just love it – so much better than the cheesy ones you can find in the store. The joy of crafting! I made this whole thing, from the tee (and my favorite sewing pattern!) to the decal (using my favorite heat transfer vinyl from Expressions Vinyl).
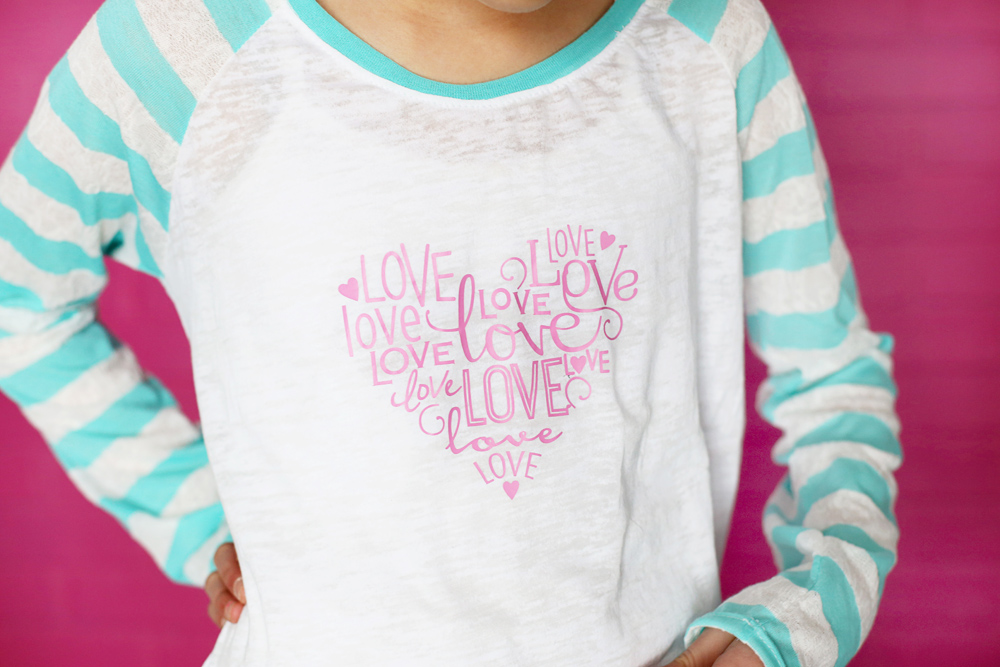
As mentioned (over and over and over), I love the balance of turquoise and fuchsia, and mint and pink, and all those combos – they make for perfect Valentine colors! So I knew I wanted to use them in my design. I had some striped mint knit fabric on hand, and built it all from there – turned out so perfect!
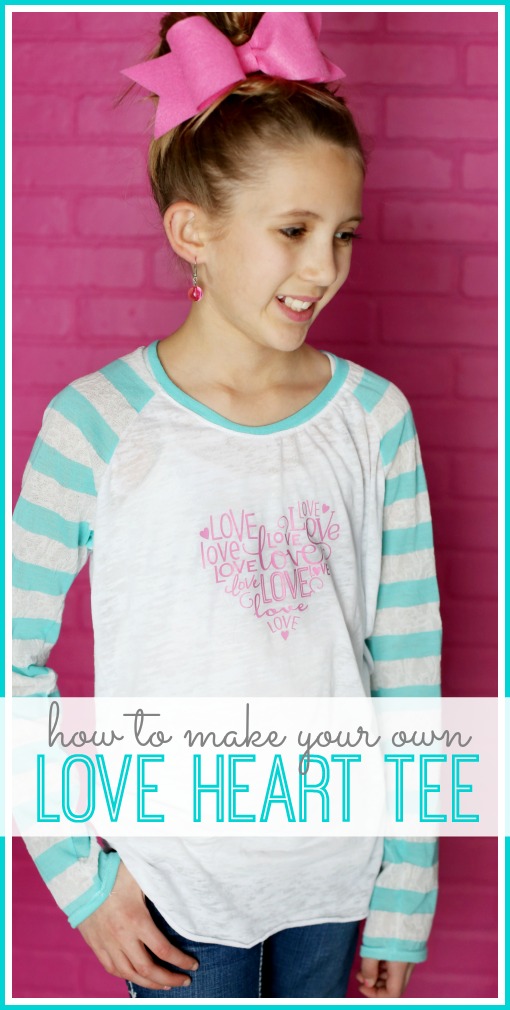
I have a quick tutorial for you on how to use Heat Transfer Vinyl. AND, if you want a sneak peek into tomorrow’s post – a VIDEO tutorial on using Heat Transfer Vinyl, you can check that out on my YouTube Channel (and feel free subscribe while you’re over there 😉 )
So, first up, you’re going to need vinyl – I buy all of mine from Expressions Vinyl – it’s my go-to, because they have great prices, and their shipping is LIGHTNING fast, and the only options in color when you try to buy in the store are black and white. The way to go is to order a bunch of colors you know you’ll use (that way you save yourself on shipping several orders) and then you have it right on hand to use it whenever you get the bug to make a tee. I used a light pink for this project.
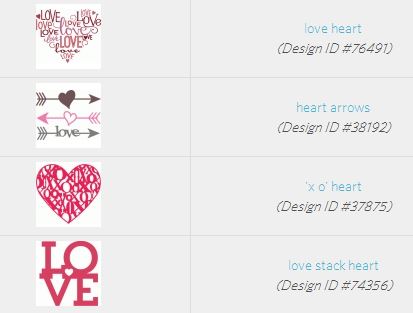
Next you’ll need a design – I thought about designing my own, but then I hopped on the Silhouette Store and found several that I loved, and it was way worth it to buy the design of all the fonts spelling “love” inside of a heart than to try to spend hours designing my own that wouldn’t turn out as nice. Some others I considered:
So now that you have your design, it’s time to cut it out – – but first, FLIP YOUR IMAGE – this is the most important part (and I know it and I STILL forget sometimes!). When you cut heat transfer vinyl, you feed it into your cutter with the shiny side down, which means the backside is what gets cut. Since you’re cutting from the back, you’ll need to mirror your image. Then set the cutting settings to Heat Transfer Vinyl, and you’re good to go.
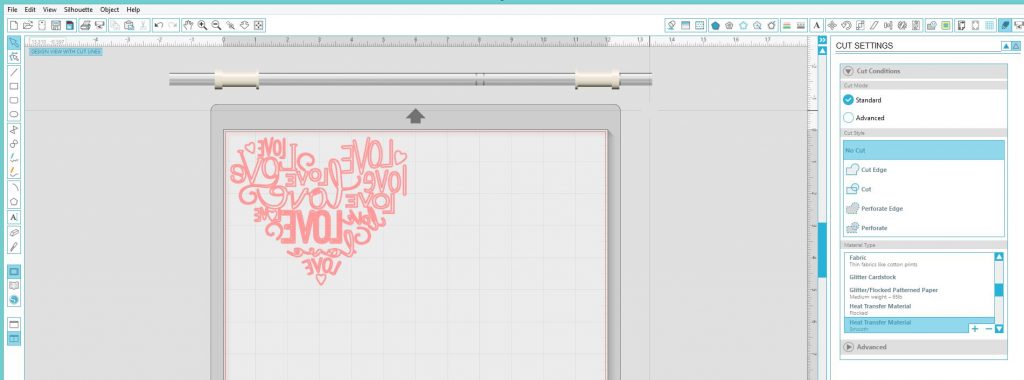
Then you are on to the weeding – weeding is taking out the background, weeding out what’s not wanted. It leaves the design in vinyl on the carrier sheet and takes off everything else. Just go slow and work your way around your design:
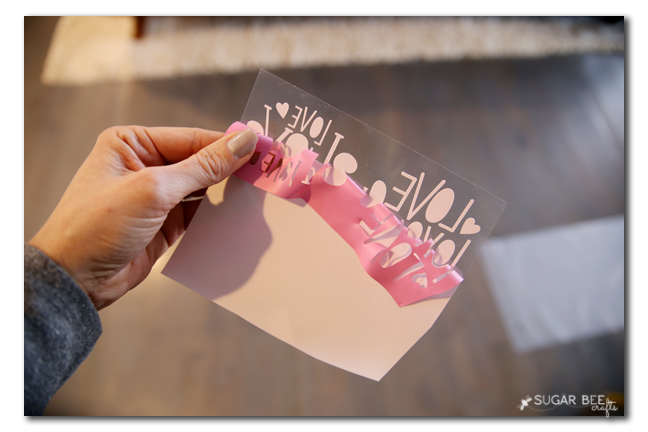
Now time to adhere your design to your project – yep, you’re almost done! I was debating a couple of options at this point…
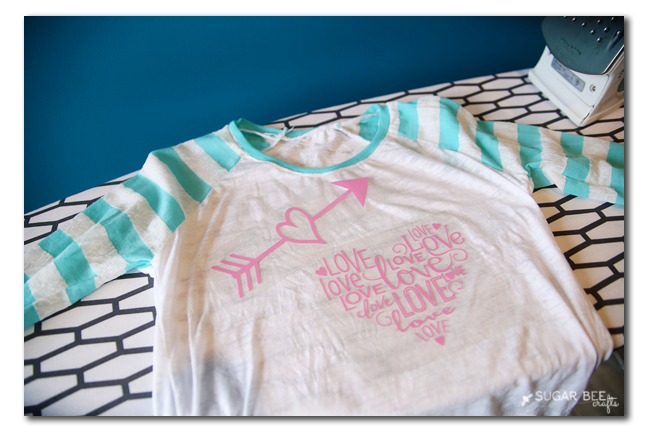
I obviously went with the love heart, not the heart arrow, but it’s cute too! So, place it onto your shirt where you want it, then PRESS for about 15 seconds, really melt the vinyl into the fibers of the fabric. Then pull the carrier sheet off and bam, you’re done!
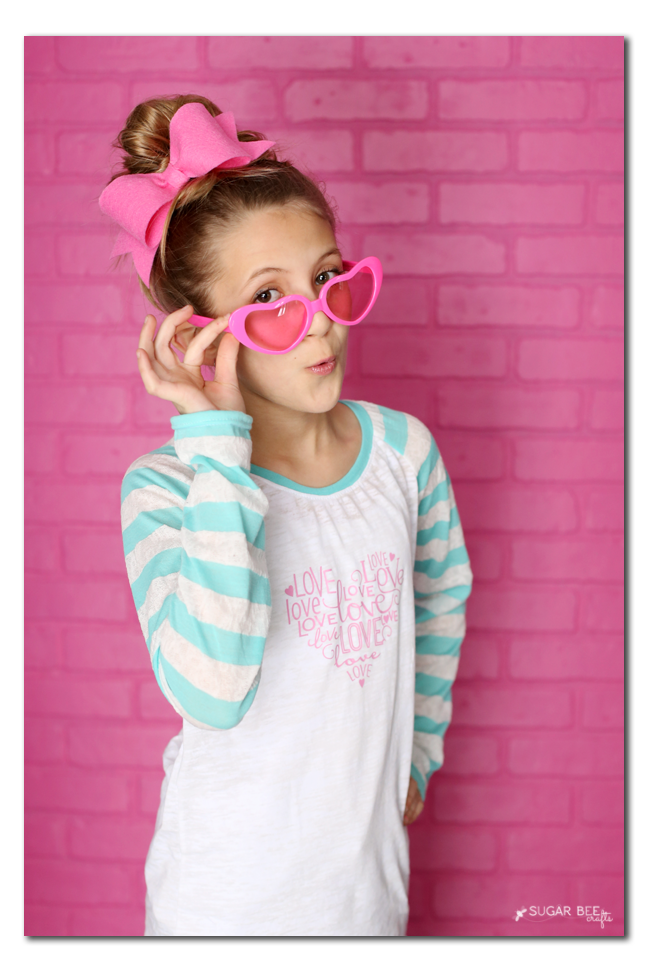
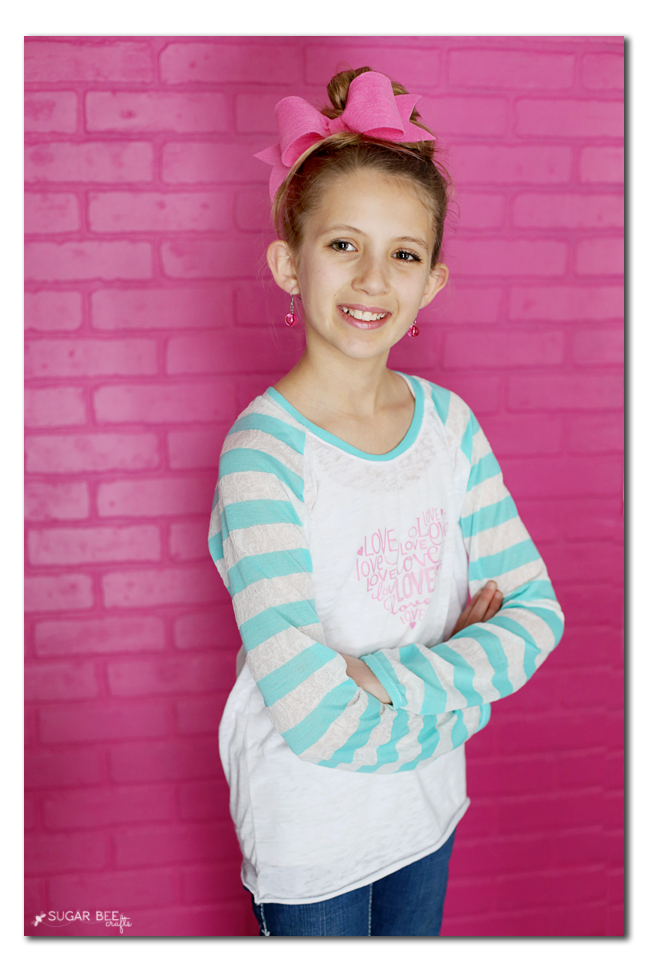
Other craftiness to note: I made the tee using the Lane Raglan pattern and made that giant felt bow – I plan on doing blog posts about both of those projects next week, so stay tuned!
Giveaway down below, but before you get there, if you love this Love Heart Tee, you may also like:
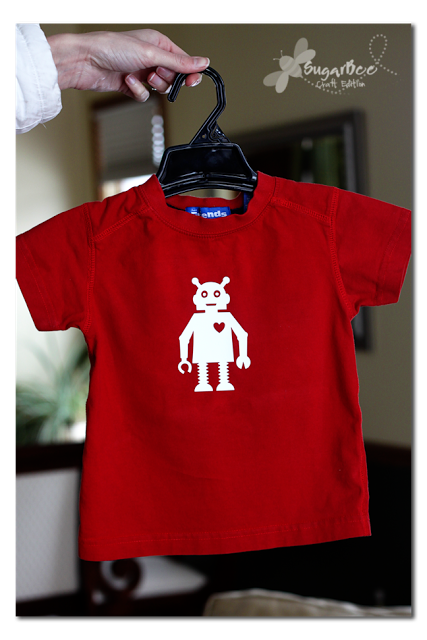
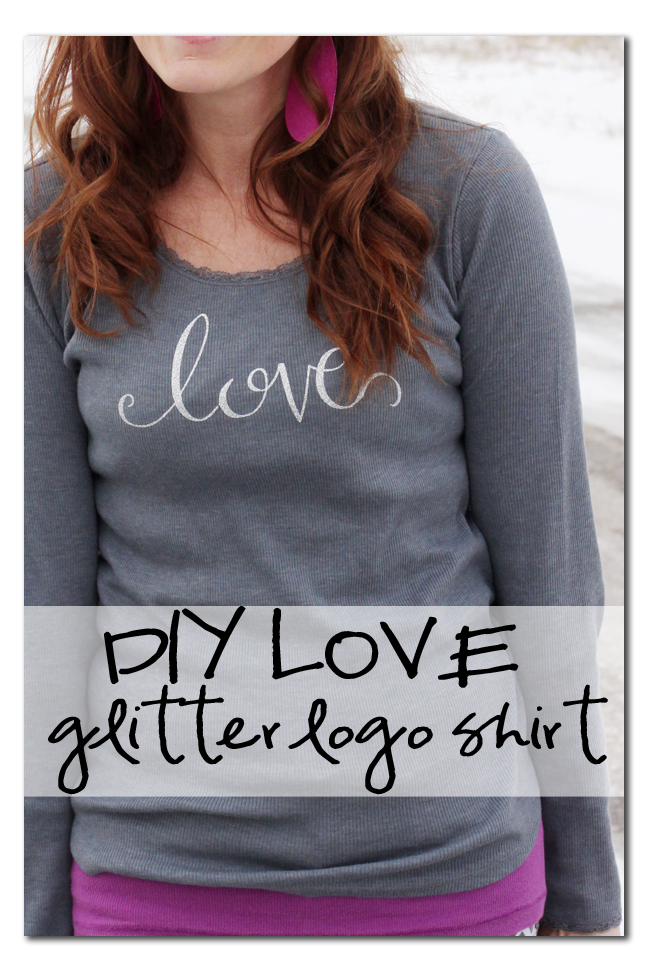
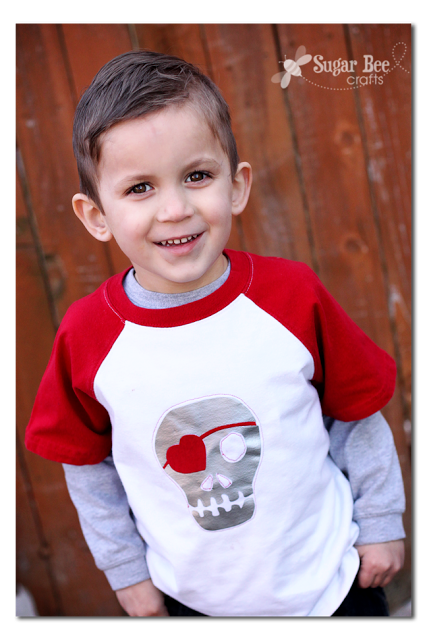
Robot Love Tee | LOVE glitter tee | Heart Patch Skull Tee


Cute! Making your own shirts is so much fun! And then nobody else has the same one as you! Love the designs!
Chelsea @ Life With My Littles recently posted…I Like Hanging Out With My Kids
The heart arrow would look so cute on the back of the shirt. Love coming and going!
cute idea!!