


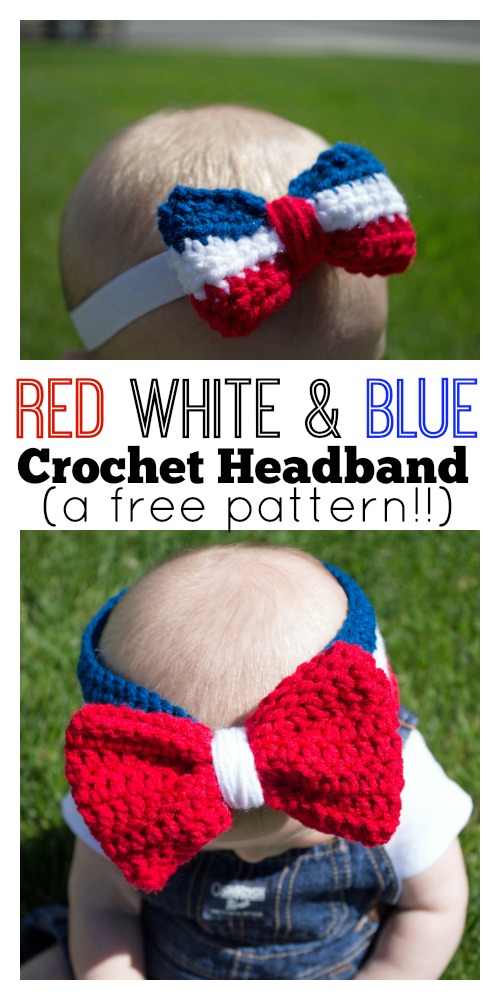
Hello there! I am Kali and I blog over at The Friendly Red Fox where I make things, usually with yarn and a hook! Today I am sharing how to make a crochet headband customized to whatever size you like! This is a great beginner’s project, so don’t be worried if you have never tried a headband before!
I actually have two types of headbands for you! The first one is the Fireworks Headband. It has a thick band that will be perfect to ward off that little chill that comes when the sun goes down and fireworks start!
You will need:
red, white and blue yarn
Size 5.o hook
yarn needle
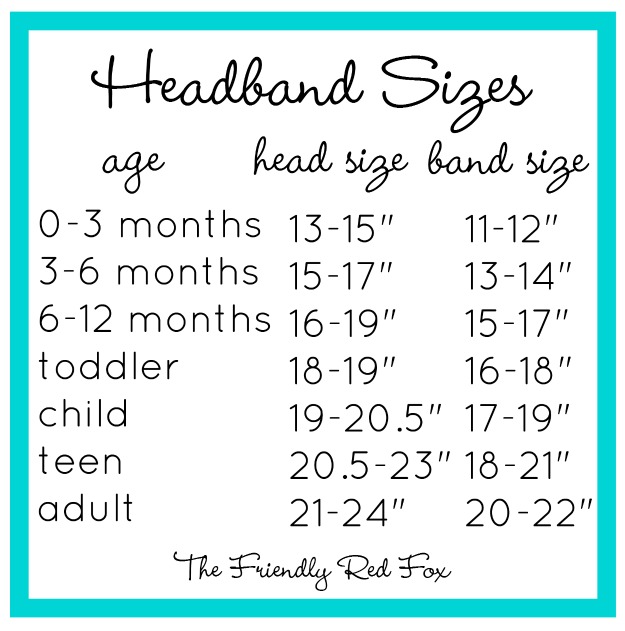
First, you need to decide what size you need to do. This pattern can be as big or as small as you want it to be. To be exact, you can measure the head of whomever you are making it for. If you can’t do that use my handy dandy chart!
(Hint: Most yarn is stretchy enough that if you use the measure the head method, go at least an inch smaller than the measurement. Keep it in mind for when you use the chart as well!)
So once you have your size, chain up to the amount of inches you need. Double crochet across in each stitch. When you get to the end of the row, chain 2 and turn. Double crochet in each stitch across. Repeat until you have 6 rows. I did two rows of each color.
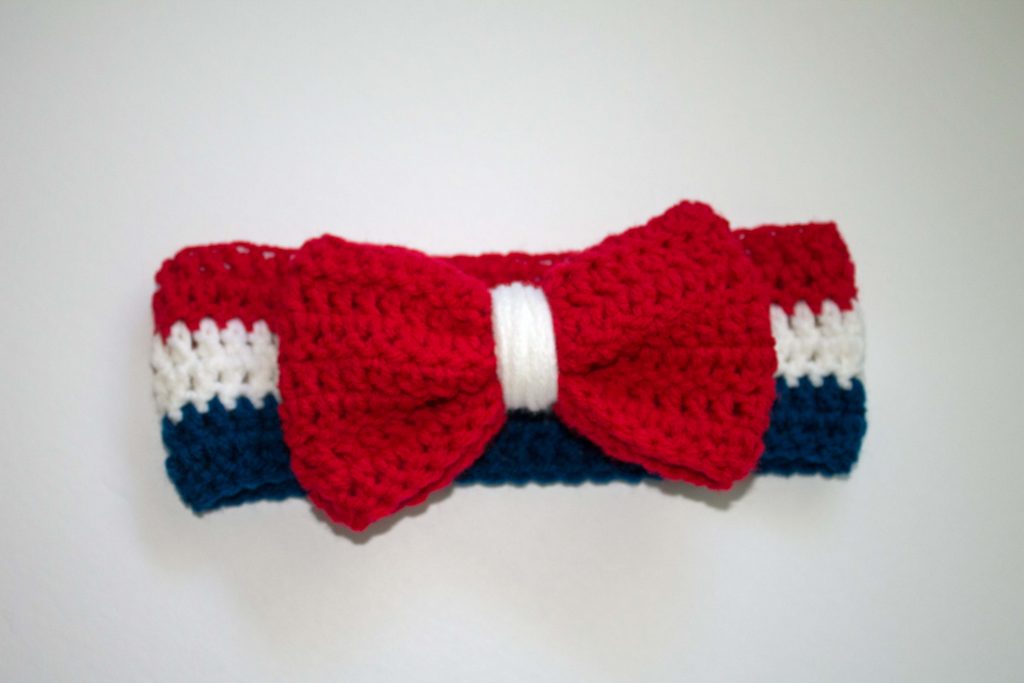
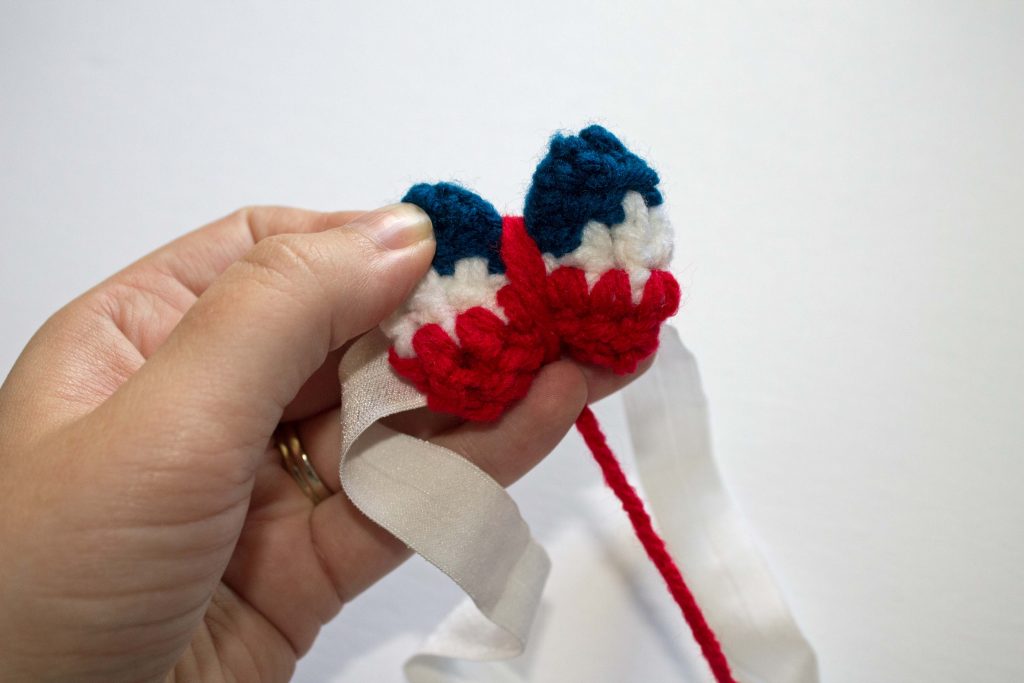
Sew the ends together. Then pinch the bottom and the top together and loop around a couple times with the rest of the yarn. Tie it tight.
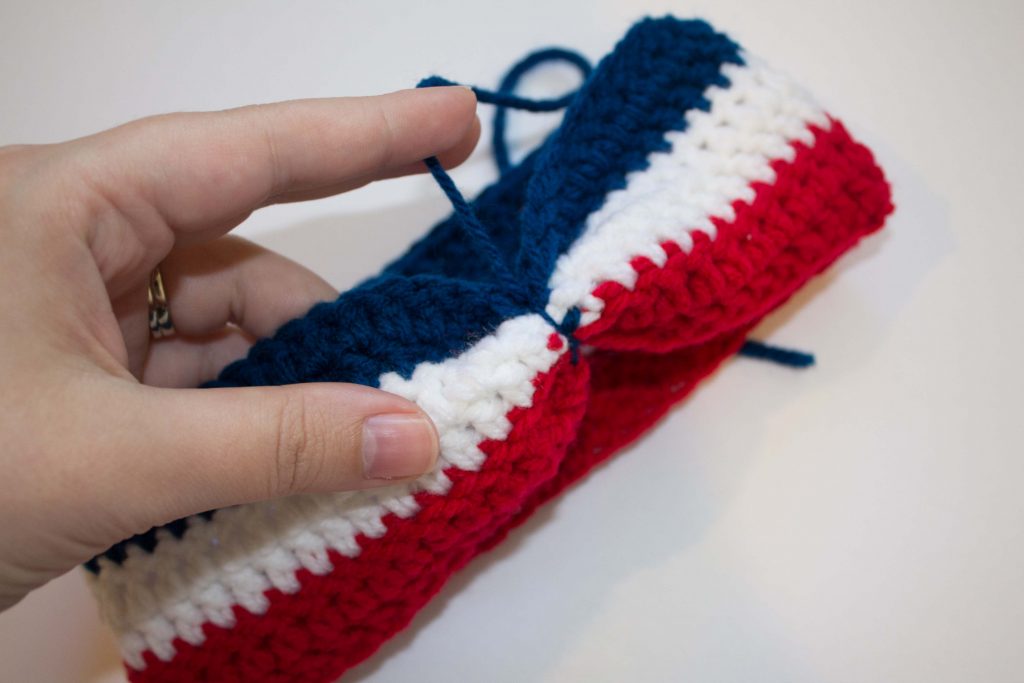
Then make the bow. I chained 35 and used a double crochet.
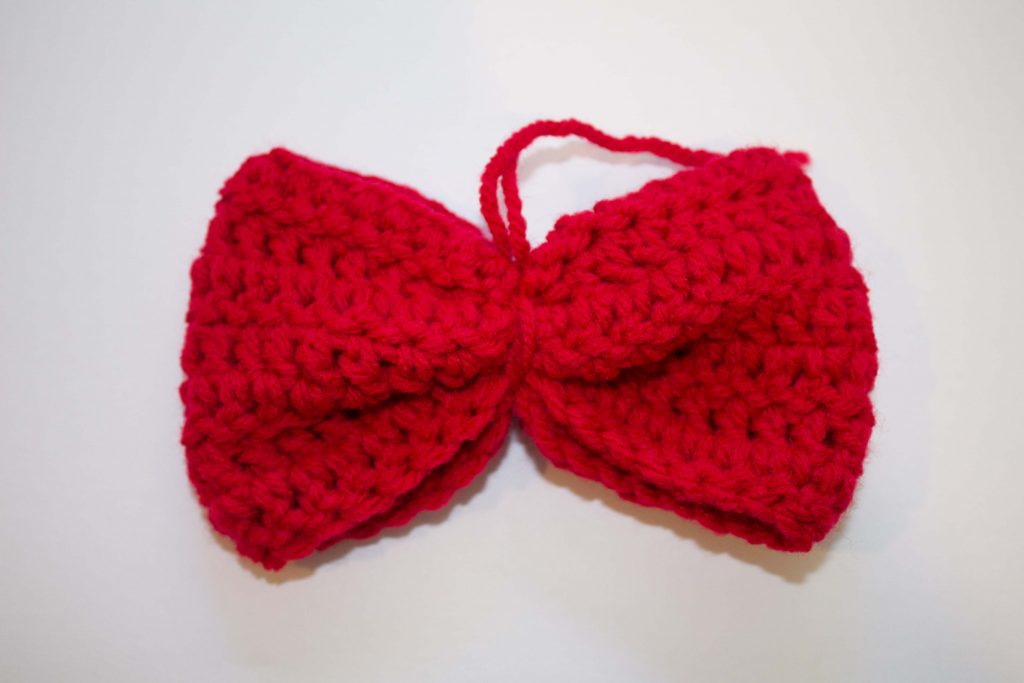
(Hint: if you want a smaller or bigger bow, just chain to where you think you want it and then double it over. That will be the size of your bow.)
Keep going just like you did with the headband, but this time going for 7 rows. Sew, pinch, and tie. Cut a long piece of white yarn (or whatever you want the middle to be) and wrap continuously until you have the right look. Tie it off.
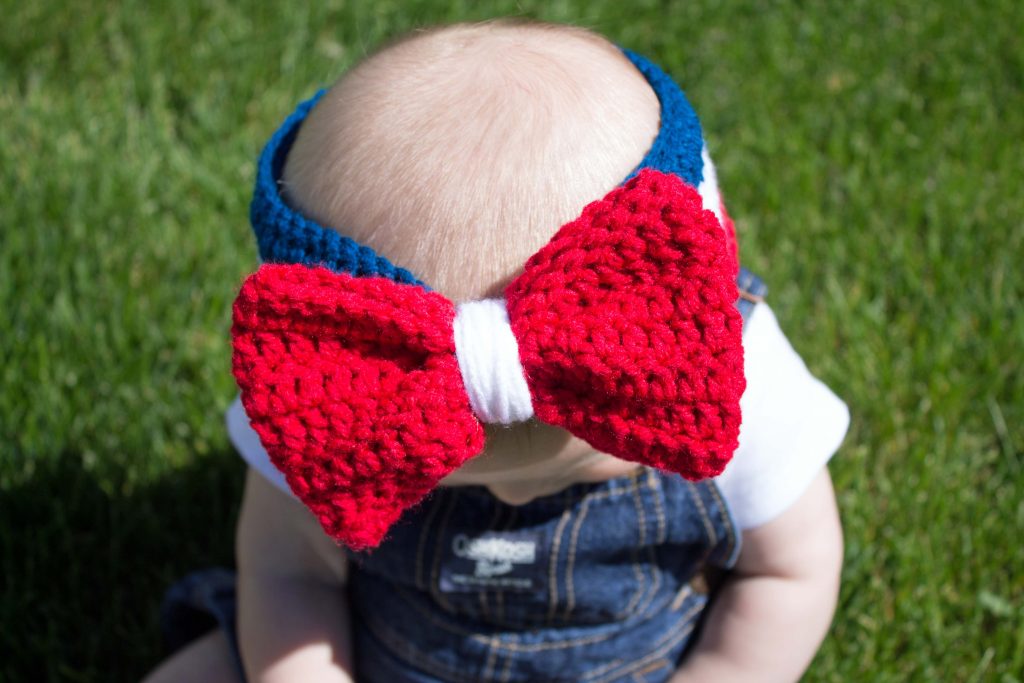
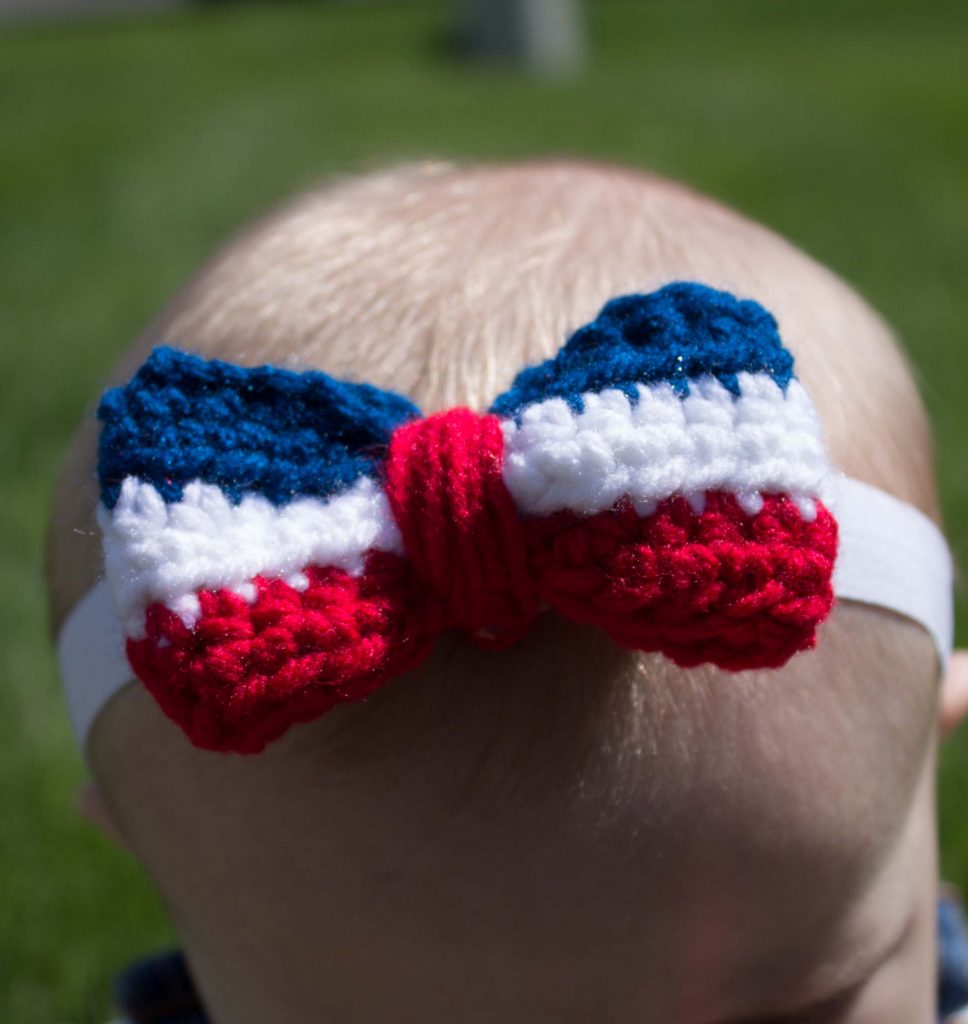
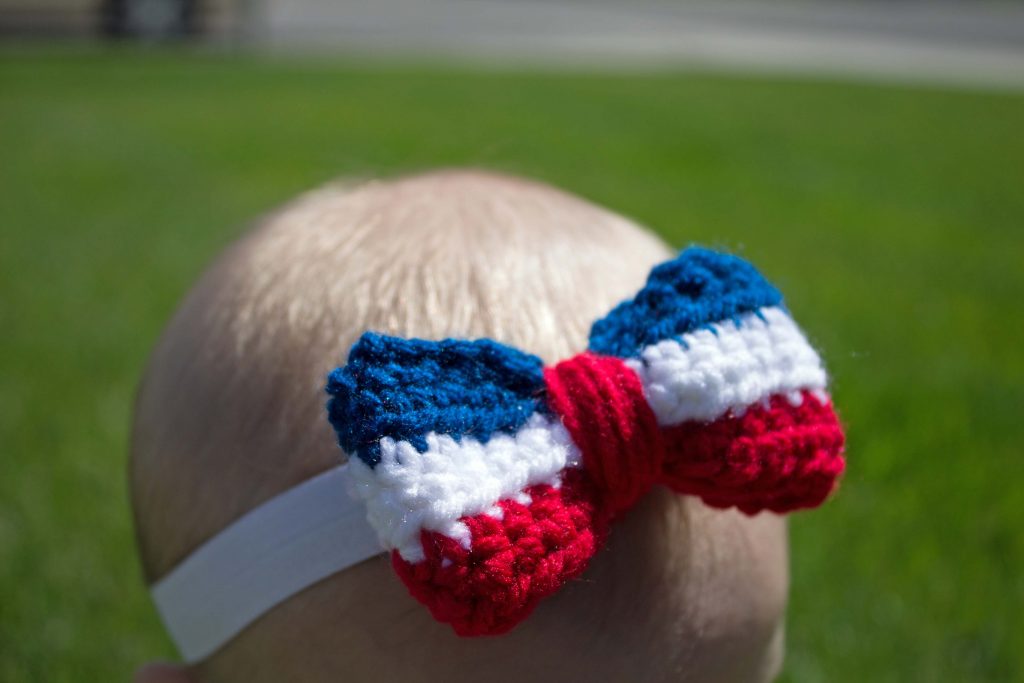
Next up is the Parade Headband. Perfect for the summer heat, and sitting through the long, hot parade!
You will need:
red, white and blue yarn
Size 5.o hook
yarn needle
headband elastic (I got mine at JoAnn’s)
glue gun
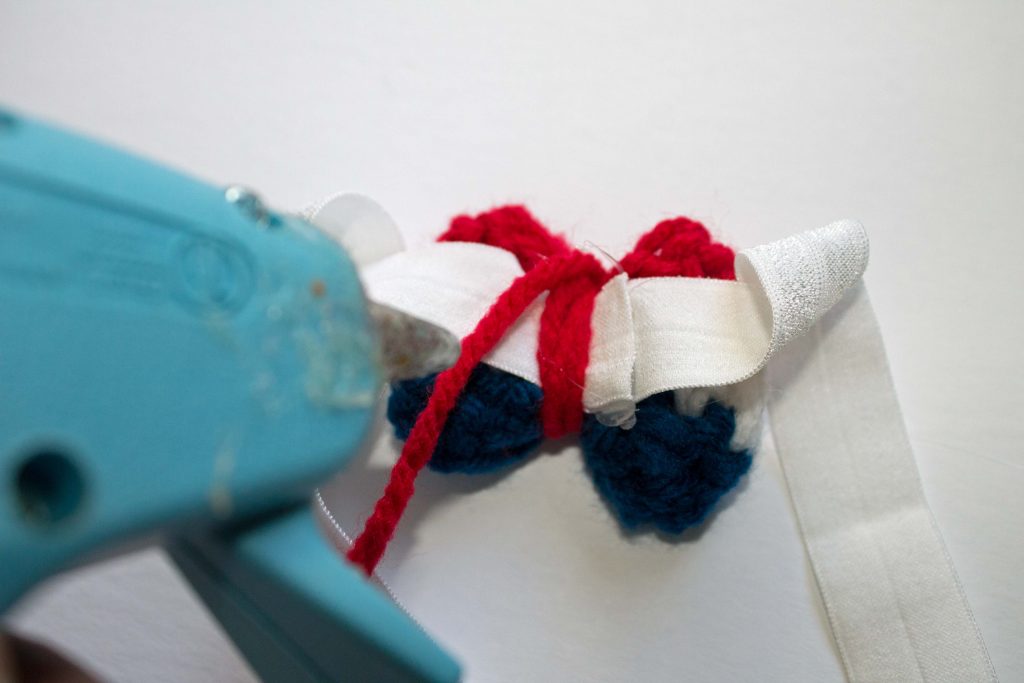
Start off by chaining 25. For this one we will be using a half double crochet (HDC). HDC across in each chain. Chain 1 and turn and HDC across. Repeat for 6 rows. Again, I did two rows in each color. Fasten off and leave a long tail to wrap. Pinch the bow and wrap tightly just a couple of times, to keep the shape. Then grab your elastic.
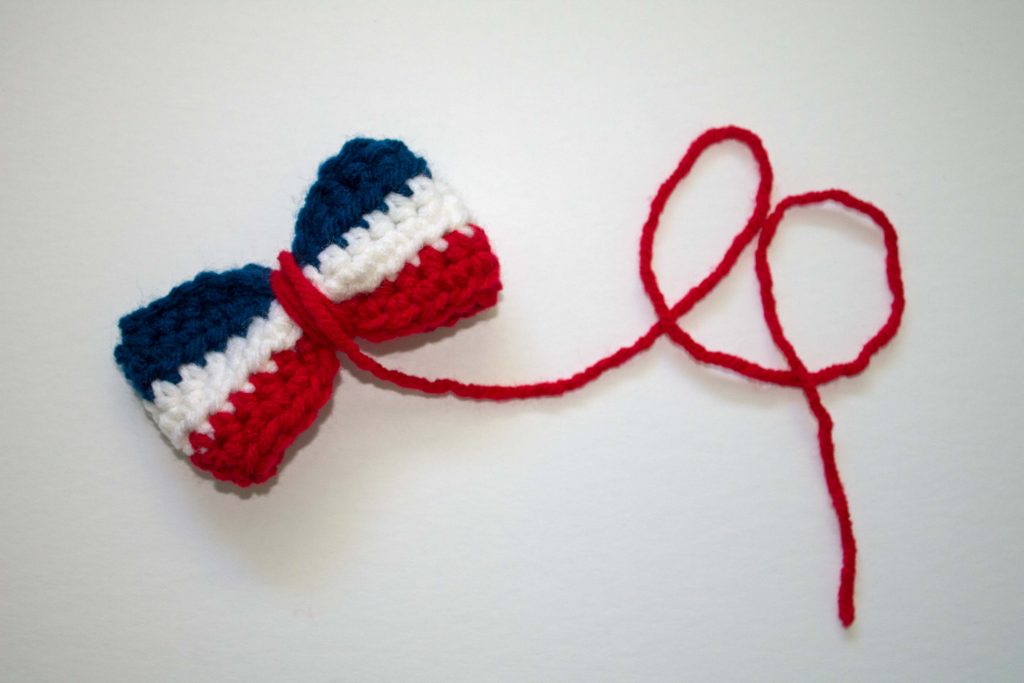
Use the chart above to cut the elastic to the right length, keep in mind that you are gluing it together, so leave at least half an inch to overlap. Place the crochet bow over the seam. Wrap the rest of the string over both the bow and the elastic.
After a few wraps, place a thin line of hot glue on the yarn. Wrap over and into the hot glue. Sew the last end under the wrap and glue into place. Let it harden.
And there you have it! A sweet little bow to wear to the parade!
Thanks for having me here, Mandy! And thank you readers, for following along! If you liked this project come follow me over at The Friendly Red Fox! You might like my Crochet Octopus Toy or my popular Katelyn Ear Warmer. Both are free patterns!
- Pine Cone Craft Ideas - December 10, 2016
- DIY Snow Globe Crafts - December 3, 2016
- Crochet Ornament Round Up - November 19, 2016
- DIY Advent Calendar Awesomeness - November 12, 2016
- Awesome Leather Crafts to Try - November 5, 2016
- Mason Jar Luminary Ideas - September 3, 2016
- DIY Door Mat Roundup - August 27, 2016
- DIY Cupcake Topper - August 20, 2016
- DIY Baby Suits - August 13, 2016
- Fun with Large (Inexpensive) Engineering Print - August 6, 2016