


I wasn’t going to enter this round of iron crafter – it was a tricky secret ingredient. But then I saw the prize – a Flirty Apron! I would LOVE to win that! And so I came up with a project – I thought it was “knobs/pulls” when I made my project, but it’s really “hinges/knobs” – hope this works.
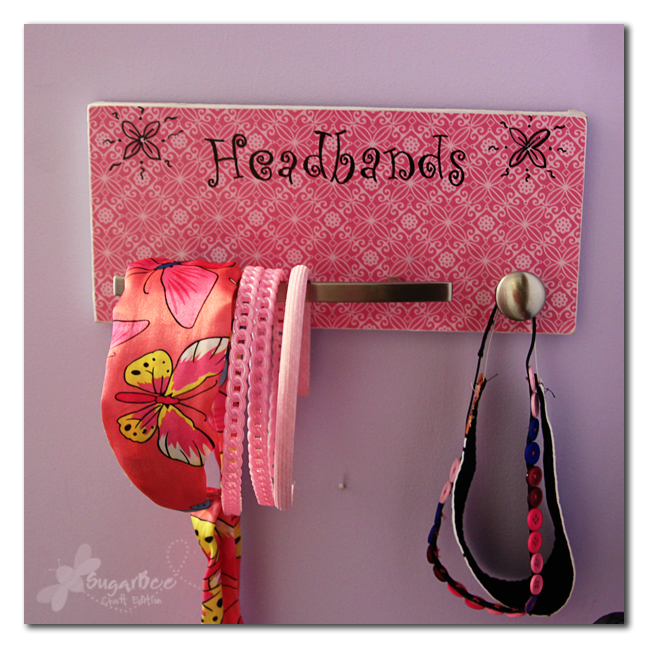
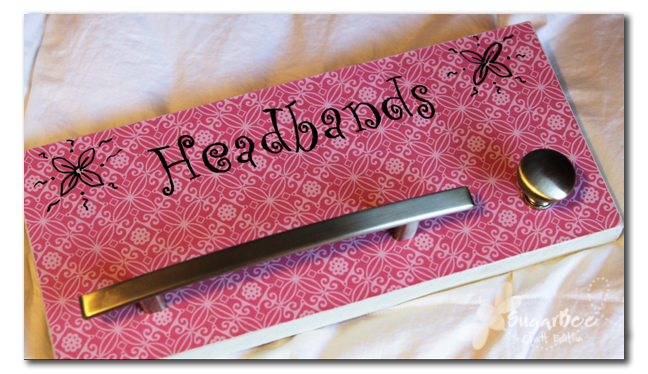
Anyways, as you can see, I made a headband holder. Headbands drive me crazy the way they take up so much room in a drawer. So they just get put various places (so much so that I can’t locate a lot right now – oh well, they’ll turn up). So I thought a drawer pull was a great solution, and the knob holds the elastic headbands. I made it to coordinate with the Hairbow Holder I made a while ago.
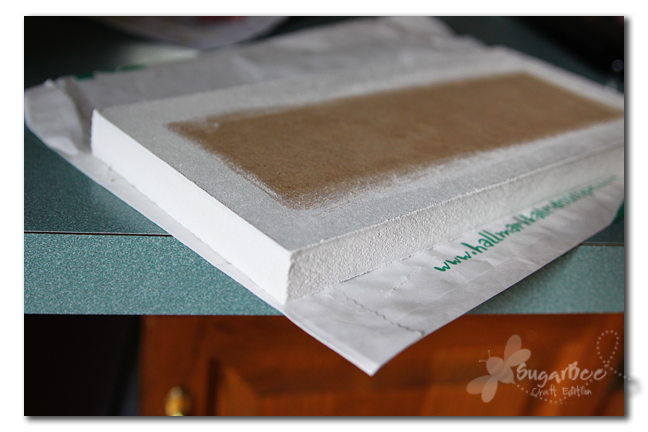
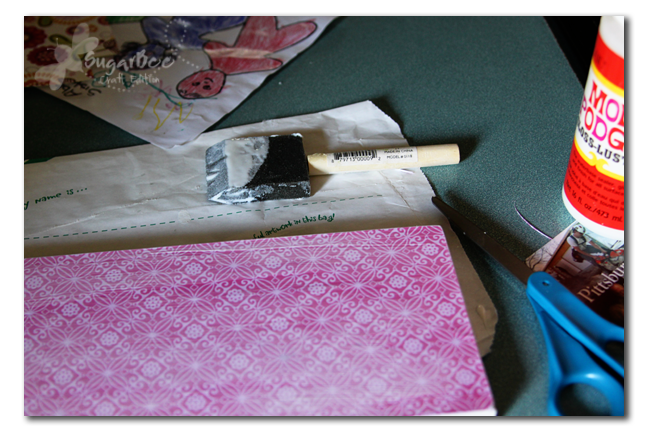
First I painted the edge of my board, with a little board on the front.
Then I smeared on mod podge and stuck down my paper.
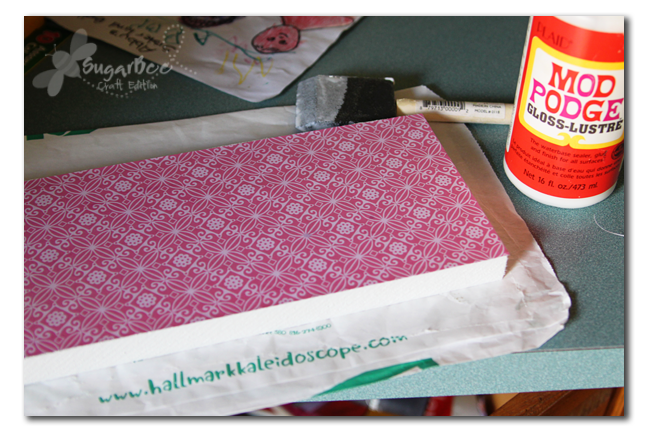
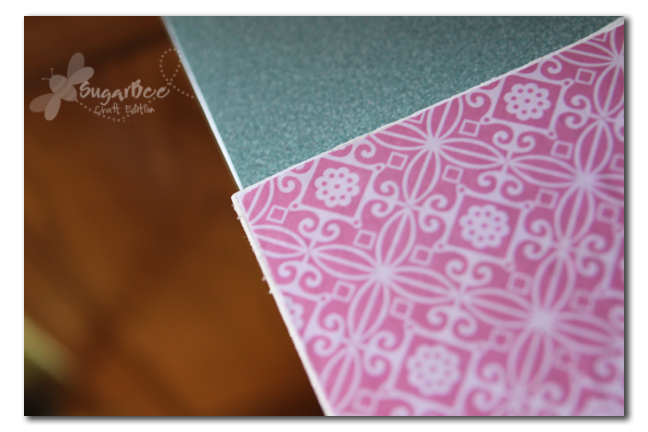
When it was dry I sanded the edges of the paper for a more finished look. This is why you need to paint a white border on the top.
Then mod podge over the top to seal it all. This is the technique we used when we made the Decorative Letters.
Next, poor-man’s lettering. Since I don’t have any sort of machine that will cut letters, vinyl or otherwise, I have to improvise. I printed the lettering out and then set it on top of my board. Then I traced over it, pushing really hard with something blunt. That leaves groves on the board.

Then I just followed the grooves with my permanent marker. I referenced the printed-out lettering to see where to make the letters fatter, etc. It’s not perfect, but it works.

To attach the handle I had my helpful hubby drill the holes in the board. Then just screw them on through the holes. And that’s it.
And here’s the in-use action shot (if only I could find our plethora of headbands for a great picture – oh well)


Very creative! I love how you used the pull. All my headbands are in a big ball in the closet. I will need to make one of these!
I like the way you did your lettering. I don’t have a fancy machine either!
Oh, this is too cute. Both my daughter and I would benefit from one of these 😀
Love this idea!
Genius!
I have been wanting to come up with something for ages for all the headbands (I already stole your button headband idea–heehee), but I didn’t think of using a drawer pull—great idea!!! I am So going to make one of these…or three. Also love how you did the lettering–I thought it looked real and was thinking “op now I gotta call my vinyl lady” gonna have to try your way on this too!
So I was sent your way from Welcome Wednesday and love your blog! I can’t wait tell I get a chance to really look through it!
I am now your follower 🙂
Very cute! Great idea!
knob/pulls works too! 🙂 this is great! I love it!
Thanks for linking up to the Iron Crafter!!
SUPER FUN IDEA! I’ll have to remember this one. Great thinkin!
Jennie @ Cinnaberry Suite
Great idea! I love that you hand drew on the lettering, it makes it even that more personal!Great job! Your blog is so cute with lots of fun ideas here! I’m a follower …coming from Sassy Sites. 🙂
Love it! I did a similar idea for my sixth craft till Christmas and Iron Crafter, but yours is so cute. Mine pales in comparison!
This is so cute and simple!! Thanks for sharing!
Thank you thank you thank you! I have been scouring blogs for a cute & clever headband organizer for forever! Love this!
Very cute!
You made the top 10 in the Iron Crafter!
Check it out here: https://firefliesandjellybeans.blogspot.com/2008/03/iron-crafterknobshinges-top-10-i-mean.html
Ahhh! I am in the midst of redoing my 3 girls bathroom and was wondering how to store their headbands…perfect timing! Thanks so much!
This is such a great idea. I love how you used it to store headbands.
Love it! I have extra drawer pulls sitting in my closet and now I know exactly what I’ll use them for!
What a great idea! Thank you for sharing it. Now I just need to schedule some time to make it so it actually happens! 🙂
Trendy treehouse sent me over here and I cant even begin to tell you what a GENIUS idea this is! I love head bands they can fix any bad hair day but they take up wayyy to much space. Hopefully I’ll be able to make one of these soon!