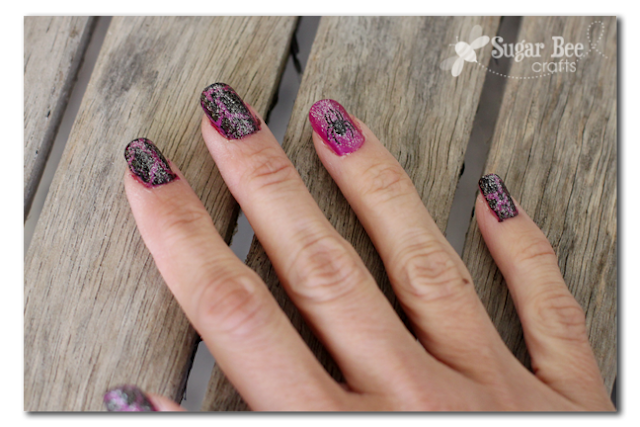
Did you see over on Expressions Vinyl I posted about using my Silhouette to cut a super cute teeny tiny spider nail decal? See – so cute! I got this spider decal in the online Silhouette Store, and it’s so cute. I can’t believe that it could cut those skinny legs in such a tiny shape – love my cutter!
And I got all Halloween-i-fied in the nail department:
So I wanted to give you a quick rundown on how I achieved that look. And wowza, fingernails are super hard to take pictures of, so just know that these look awesome in real life!
Here’s the polished I used – I just dug them out of our massive collection:
First, paint your nails a base color. I went with purple (it looks more purple than the picture shows) – –
Next up I used the Mosaic Nail Polish – it’s a crackle. You can’t really mess it up – you paint it on like normal, and as it dries it cracks to reveal the base color you painted underneath. I did not crackle my ring finger (the one for the decal).
Next adhere the decal using transfer tape. Paint a clear coat over the top to seal in the decal. I used a glitter top coat – because that’s super fun!
I also used that glitter top coat to seal in the crackle painted nails – so they’re all sparkly and shiny and awesome!


super cool
This content is very helpful for me. Thanks for sharing