Hi Sugar Bee Craft readers!! (: I am pumped to be guest posting here for Mandy today! I love, love, love her blog. {And Trevor’s! He’s hilarious.} Today I am going to show you how to make these DELISH Chocolate Covered Ritz Cookies. 
But before we get started, I should probably introduce myself… I am Jourdan and I am the face behind Two Million Miles, as well as Jourdan’s Jewels, Jourdan’s {Handmade} Jewels, and Perfectly Posh with Jourdan. I blog about life, my businesses, crafts, recipes, and whatever else comes to mind! 
I am a work-at-home mom to a one-year old boy! He’s so crazy, but I love him more than I could ever explain. ♥ Every year, around Christmas time, my mom and I would make these cookies. We’d make TONS and give them to friends, family, neighbors, teachers, etc. They’re always a huge hit. And it’s to the point where people expect them each year now and if we haven’t gotten them out by a certain time, they start asking haha! Now, let’s get started on making these yummy cookies. But one more thing.. You may want to put on an apron or some grungy clothes because things will probably get messy! 
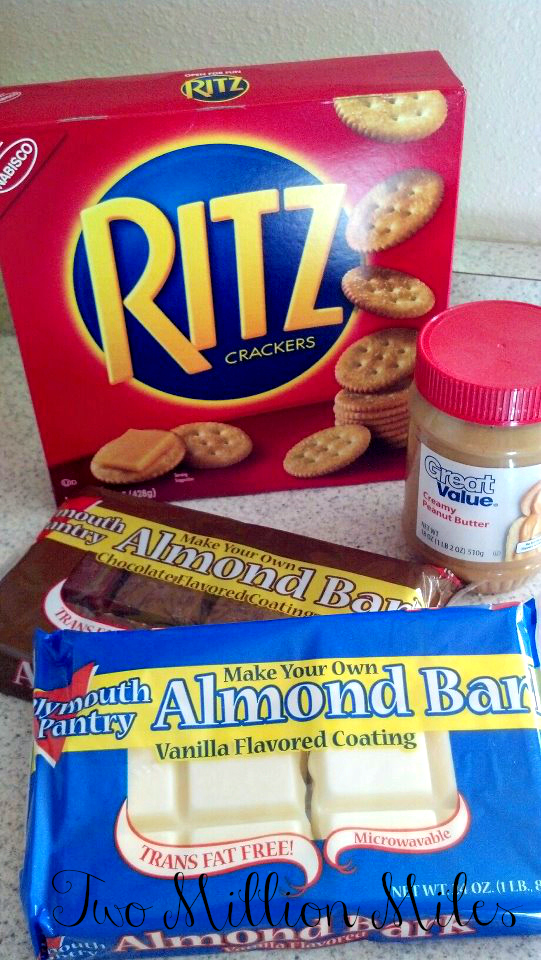
Here’s what you’ll need: 
*Ritz crackers {go with the plain kind!} *Creamy Peanut Butter *Chocolate Almond Bark *White Chocolate {or Vanilla} Almond Bark 
Then take another cracker and make a sandwich out of it. Then set it aside. Now you are going to take one of your chocolates and melt it. I usually do one or two squares at a time because it hardens pretty fast. Cook according to the directions on the back. I always do it in the microwave, but you have to be REALLY careful not to let it burn. You’ve got to keep your eye on it the whole time. When it burns, it STINKS and is no longer useable. 
After you’ve melted some chocolate {in my case, I did the white first}, dip your cookie in and make sure it is completely covered, then set it on some wax paper or tinfoil. Continue doing this to all of your cookies using both the white and brown chocolate. 
Now you’re going to make them look fancy. All you have to do is dip a spoon in some chocolate {the opposite color of the cookie} and wave your hand back and forth over it until it looks good. Then repeat with the other chocolate until they are all covered. And you’re done! I sometimes put them in the fridge to harden fast.

Before they dry, you could add other things as well or instead of doing the opposite chocolate. Things like sprinkles, M&M’s, and other small candies. Like I said before, these are always huge hits with everyone! 
Bundle them up on a cute holiday paper plate with some plastic wrap and tie it with a ribbon or make your own personalized plate to give them out on. I’d love it if you’d hop on over to my blog and check out some other yummy recipies like these Pizza Roll-Ups and Zesty Italian Chicken. 

Thanks so much for having me, Mandy!


Yummy! One of my students made these for our bake sale Sunday and they went fast!
Wow, those look delicious! I am definitely going to give these a try.