


Did you see my Framed Coin Purse Tutorial over at the Ribbon Retreat a couple of weeks ago?? if you missed it, here ya go, I have the how to for you – I love these!!
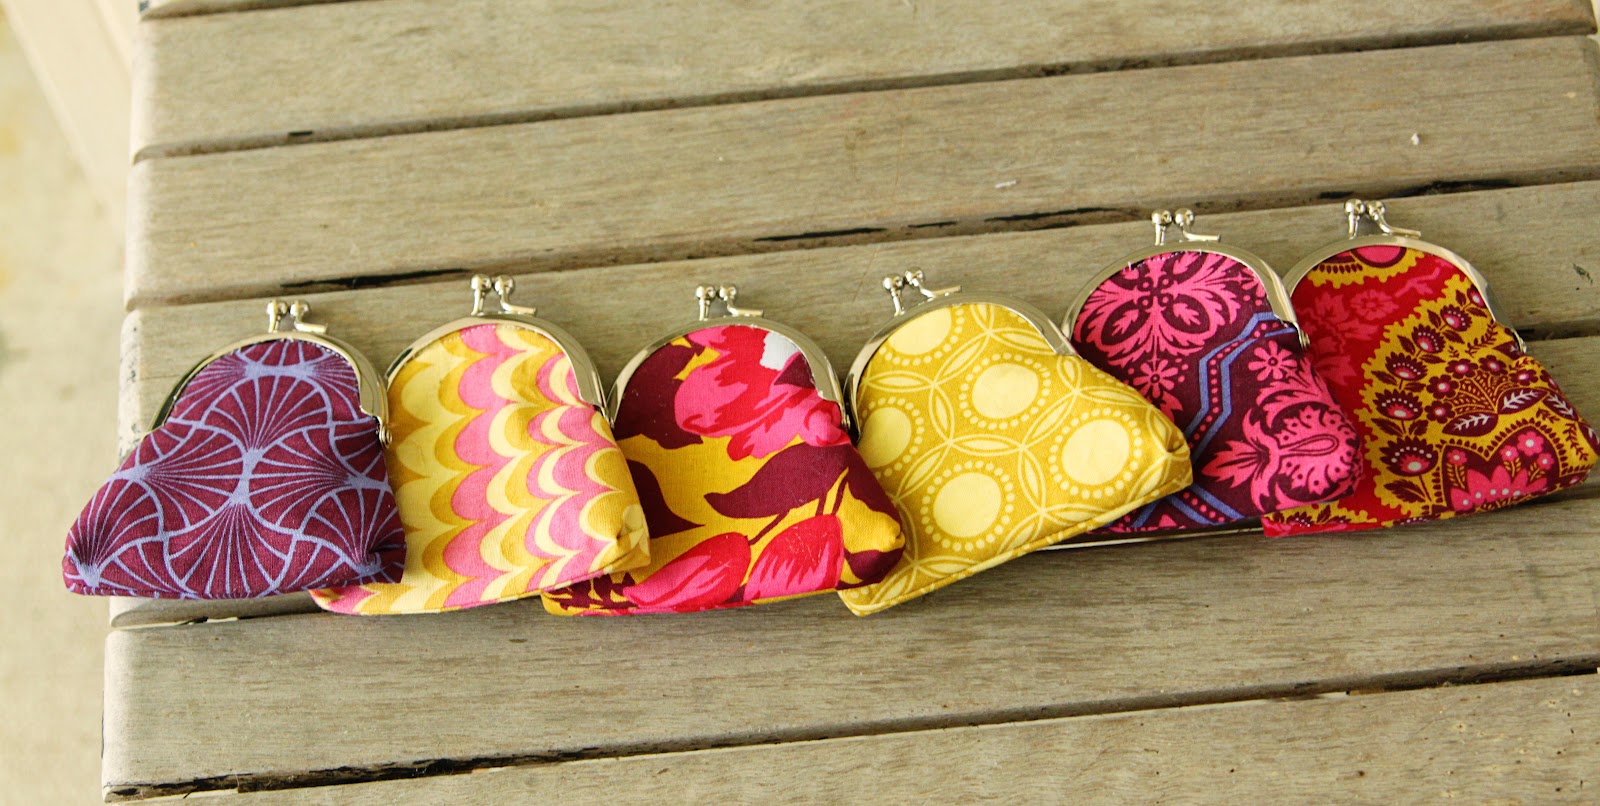
and I love them even more as a whole set…..
You’ll need fabric – I was sent this pile from The Ribbon Retreat (I love bundled fabric – all the guess work with coordinating is done for you) and interfacing and a coin purse frame (I bought mine off of ebay)

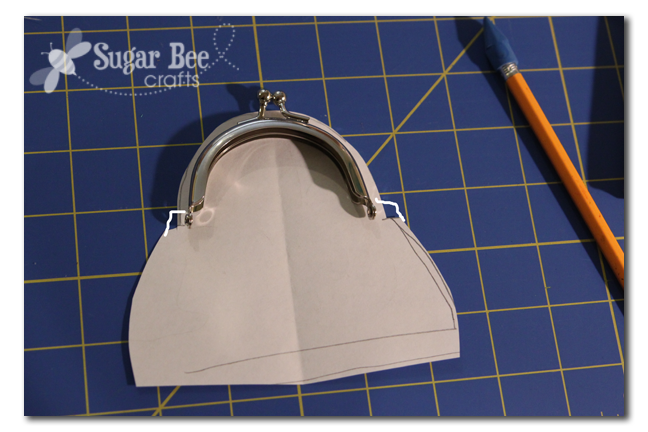
First, all frames are different shapes and sizes, so you’ll have to draft your own pattern according to your frame. It’s easy – don’t worry! Lay your handle down on a piece of paper, and trace a little outside of it’s top edge. When you reach the hinge, go out and make the shape of the bag whatever you’d like. I didn’t go out til after the hinge (oops!) so I drew on the lines in the picture of what I should have done:
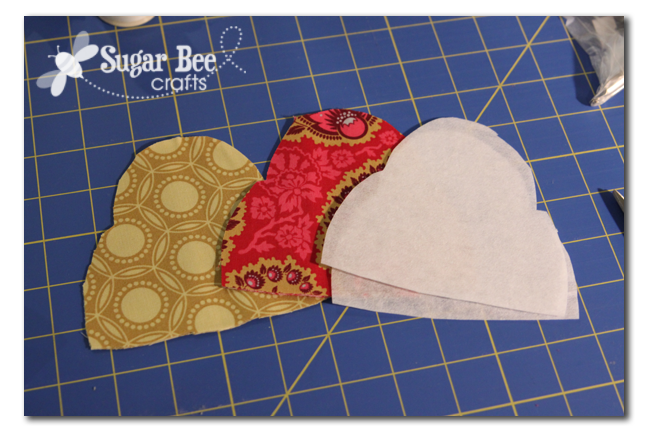
Use that pattern and cut 2 purse pieces, 2 lining pieces, and 2 stabilizer pieces:
Place your purse pieces right sides together with a piece of stabilizer on the wrong sides, so it should go stabilizer, fabric facing down, fabric facing up, stabilizer:

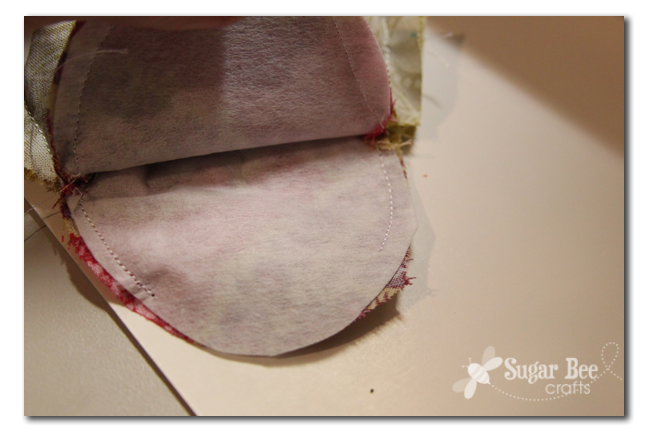
Also place your lining pieces right sides together. Then we’re going to sew – in the picture I used the lining. You sew the lining together and the outside together – so it’s like making 2 separate bags. Anyways, first sew straight across the bottom. Then sew starting from the end of the frame curve to about 1.5 inches above the bottom seam. You can see what I mean in the picture below on the right side (the left side is already completed):

Then open up that gap you left and push the bottom up like so:
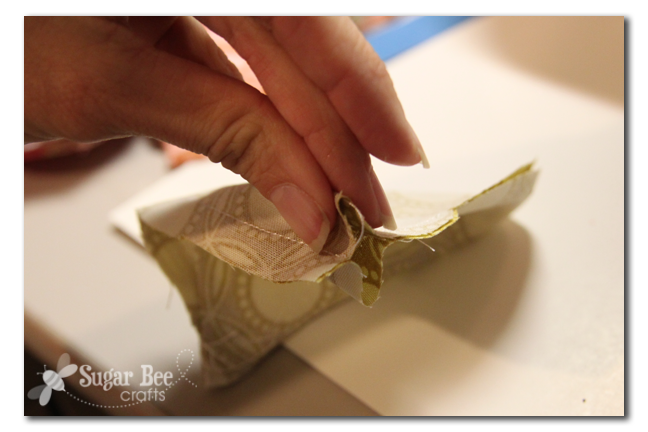
Then fold down those side flap things back onto themselves – kind of hard to explain, but I think you can see this in the picture:
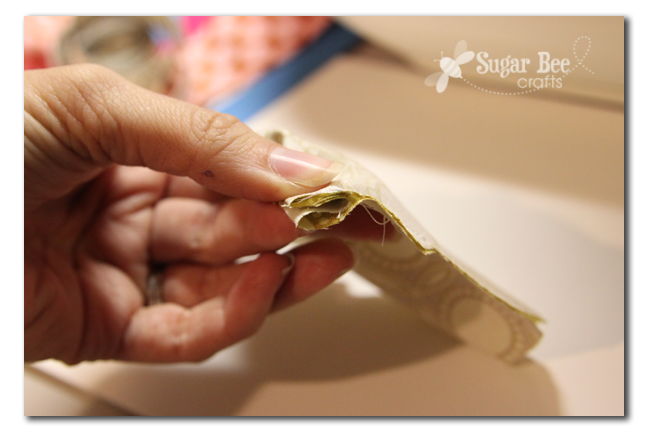
Then sew it down by just continuing the line you had stopped all the way to the bottom. You can see it in the left side of this picture (yep, reusing a picture…)

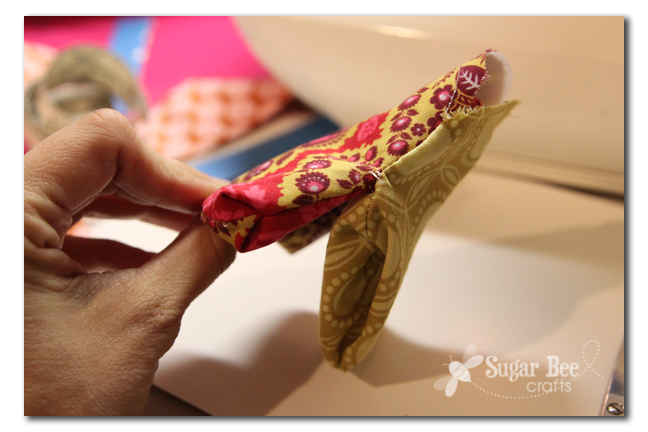
What you just did was add a tiny bottom and sides to your bag to give it more volume – see the cute little triangle on the outside??

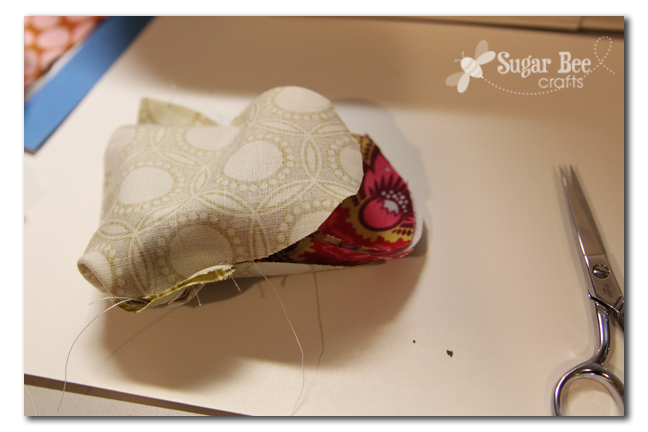
Do that step for the outside and for the lining. You’ve made 2 separate coin purse bags. Now with the lining inside out and the outside fabric right-side out, put the outside fabric bag into the lining bag, like so:
Now sew along the curved top edge where the frame goes.
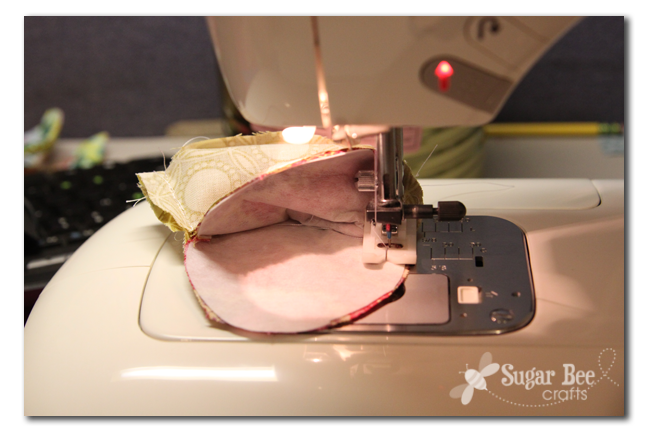
On one of the curves, leave a section unsewn – I think you can see my stitching in this picture below:
Turn the bag right-side out through that opening – it’ll look like this at first:
Then poke the lining into the main fabric to make it look like a coin purse. Then tuck under the edges to the opening and sew it shut, like so:

Now, grab your coin purse, frame and some strong glue – I used E-6000.
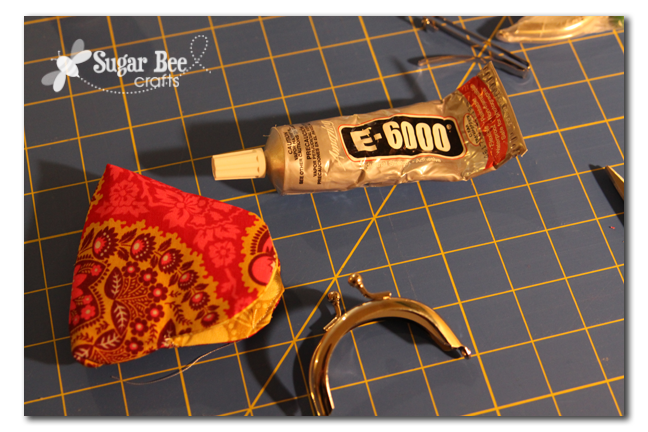
When you look at your frame, there is a groove. Working with one side at a time, fill the groove with glue. Then push that side of the coin purse into the groove. You can use something pointy if you need help getting it into the groove. I don’t have pictures of that part because I didn’t have enough hands to hold the frame, the glue, and the camera.

But I did get a picture of hold it while it was drying. It’s tacky dry after a few minutes, but I’d let it dry at least overnight before using it.

Isn’t is so cute?!?! The coordinating fabric is what makes the project worthwhile. See, the inside:

And the outside:

And another shot of the cute little corner:

So grab yourself some supplies and try making one yourself! they come together surprisingly quick.
Hope to see you over on my blog, Sugar Bee Crafts!!

It’s ironic that this was posted today. Last Saturday I was frantically trying to make coin purses for my daughters as we started our summer allowance and earning routine. I wanted to do them like this, but wasn’t sure how to start. Maybe I’ll need to redo them. These are so cute!
I love these! You have the best tutorials. Thanks so much!!
Mandy they are darling purses! Happy Memorial Day. Hugs and blessings, Cindy
Absolutely GRAND! I love these. Thank you so much for this tutorial. I’m going to try it this weekend with a bunch of sari scraps left over from my work this week. Perfect.
How cute! I’m inspired — this would be great for my girls!!!
Those are so little and cute! Perfect for dropping down in your purse!
These looks so proffessional! May have to invest in a couple of coin purse frames! Thanks for sharing!
have a great weekend
Rebecca @ heronscrafts.blogspot.com
These are so cute! I will definitely have to make some. Are the frames terribly expensive?
Oh my! These are fabulous! You take great pictures of your work, too! Very fun!
We would LOVE for you to stop over and link up this awesome idea in our Crafty Saturday Showcase. The Showcase runs Saturday through Thursday. Then our Designers will pick their top linked up picks and feature them on Friday! Stop over and join in the fun! We have a linky for crafty bloggers and ETSY/Business Bloggers, too!
Have a super weekend,
Susie
https://bowdabrablog.com/2012/05/26/saturday-showcase-craft-projects-3/
Love this! i’ve been looking for tiny frames like this for a while. I got no suggestions when I searched on e-bay. Can you tell us who your seller was?
I can’t remember which size, but I know it’s from this shop – these might be them: https://www.etsy.com/listing/59874782/55-cm-nickel-round-metal-purse-frame-a15