I think I might be turning into a “wreath person” – I’ve always claimed I’m not much of a wreath person, but they are growing on me! I loved my spring one so much (and so did you guys! give the people what they want!) that I made a fall version that I’m excited to show you!
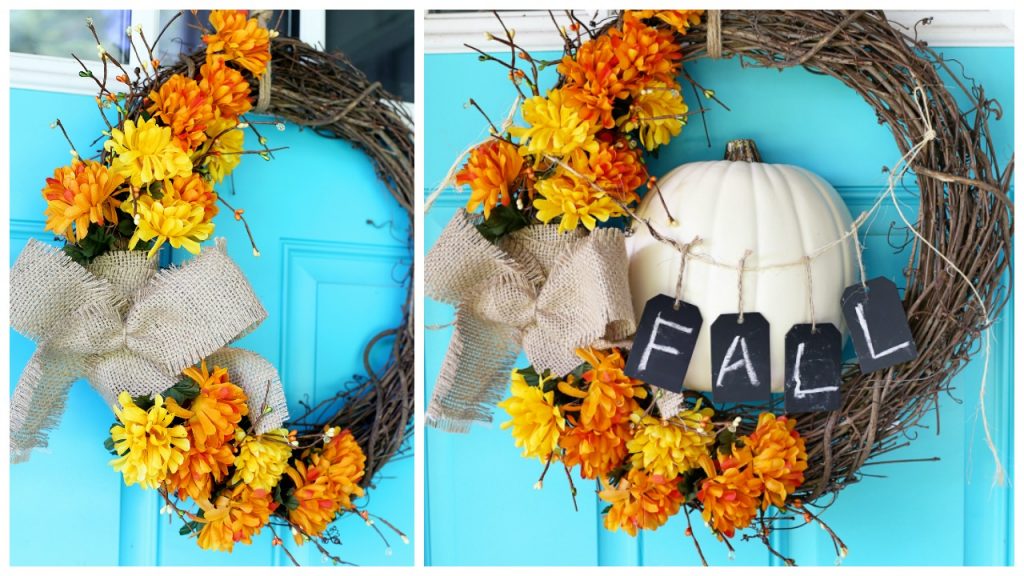
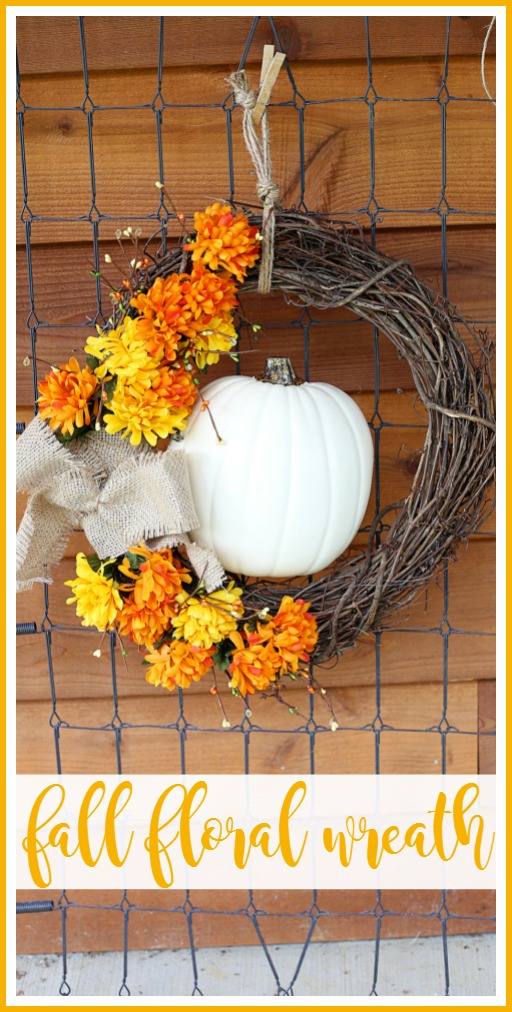
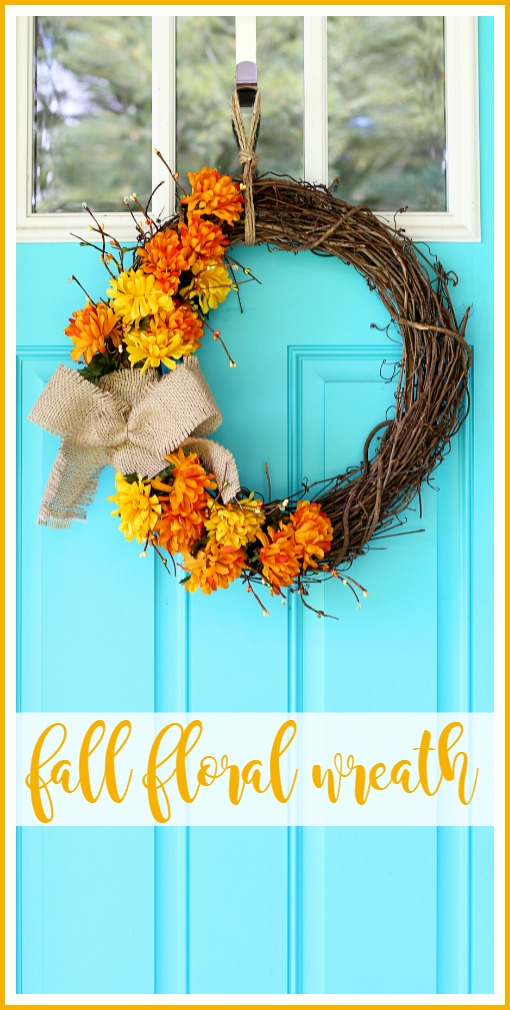
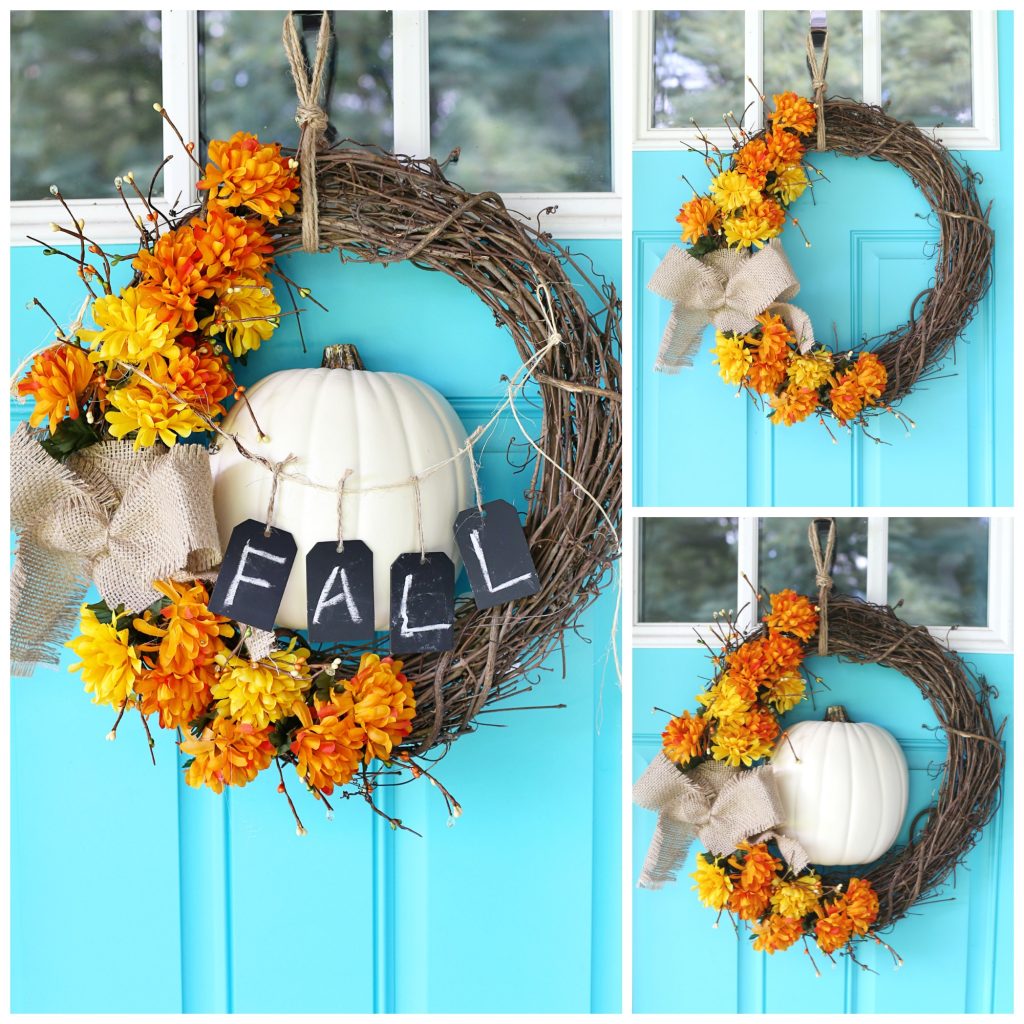
I used the same layout as the spring wreath, but of course used fall flowers instead. And then I worked in a pumkin, because fall for sure calls for pumpkins! I’ve got a few different pinable images for you today, so go ahead and pin your favorite so you can keep track of this project – –
this post is in collaboration with Michaels Stores as part of their Michaels Makers Team. To kick off fall in your own home, visit Michaels.com and check out the variety of craft pumpkins available – there is every color, shape and size you could ever want! There are tons of ways to DIY your own craft pumpkin for your home, a party or even as a gift.
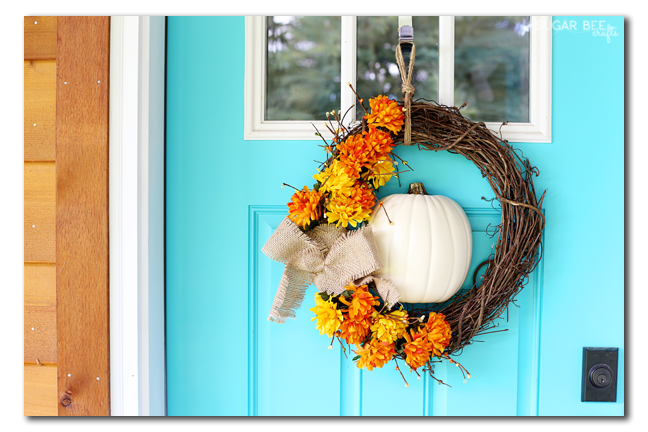
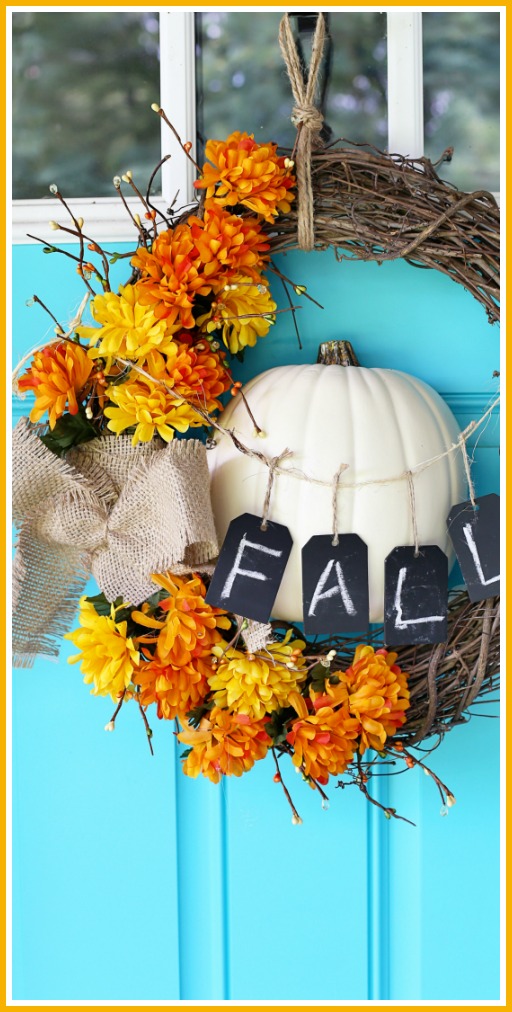
I actually tried out several different versions of the wreath – plain, with the pumpkin addition, and then with the Fall chalkboard tags – I liked all the versions! Do you have a favorite? The great thing about DIY is that when you make things yourself, you have the power to create them exactly how you’d like them. You get to customize the project just for you and your taste!
Let’s just right in to how I made it!
Fall Floral Wreath
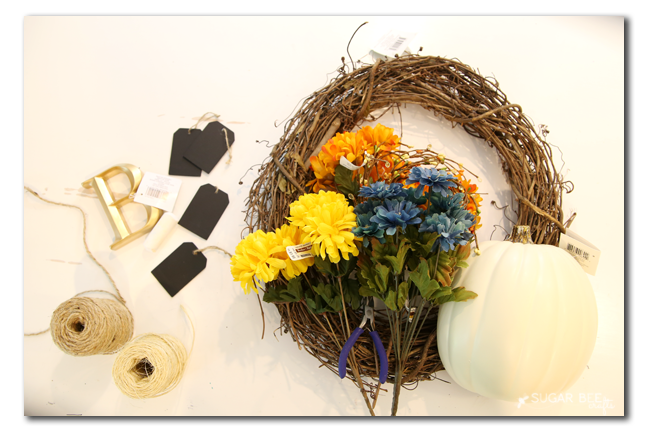
you’ll need (I found all my supplies at Michaels) – –
–grapevine wreath (mine is 18 inches, but I wish it were a little bigger)
–fall flowers (I am a proponent of turqouise as a fall color, and grabbed the blue flowers, but in the end I didn’t love them on the wreath)
–wire cutters
–burlap ribbon (not pictured – I actually used a burlap fabric I had on hand and cut it into strips) and twine
–extra embellishments (I LOVE the half-pumpkins that Michaels carries – perfect for projects like this! Also, chalkboard tags, monograms, etc)
–hot glue
VIDEO TUTORIAL
I put together an awesome VIDEO tutorial for this project!! (if you prefer step-by-step photo tutorials, you can refer to the Spring Wreath post – the instructions are the same as this wreath)
How to Make A Fall Floral Wreath
- Cut flowers from bunch using wire cutters.
- Insert into wreath on left side, top and bottom, leaving a space in the middle for a bow. I didn’t glue mine in, and they’re staying with no problems, but if you want you can secure the flowers with hot glue.
- Wrap burlap around the space. Add tied burlap ribbon to the top. Tie or glue into place.
- Use hot glue to secure pumpkin into center of wreath.
- String and hang fall chalkboard tags.
- Hang wreath with several strands of twine.
That’s all there is to it!!
Enjoy your new Fall Floral Wreath!

If you love this fall decor project, you might also love:
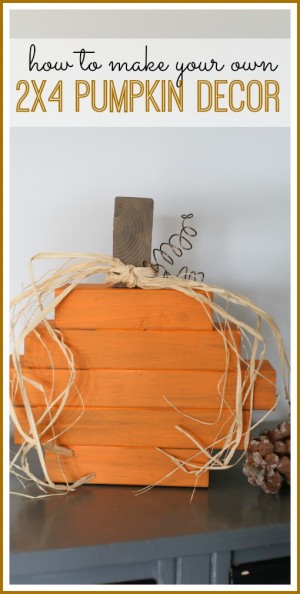
2×4 Pumpkin | Crackle Jars | Fall Leaf Luminary
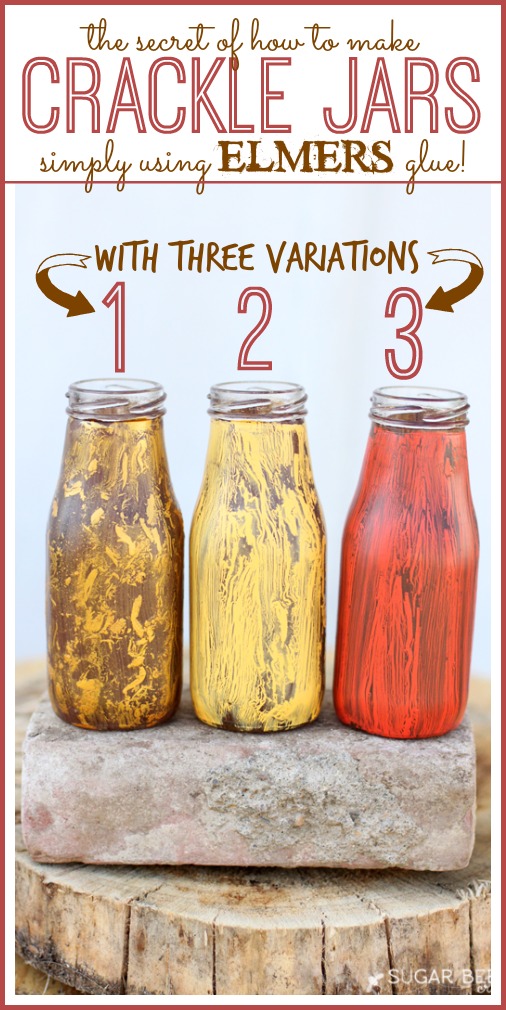
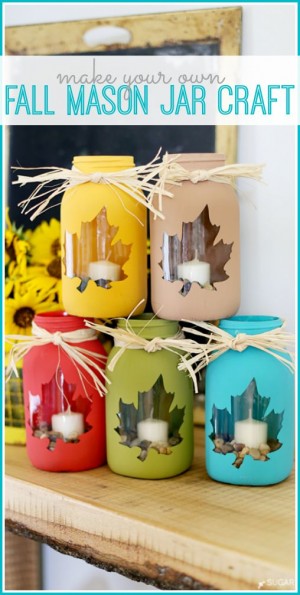
And also be sure to check out all the fun projects created by the Michaels Makers team this month! Check out all of the other Michaels Makers pumpkin ideas on the Michaels blog.
 Loading InLinkz ...


[…] you love grabbing ideas for a fall floral wreath, here’s another one that comes together […]