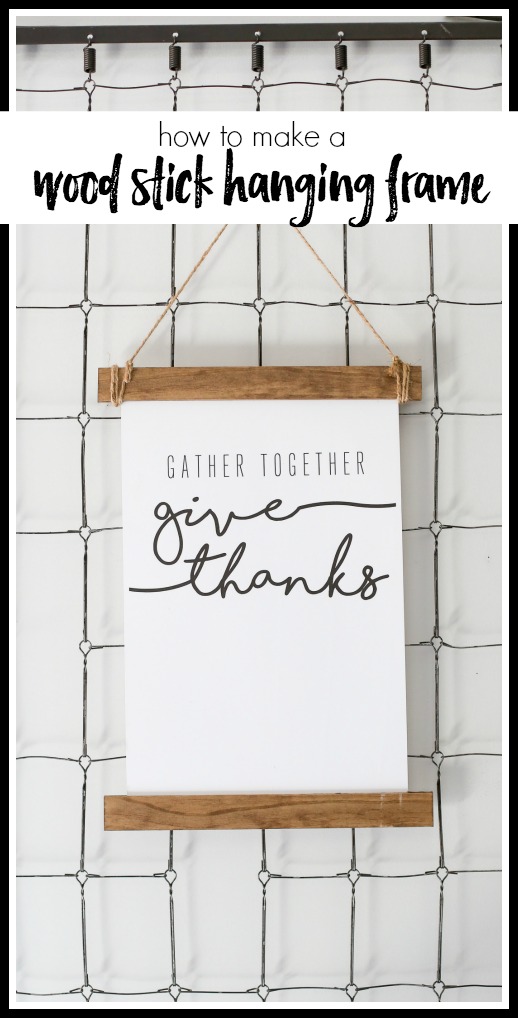
Confession time, this project has been on my to-do list for WAY too long!! And I don’t know why I didn’t just get it done, because it’s one of the fastest projects ever! I loved making this DIY Wood Stick Hanging frame and it got a huge response over on Instagram, so I put together a quick step-by-step tutorial for you.
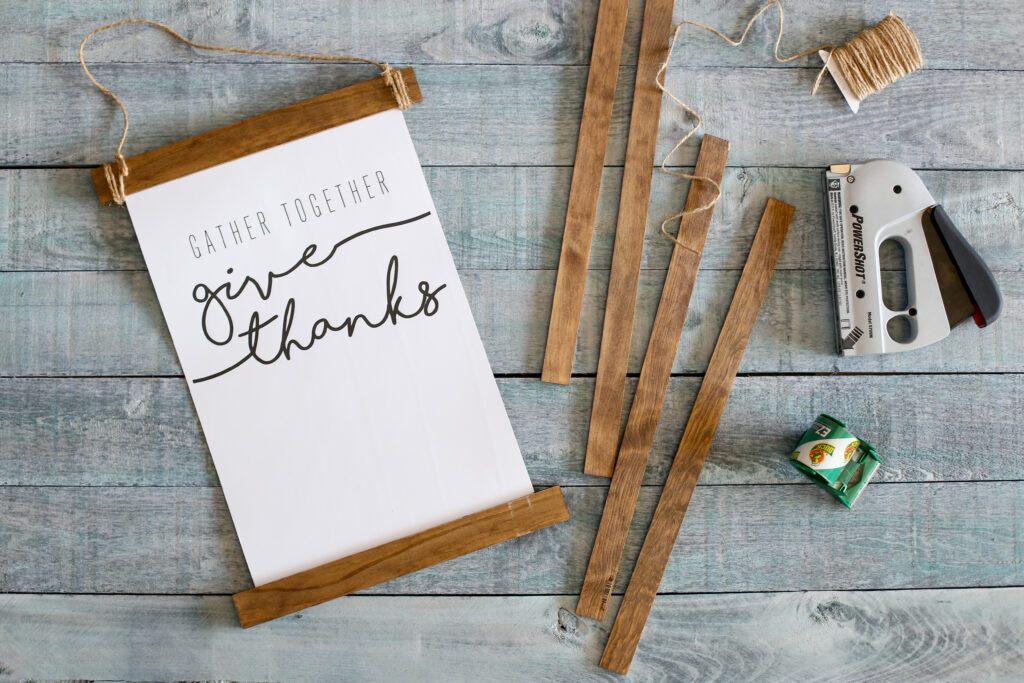
Here are a couple of images so that you can pin this idea for later. This post may contain affiliate links.
Engineer Prints
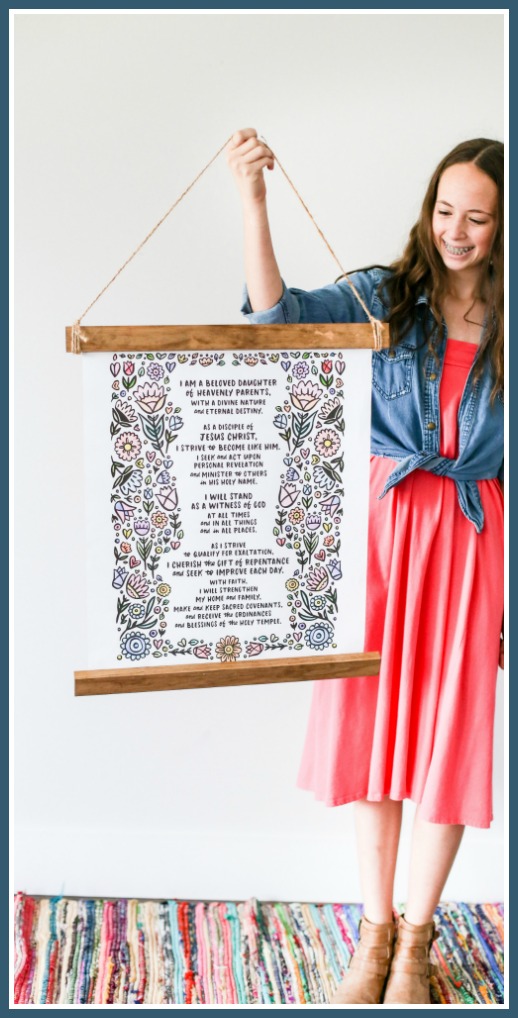
I used this method on a few different prints, and just love it! First off, I used it on large engineer prints of our youth theme. Engineer Prints are SUPER CHEAP!! They are printed on thin paper and in black and white, but that can be exactly what you need. This was printed 18×24 and it was under $2 to print. I have info all about other ways to hang an Engineer Print on this post (one of my first viral posts!), Giant Picture for Cheap.
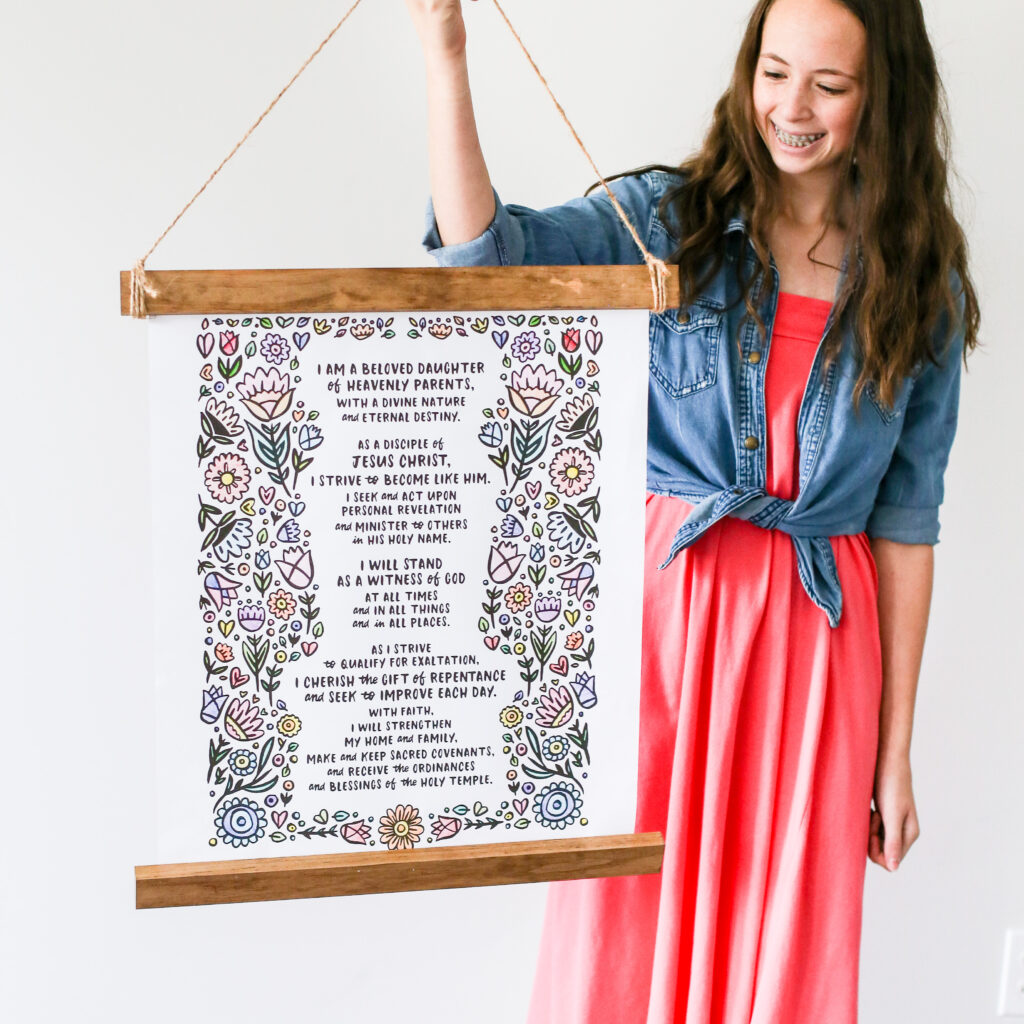
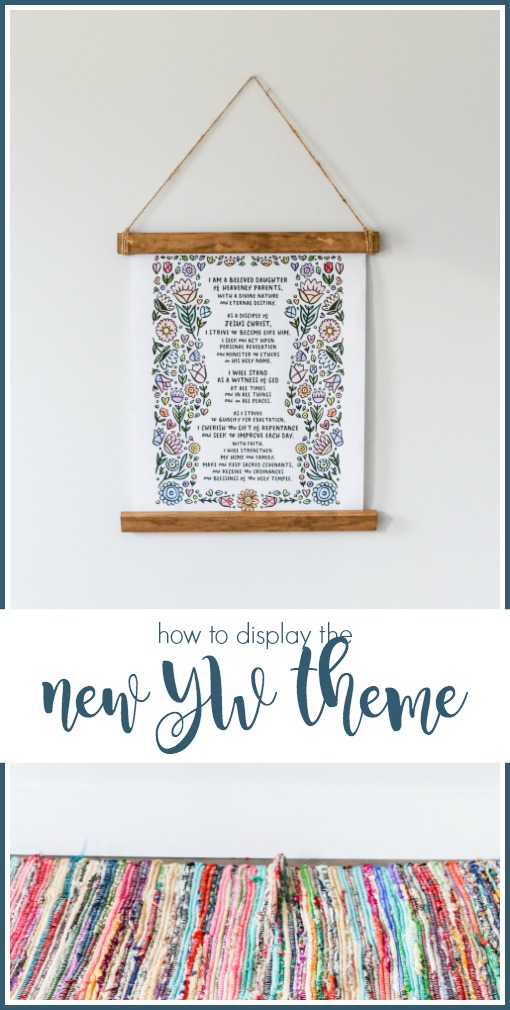
New YW Theme (Young Women Theme 2019)
This print of the new YW Theme established in 2019 is from a packet that I purchased from Stately Type. It is a coloring sheet that I just blew up into a large engineer print, then the girls colored it in during a planning activity.
Pre-made Prints
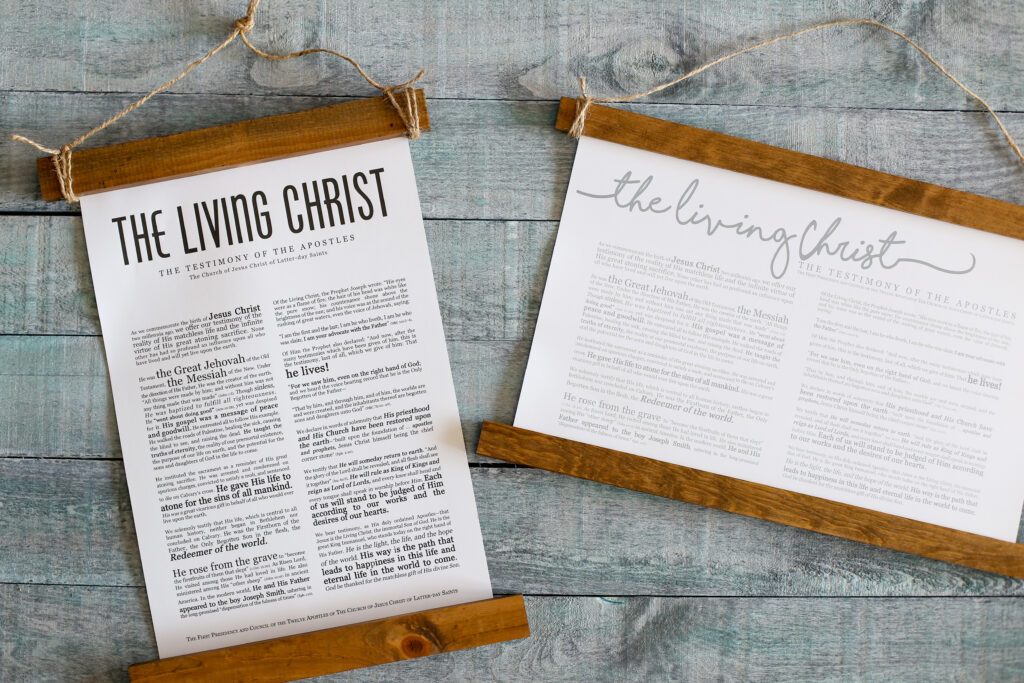
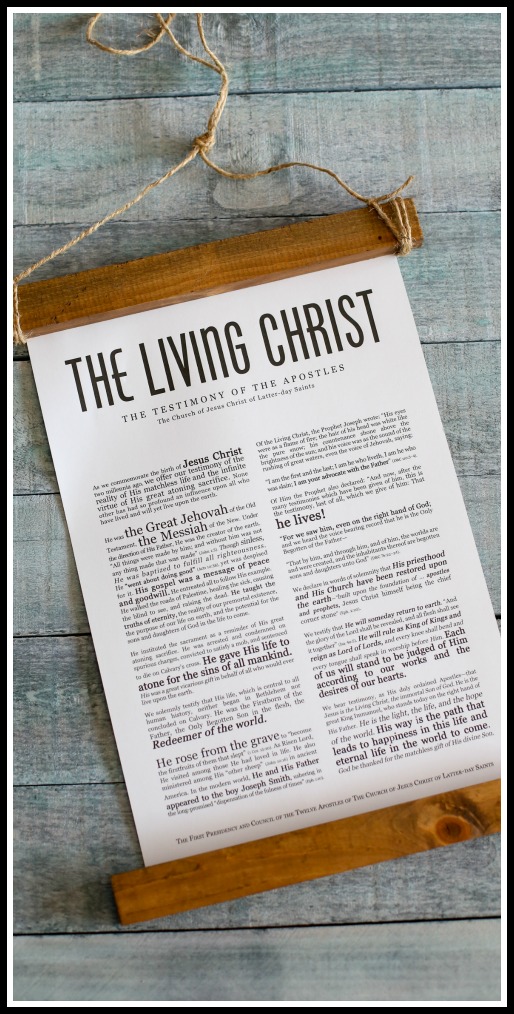
The other prints I used in these projects were from the etsy shop Print It Engineer. The prints are very high quality, nice thick paper, and I love their modern vibe. The give thanks print along with the The Living Christ prints are from Print it Engineer (and I’ve also gotten some poster-sized prints from them in the past, you can see how I framed those here: my Church of Jesus Christ large prints)
How to make a Wood Stick Hanging Frame
You’ll need:
-print of choice
-wood of choice (there are 2 techniques, one uses 1x2s and the other uses thin trim boards)
–packing tape (trust me on this)
–staple gun (I LOVE this one, it’s so easy to press down)
—twine for hanging
First you are going to decide which technique you’d like to use. You can either use a 1×2 board and attach it to the front of the print OR you can use 2 thin trim boards and sandwich the print inbetween them. I’ve used both ways! The 1×2 is a little heavier but gives a more “hefty” look. The thin boards make for an even hanging print (instead of it getting a little floppy)
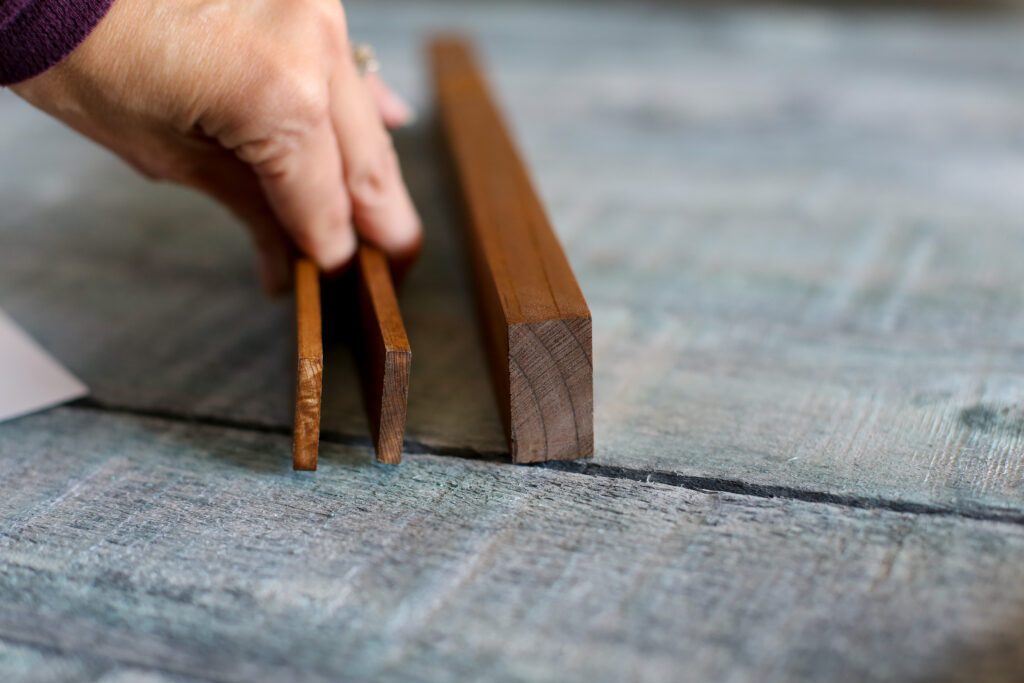
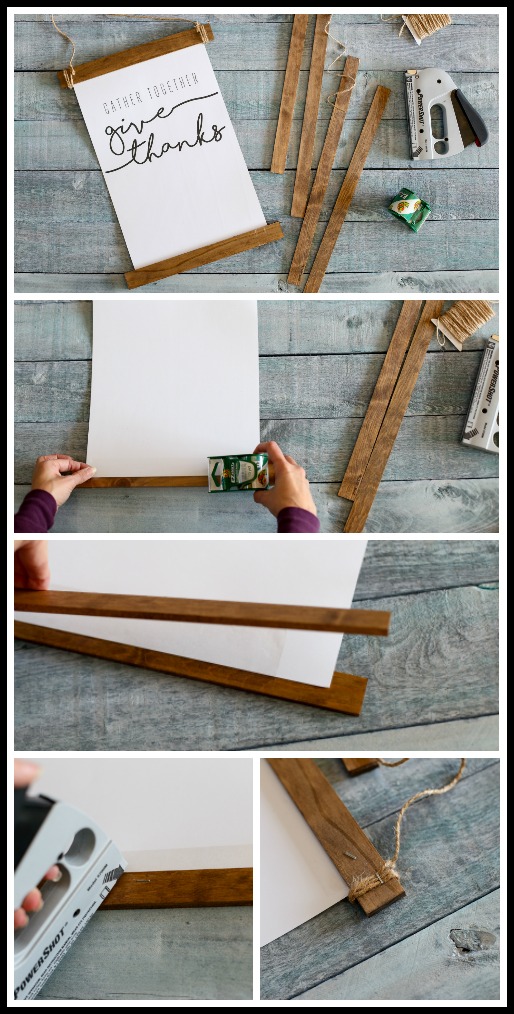
Next up, whichever technique you decide on, you need to cut your boards 2 inches wider than your print (so that there is a 1 inch overhang on each side). For the 1x2s you’ll need 2 boards (one on top and one on bottom) and for the thin trim boards you’ll need 4 boards (2 in each sandwich, so 2 on top, 2 on bottom). Then you can stain them or paint them if desired.
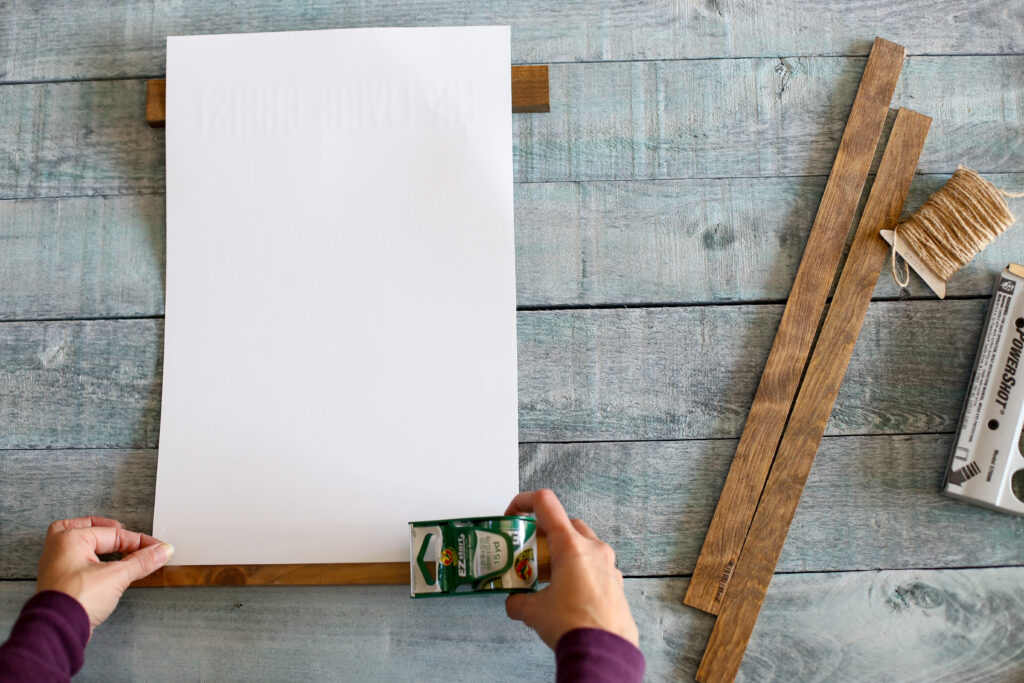
Now, place your board and your print face-down. Using a piece of packing tape slightly shorter than the width of your print, tape the bottom of the print to where half-ish the tape is on the print and half-ish is on your board. It doesn’t need to be exact. This is especially important if you’re using a cheap engineer print. The tape will make your print more sturdy and less likely to tear.
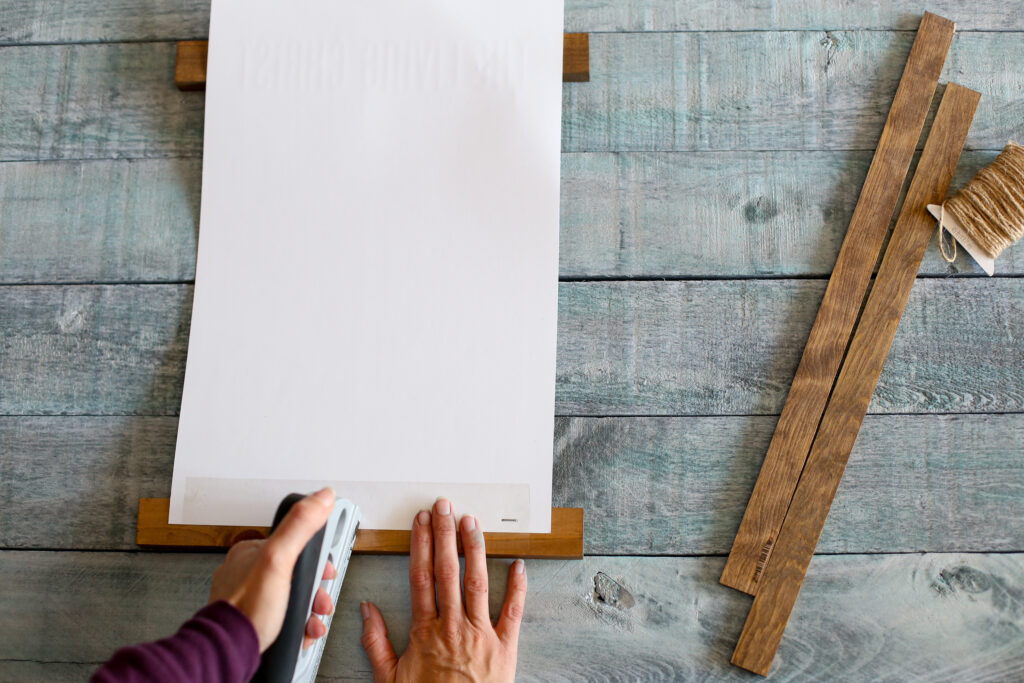
1×2 Wood Hanging Frame
If you are using 1x2s, you will staple your print to your frame at this point. You want the staples to be near the top of your board closest to the print to prevent it from getting “floppy”. Repeat for the other end of your print. Then you can move on to the section entitled Hang with Twine.
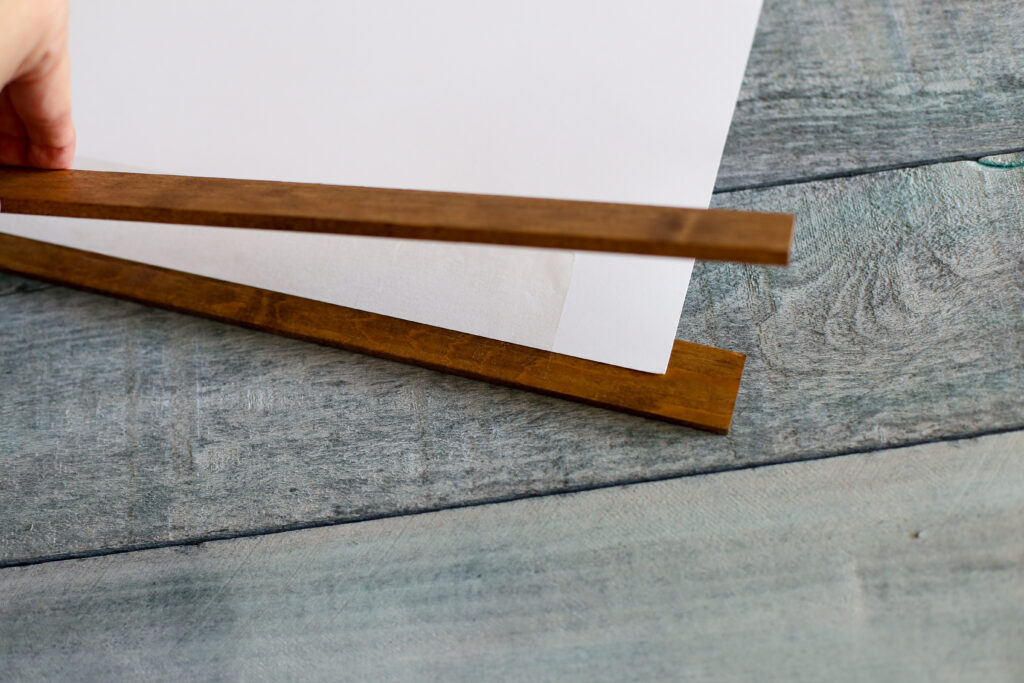
Thin Trim Boards Wood Hanging Frame
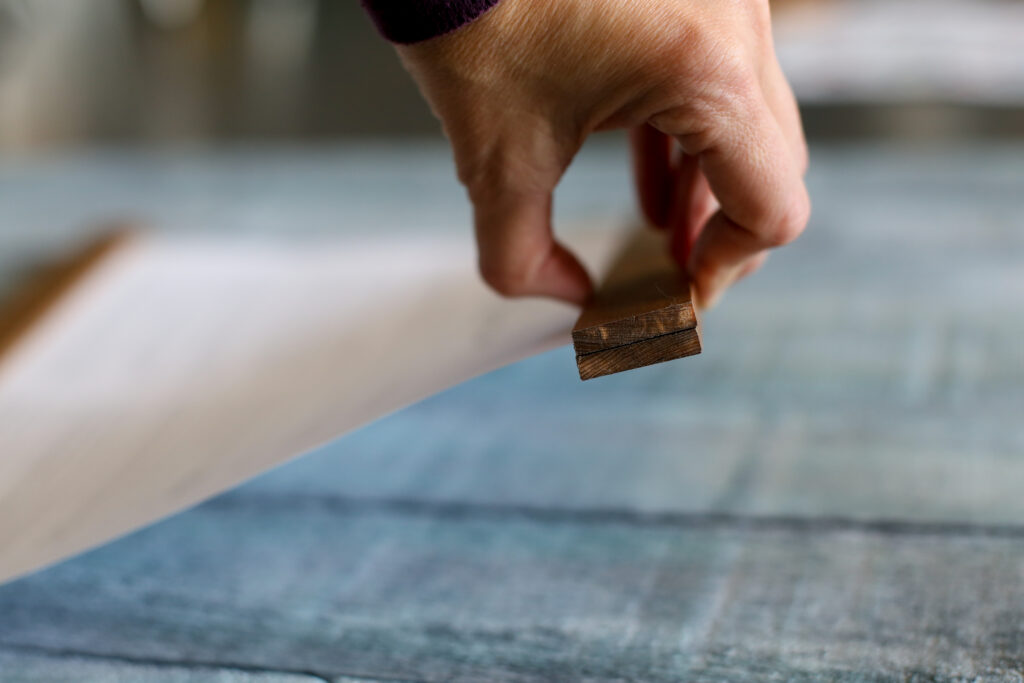
If you are using Thin Trim Boards, after you tape the print to one board, you are going to take a second board and “sandwich” your print:
Then you will staple through that board into the other board, catching the print inbetween them.
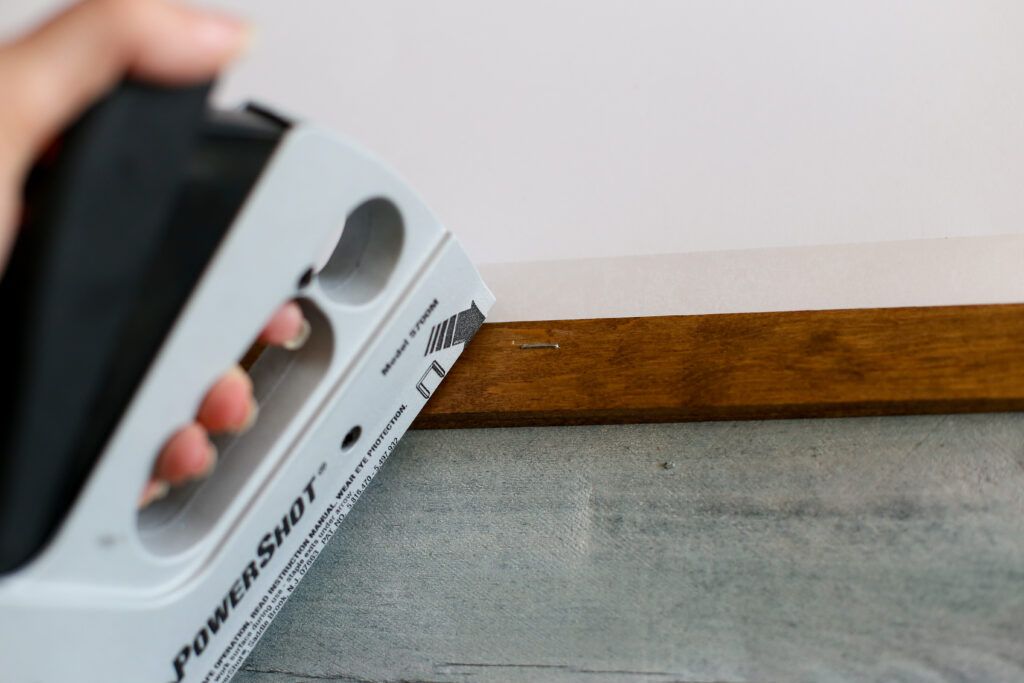
Here you can see how the print is between the two boards:
Wood Frame Hang With Twine
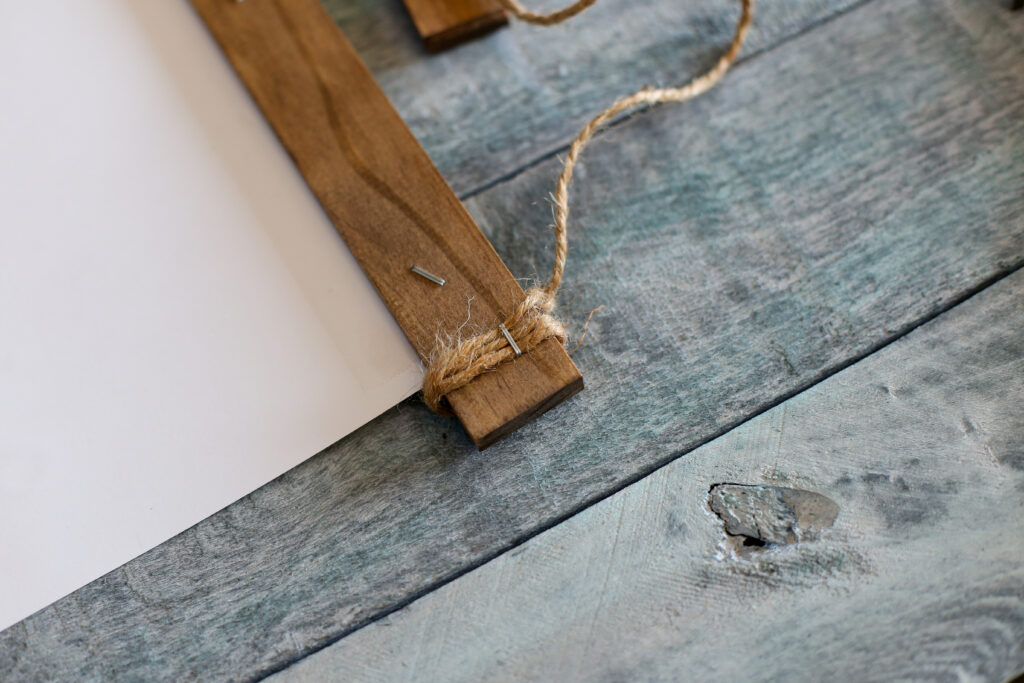
No matter which board method you used, you can hang your boards with twine. Pro TIP: if your twine is bent/curved from being wrapped on a spool, you can totally iron it flat and straight 😉 I simply wrapped the twine around one end of the top board a few times and then tied it in place. Repeated on the other side. To make it extra secure, I stapled the back where it was wrapped on the board.
That’s all there is to it!! Hang and enjoy!
DIY Frames for Prints and Pictures
If you love frame and print ideas, you might also want to check out:


Wow!
All frames are gorgeous!
I will try according to your tutorial!
Useful tips and tricks. Thanks for sharing…………
Mira Edorra recently posted…Do you need a box spring? In-Depth Guide
As a woodworker I always have a bit of trim lying around so it’s good to know have ideas to put it to good use! Think the kids would enjoy making this. Thanks for sharing 🙂
I love your idea to make a wood stick hanging frame. Where did you buy the boards?
it was either home depot or lowes, they both have them
This is so beautiful handing frame you made with wood. Thank you for sharing this design ideas.
jack mish recently posted…Best Jigsaws 2020 – Reviews And Buyer’s Guide
I love this idea! I’m already getting out my staple gun and trying to figure out what I can hang up 🙂
What is the white part with the text on it?
it’s a paper print
Wow! Thank you so much for sharing this. Me and my son are really excited to try this. I’m sure my son is going to love the final outcome! Cheers!
Nimit recently posted…Top 10 Best 18x14x8 Personal Item Bag For Travel
I’m gonna try this asap! Can you tell me what size the print is that your daughter is holding? That is the size I want to go for for this project. Thanks!
Wow! Couldn’t think it was SO easy to make
Thanks, Mandy!