this is a sponsored post, all opinions are my own
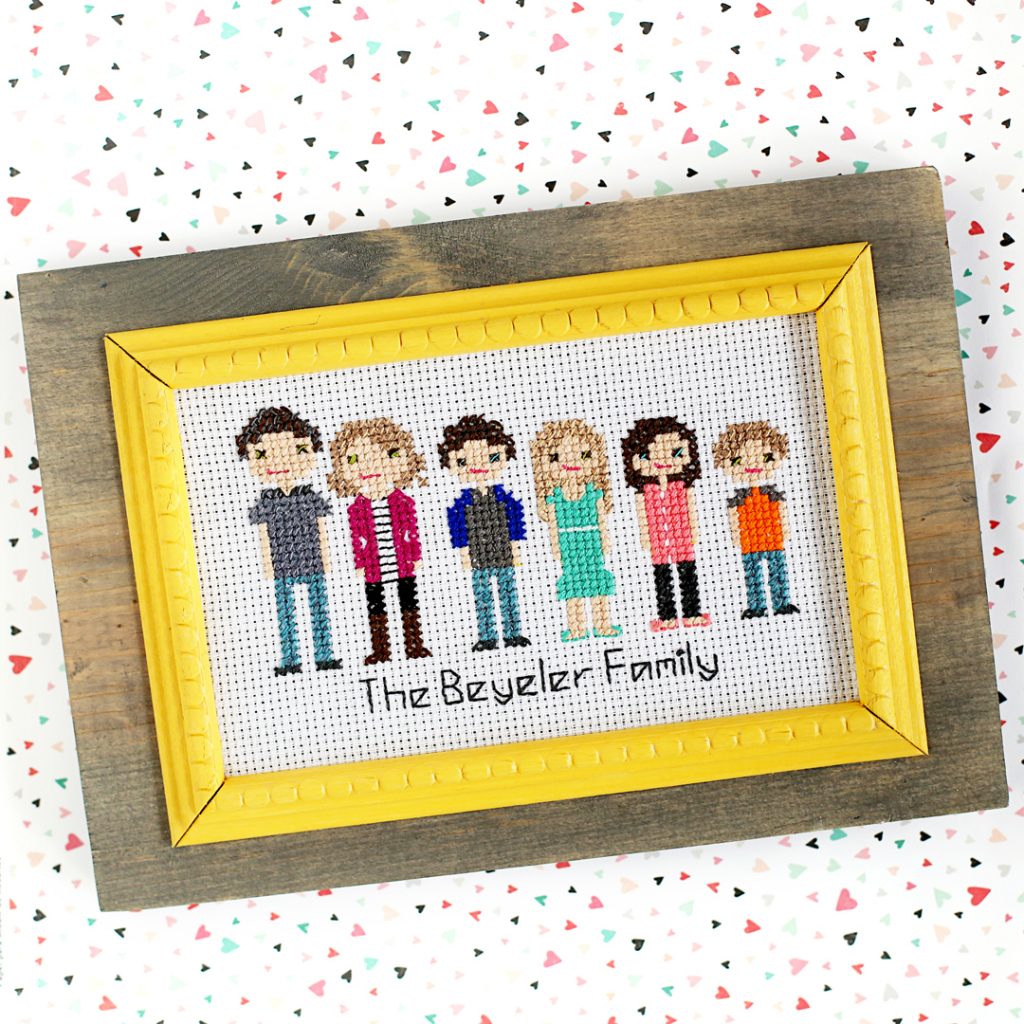
You may remember that I got hooked on these fun Stitch People cross-stitch projects this summer. I love them! I finally made one for my own family (after practicing on gifts, ha!), but since our family has 6 people, it’s much more of a rectangle than the other one I framed. It was hard to find a frame that shape, when I realized, I should just make one! And so this Simple Custom Frame was created – it’s perfect for those custom needlework projects like cross stitch and embroidery, that aren’t necessarily made to the specifications of standard frames.
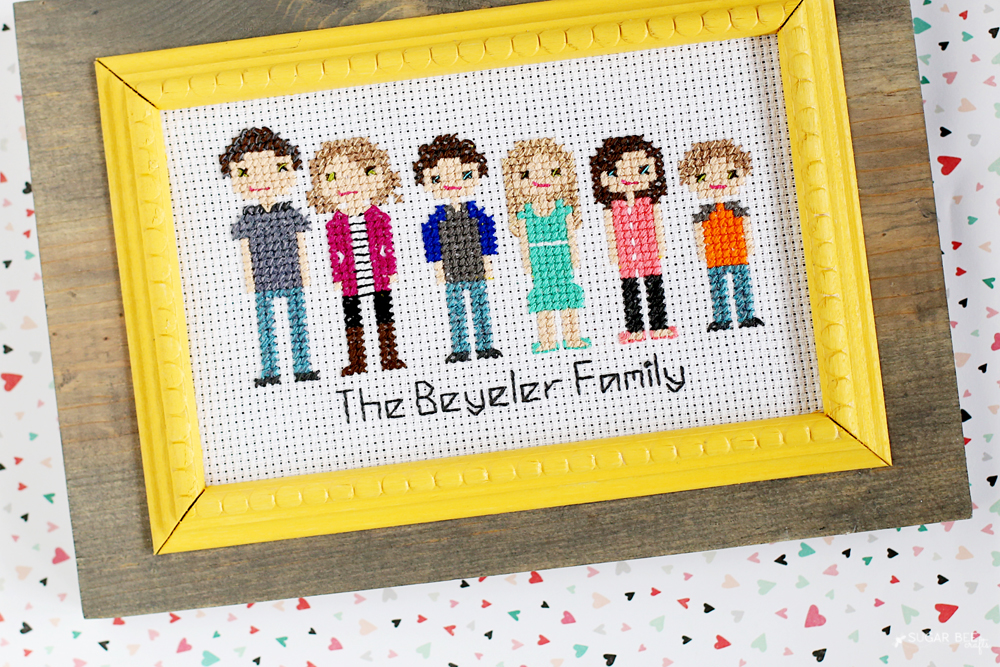
So cute, right?! I attached the frame directly to a board, so the board can stand up on it’s own, or hang on the wall, or be using in a plate stand – so many options. This post may contain affiliate links.
And I took pics along the way so I could give you a quick tutorial – let’s get started!
Simple Custom Frame
You’ll need:
–cross stitched family (I used the Stitch People Book)
–base board (mine is a 1×8, I think), stained if desired
–piece of fun trim (they range from fancy to simple, so whichever appeals to you)
–Elmer’s Wood Glue
–Saw to cut trim (if you’re nervous about a chop saw, you can hand cut it!)
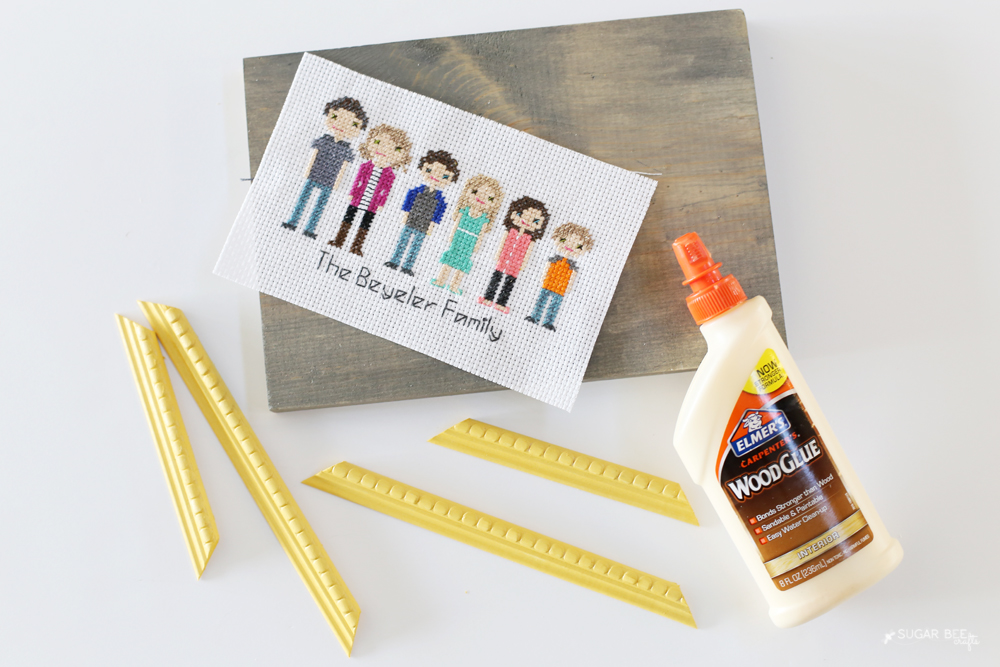
First up, you’ll need your embroidery or cross stitch or whatever you’re framing completely finished. This is a frame where it will permanently live, no switching in and out.
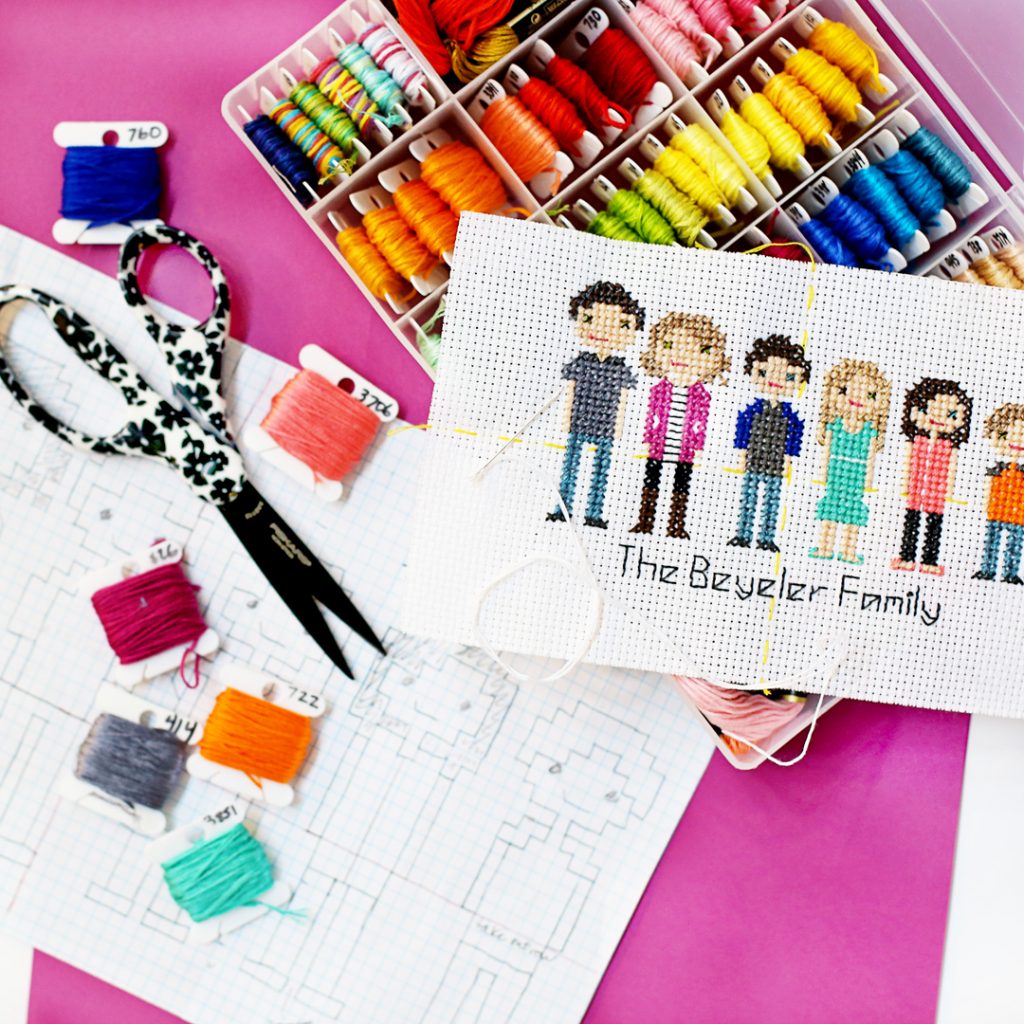
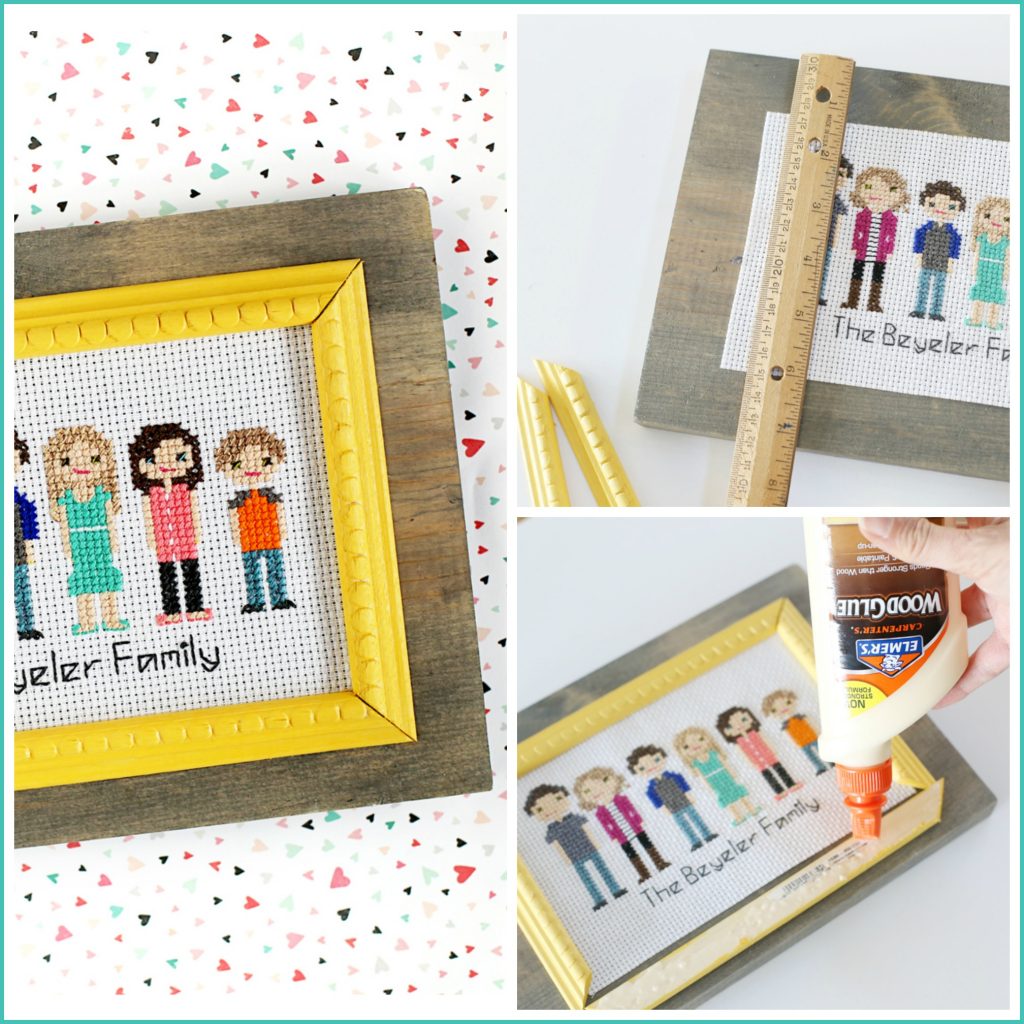
Measure what you would like to be framed. You’ll need 2 side pieces, and then top and bottom pieces.
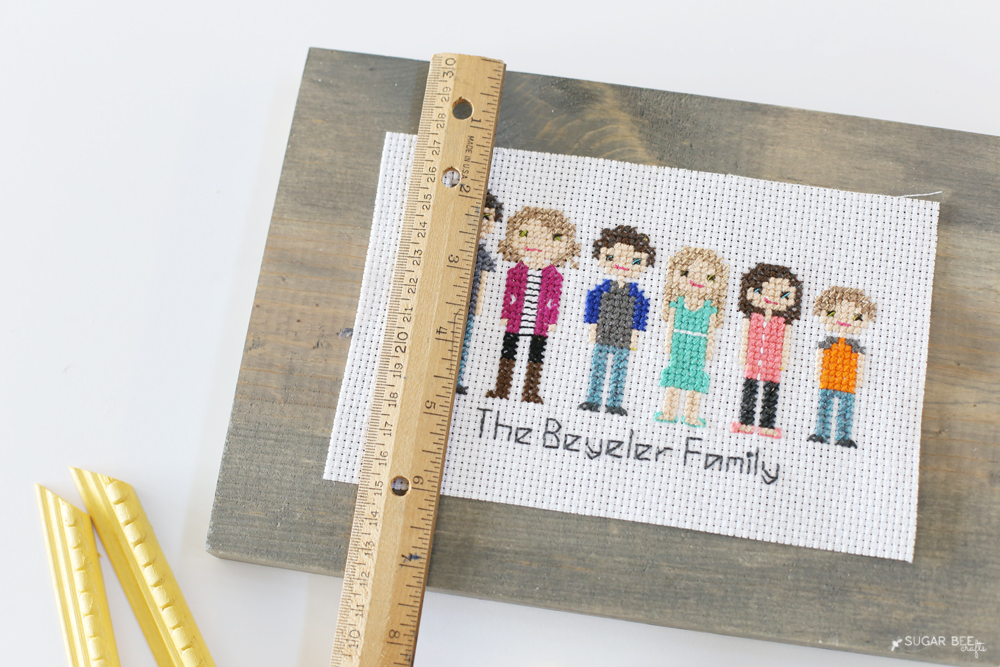
Cut your trim pieces sized to fit over the edge of your needlework. If you’re iffy about the mitered (angled) corners, just go for flat ones. I do flat corners a lot, so I thought I’d mix it up and do angled corners. And yes, I had to cut them more than once because I messed up the first time 😉
After you cut your trim boards, paint them your desired color. Let dry. Then center your needlepoint on the background board and set the trim pieces on top of the edges of it, like shown below:
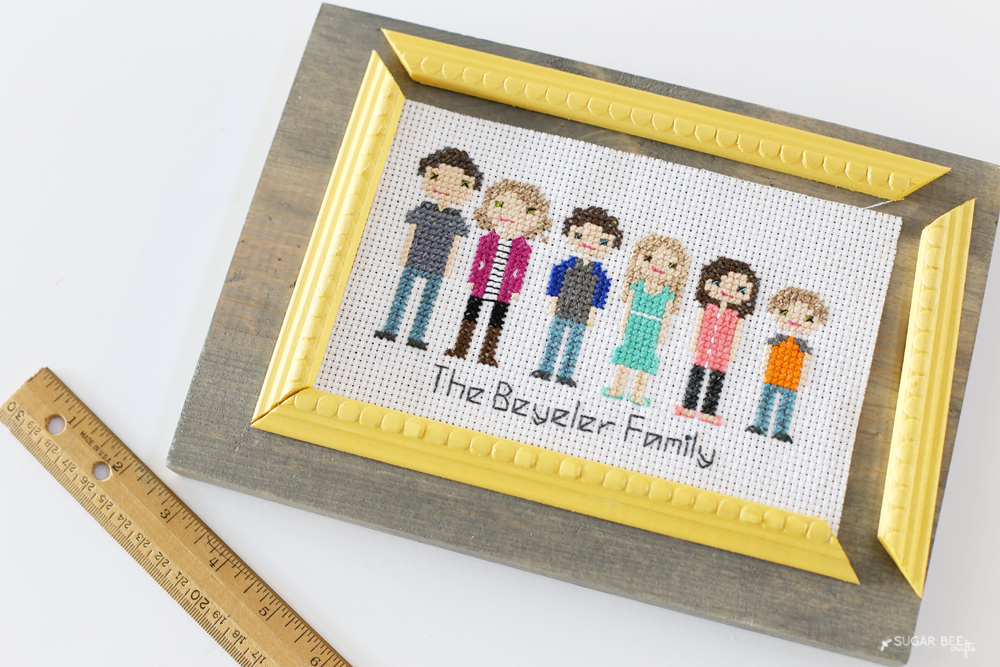
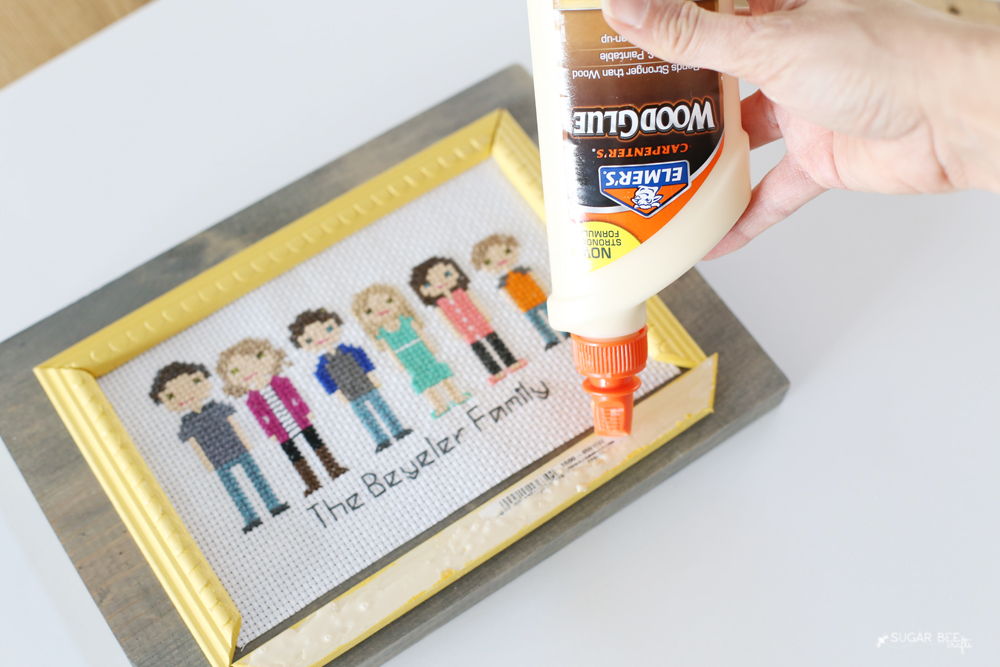
Now, once you have everything where you want it, flip over each trim piece and put wood glue on the back, then put it into it’s spot. The trim will cover the needlework and hold it in place on the board.
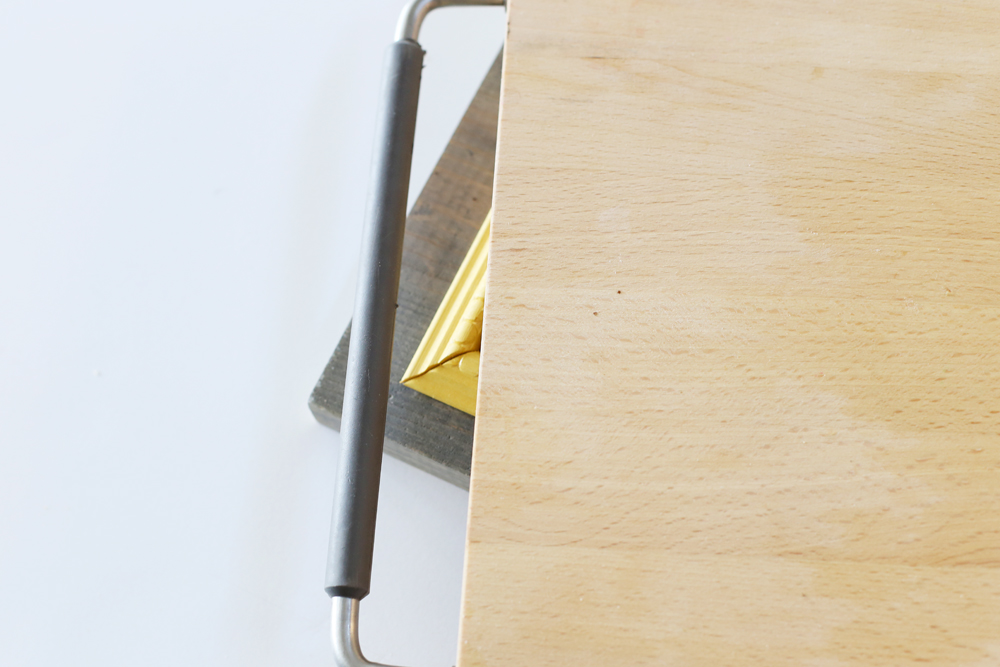
Let dry according to bottle instructions (I let mine dry overnight). Normally you’ll clamp together your project, but since that’s not possible with this type of frame, you’ll want to push down on the top of it. So I put a cutting board right on the top, and then stacked some heavy books on top of the cutting board. That way it pushes the wood together where it’s being glued.
After it’s dry, you’re done! Voila, custom-sized frame, made perfect for your project. I think a DIY frame is only fitting for a DIY project 😉
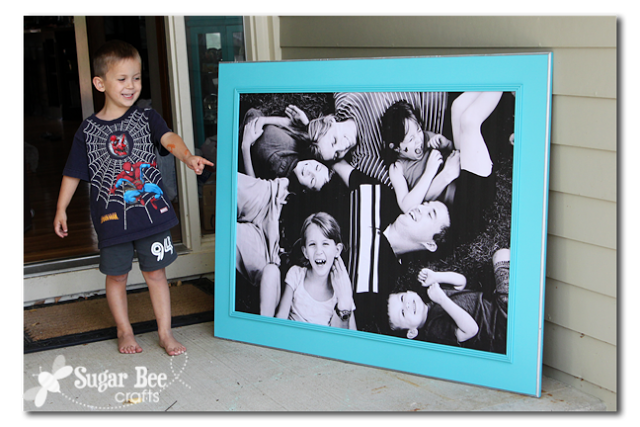
I used this same technique on my Giant Picture for Cheap tutorial, this one is just a mini version compared to that one 😉
Enjoy making your own Simple Custom Frame!!
Stitch People Cross Stitch
If you love Stitch People Cross Stitch patterns and projects, you’ll also want to check out:


Where can I get your pattern to make
the cross stitch family? I just love it and would like to make for my son!
Thank’s Kathy
I have a pattern book from Stitch People, that’s what i used – hope that helps!