


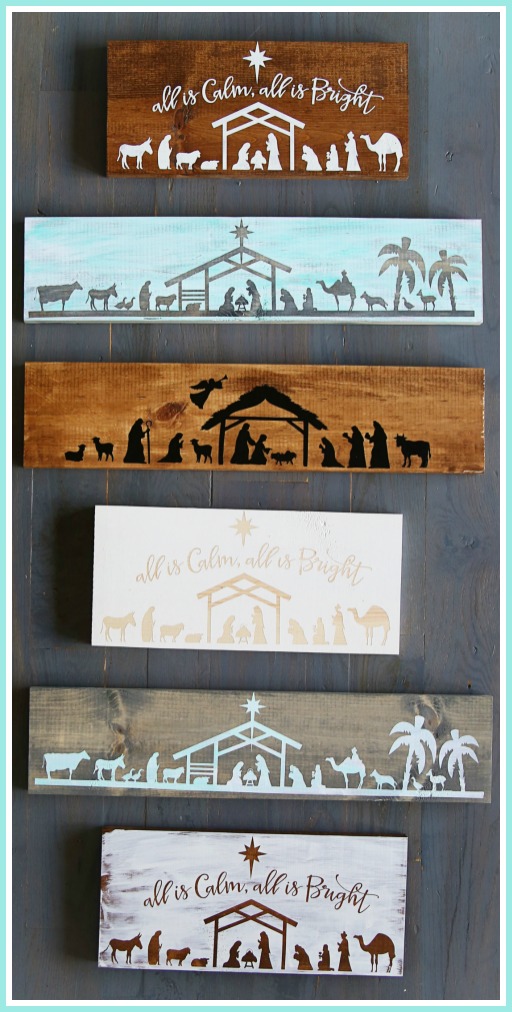
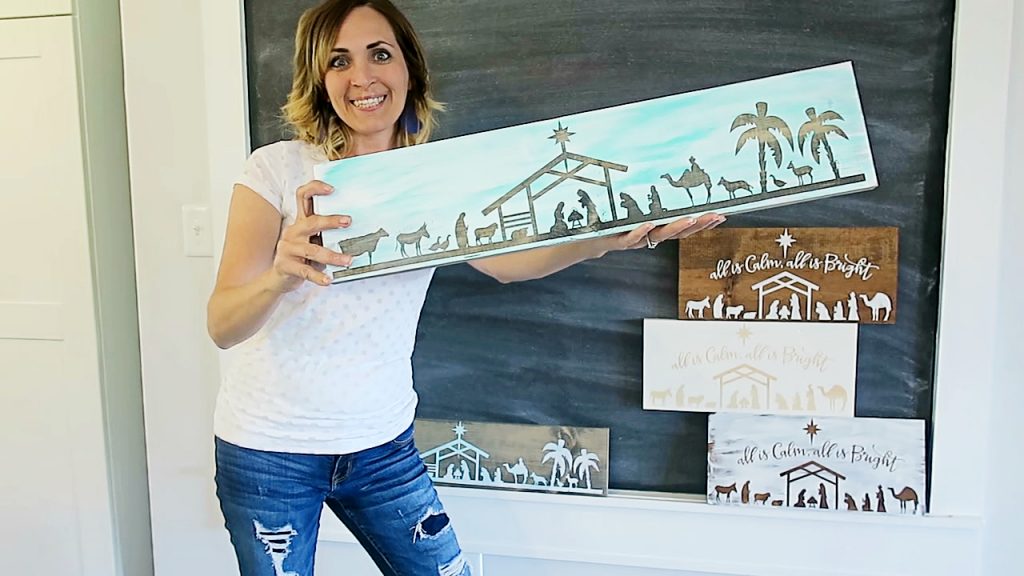
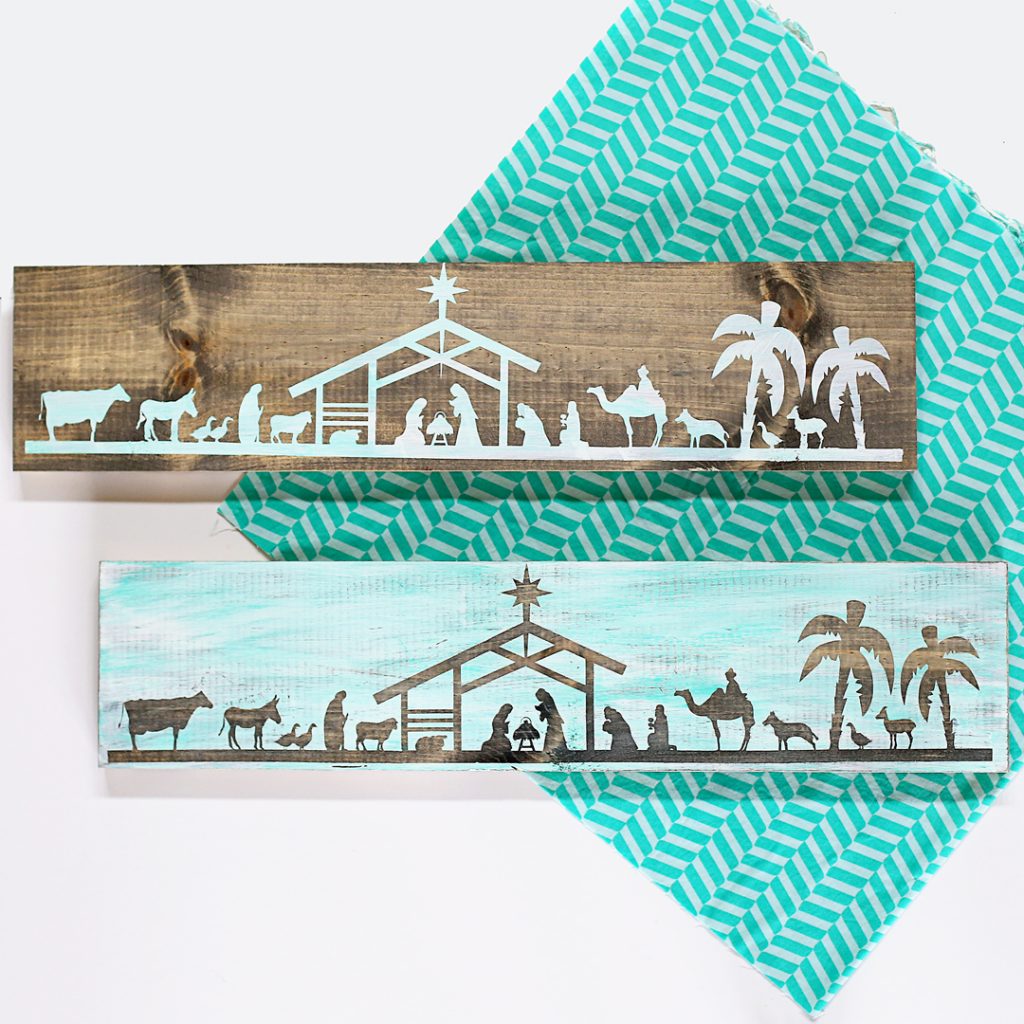
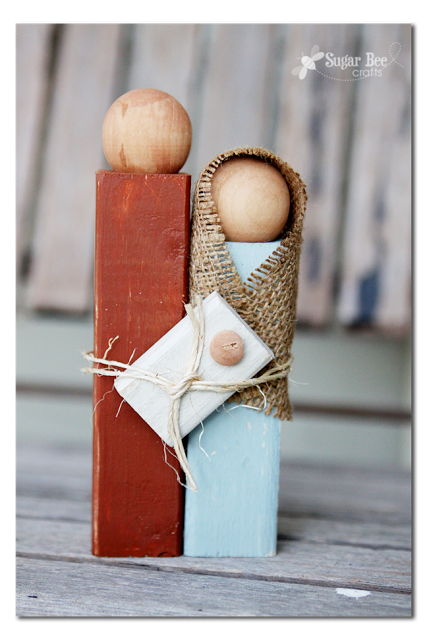
This might be one of my most favorite craft projects – I just love it! A little while ago we made this DIY Nativity Board Craft at my craft club and it was a huge hit! I loved seeing all the different versions that everyone made. It’s a perfect project because it’s not too difficult and it has a lot of options to let your personality shine through. Case in point, I painted turquoise on mine instead of the traditional black and white, and I think it turned out amazing.

This post contains Amazon Affiliate links for products I use and for which I receive compensation.
And then I kept seeing everyone else’s, and I thought that they turned out amazing as well. Which means that this is just an amazing project all around!
 Let’s dive right in to the project tutorial!
DIY Nativity Board Craft
You’ll need:
–a board (I used Common Board, 1×6 or 1×8)
—wood stain in the color you prefer
—mod podge for sealing the stencil
–a stencil cut out of vinyl or contact paper ( here is a similar Nativity cut file I found on Etsy)
—paint in the color you prefer
–optional: sandpaper
This isn’t a difficult project, but there are several steps and explaining, so I put together a video tutorial to give you a great overview of how it comes together – enjoy that right here (and if you love craft video tutorials, be sure to subscribe to my Sugar Bee Crafts YouTube Channel, for craft tutorials each week!)
In case you’re more of a picture tutorial type of person, let me walk you through the project:
–First stain your board, just wipe on stain, and let it dry.
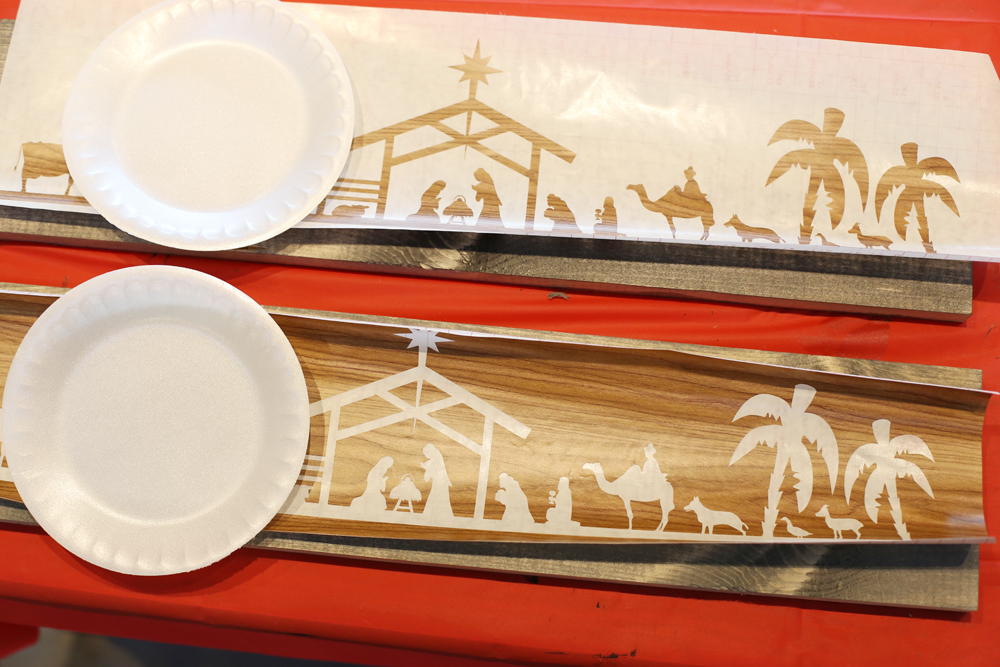
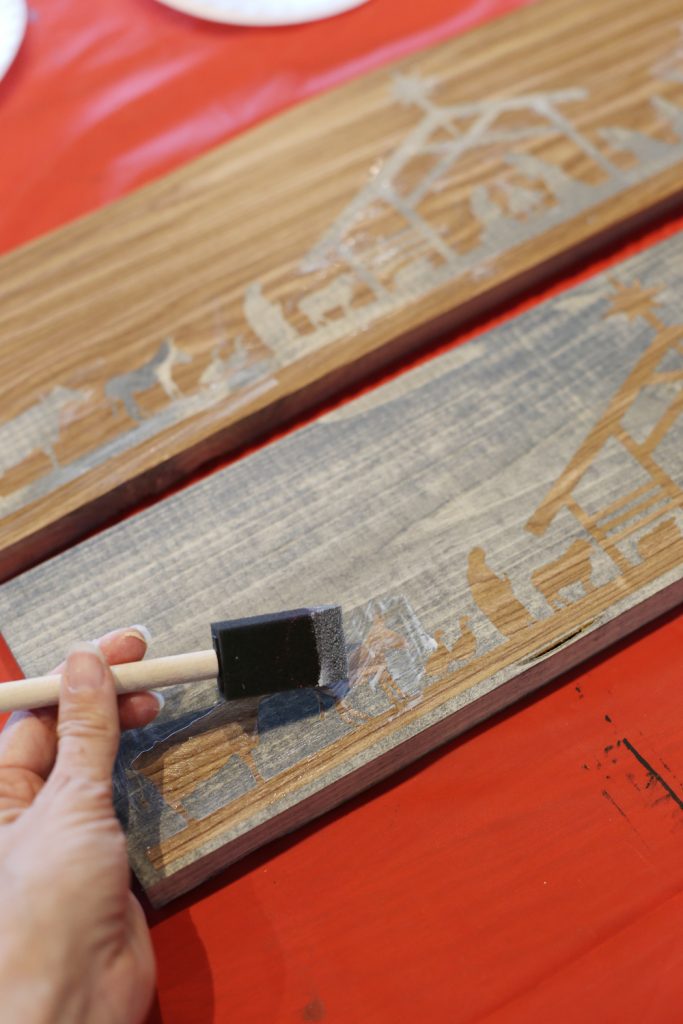
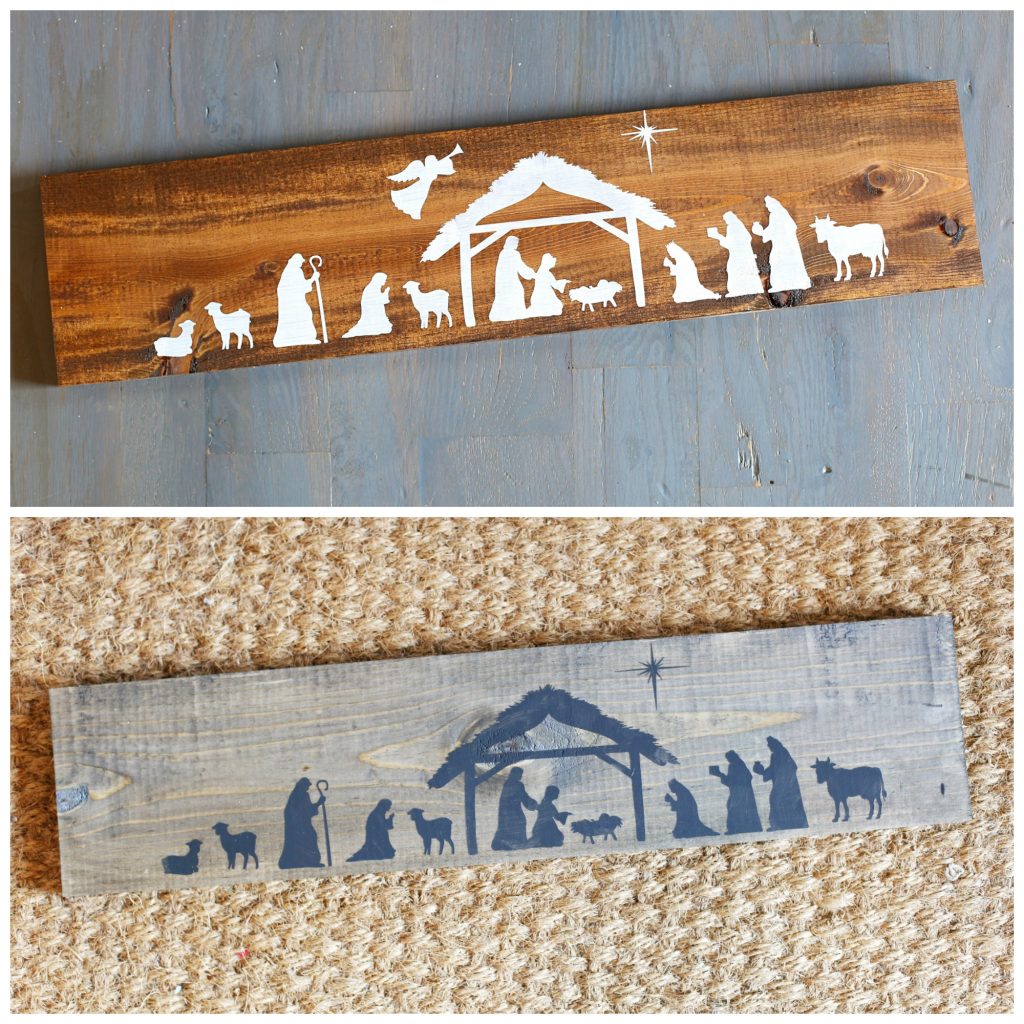
–Then decide if you’d like your background to be painted, or your people to be painted. Pull whatever you want to BE PAINTED off of the cut stencil. In the image below, the stencil on top will be for painting the background and the stencil on bottom will be for painting the people.
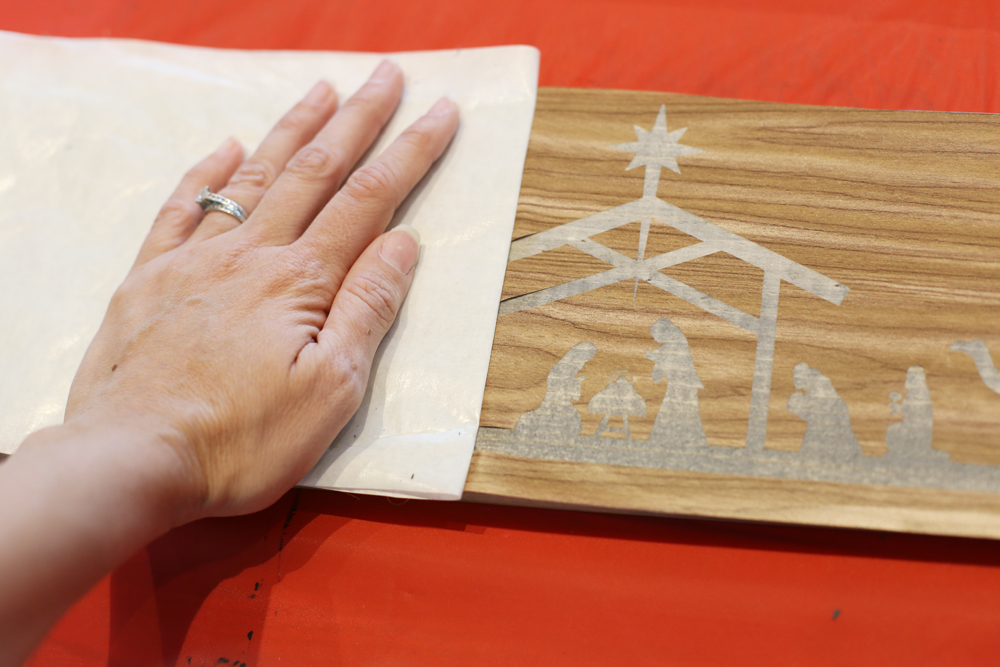
–using transfer tape, move your stencil onto your board, making sure to rub into place.
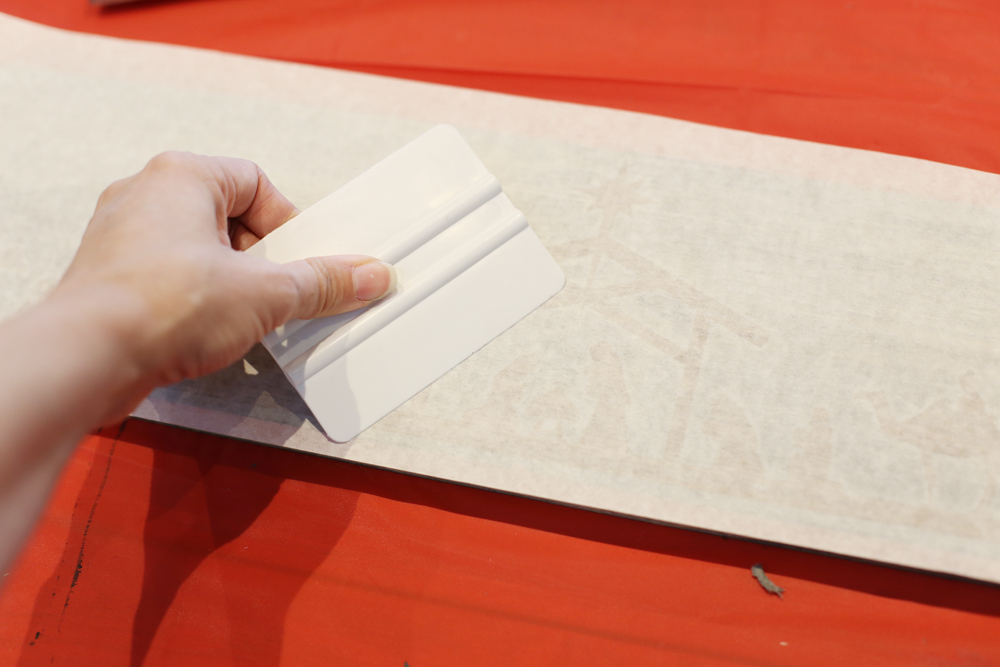
–then slowly peel off the transfer tape. If you used contact paper, it’s not quite as sticky as vinyl, so you’ll need to go slow. Pull the transfer tape off by rolling it to the side instead of pulling it straight up.
–After the stencil is on the board, cover it in a thin layer of mod podge. This will prevent the paint from seaping, and will get you those awesome crisp lines.
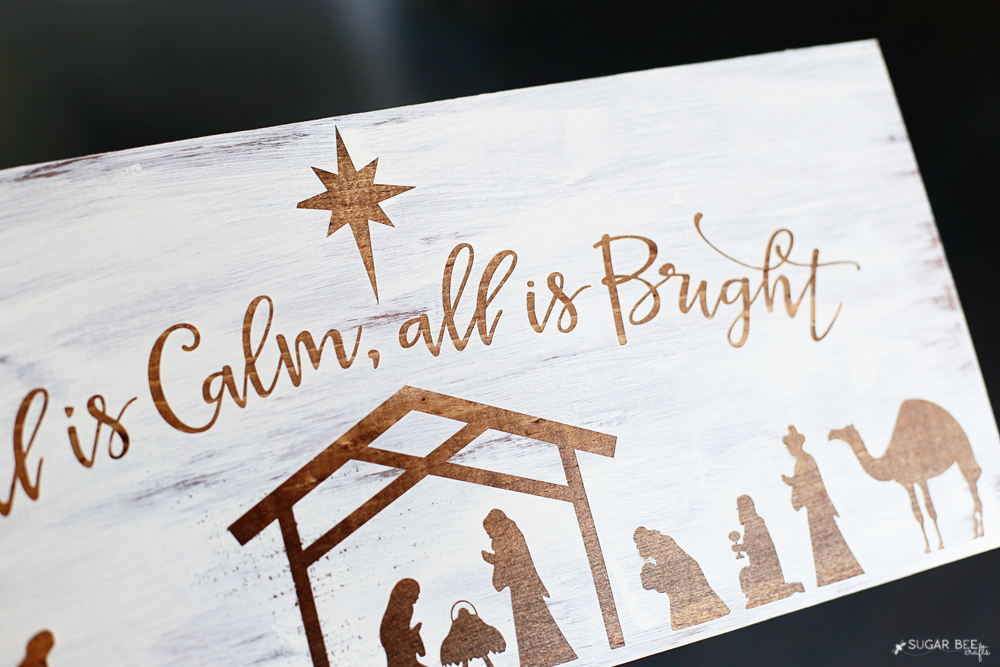
–Then after the mod podge dries completely, paint your paint color. Let dry. Then peel up your stencil to reveal your awesome project!! See how nice and crisp those stencil lines are? so good!
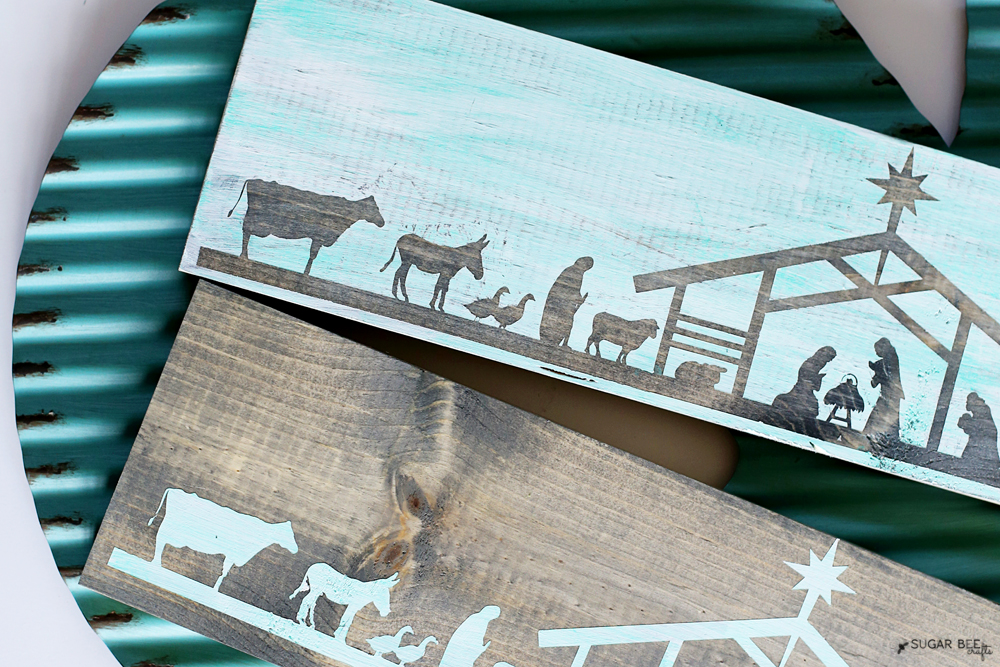
–If desired, you can rub the edges and around the designs with sandpaper. You can see it on the boards below:
DIY Nativity Board Craft!
Now you can make bunches for all your family and friends, like me!
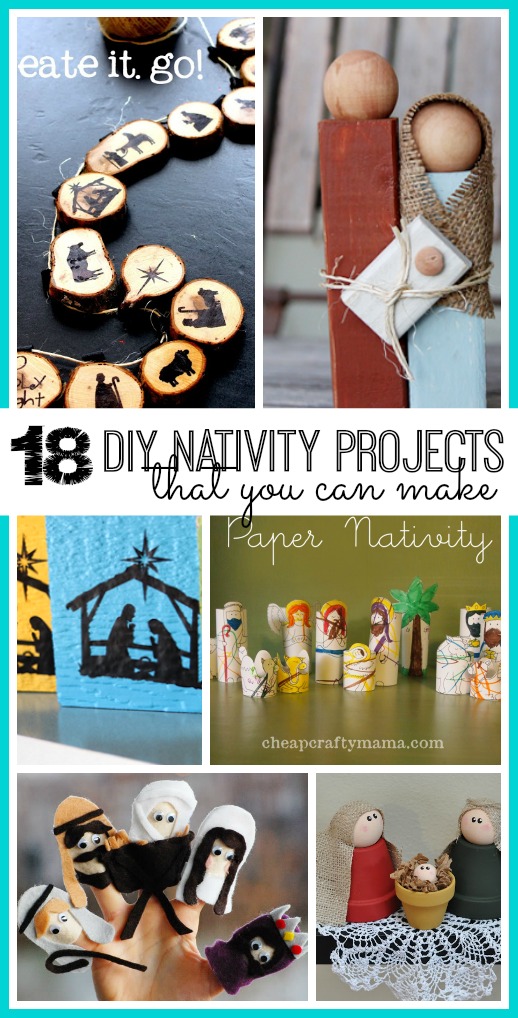
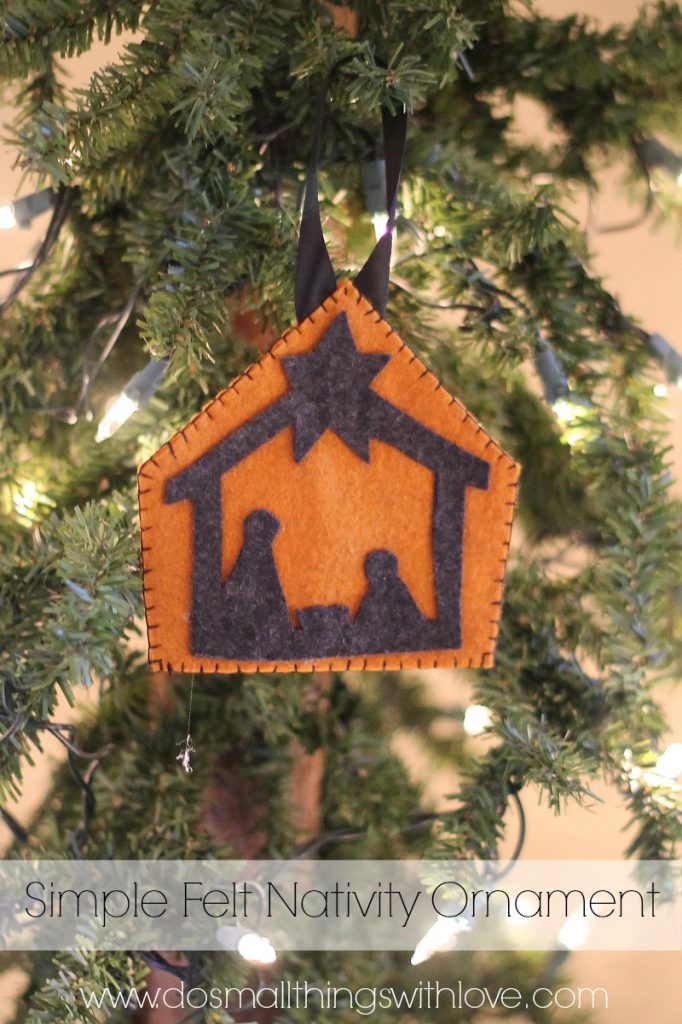
If you liked this post, you’ll also enjoy:
DIY Nativity Projects | Felt Nativity Ornament | Nativity Statue Blocks
Mandy – love your blog, but I have a question. Do you paint over the mod podge? I am assuming you do so the paint will stick to the mod podge?
yep! after the mod podge dries, I paint right over it. I would recommend the matte mod podge, not the glossy.
These are incredible! Did you buy the stencil full or have to cut them out?
I make the stencil with my Silhouette machine and found the full design in the Silhouette store
I love this. For those of us without a silhouette or cricut machine are there other options?
you might be able to find the decals on etsy? might be worth a try!
Loving the how-to but at 10:10min we lost sound. 😞
oh no! looking into it!
I lost sound too!! What did you do after peeling the stencil off. It looked like maybe a little piece of sandpaper or something. I’m dying to try this!
If I don’t have a silhouette
am I still able to get the stencil?
I used a stencil file specific to the Silhouette machine software, but maybe there are other file options out there?
What kind of paint do you use?
I just used craft paint that I had on hand
What gray stain do you use and Do you seal your boards with anything after it’s completed?
I think it was “weathered gray”, but I can’t remember for sure – it’s just something I had on hand. I didn’t seal mine, but I think it’s a great idea!
How long (wide- where the decal actually goes) are the boards?
-Danielle
Love your tutorial but no sound towards the end. Boo. Thank you for all the written instructions as well.
I did this with the modge podge and the modge podge pulled right up with the paint. Total bummer.
bummer!! it needs to be really dry (like wait a day), and make sure it’s not too thick of a layer of mod podge. Sorry it didn’t work for you!
Are the 1×6 boards, 3ft Long and 1×8 boards, 2ft Long? Didn’t see any measurements.
Then video lost sound around 10 min. I would love to hear how yo do the paint the people options. It looks like white paint painted over the people. Is it paint or Madge Podge? Thanks Donna
I lost sound around the 10:00 minute mark, so I’m not sure if this was said or not, but when you’re wanting to just paint the people, where do you apply the mod podge? Does that go over the people (that you’ve already pulled off your stencil) as well? Or, do you mod podge the background?
Thanks!
You’ll mod podge over it all, to seal all the edges of the stencil, that way no paint will seep through in any spots. Hope that helps!
Yes! Thank you! Looking forward to making some of these for Christmas gifts!