this post may contain affiliate links
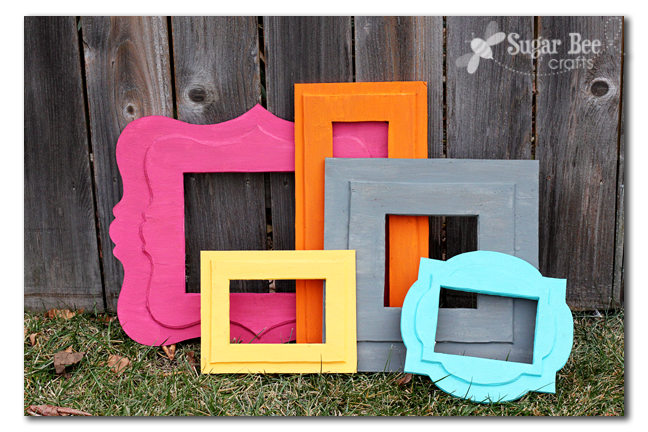
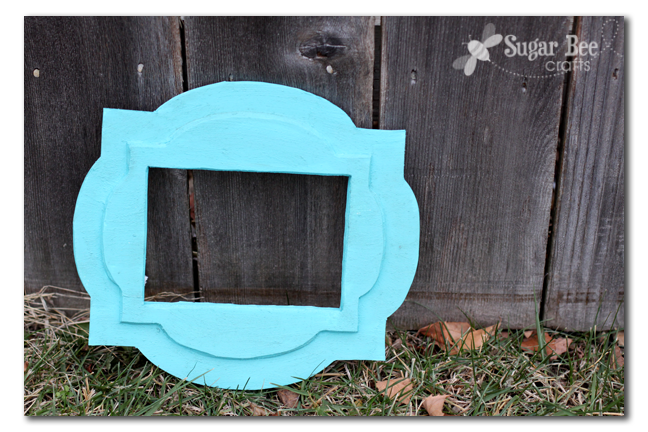
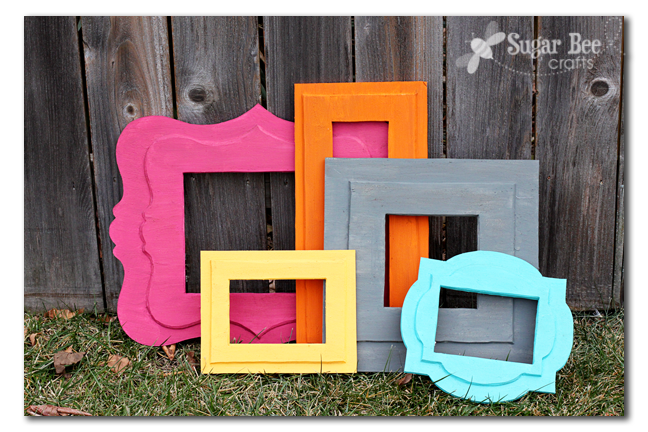
I am so excited to show you this project – honestly when I started I wasn’t sure it’d turn out that great, but wowza, I amazed myself! Can you guess what these frames are made out of?? DIY Foam Frames
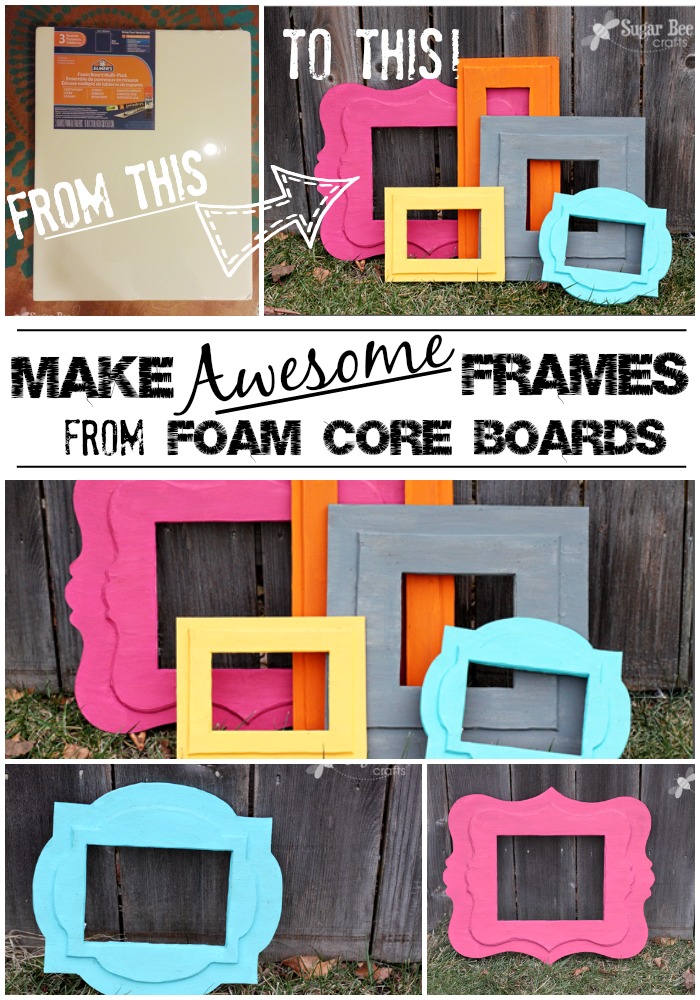
I made them out of Foam Core Boards – really! Inexpensive, regular foam board. And it’s one of those projects that looks even better in real life – it’s hard to see the faux texture in pictures.
Want to make some? Of course you do! Let me give you the run down….
You’ll Need:
—Foam Core Boards in desired size
—Hot Knife (it helps so much!!)
—Stuco Effect
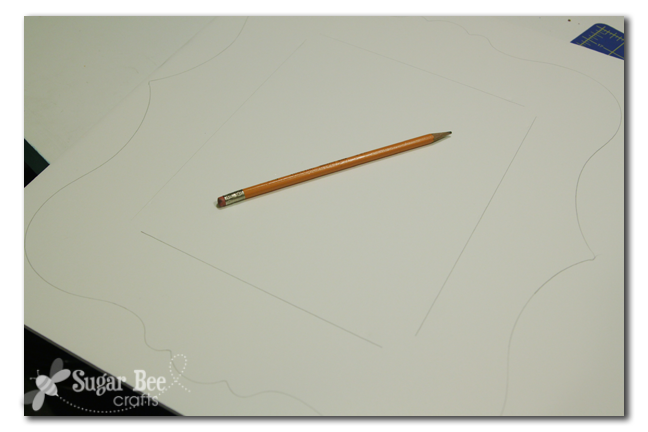
First you’re going to want to trace or freehand (I trace – I can’t draw!) a frame. I used a frame from my wall, plus a template of a frame I found on my Silhouette software, plus just a few straight shapes (square, long rectangle, etc). Just draw what you want:
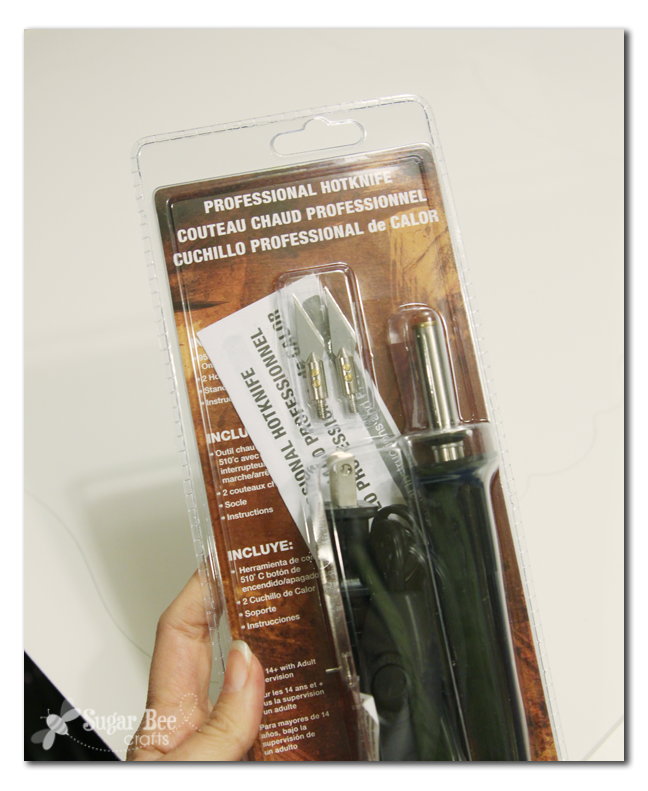
I was nervous to work with foam board because I can never get nice edges and I wouldn’t even think about curves. But then a thought came to me to try using a hot knife – so I ran out and grabbed one from the store – this is what I bought:
I tested it on some scraps and wowza, it was AMAZING! Hot knife through butter – where has it been all my life?! And I was able to work around curves and everything. The key is to just move slowly and let the knife melt through the foam instead of trying to push hard and force it through. I felt so professional using a heat tool – –
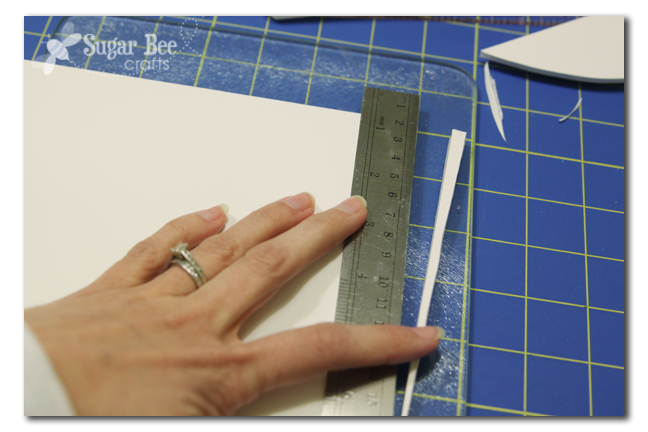
For the curvy edges, I picked up the board and moved around my lines. For the straight edges, I put it on a flat surface and ran the hot knife right along the edge of a metal ruler. I used my cutting board to make sure my lines were straight and square.
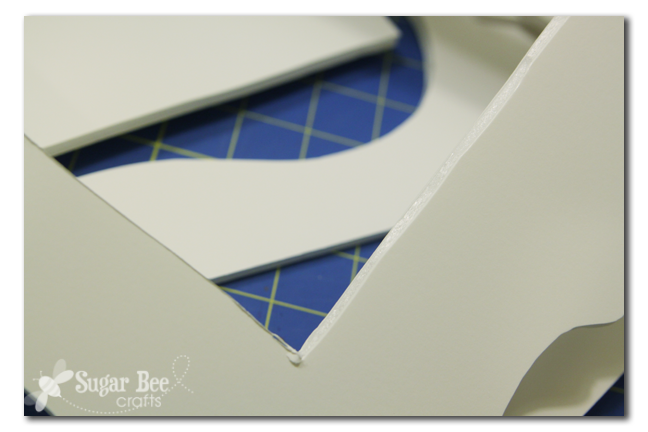
To give it a little more depth and feeling of real wood, I tried to angle the knife, kind of like you would see a routered edge on wood. You can kind of get a glimpse of that in the picture below (the edge on the right of the picture has been angled and the edge on the left-ish side of the picture hasn’t been yet) –
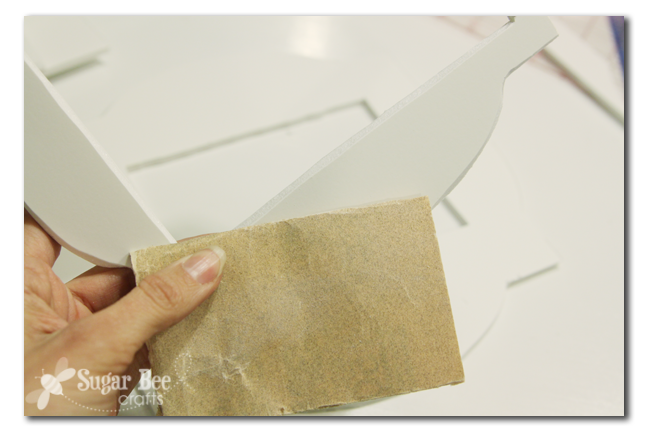
There might be ridges from your cuts, and you can simple sand those down with sandpaper:
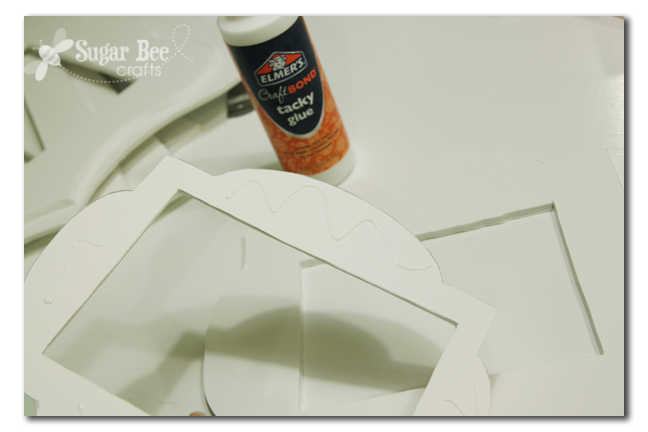
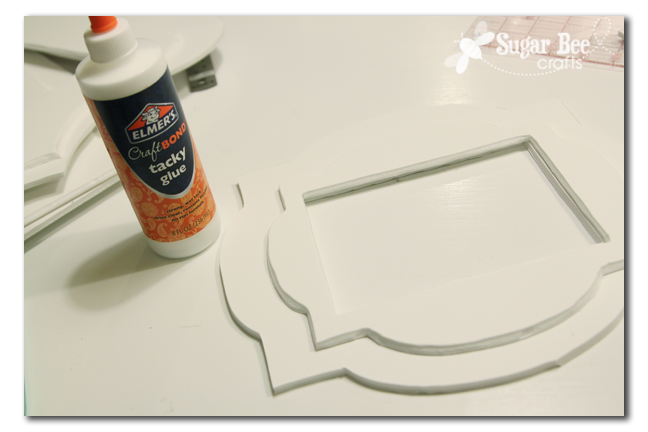
Part of what makes these awesome is the layered feature – each frame is actually two frames I made separately then glued together – –
I think the layers really take the project up a notch:
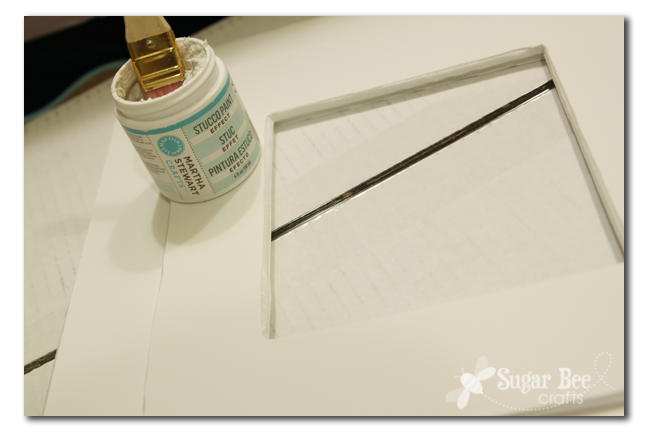
So, now you’ve got your frame, but it still looks like you cut it out of foam core. To solve that problem, I added texture to it – again, really taking it up a notch. I used the stucco stuff I happened to have on hand, and just brushed it on haphazardly –
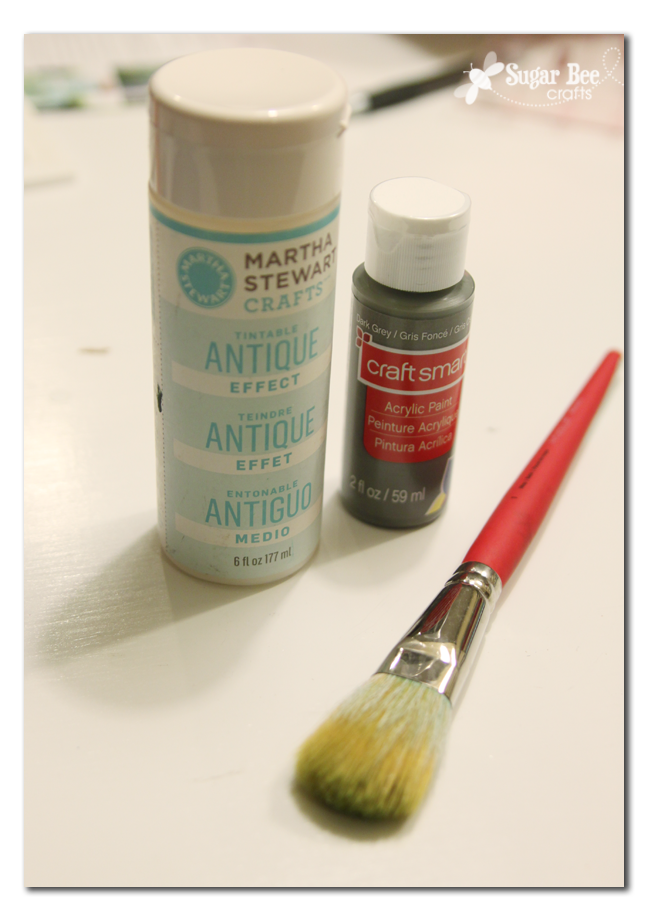
I think the texture also helped the paint color adhere to the board. I watered the paint down just a little with antique glaze, but I’m not sure I could tell that I did in the end.
A couple coats of paint (some only took one coat – depended on the color) and let them dry. That’s it! Here’s a couple up-close:
I am a part of the Elmer’s Craft It! Crew, and so I made these for them to display in their booth at CHA. It makes me feel half-famous – a craft of mine on display at the Craft and Hobby Association Convention – so cool! If any one of you happens to go to CHA, visit their booth and let me know how they looked with all the other stuff.
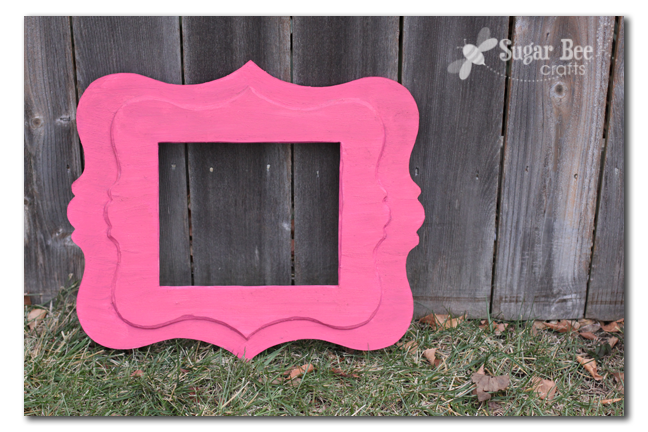
Can you picture these frames in your house?? You could do a whole frame wall in bright colors in a playroom. Or you could use more subtle grays with a small pop of color in a bedroom. The possibilities are endless with these – and they’re so affordable, especially compared to buying large frames (the pink one below is pretty big – it was basically the whole foam board). I know I’ll be making more in my future! You can make these – give it a try!




Those are so cute! I would have never thought to use foam board – so creative.
i am wondering where you found the hot knife? i have been looking for one and purchased one used for cutting styrofoam forms, but would really like a smaller one for crafts.
#hotknife
I got mine at Michael’s – hope that helps!
Could you share with us the type of knife that you got and the name of description of the label with the knife. I can not seem to enlarge the picture to get more info on the knife and blades that you got with it.
it’s called a hot knife – I got it at Michael’s, in the wood section, next to the wood burning tools. hope that helps!!
That is one off the smartest ideas I’ve come across. I plan on trying this. Thanks!
I love it!
that turned out so cool! very great!
These are so cool! I really need to make some of these for my daughters room!
You are awesome, what a great idea Mandy!! LOVE!!
These are awesome! I’ve been looking for 8×10 frames to use in my office to spell the word “counselor”. These will be great!
Love these! I actually tried a similar project, but didn’t have the hot knife. I struggled to get good cuts with a regular cutting blade. I may have to try it again now!
I remember cutting foam board with a hot knife once when I was working on one of my high school homecoming floats. That was years ago, but I can still remember how awesome it was! Great tutorial! I love the frames.
Liz
http://www.liz-makes.com
These look really cute but how do you make it work as a frame? Did you use a piece of foam as a backing?
I love to hang empty frames on the walls, etc, so I didn’t need a back. But yes, if I were putting in a picture I would use a piece of foam board as backing and probably duct tape it on instead of glue so that I could take it on and off
I have been looking for a BIG frame that was kinda fancy to put around the hideously ugly whiteboard calendar in my office (NOT my home office, or that white board calendar would have been gone long ago)…. I can’t believe I didn’t think of making one like this!! I think I may even be able to make it to cover up the plastic edges on the white board? If it works as fantastically as I think it will (famous last words!), I will send you a picture. THANK YOU for the amazing idea!
A hot knife- that’s the secret! I have tried lots of different ways to cut foam core before. Thanks so much for figuring it out for me! The frames look awesome1
You’ve got to be kidding me!! I’ve been trying to cut foam core board forever and it comes out horrible with ragged edges and ripped paper. All I needed all this time was just a hot knife? I didn’t even know a hot knife existed. OKAY! LADIES, start your engines. I already know what I’m going to do with it. YAY!!! Won’t you come and link up to my party also? Linda
https://www.craftsalamode.com/2014/01/what-to-do-weekends-54.html
Hi Mandy, saw this at Think Pink Sunday. FREAKING GENIUS, seriously, you are amazing. This is so cool, I can’t wait to try it and save myself a lot of money on frames too. Thanks for sharing 🙂
This is awesome, Mandy!
So awesome Mandy!! I love that you thought to use the hot knife, great idea!
These are amazing! I would never know they weren’t actual wooden frames!
I’m one of the hosts over at the Awesome Things Tuesday blog hop! Feel free to check out other projects and link up yours while you’re at it! We’d love to have you!
-V
https://vlittlebirds.blogspot.com
This is such a good idea!
I love the shapes you chose and the bright colours
Mandy, I love this idea – it is so ingenious. I have painted foam core in the past and it has warped… what do you suggest? Cathy
Hmm, mine hasn’t warped yet, but that was a concern I had – I think it helped that the frames are double-layered, so they’re less likely to bend. Also less is more when painting – I think if they get too wet that might cause warping too.
I love the vibrant colors! Fantastic tutorial – I’ll have to share this!
What an amazing idea! Love this!
this idea is genius! You did a great job, Mandy. Was wondering how much is the hot knife and where’s the cheapest place to buy one, please?
Hey Paula – – I can’t remember for sure, maybe $10 or $12? and then I used my 40% coupon to get a better deal. I grabbed mine at Michaels.
awesome DIY! Would never had thought of it!
That’s a really unique idea! Especially if you have a frame/size in mind but can’t find it. You can just make your own 🙂
These look great! I’m always looking for frames for oddly shaped prints I have, and never would have thought to do this. I’m going to feature this in my weekly wrap-up on my design blog (violetgreens.com).
I just had to pin this! Loved it!
Really cute frames. Thanks for sharing:)
Stopping by from SITS. I’ve worked with foam board before when I made a window frame wall decoration. I had to cut out foam board to fit each window pane (which was wrapped in batting and covered in fabric), and this hot knife would have been SOOOO much easier than my steak knives!!! Haha. Great ideas and good job!! I was thinking to make things pop even more, you could even paint each frame a different color before gluing them together for dual colors. 🙂 Awesomeness.
I love using foam board for photo booth props, and I usually just use a box cutter type razor, but a hot knife? Well, duh – why didn’t I think of that?
Oh my gosh, this is AWESOME. I need to reframe so many pictures and am going to try this….!
Great Visual Post… I have a few nice pictures that I would like to do a frame, to try how it turns out. I will pin this because I’m really interested in doing this project.
WOW I thought these were wooden frames! You did amazing!
Will use this for my students art work for the end of the year art show! Way cool….
These are so cool. I’m always eyeing those curvy frames at Hobby Lobby. Who knew I could make them out of foam core. i’m assuming you can find a hot knife at the craft store, right?
This is just what I have been looking for. I got a fab calendar for Christmas with the most amazing pictures and I needed a frame for some of them and this is it.
Thank you so much for sharing. These frames are wonderful
These are so great! I’ve been looking for some bright colored frames for my bathroom and doing something like this will be perfect! Thank you!
Fabulous
Genius!
How fun are these?! Love them!! And I totally never thought about using a hot knife on these. I HATE cutting these boards and we totally have one of those hot knives. I am going to have to pull it out next time I cut it.
Its an awesome idea for frames. i can change my frame designs whenever i want. change the frame design and color matching the interior design. cheap but good looking idea.
I love how you made them even more decorative by adding the stucco! What a creative, inexpensive idea. Thanks for the tips on using a hot knife too!
OMG!! Thank you so much for this!! I was looking around for an inexpensive way to make a wall frame collage and this is PERFECT! You are truly a creative person!!
I am DEFINITELY doing this!! 🙂
good luck with yours!
For the backing of the picture, you could try plasti-tak.
Wendy Mac
great idea!
this is gorgeous! i will totally want to try it. Can i ask which colors you used? thnx for an awesome tutorial!
I have used a hot knife before, and it just melted the foam right through. How did you get it to not melt?
right, it needs to cut right through, so it melts as it goes
Just want to say I believe this is the best idea for lightweight frames for kids rooms or kids art I have seen in a very long time. I have a baby nursery and 2 little girls who love making me artwork. These are going on my art wall and up in my sons nursery as the frames I want instead of something I could find and make work. Thanks for the tutorial.
awesome! that’s a great idea!
Those are great frames.. I was wondering what they use for those frames… Now I know what to get for my frames.
Do you make these selfie frames to sell? I would like the pink for a Birthday. Please send email. Thank you
Exactly what type of paint did you use to paint the foam core?
I just used craft paint, those small bottles you can buy at the craft store
Mandy, wondering where you got your largest piece of foam & what is the biggest one they offer? I need a big one! Love this idea!!!!!
it’s a big piece of foam-core board, and I think it come in like 3ft by 2ft? or whatever poster size is
Wow I really loved this DIY!
Very creative!
Thank you
I really like everything I’ve seen here, your creativity has worked for me. I’m going to try to make you thank you for sharing. Congratulations.
I made two of these for a “Writer’s Wall” in my son’s classroom. He teaches sophomore and senior girls, represented by blue and rose frames, respectively. We randomly hung B&W “headshots” of all the writers — from William Shakespeare to Elizabeth Smart — that he’ll cover this semester. The frames will “move” from writer to writer as the class studies their works. The frames add a lovely/colorful feminine punch to his room. Can’t wait for the girls to see it! (BTW: The frames did warp slightly. I was able to fix that by painting the back side of the framess, and they flattened out beautifully!)
this sounds awesome! what a great display!