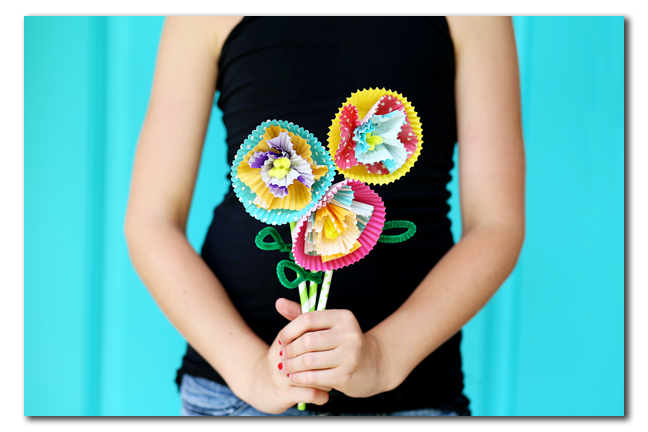
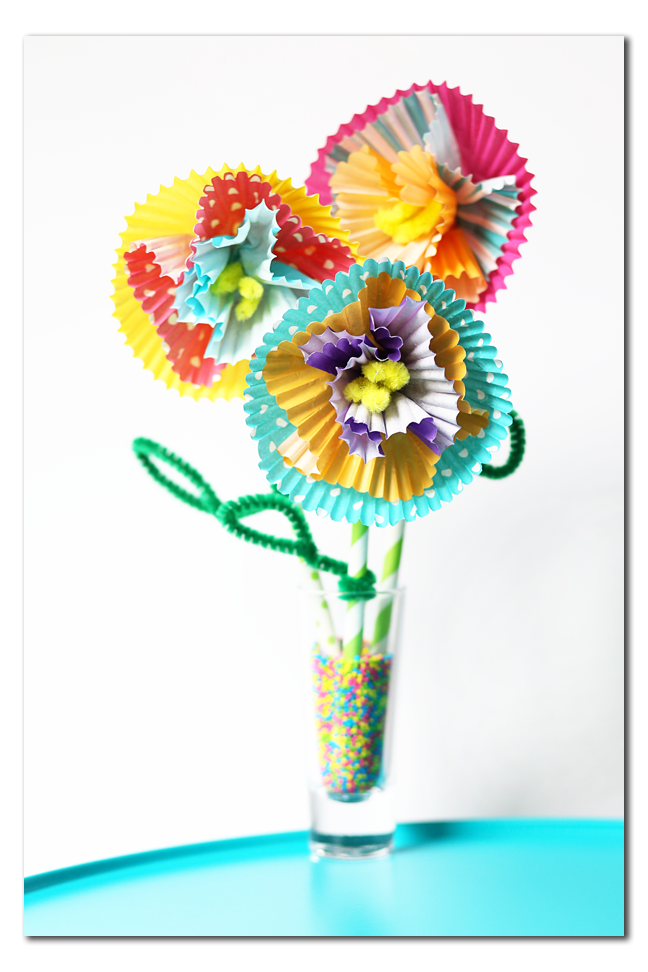
Cupcake Liner Flowers are such a simple craft, yet they turn out oh so cute! They are a perfect craft project to tackle, and even make a great kids’ craft. And it gives you a fun way to use all those super-cute cupcake liners!
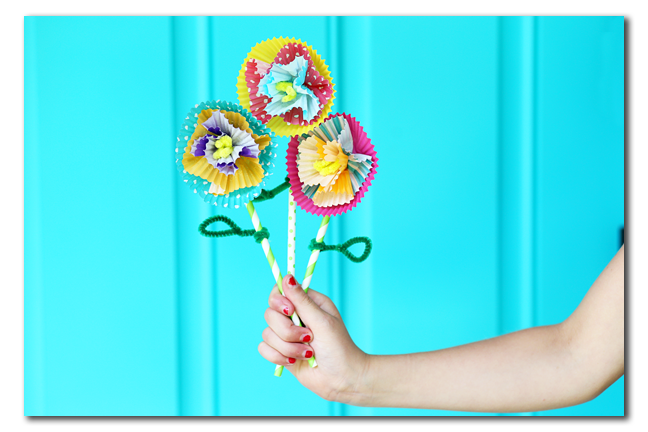
You’ll want to save this tutorial for sure!
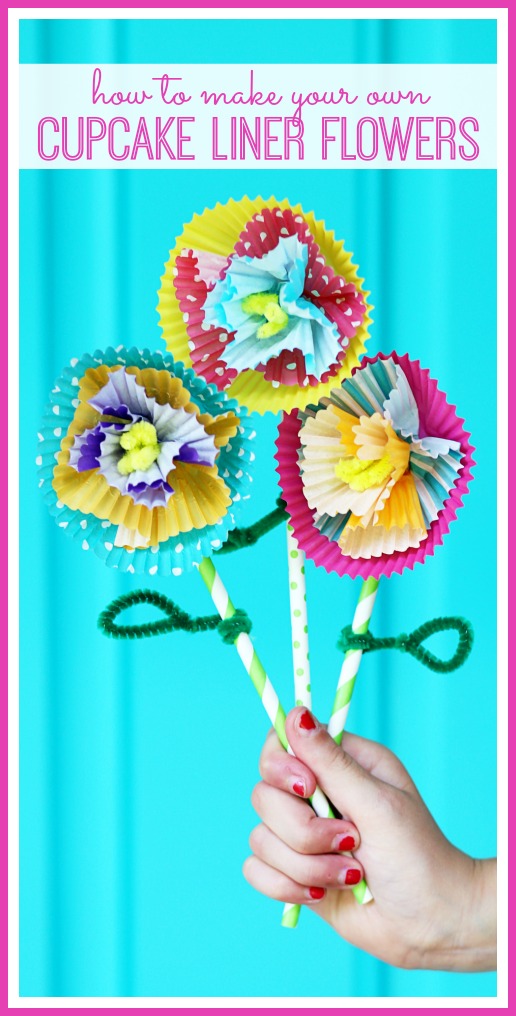
Cupcake Liner Flowers
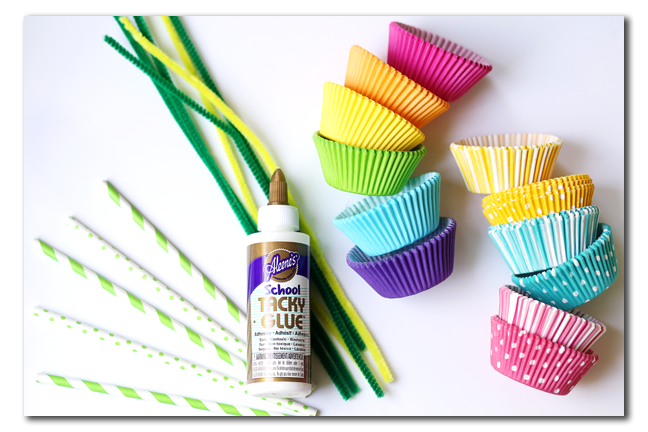
You’ll need:
–a variety of cupcake liners
–paper straws
–pipe cleaners in yellow and green
–Aleene’s School Tacky Glue
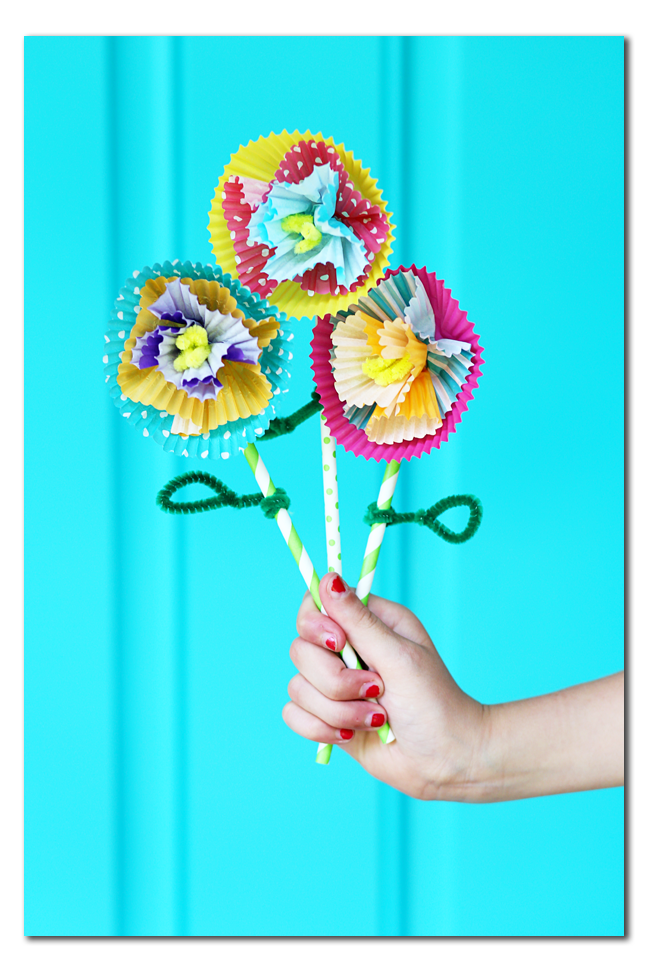
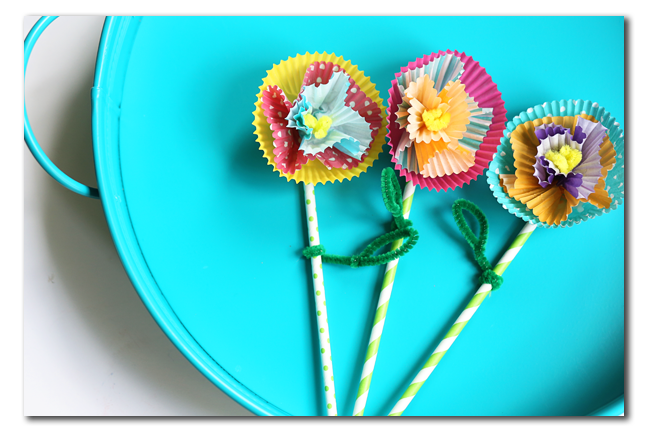
The flowers are 3 layers of cupcake liners, so the first task is to decide which 3 liners you want to incorporate into your flower. The first layer is the back one, and stays as-is. The middle layer gets crumbled slighty, and the last layer is the center, and it gets crumbled fully. I flip the first and second liner inside-out so that the color is facing out, but I keep the center one as-is.
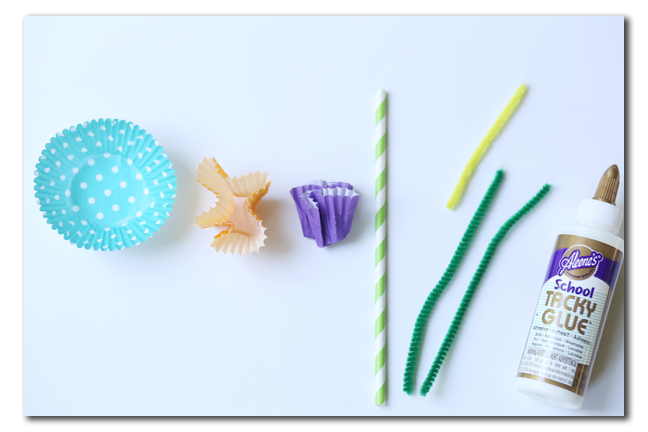
Glue the layers together using a generous amount of glue.
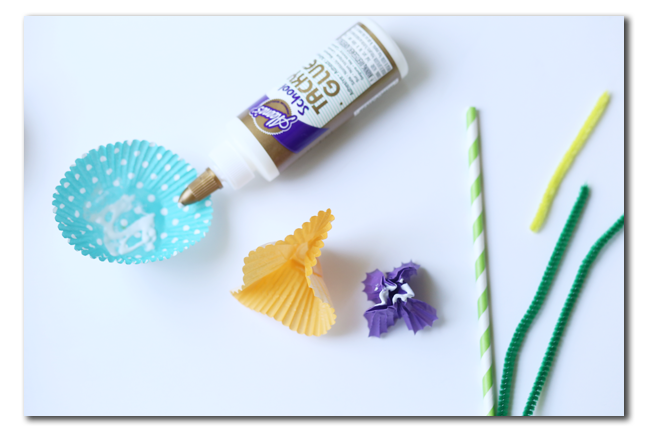
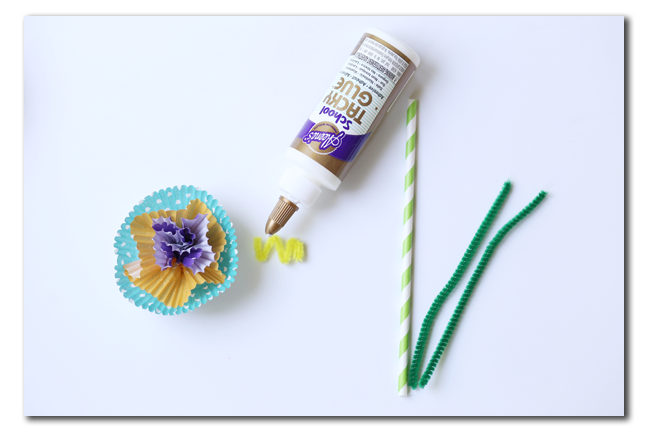
For the center of the flower, fold half a pipe cleaner into a zig zag and attach it to the inside of the center liner using glue.
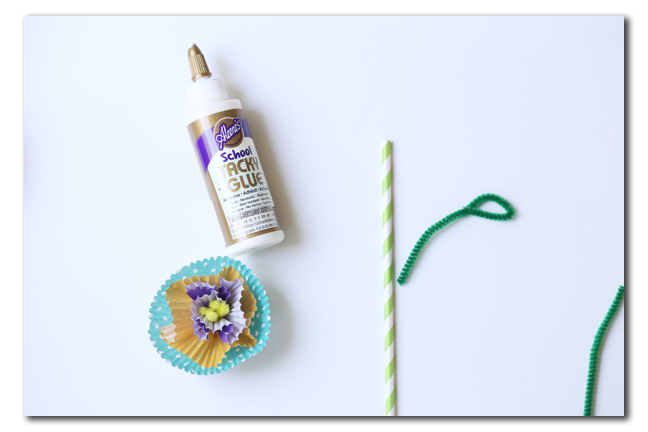
Use green pipe cleaners twisted in an oval shape to form leaves and wrapped them around the stem.
Attach the paper straw on the back with a generous amount of glue – the straw will be the stem of the flower.
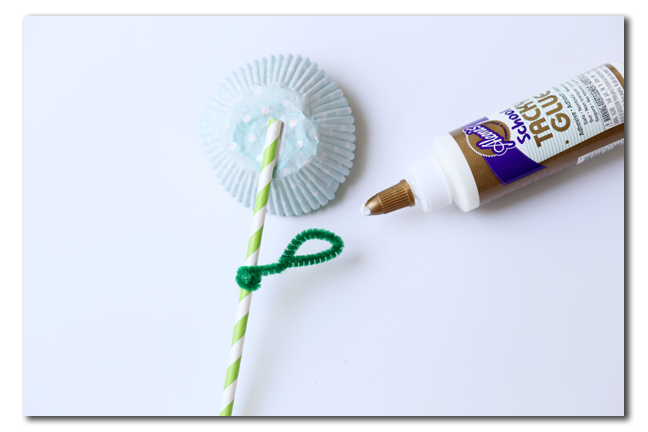
That’s all there is to it! Your kiddos will enjoy making them by the bunch!


These are so cute! Such a fun spring craft idea!
Chelsea @ Life With My Littles recently posted…Mama’s Monthly Faves #5