THIS is why I love crafting – when you make something and just love it and how it turned out. This is why my cutting machine is my most favorite craft tool, because I can whip up projects like this whenever I want. And with awesome fonts and cut files on hand, the possibilities are endless. Today I want to show you how to use a cut file to make a painted sign – with those awesome crisp paint lines, grateful sign. And TOO funny, it’s actually a GATHER sign, but I keep using grateful and gather hand-in-hand, whoops!
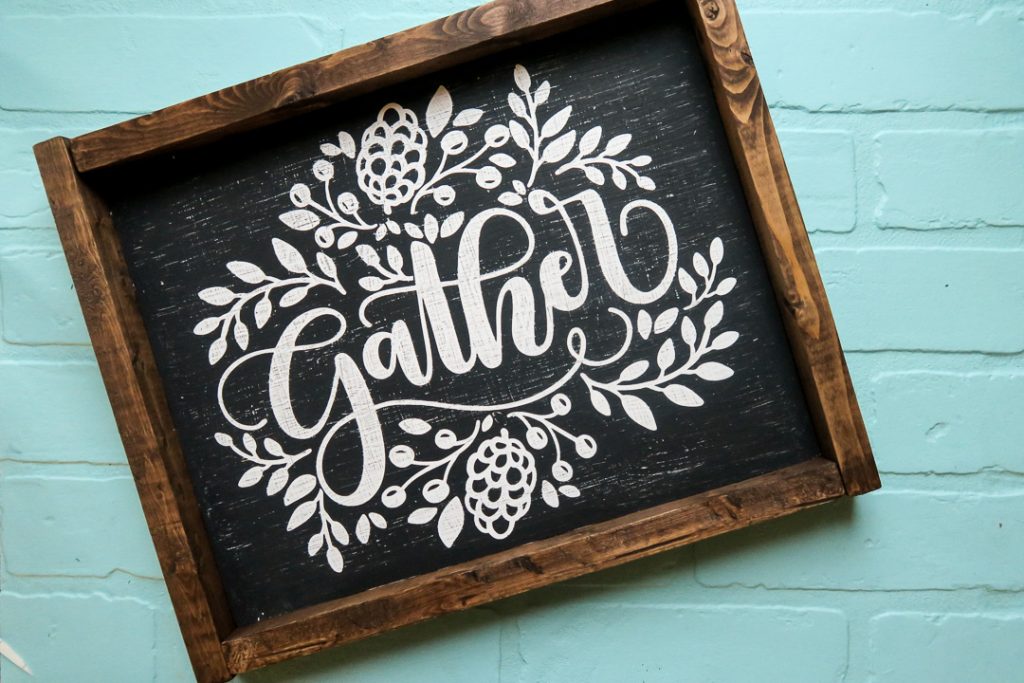
So good, right?! I love it! Here are some pinnable images if you want to save those on Pinterest for later:
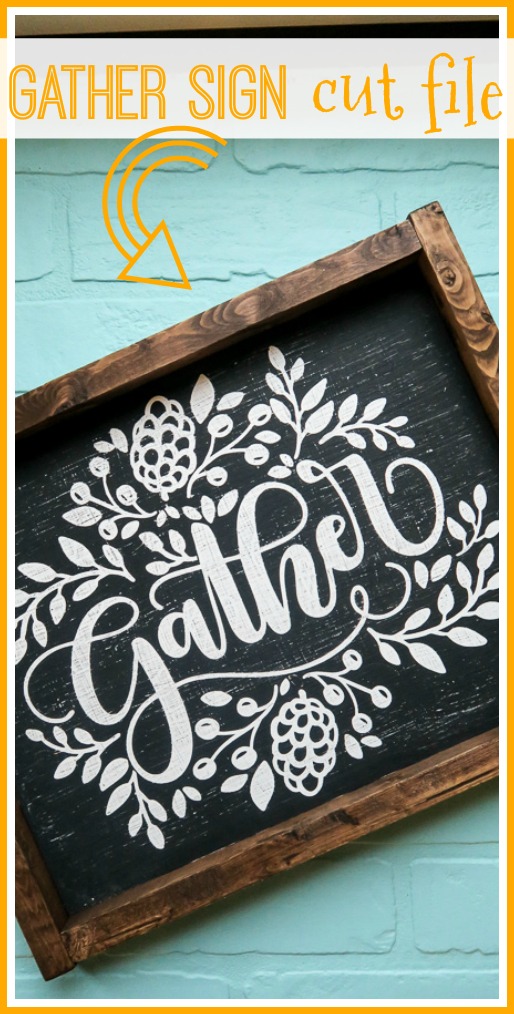
Gather Sign Thanksgiving Craft Idea
You’ll need:
—Gather Cut File (I don’t think the one I used from CraftBundle is available anymore, but I LOVE this one I found on Etsy)
—Vinyl or Stencil Vinyl (want to learn about Stencil Vinyl?!I have info on Stencil Vinyl here – I really love it!)
–my FAVORITE transfer tape, it’s the best!
Video Tutorial, Crisp Paint Lines
Lucky you, I have a VIDEO tutorial that is just a couple of minutes long, to walk you through the process:
Crisp Paint Lines, Grateful Sign
If you prefer a step-by-step photo tutorial, I have that too! Let’s dive in!
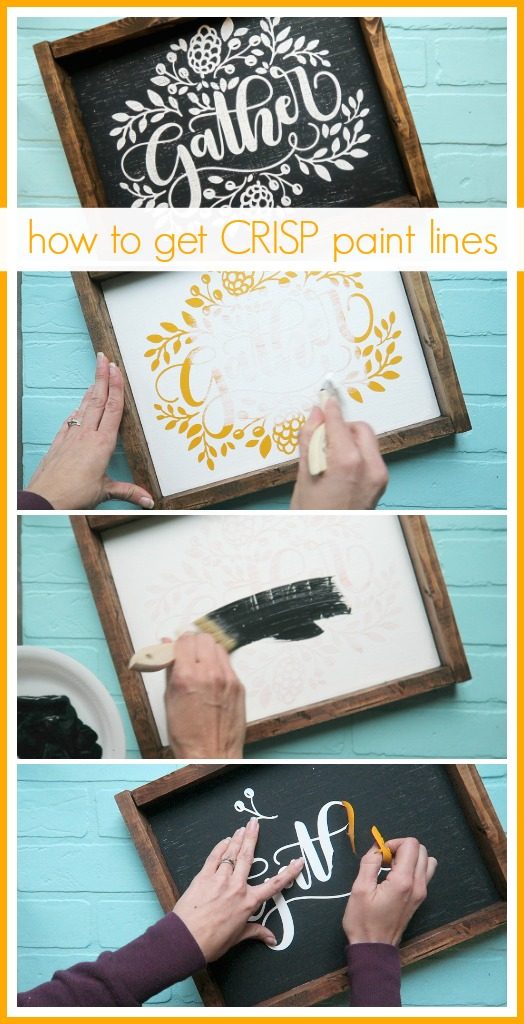
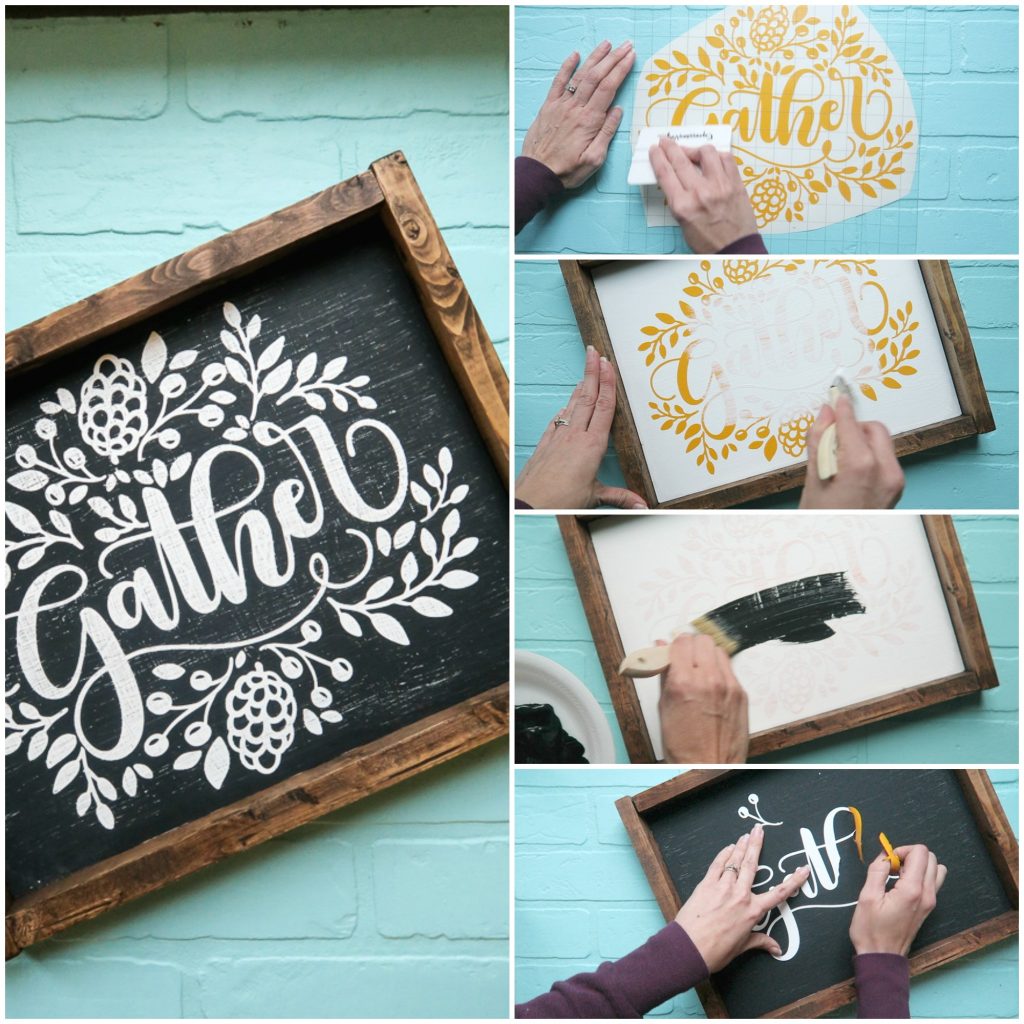
First off, you’ll need to cut your design. I use my Silhouette machine and this GATHER Cut File to cut my adhesive vinyl.
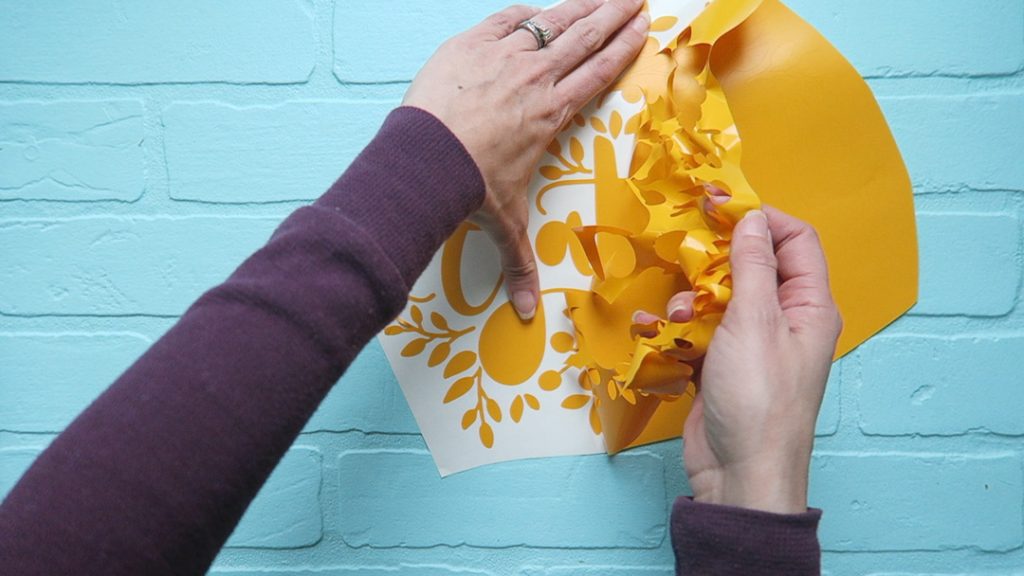
Next up, weed out the vinyl and then use transfer tape (loving this new transfer tape, clear with grid lines!) to transfer the design onto your project.
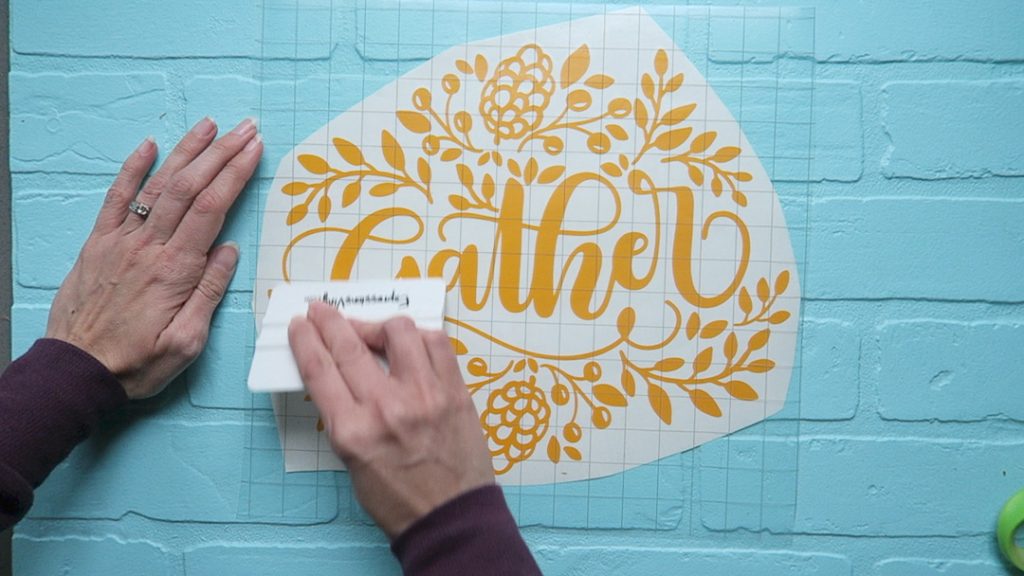
Remove the transfer tape and voila, decal is on your project and you’re ready to dive in to the next steps.
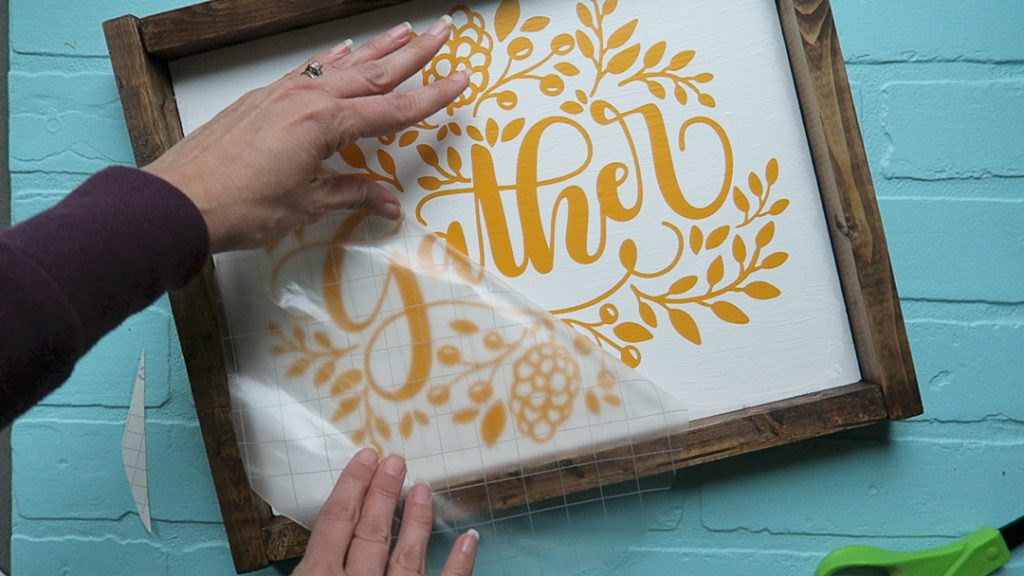
The SECRET to Crisp Lines
The secret to crisp lines is to seal in your stencil. Paint over your decal with the same paint as your background – here it’s white. That way, if there is any bleeding through, it will be the same color as the background. And that color will fill in any gaps in your stencil and “seal” the edges. Let dry.
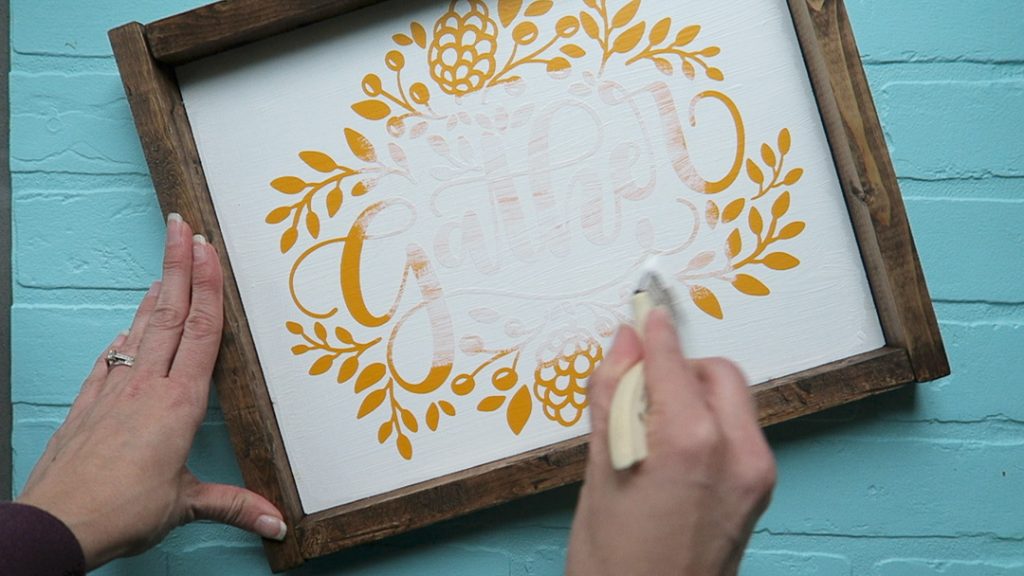
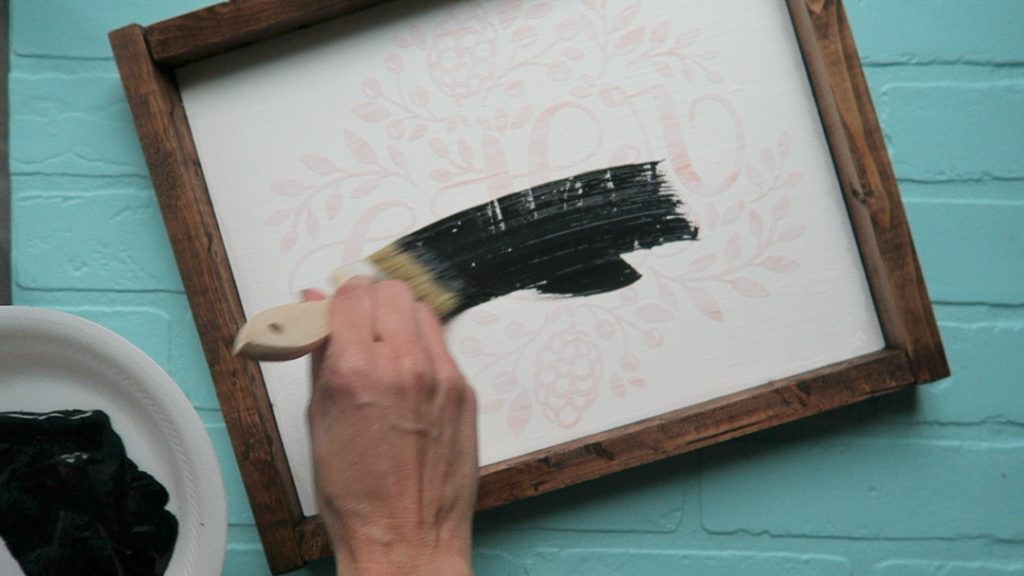
Next up paint your color coat – here I used a chalky black. Let dry.
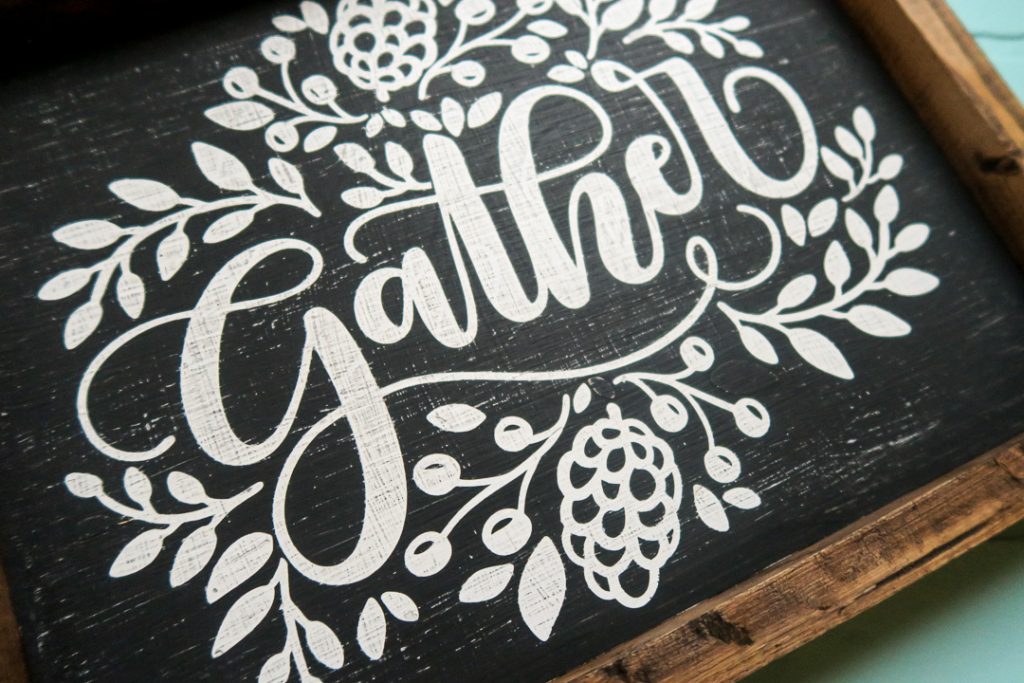
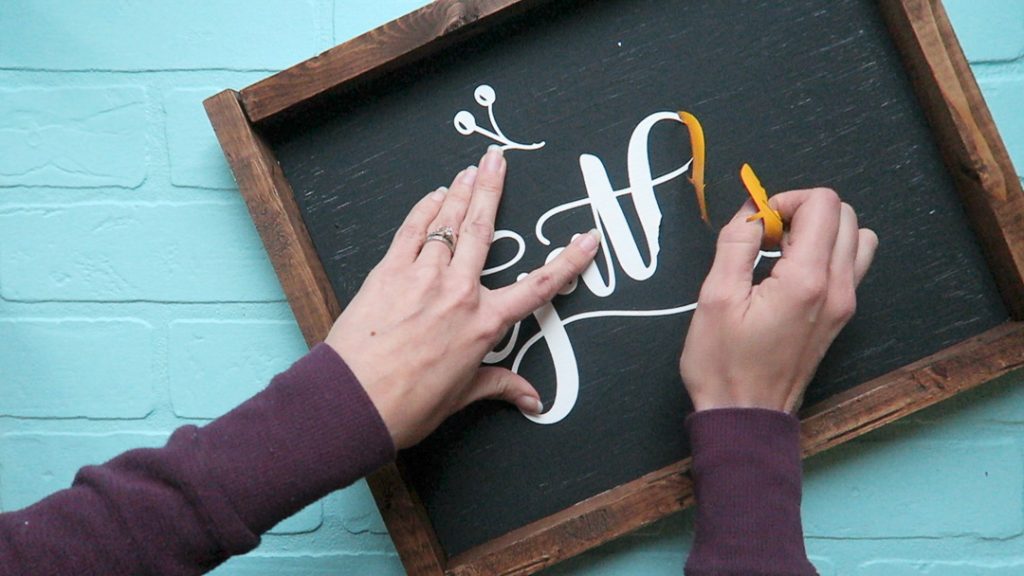
Now comes the fun part – go ahead and peel up your stencil decal – look at how crisp and clean those lines came out – soooooo goood!!
Next I sanded my project to give it a more distressed look and so you can tell it’s painted and awesome.
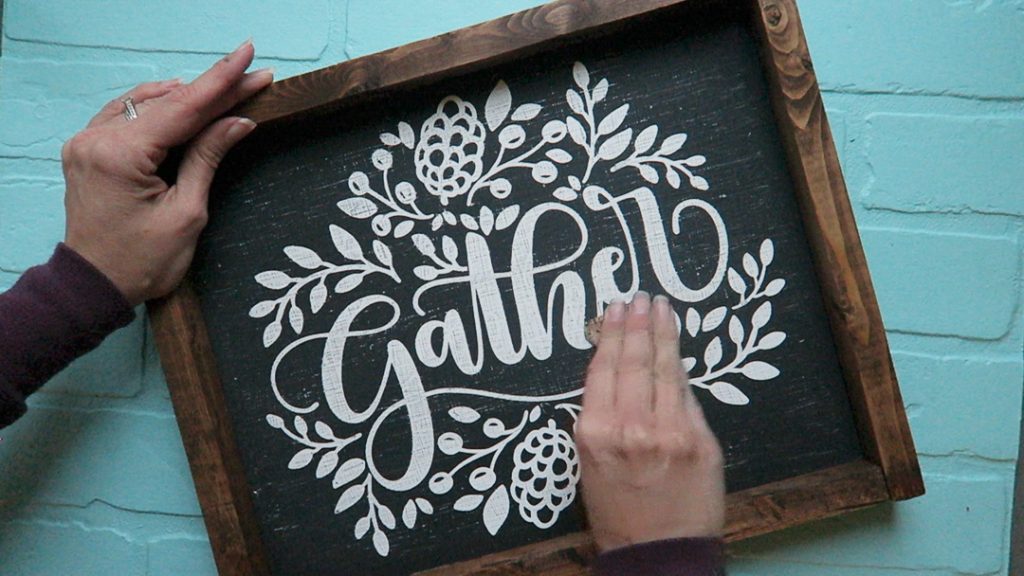
That’s all there is to it!!
Thanksgiving Decoration Ideas
If you love making things for Thanksgiving, you might also want to check out:


What are your Silhouette settings? I’m having a horrible time with my machine.
Is the design placed on paper? If so, how did you get the vinyl to come off? What type of surfaces do you recommend using for this type of project?
Also, what type of paint did you use? Is it a tempera paint, latex, acrylic?
the white paint is wall paint and the black paint is acrylic craft paint, I just used what I had on hand, hope that helps!
the design is cut out of vinyl – vinyl comes with a backing that you remove. I put the vinyl stencil onto wood.
thanks so much for sharing this tip!
I wish I had seen this yesterday! I tried the mod podge to seal a project and it just wasn’t so fabulous…lots of touch up needed. I can’t wait to try this! Thank you!!
good luck with it!
Two questions:
1. What vinyl do you use for stencils? I’m new to using it as a stencil.
2. Did you let the black top layer of paint dry before pulling up the vinyl?
I just love your creativity and ideas.
Absolutely love this…. can you tell me what kind of paint did you use???
the white is wall paint and the black is a matte craft paint – – just basically whatever paint I had on hand 😉
where did you get the frame?
it’s a DIY, I made it 😉
Is there a tutorial for the frame by chance?
Love it. It turned out so cute!
Where did you get the boards from do you know? What marker also are you using? you did a great job here