this post may contain affiliate links
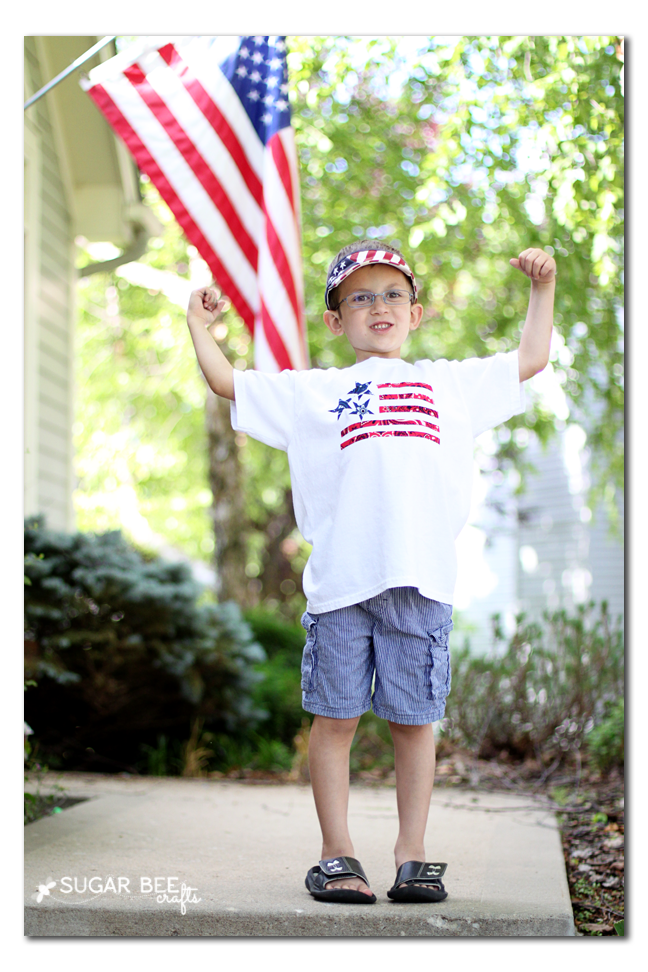
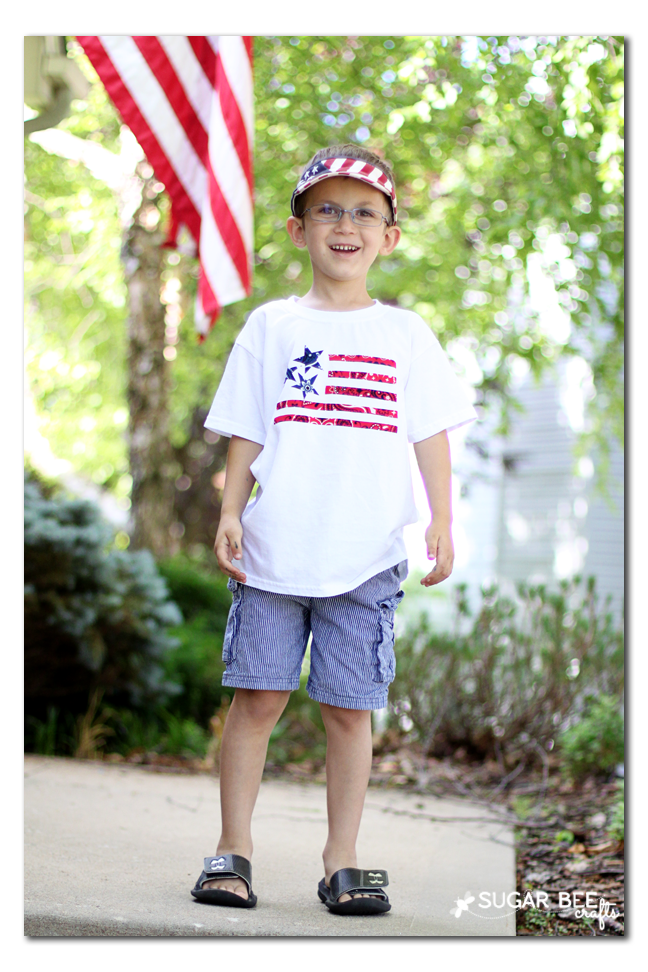
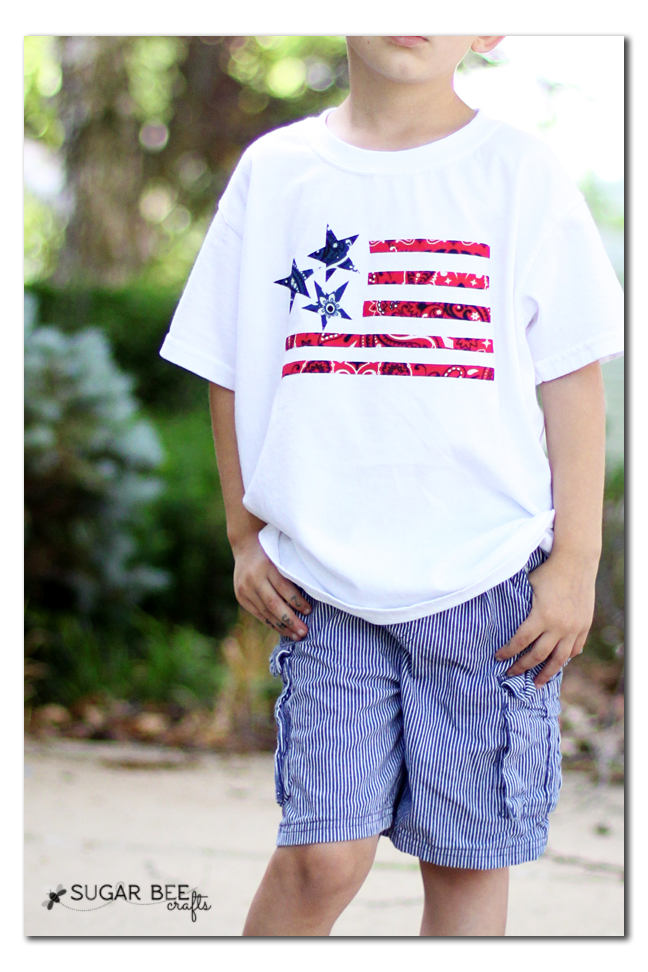
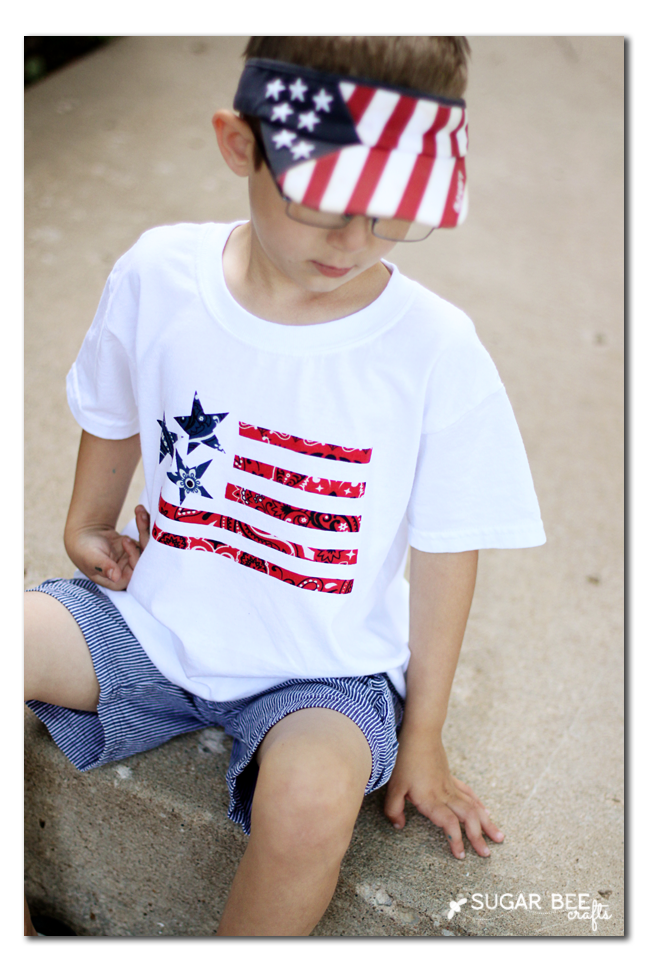
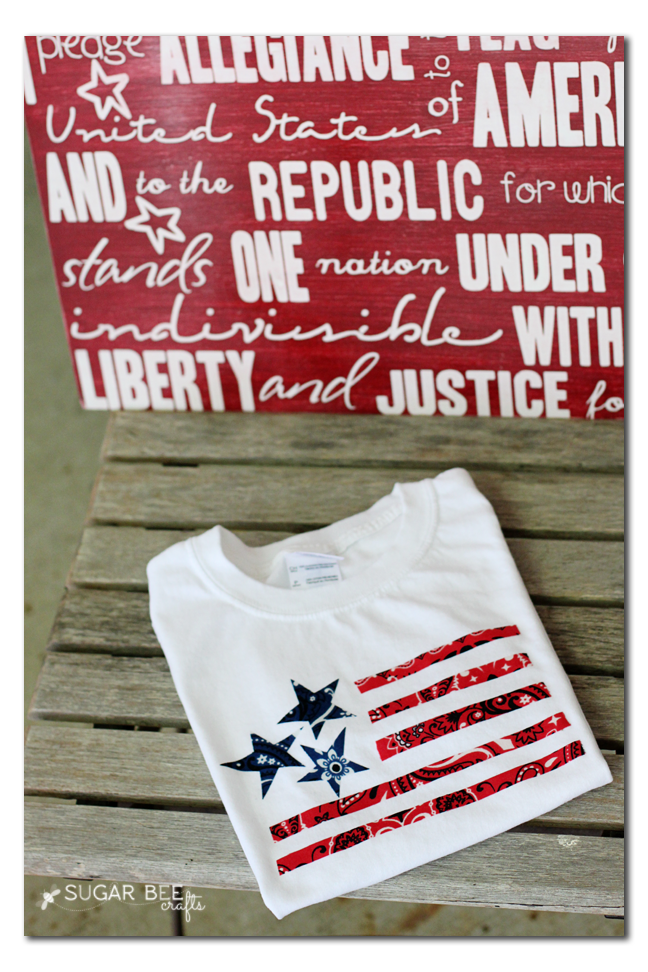
I can’t get enough of the Red White Blue projects, and this is no exception – didn’t this Bandana Flag T-Shirt turn out SO AWESOME?!
And I’ve got a tutorial for you, to show you step-by-step how to work your way through this project – it’s so doable and fun, and I love the interest that using bandanas adds to the flag.
Bandana Flag T-Shirt
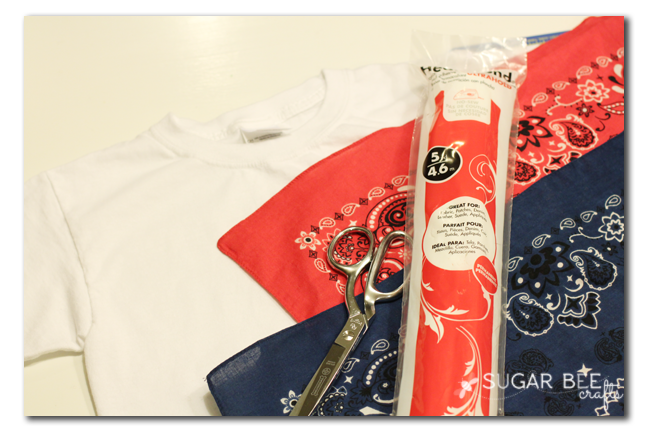
First up, gather your supplies -You’ll need:
–white tshirt
—Bandanas, red and blue
—Heat n Bond
–Scissors and Iron
that’s it!
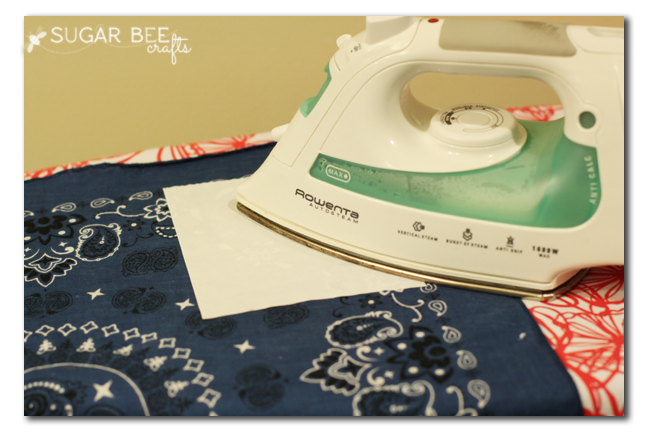
Cut a square of the Heat N Bond and iron it (bumpy side down) onto the back of the bandana:
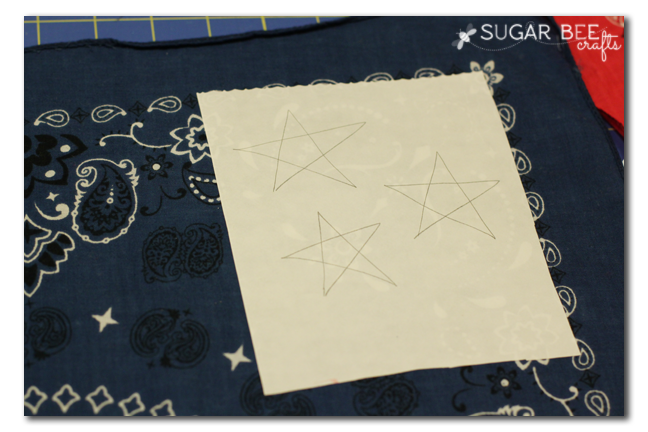
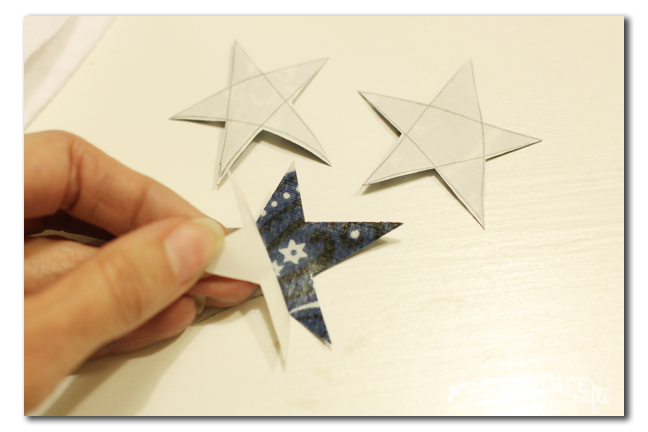
Then you can draw the shapes you need onto the paper backing – my fancy stars:
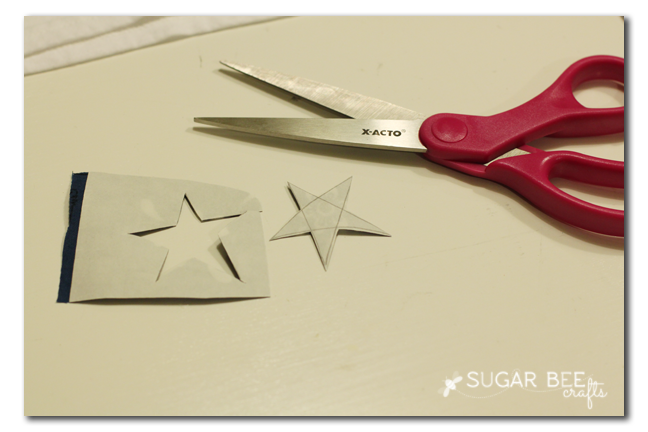
Using your template, cut out your shapes:
Then you can peel off the paper backing. The “glue” is shiny and should be left behind on the back of your fabric.
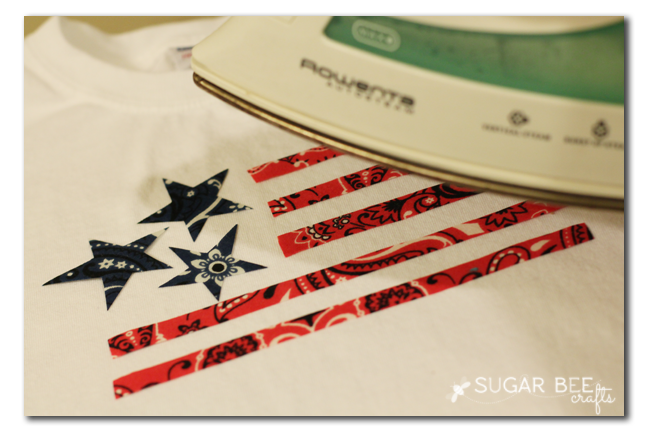
Repeat for all the stars and do the same thing for the stripes. Once it’s all cut out and peeled, position them on the shirt where you’d like them to go. Then iron them into place. The heat from the iron will permanently bond the fabric to the shirt.
I think this turned out really awesome, and so does my to-be kindergartener – he loves his new shirt!
I really love that it was a fast and simple project – perfect for summer!
And of course, all things Red White Blue are awesome, especially in the summer. This is a win-win.
If you love this project, I have a few more that I know you’ll love:


Cute!! I’ve got a Craft Gossip post scheduled for this morning that links to your tutorial:
https://sewing.craftgossip.com/tutorial-no-sew-bandana-flag-t-shirt/2014/06/14/
–Anne
thanks so much!
Super cute! Thanks so much.
This is an amazing project and it is making my head spin with creative possibilities! Thank you for sharing Mandy!
I wanted to let you know I am featuring your No Sew Waving Flag Shirt in my 4th of July Wearables Tutorials post on 6/17/14! I thank you for sharing your tutorial and am exited to include it alongside other great 4th of July wearable ideas!
This is adorable!! You are so crafty 🙂 Pinned…..twice!
Thanks!!
Love this! I’m not usually one to wear a specific shirt for the 4th, but I just had to make this! Unfortunately, I forgot about the Heat N Bond–I was actually thinking it was stitched on, but how would I get a good cut and get it to stick to my shirt?!? With a little creativity, I got it to work, using freezer paper to trace the stars & stripes and then a little bit of spray adhesive to hold them in place while I stitched them down. I overran on my edges in a few places, but I don’t mind! I added a little vinyl saying from the Silhouette store (design #2041) that says AMERICA (with stars between the letters) land of the free * home of the brave–I split it to go above & below the flag. This was my first applique project, and I am so excited with how it turned out!! Thanks so much for the inspiration!!
oooh, as applique would be super cute – great idea!
So cute and easy!! Love it! Pinned 🙂
I live in Minneapolis MN and came across this tutorial in 2016 when the Ryder Cup golf tournament was held here. I made this shirt for myself to wear to the tournament one day. I ironed on some red letters that said 2016 Ryder Cup and I had myself a one of a kind shirt! I got lots of compliments on it and a few people even asked where I bought it! It was super easy to make!