I know, I know, you’re not ready to talk about back-to-school – but it’s going to be here before you know it! And you know, the kids start getting excited. Mine love getting ready for back-to-school and are always looking for things they can craft or do to prep for school – this project fits the bill! It’s fun to make and helps foster that back-to-school excitement. My tween LOVED prepping some DIY Painted Lunchbags in anticipation of back-to-school. It’s also just a fun kids craft to do anytime – most any age can tackle it! This post may contain affiliate links.
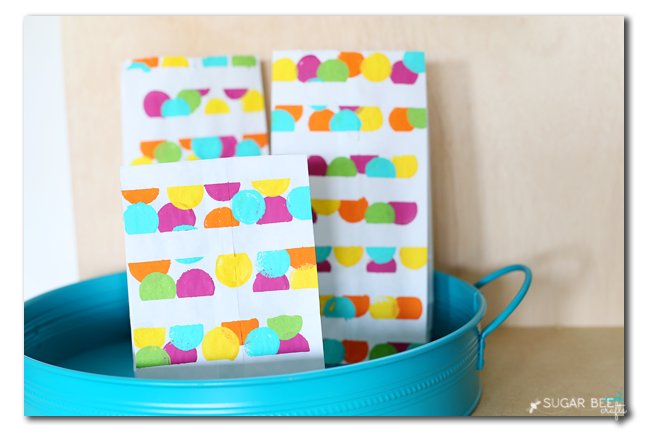
I have a quick tutorial for you for the Back-to-school DIY Painted Lunchbags – –
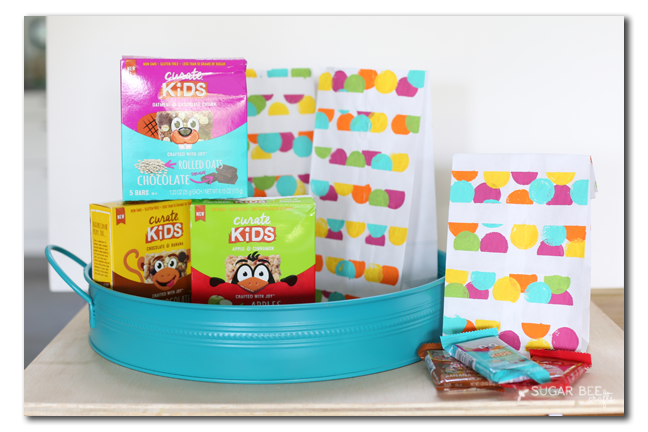
Before we dive in to the bag tutorial, can we chat a mintue about what to put in those lunch sacks? What are your go-to items for lunches? We sometimes get stuck in a rut and I’d love to hear what other ideas are out there. Yummy Curate adult & kid bars can be purchased on Amazon.
Lunchbag Craft Tutorial
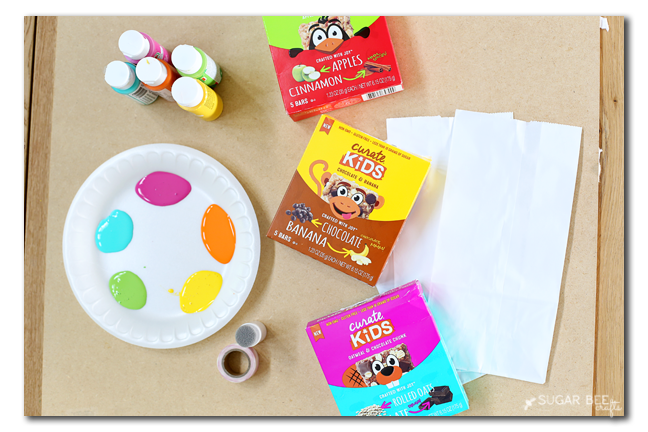
Let’s jump on in to the tutorial! You’ll need:
— Craft Paint in fun, bright colors
–Washi Tape
–Circle Sponge dabber
–white lunchbags
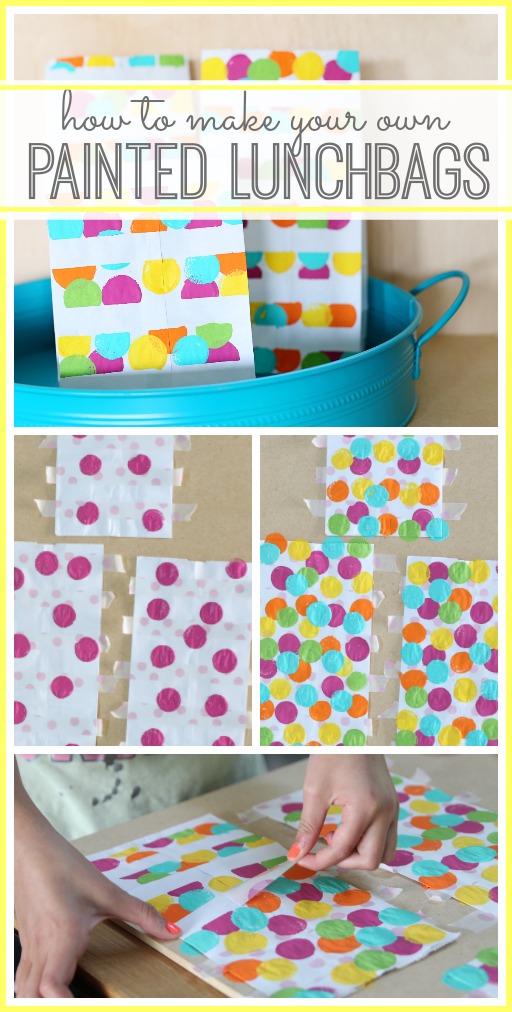
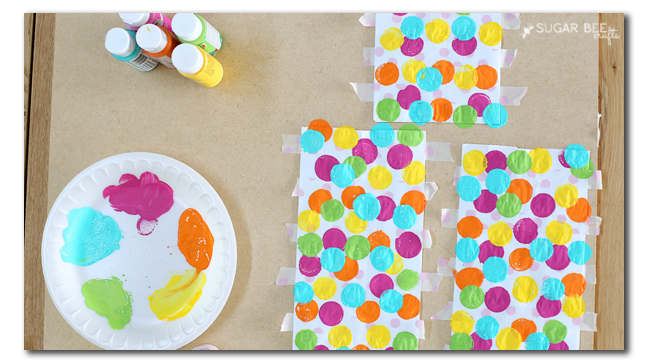
First you’ll want to tape several rows of tape on your bag. This will create the strips in the end step.
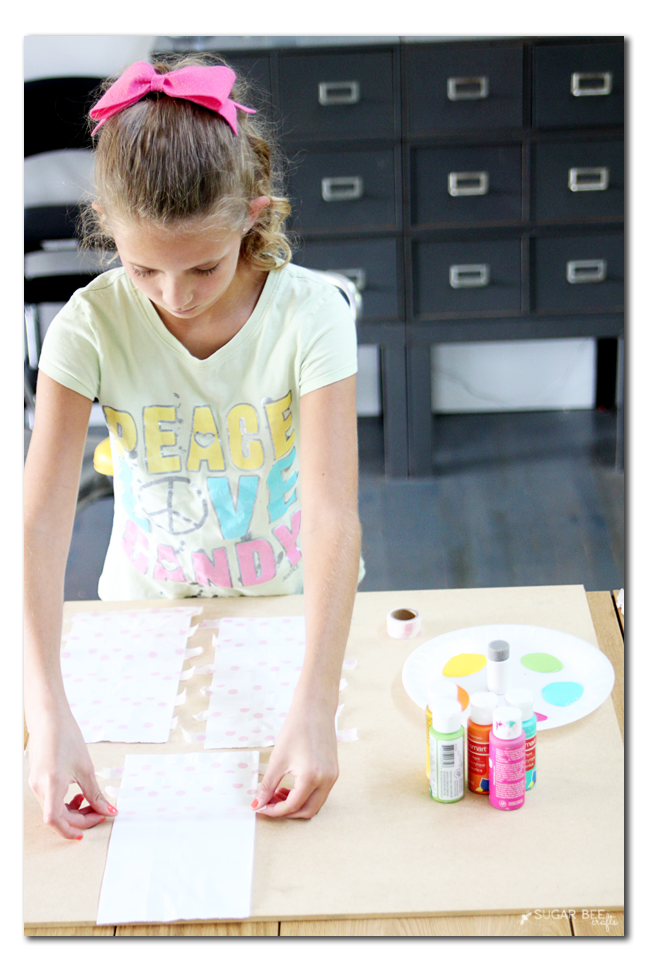
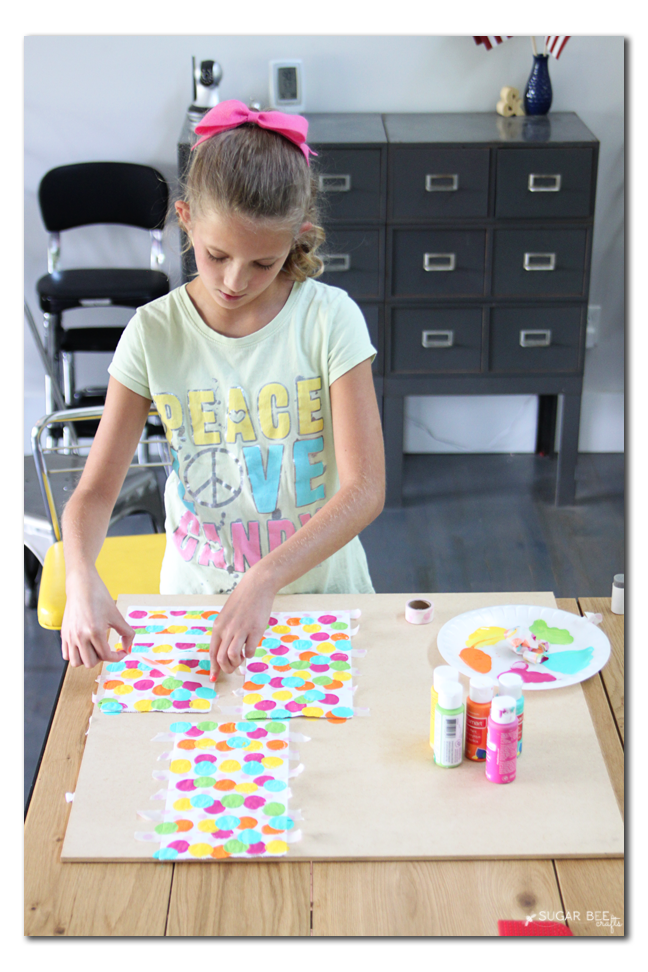
Next start with one color and add dots randomly to the bags.
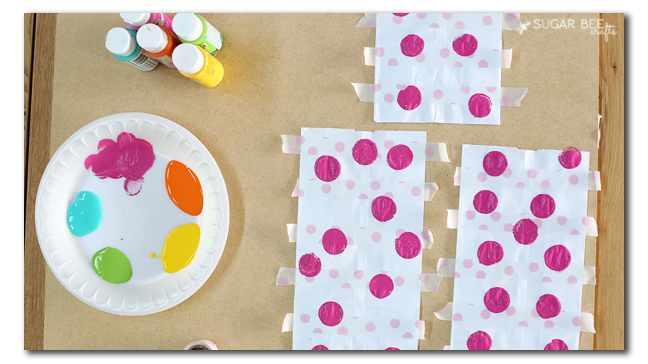
Let dry in between each color. You can hurry the dry time along by using a blow dryer. Repeat dots in various colors.
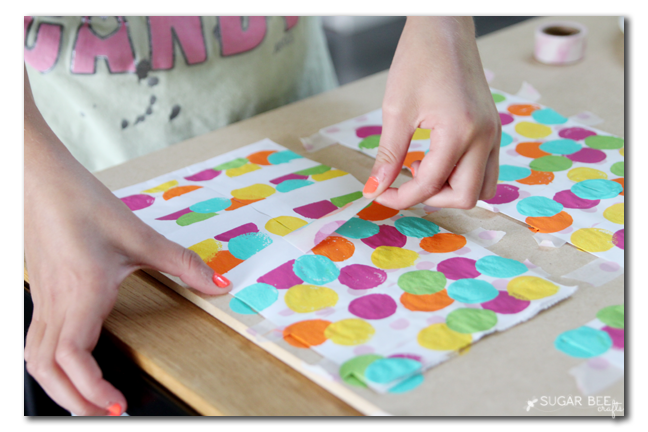
When all dry, carefully peel off the tape.
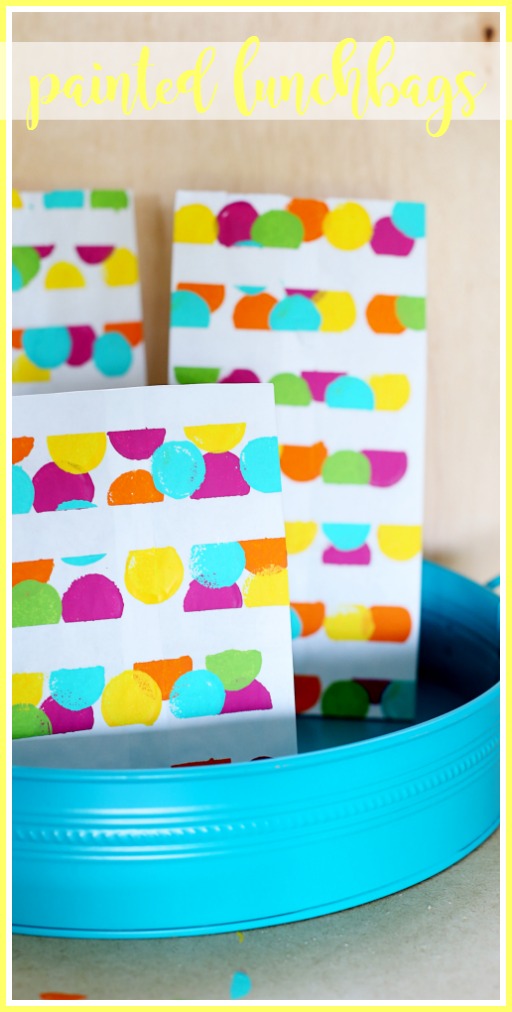
That’s it!! I love the stripes and dots combo – it’s so colorful and fun!
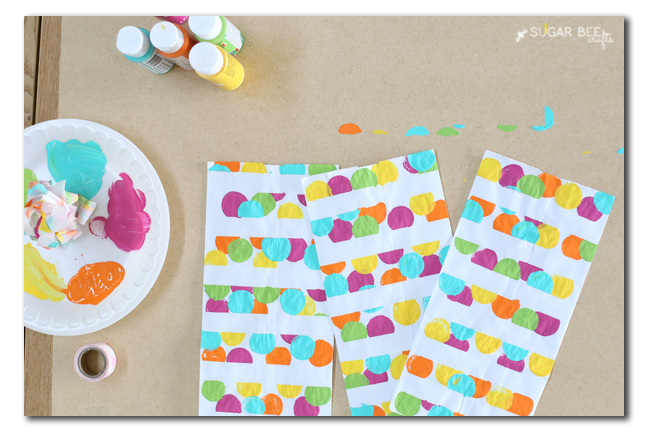
When making them, while you already have the supplies out and ready, you’ll want to make several at one time.


This looks like so much, and I love how it turns out. This would be a great project to take on with my six-year-old! Thanks so much for the idea!