this post is in collaboration with my role on the Michael’s Makers Blogger Team
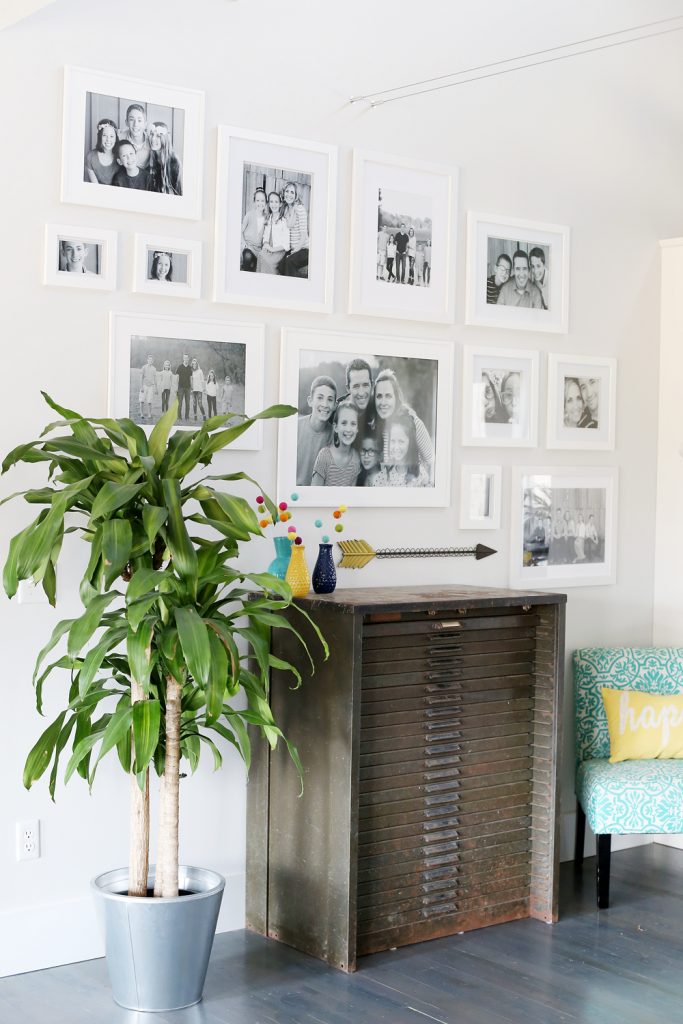
I am SO excited about today project – I feel like you haven’t really “moved in” until there are family pictures on the walls, and since we’ve been in this house for almost 2 years, it’s about time to get those pics up and settle in. I might be old school, but I would pick family photos over wall decor any day. Luckily you can use family photos AS great wall decor, and that’s what I’ve been able to do with this White Frame Gallery Wall. It’s a little out of my norm, since I always lean towards bright and colorful, but my whole house has lots of colors going on which means it’s a little (okay, maybe a lot) busy, and I thought it needed a more calming wall. So to aim for less busy, I went with all white frames and black and white photos. And so here’s the White Frame Gallery Wall – love it!
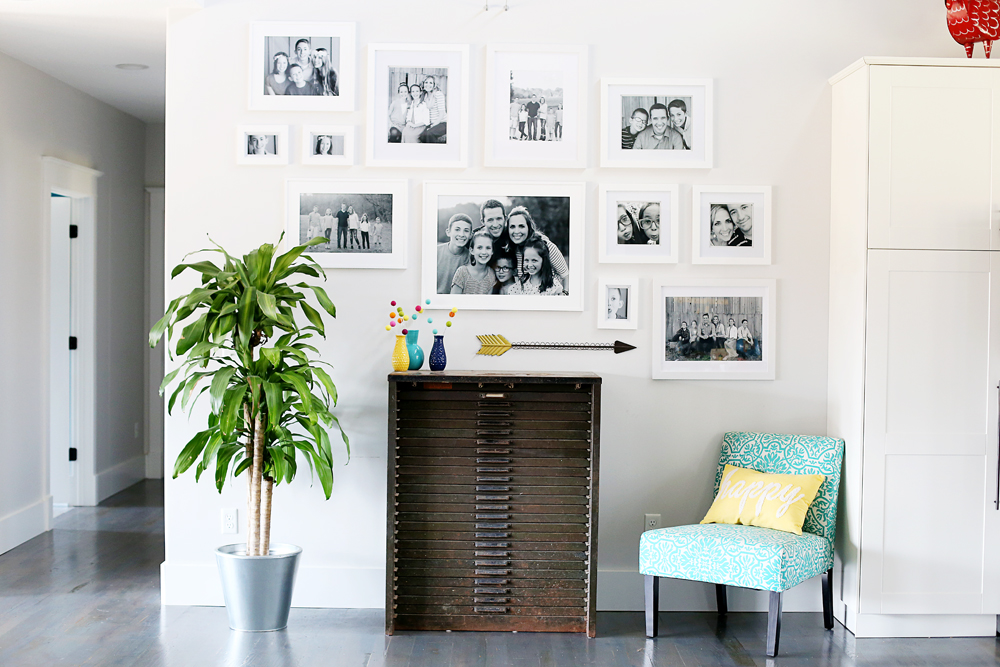
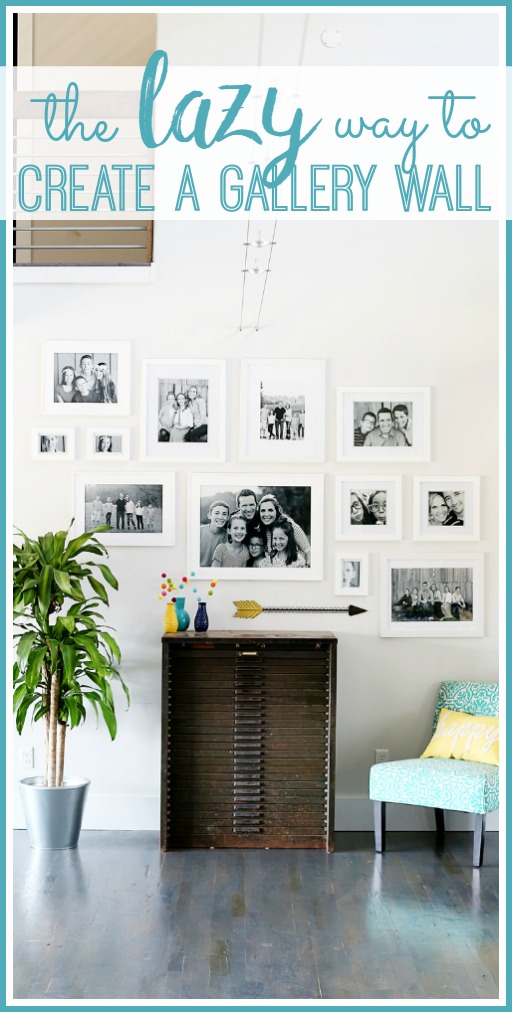
I’ve got some tips and tricks about how we put it together – my method is completely opposite of what most everyone else says, but hey, it worked for me!
Refreshing your home for spring is as easy as swapping out a few décor pieces or adding pretty faux florals. Michaels has everything you need to get started! I grabbed all my frames from Michaels to give this wall it’s refresh debut. It has made such the difference – so dreamy to have family pictures up in our home!
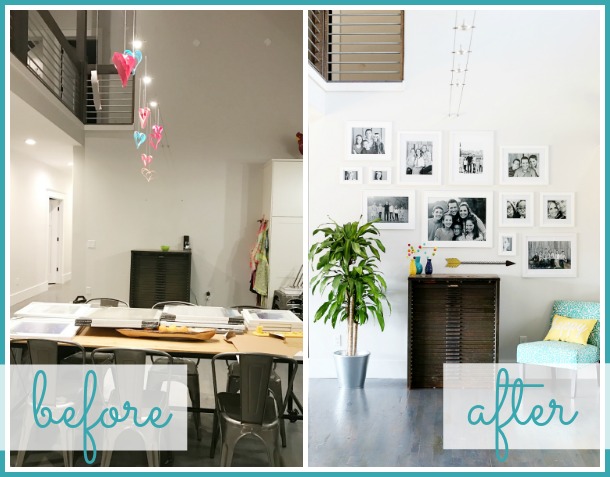
I just really love how it turned out!
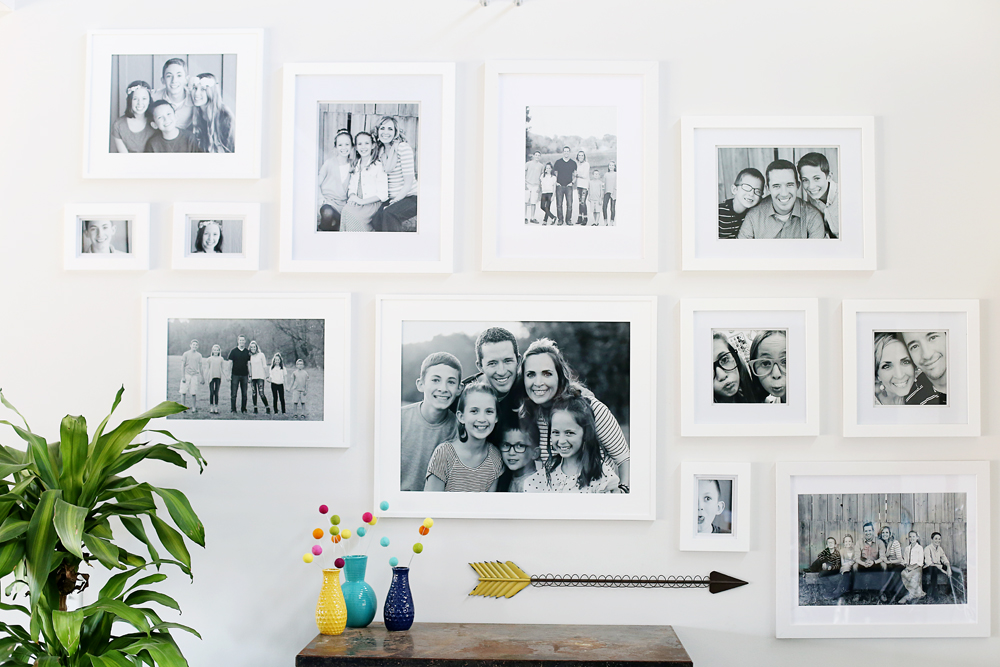
White Frame Gallery Wall
Let’s dive right in to how I put this together…
The LAZY Way!!
–Grab a variety of frames. a lot. More than you’ll need! I didn’t quite know what frames I wanted in the space, or how many I would need, so I just grabbed a bunch I liked, mixing and matching sizes and shapes. I came home with them all. Then I returned the ones I didn’t need. That way I didn’t have to plan out my layout.
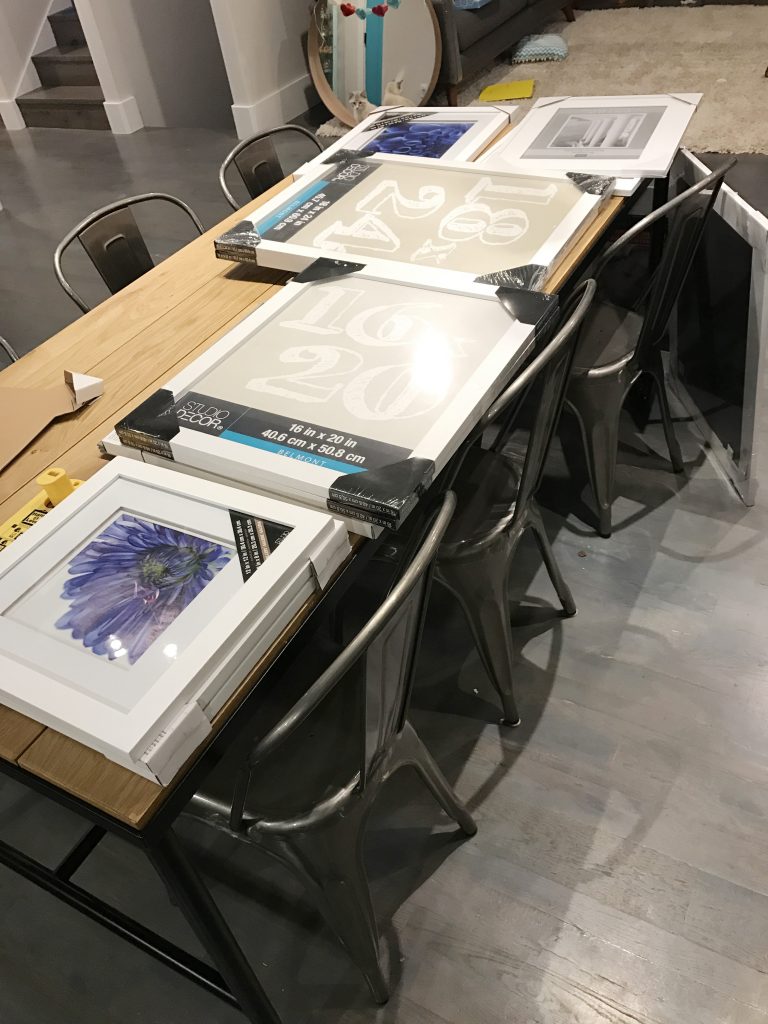
–Decide what spacing you want in between – we wanted all the same spacing, so we cut a strip of cardboard that was 2 inches wide and would hold it next to pictures as we were hanging the neighboring frames.
–Start with a focus point. Ours is the giant one in the middle, the 18×24 frame. Hang your focus point. Then hold up a bunch of other frames and see which one you’d like to hang next. Then hang the next one, etc. Work one direction (to the right), and then come back and fill in the other direction (to the left).
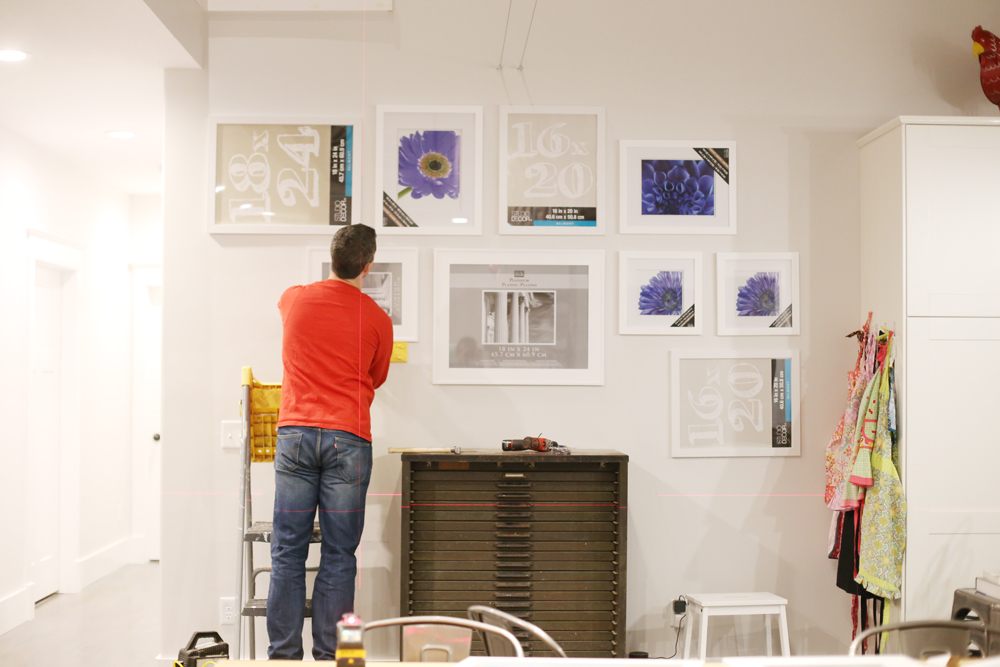
–We had the laser level out, but didn’t use it a ton and mostly relied on the cardboard template spacing between the frames.
–Step back each time to get a full view of the layout.
–Doing it this way was SO much better than having a set number of frames and then cutting big paper templates and moving those around on the walls, etc. I just wasn’t up for all that work in the planning. I think diving right in worked great as long as you have a variety of frames and work from the center outward.
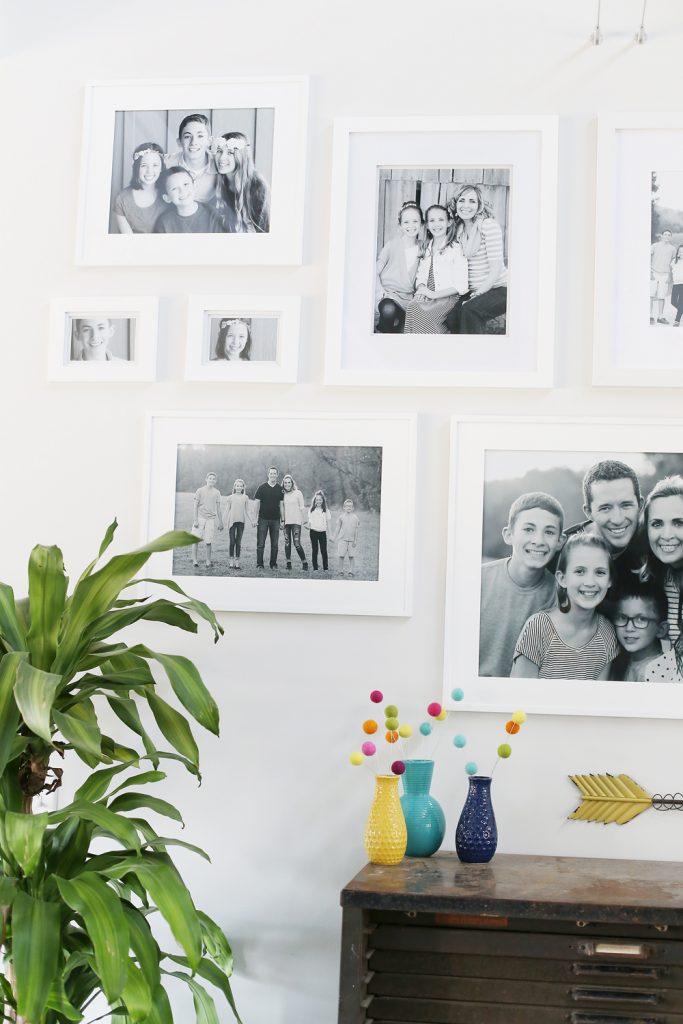
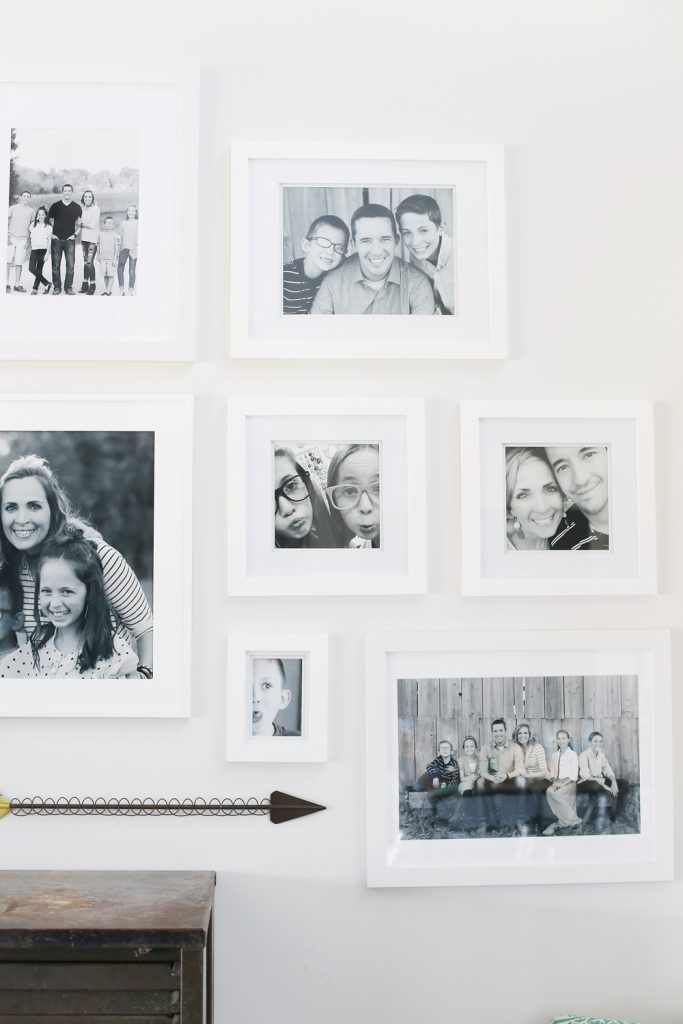
–Order your prints AFTER you have all the frames on the wall!!! This is another big tip. Once all the frames are on the wall, you’ll know which frames are turned horizontally, which are vertical, and then which you’ll want to put in those respective frames. It sounds like working backwards but I thought it was SO much easier this way.
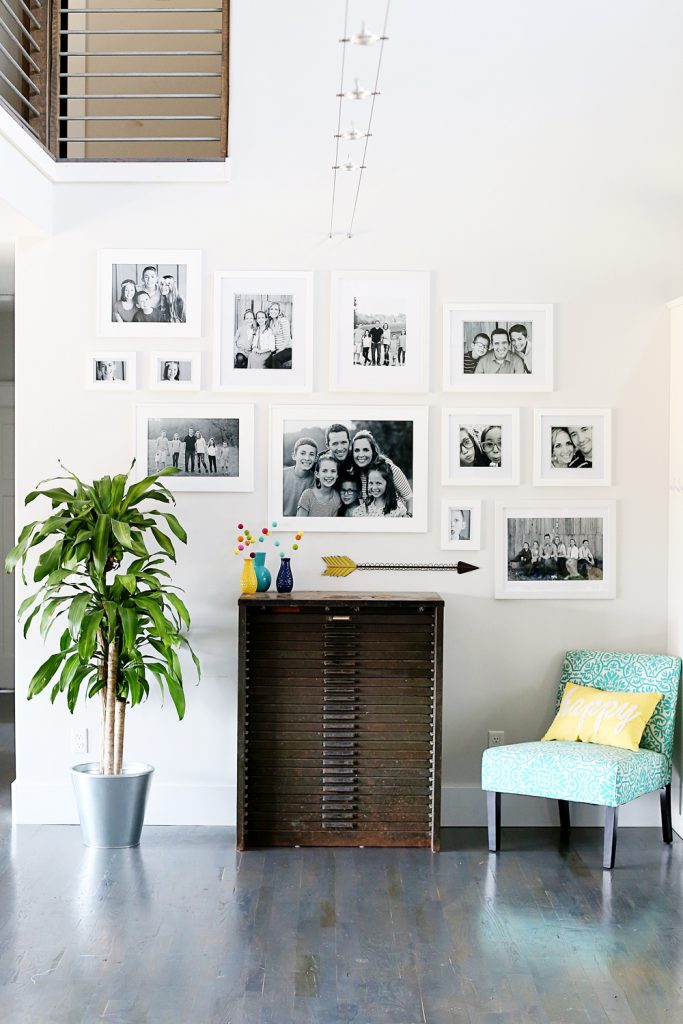
After they were all on the wall, I decided to use the bigger frames for group pictures and then 5×7 frames for headshots of the kiddos. The only problem is that I have 4 kiddos and only 3 of those frames in the arrangement, so I’ll need to go buy one more of those small frames and add it in 😉 Because right now this one’s currently MIA:

That’s it!
That’s all there is to it!! Do you have a gallery wall in your home? Would you consider doing all white frames? Or all black-and-white photos? It’s a fun way to mix things up!
Looking for more inspiration? Make sure you visit Michaels’ blog, The Glue String, to see the rest of the Michaels Makers’ Spring Refresh project ideas.
 Loading InLinkz ...


This is beautiful!!! I need to get some white frames!
Chelsea @ Life With My Littles recently posted…Currently: March 2017