THIS POST IS IN COLLABORATION WITH PHOTOSHOP ELEMENTS . THIS POST MAY CONTAIN AFFILIATE LINKS.
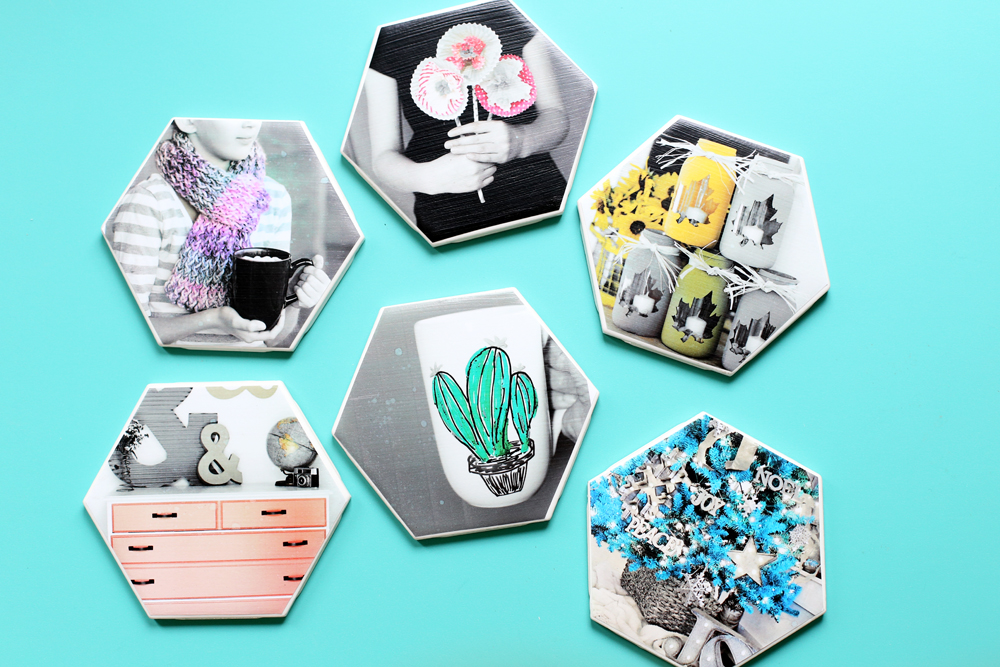
Hexagon Photo Coasters – I (like many of you) am loving hexagons lately! When I found these inexpensive hexagon tiles, I knew that they would make awesome coasters. And they’re made extra-fun using the B&W Color Pop Guided Edit in Photoshop Elements – have you tried that yet?
You can go ahead and pin these images to save this project for later – it would be fun to make for gifts or as a project for a craft club get-together.
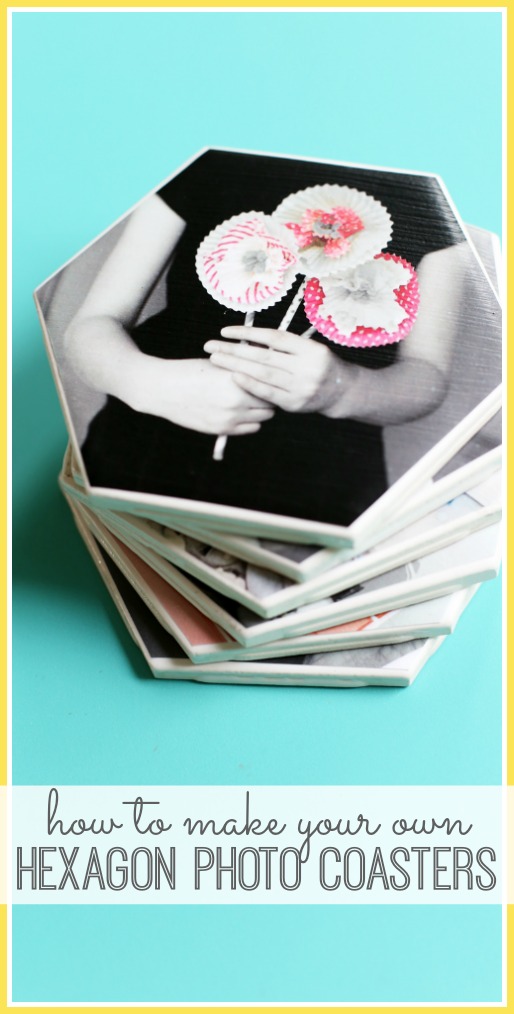
Hexagon Photo Coasters
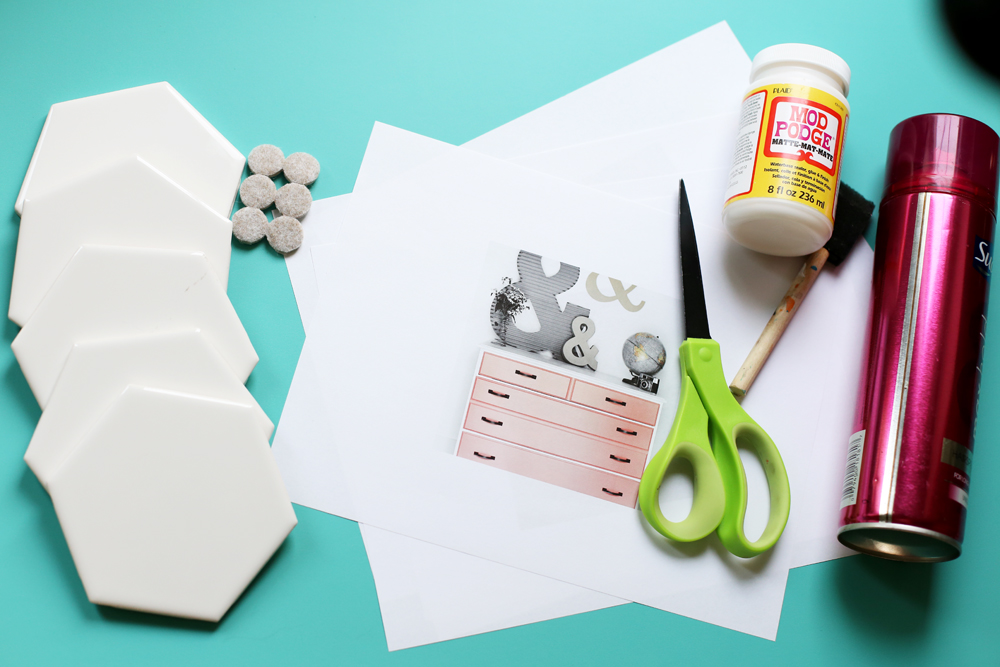
You’ll need:
–Hexagon tiles (I found them for $0.43 each – what a deal!)
–Felt pads
–Printed photos (mine are edited using Photoshop Elements, B&W Color Pop Guided Edit)
–Hairspray (if photos are printed at home)
–Mod Podge
First up in the tutorial, how to edit the photos using the photo editing software of Photoshop Elements. Then I’ll walk you through crafting the coasters.
How to use the B&W Color Pop Guided Edit in Photoshop Elements
- Open a photo in the Guided Edit called B&W Color Pop
- Choose the color that you would like to feature (red, yellow, blue, green) or click “select custom color” to choose a color from your photo using the dropper.
- Use Refine to add or take away color areas
- Click Increase Saturation to boost the color
- Click next to continue editing or save image.
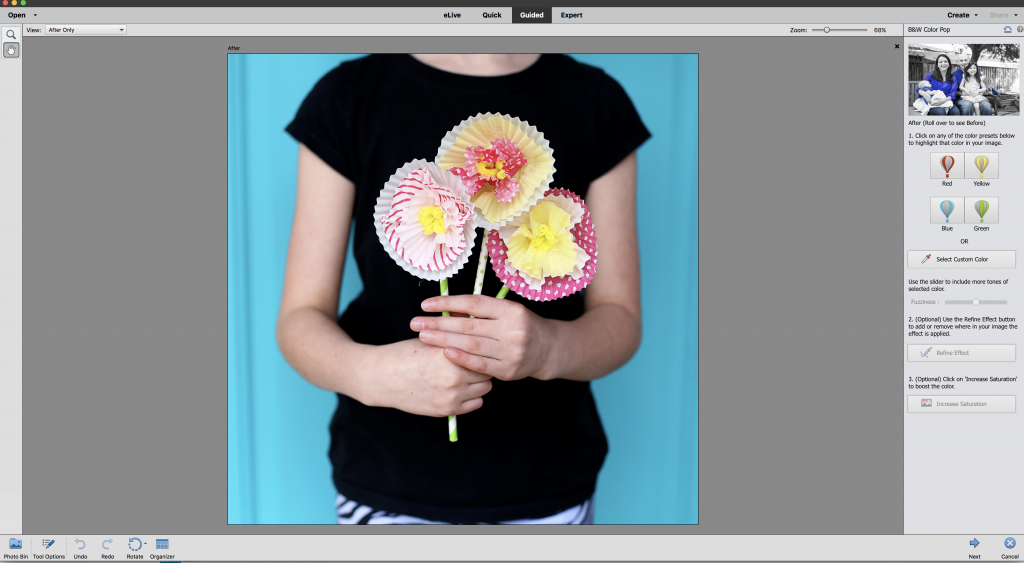
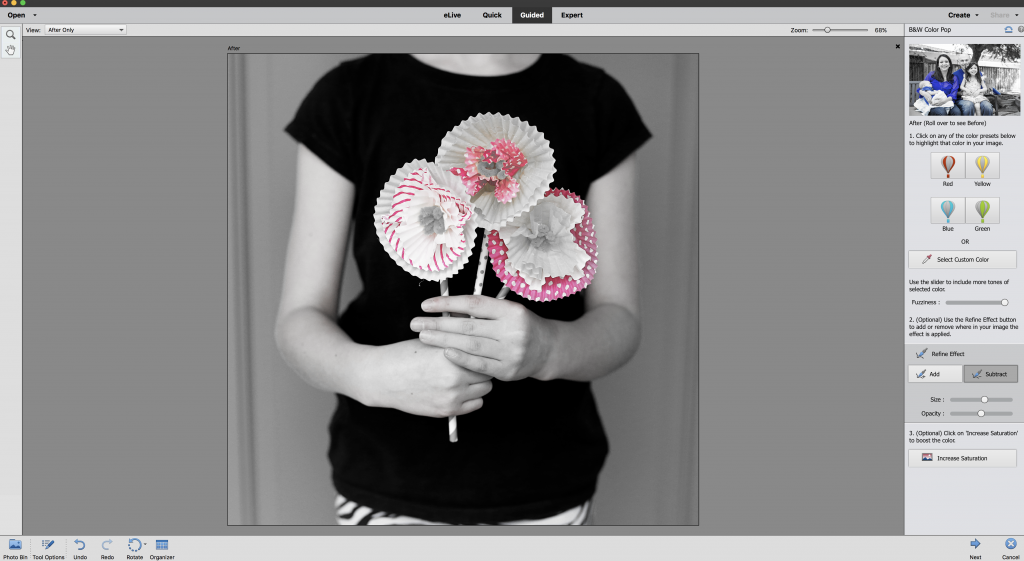
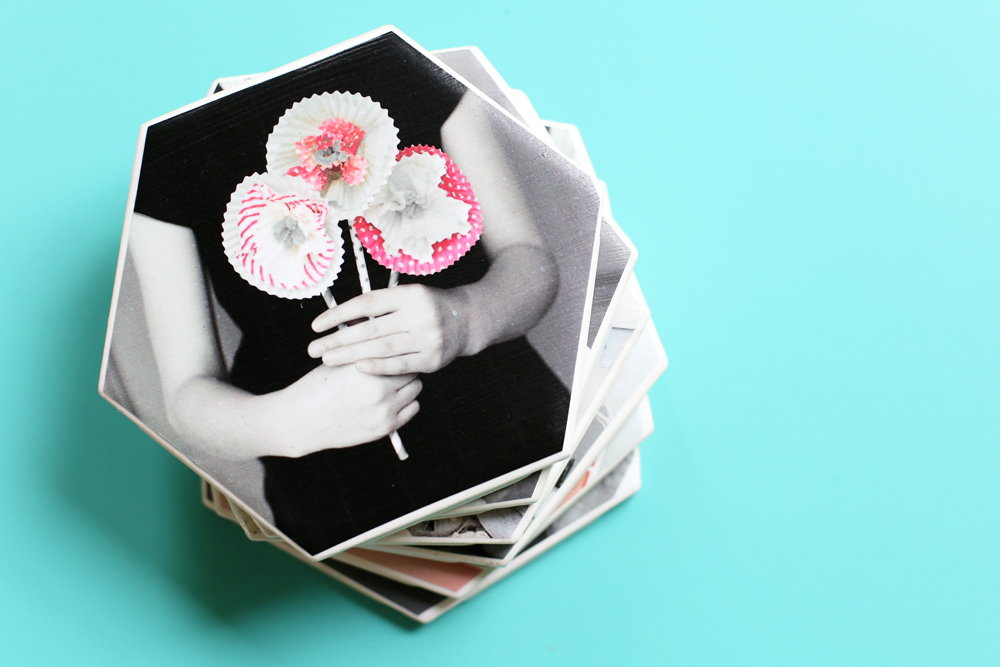
For the image below, I used Custom Color to select the pink in the paper flowers. I then used the Fuzziness slider to increase the amount of pink variant that was included.
In those quick and easy steps, I achieved the look you see below.
I printed the photos on regular copy paper sized 4.75 x 4.75 to fit the dimensions of my tiles.
How to Make DIY Photo Coasters
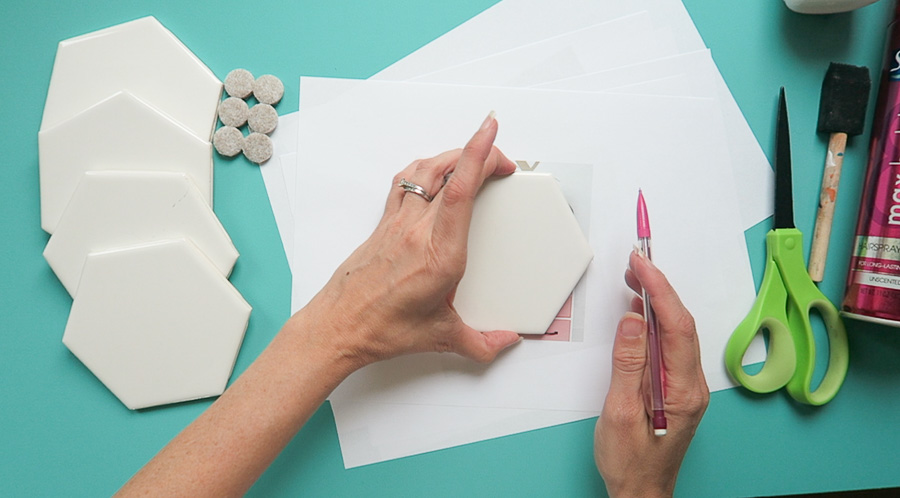
First up, trace your coaster shape onto your printed photo, then cut out the shape, slightly inside of the lines that you drew.
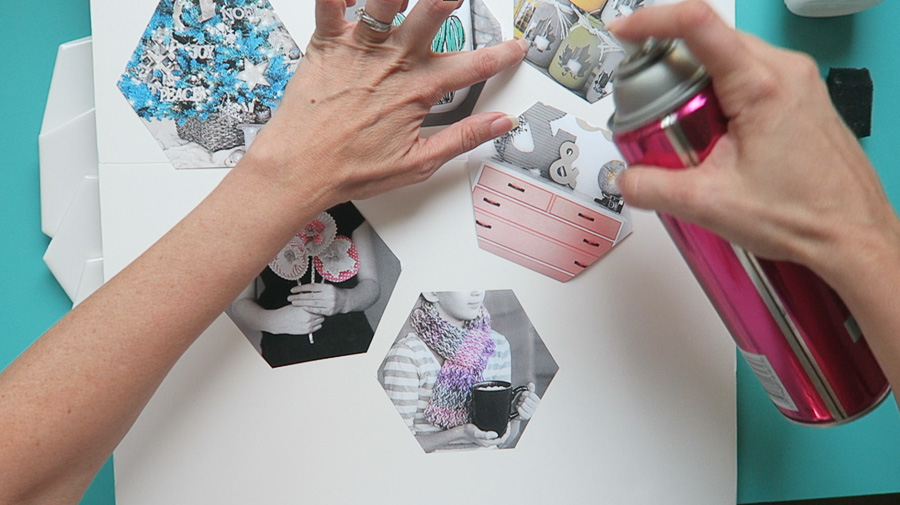
If you printed your photos at a print shop or on a laser you might be good to go, but I printed on an ink jet printer at home on regular copy paper, so I was afraid the colors would run. I used hairspray to spray a quick sealing layer over my photos. Be sure to spray a thin layer without drips.
Using a foam brush, paint an even coat of Mod Podge onto the tile.
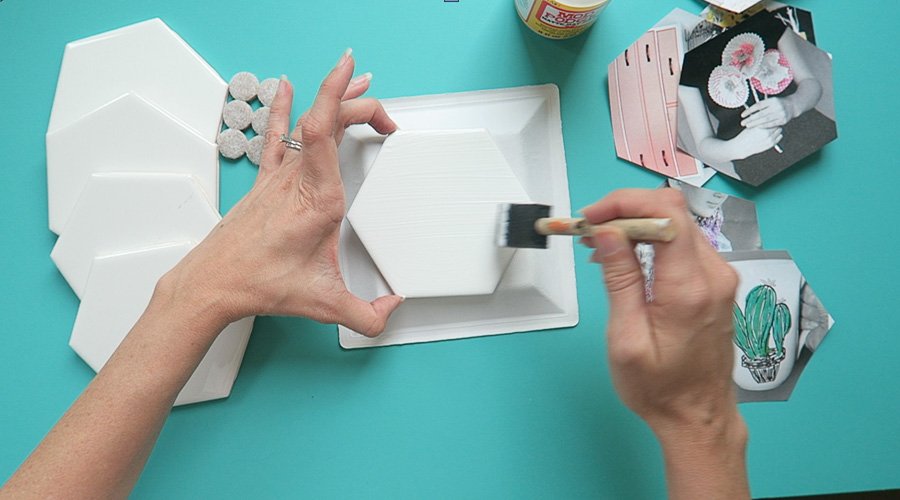
Immediately place photo onto tile. Rub over the photo, giving the edges special attention, to be sure to adhere it to the tile. Let dry.
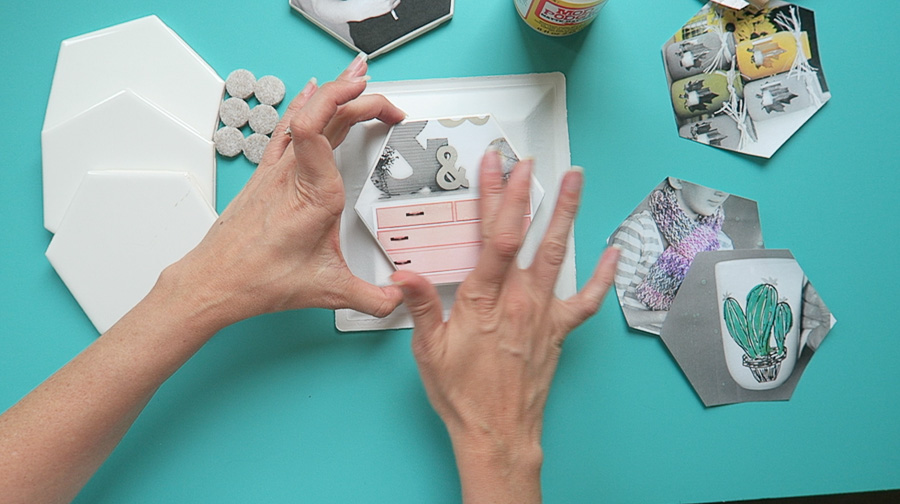
Once dry, paint a layer of Mod Podge over the photo, sealing it in. Let dry. You might consider adding a second layer of topcoat Mod Podge as well.
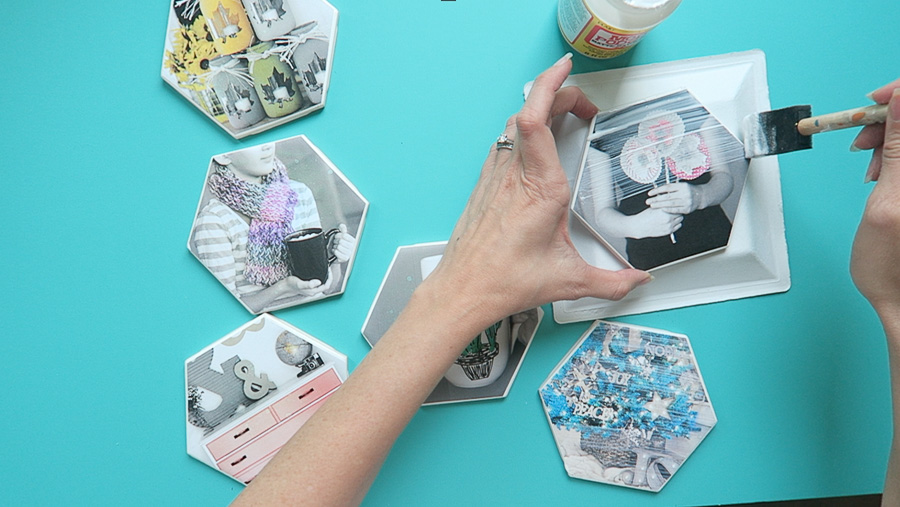
I love the texture that the strokes in the Mod Podge provides when it’s dry:
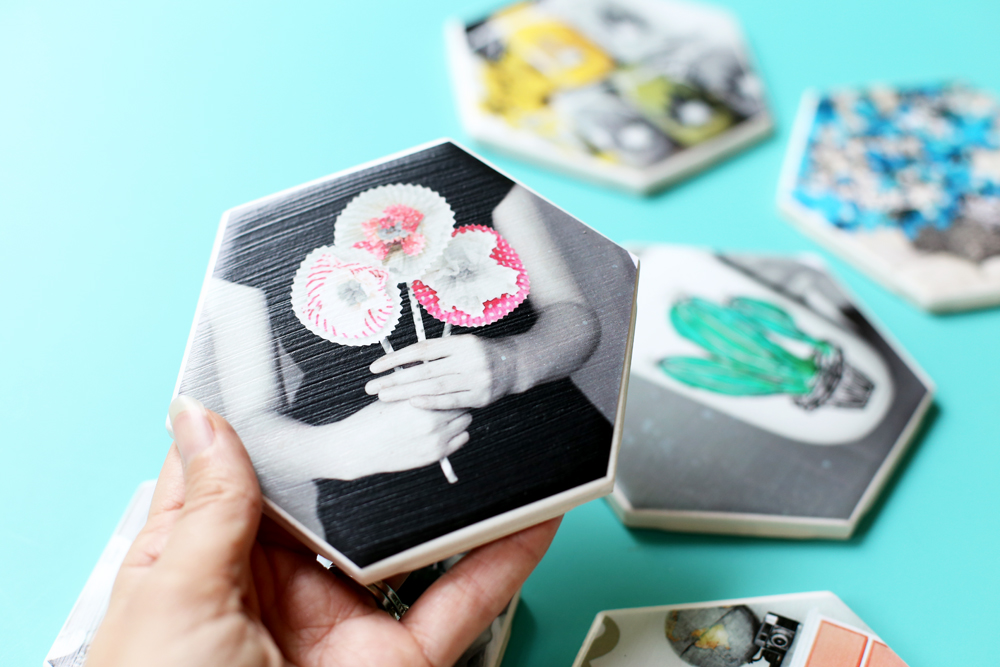
The final step is to add felt pads to the bottom of the coaster, so it won’t scratch any tabletop surfaces.
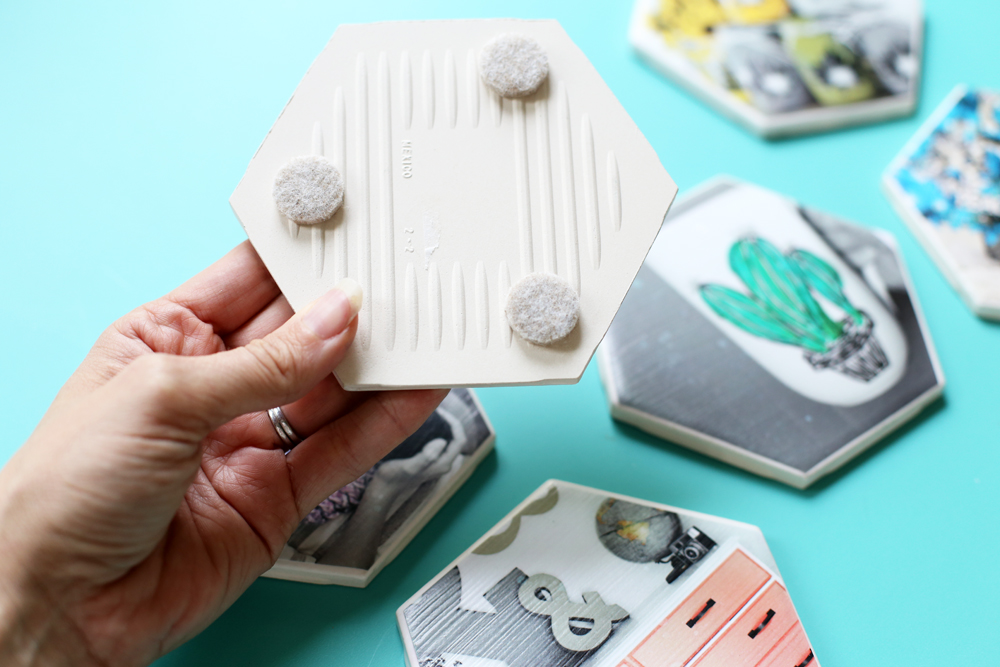
Now they’re ready for holding all those drinks of yours!
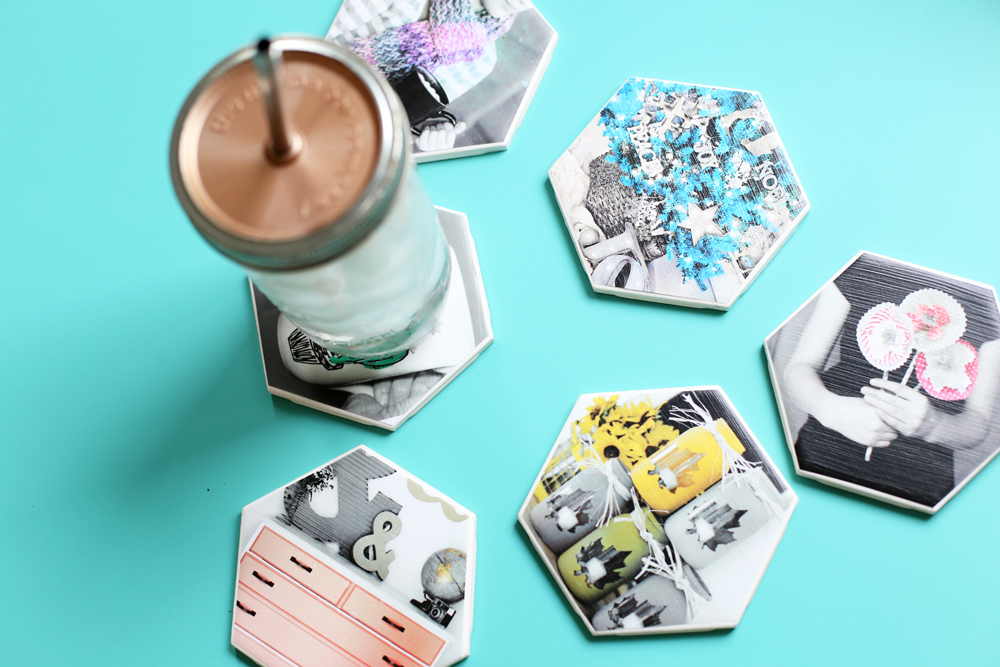
What will you do with your Hexagon Photo Coasters??
Right now you can get a FREE TRIAL of Photoshop Elements, so you can try out B&W Color Pop Guided Edit for yourself!
If you love Photo Crafts, you might also want to check out:


Where did you find the tiles?
it was either home depot or lowes, I can’t remember which!