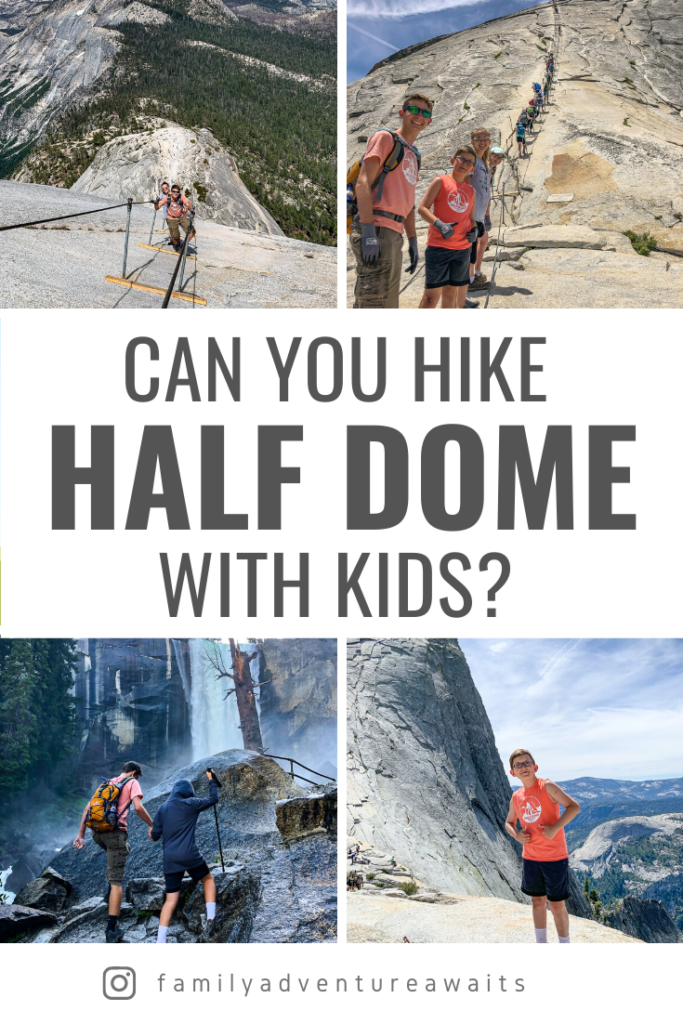
We decided to hike Half Dome at Yosemite with kids, and it was probably one of the most rewarding, memorable family activities we’ve ever completed. And for good reason: the Half Dome hike is one of the world’s premier day hikes, complete with waterfalls, a river valley, mountain forests, and the crown jewel: Half Dome itself. Heck, we even saw two bears less than 10 minutes into our hike!
We hiked Half Dome as part of our epic National Park Road Trip that we did in the summer of 2019. We had planned on stopping at Yosemite and did extensive research about the many day hikes available there. It was obvious that Half Dome was the creme of the crop, but could we do it? Were we up for the challenge of one of the hardest day hikes?
This post contains compensated affiliate links. All product opinions are our own.
The Half Dome Hike
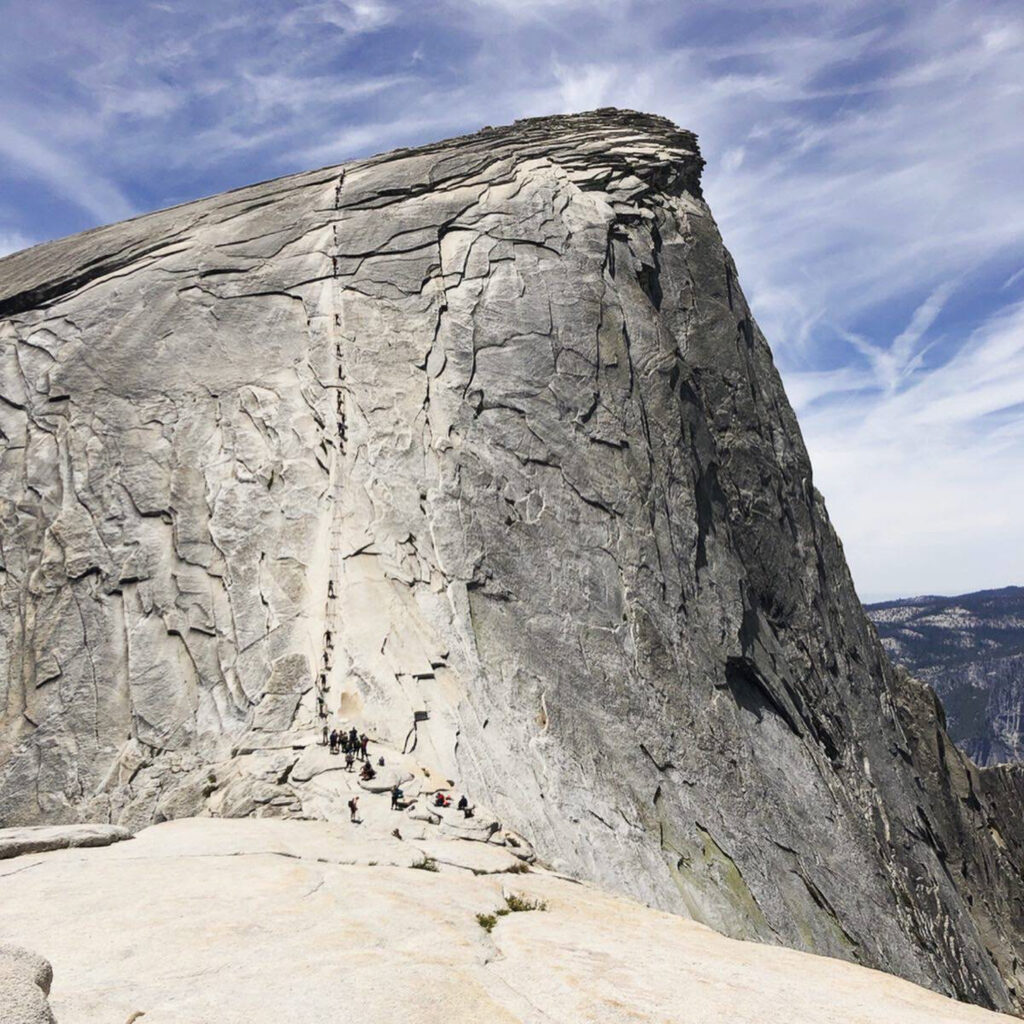
Half Dome is a large, granite dome that towers 4,800 feet above Yosemite Valley. Instantly recognizable as one of Yosemite’s most famous landmarks, Half Dome has beckoned to hikes throughout the park’s history.
Half Dome Hike by the Numbers
- Distance: 17+ miles round trip (depending on route)
- Elevation Gain: approx. 5,500 ft
- Difficulty: 10 (Extremely strenuous)
- Duration: 10 – 15 hours
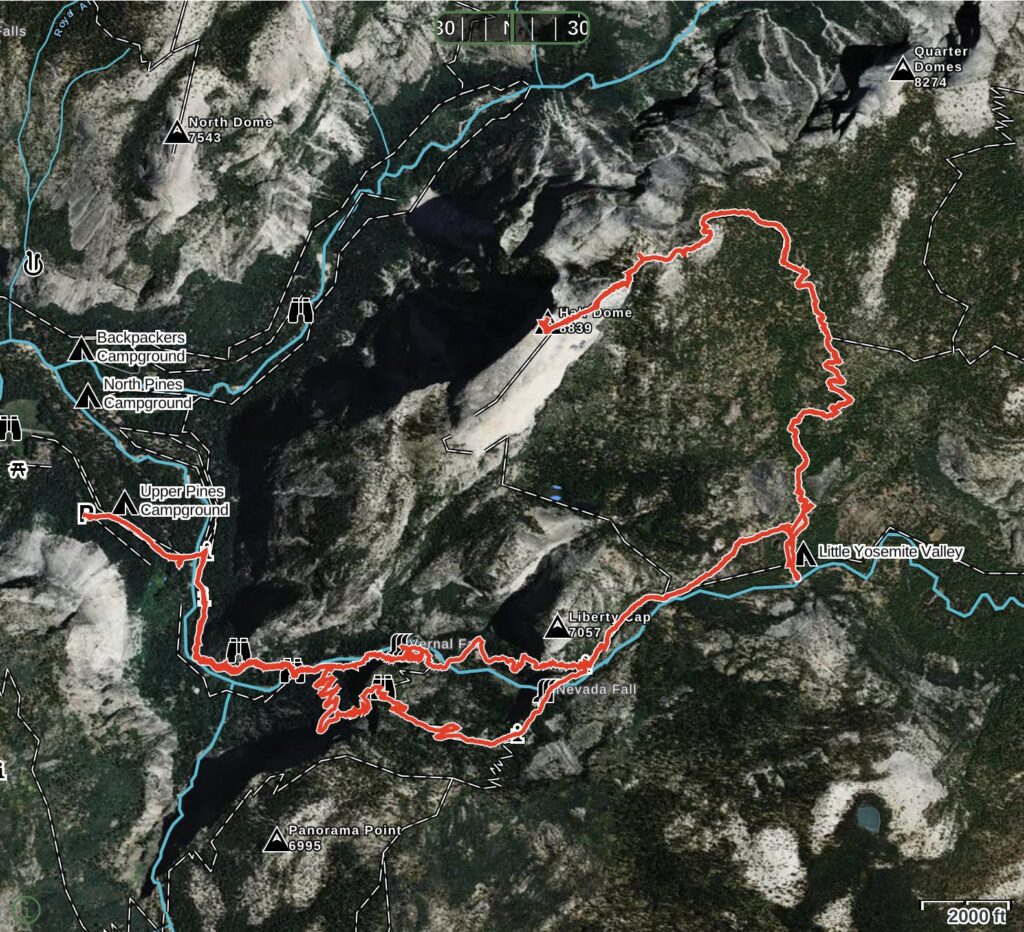
Our GPS numbers taking the Mist Trail up and John Muir Trail down :
- Distance: 18.2 mi
- Elevation: 4,951 ft
- Duration: 14 hrs 4 min
- Moving time: 10 hrs 14 min
- Stopped time: 3 hrs 50 min
Getting a Half Dome Permit
Yosemite National Park issues permits for hiking the Half Dome.
We applied for the permit on March 25 and were notified on April 10 that we had received a permit for the 6 of us!
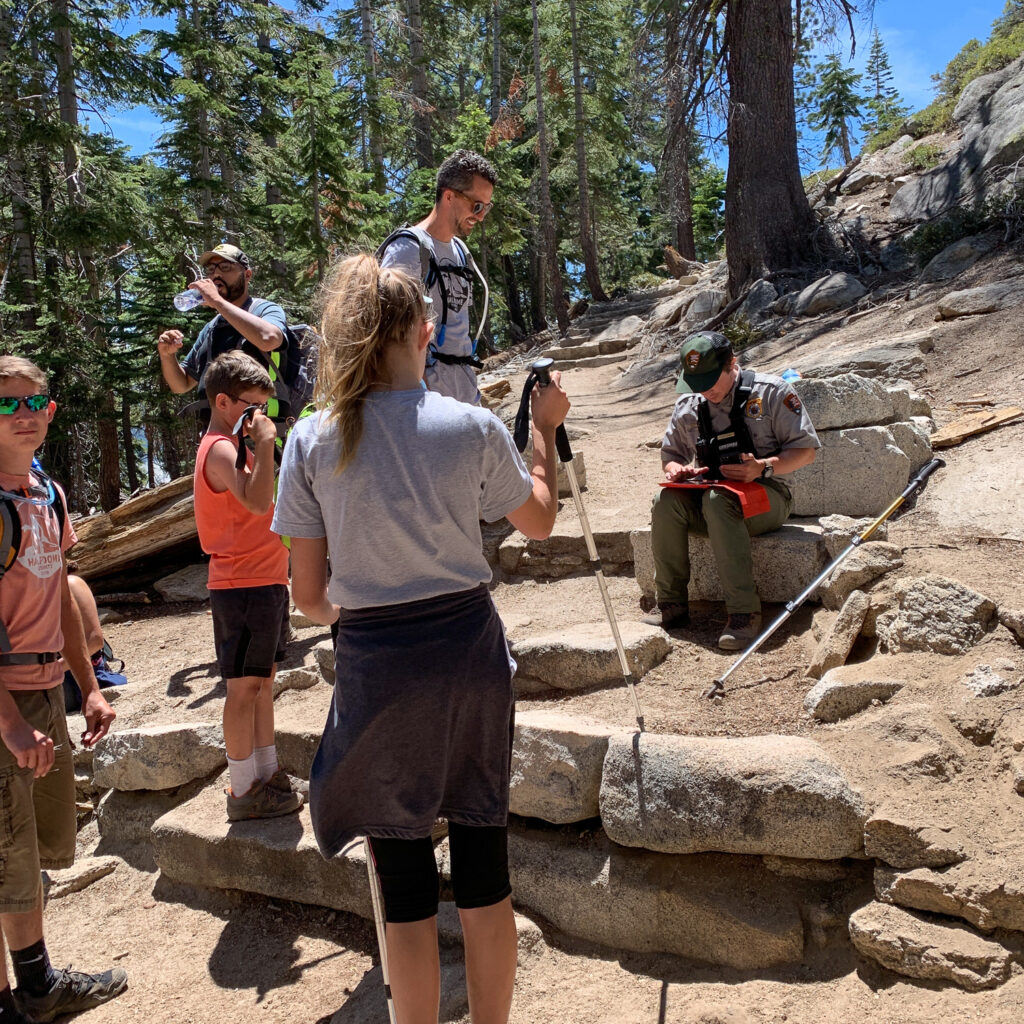
Permits are required and a park rangers sits at the base of the subdome, checking for permits. The permits can be obtained via a lottery on the National Park Service’s website. According to the site, a maximum of 300 hikers are allowed each day (225 day hikers and 75 packpackers). This limit helps minimize the crowding on the Half Dome cables, increasing safety and providing a better experience. You can read more about and apply for a permit here.
Preparing to Hike Half Dome
Hiking Half Dome requires extensive preparation. Once we had received our permit, we held a family meeting and discussed the Half Dome hike with our children. We reviewed it’s length, height, and safety concerns. We also discussed the physical preparations, gear, and food that would be required.
Being Physically Fit
We know that hiking Half Dome was physically challenging. Our family had various levels of physical prowess; Reed, our 16-year old son who runs cross country and track; Emmy, our 14-year old daughter who plays tennis; Abby, our 12-year old daughter who runs cross country and plays volleyball; Will, our 10-year old son who is more into drawing comics than running; Mandy, the 40-year old (you didn’t hear that from me) mom of our family who prefers books over hiking boots; and myself, the 40-year old dad who runs a daily 5k and likes to think he’s in shape.
Prior to Half Dome, our longest hike as a family had been an down and back 7-mile hike at the North Rim of the Grand Canyon, with about 2,600 ft of elevation gain. We had also done several other hikes with elevation gains, including Angels Landing at Zion National Park. So while we weren’t pros, we weren’t exactly novices either.
Our physical preparation included walks as a family 4-5 days a week of up to 3 miles. Some of the kids did some arm and back exercises to gear up for the cables, but I’m not sure how big of an impact that had.
Gear for Half Dome
We wanted to have the right gear for the trek and did a bit of research. Some of the gear we had on hand, others we had to purchase. Here’s a quick rundown of what we used:
- Shoes: All of us used Merrell hiking boots or hiking shoes. The exact pairs can be found at these links (Trevor, Mandy, Reed, Emmy, Abby, Will)
- Trekking poles: there are a must for Mandy’s knees on the long downhill descents. They’re also helpful for the kids. This set has proved to be a good budget model for us.
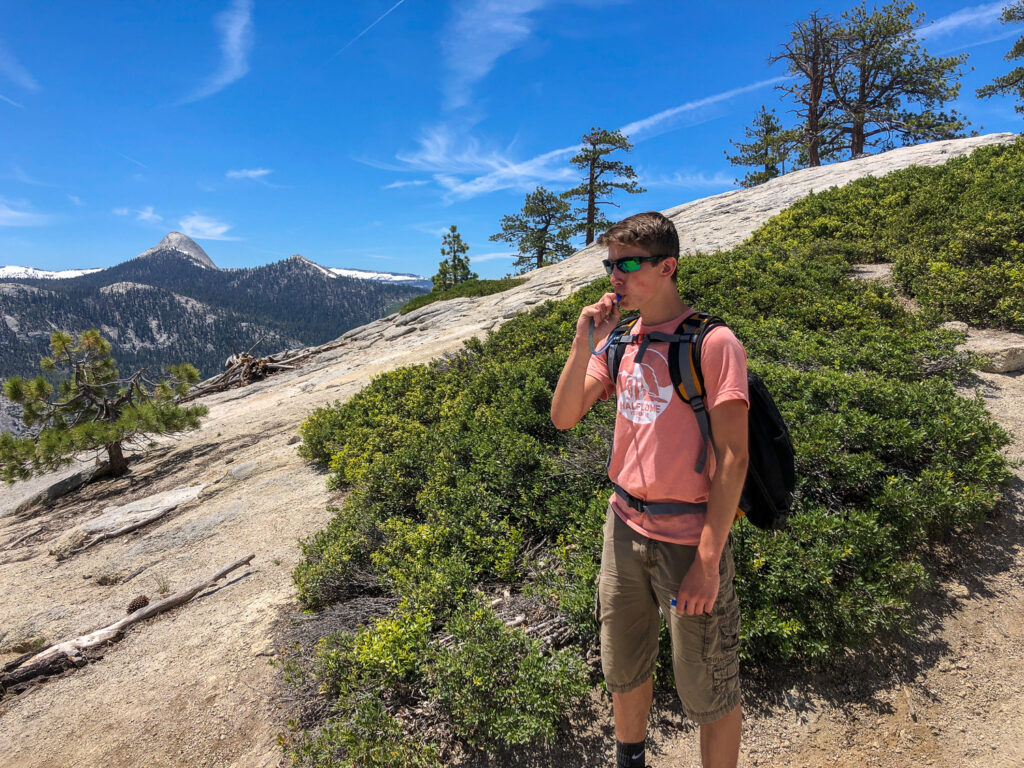
- Day packs/hydration packs: we snagged a couple of these and they worked great. Bring enough water for 4L per person or plan on filtering from the Merced River.
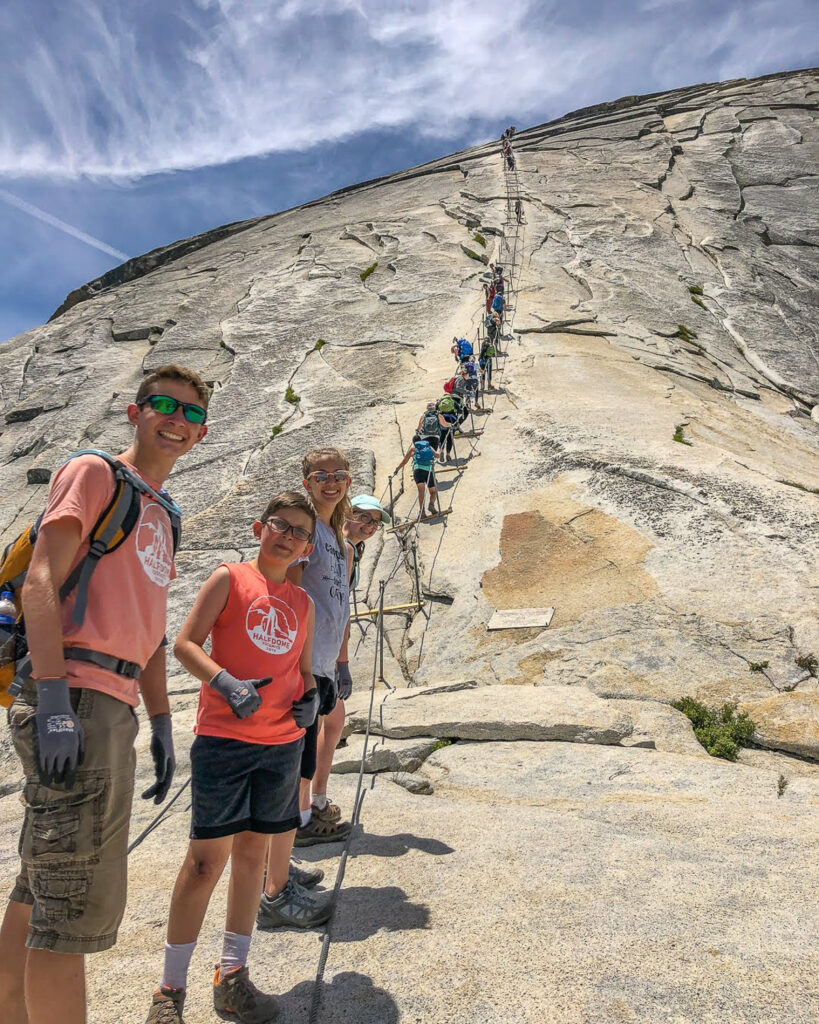
- Gloves for the cables: we got multiple sizes of this style and they worked great.
- Sun protection: it’s a long hike at altitude mostly non-shaded. Bring sunscreen and a hat.
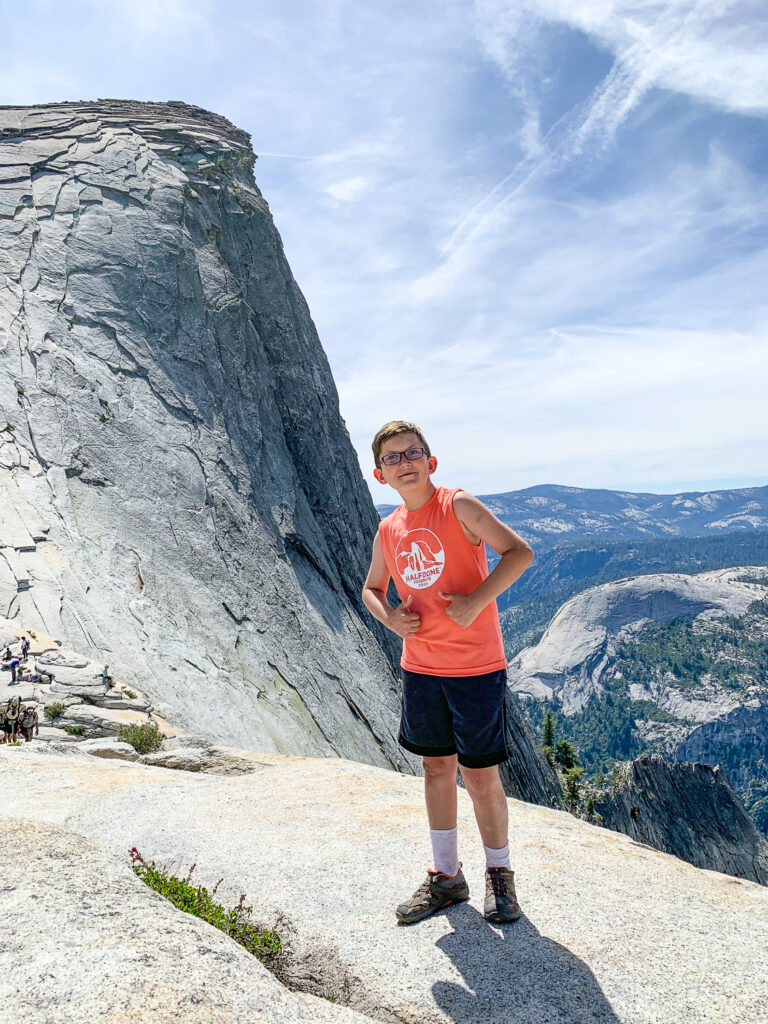
- Custom shirts (optional): we knew we had to be wearing something special for this hike, so we designed some fun tees to celebrate the trek. You can check out our designs here.
- Climbing harness and clips: there’s lots of debate among climbers as to whether or not to use a climbing harness and clips. Do your research and assess you and your family. I’d recommend it for most families with kids. Just make sure to use the correct gear and not some homemade contraption. This article gives a great safety and equipment synopsis of climbing Half Dome. We did not use them on our hike, but will if we do it again.
Food for Hiking Half Dome
We know that we’d be expending a lot of calories during the hike. To account for this, we had a big pasta dinner the night before. Then we packed calorie intense food for the trail. We opted for nut-based trail mix, high-protein energy bars (these are delicious), electrolyte mix, PB&J sandwiches for lunch, and some good old-fashioned candy for a treat at the top. Keep in mind the “leave no trace” policy, which includes things like apple cores and banana peels; all these things need to be packed out. We also received good advice to pack something that you like for lunch so that you’ll want to eat it at the top.
Hiking the Half Dome
Once we got our permit, gear, and food in order, we were ready for the hike!
Where to Stay
Though we normally camped throughout our National Park Road Trip, we were unable to get a campsite for the night before our hike, so we stayed at a hotel in El Portal. The nearest “big town” is Mariposa, which has a wider selection of hotels at better rates. It’s about an hour away.
If you’re camping in Yosemite (which we did AFTER the hike), a campsite in the Upper Pines Campground will put you very close to the trailhead.
Half Dome Hike Parking
The best Half Dome parking is the Yosemite Valley Trailhead Parking lot, just past the Half Dome Village. The lot can fill up quickly, so I’d suggest parking before 7:00 am. We arrived at 6:30 am on a weekday in the summer and the lot was already half full. It’s about a half-mile walk from the lot to the trailhead, so factor that in as well. Since the hike itself can take anywhere from 10-16 hours, depending on your speed, starting early is considered a must.
Half Dome Trailhead
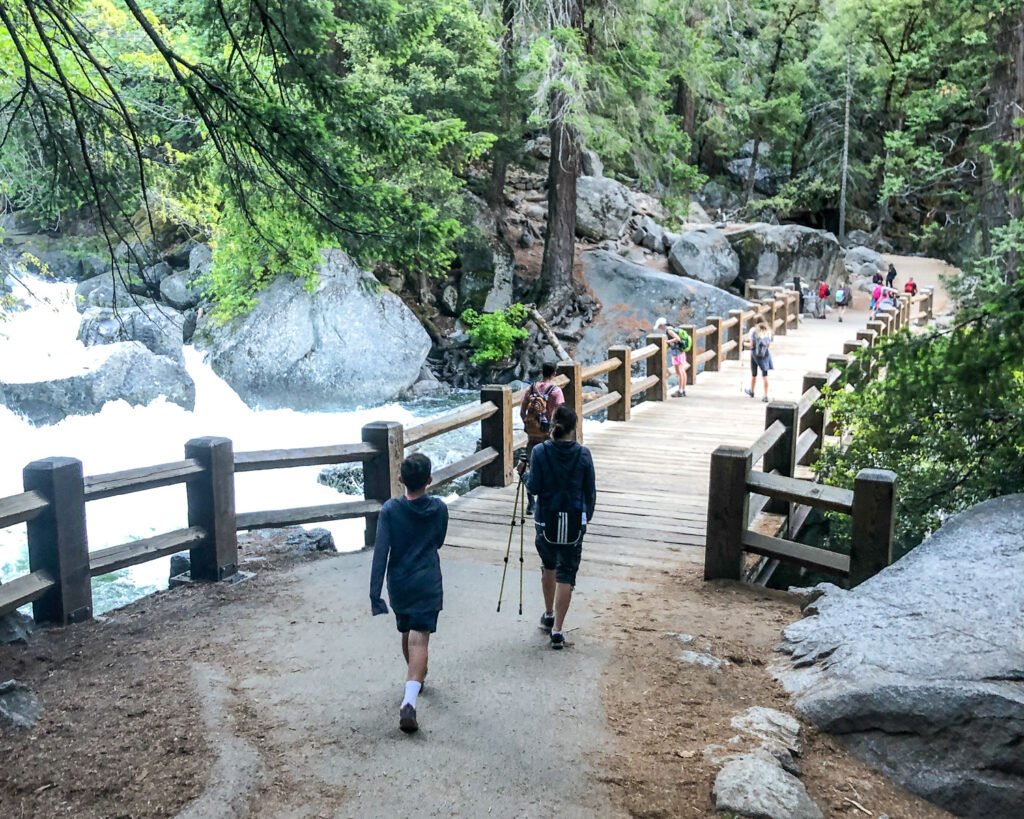
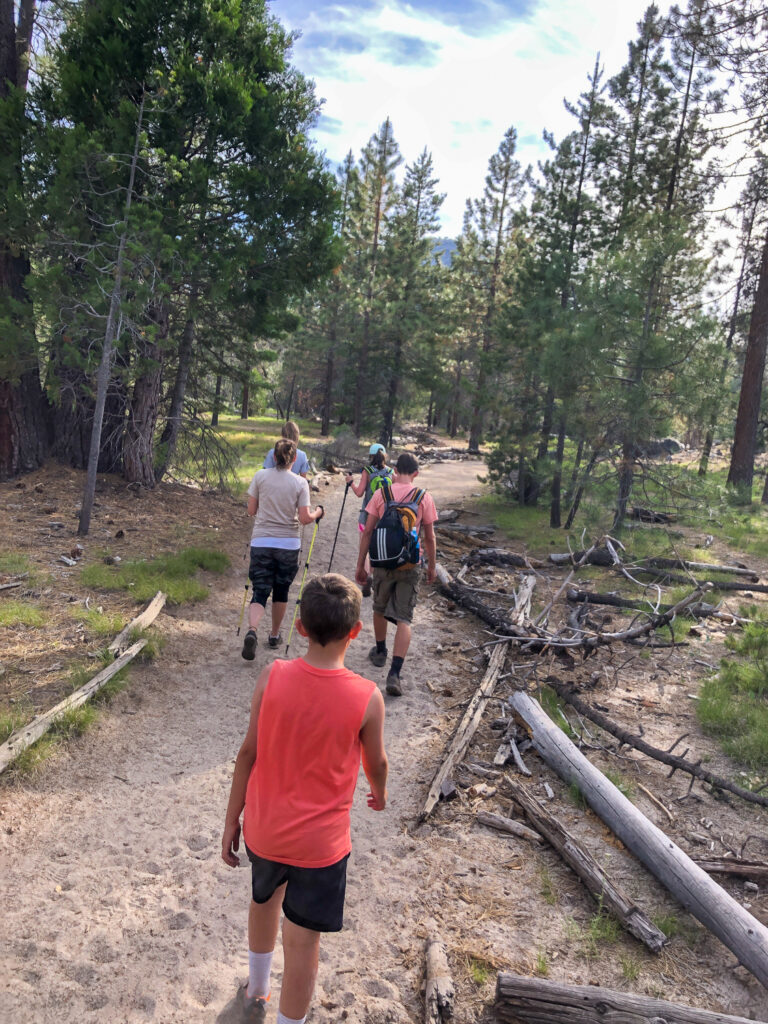
The most common route, which we followed, starts on the Mist Trail. We crossed Happy Isles Bridge and started up a little after 6:30 am. The first section of trail is paved and wide with a steady climb. We spotted two bears near the river about 30 feet from the trail, so keep your eyes open and be aware.
The first landmark we passed was the Vernal Fall Bridge, less than a mile from the trailhead. It has a drinking fountain and flush toilets, though both were not in operation when we were there.
Mist Trail and Vernal Fall
After the bridge we started climbing the Mist Trail. When we were there, the water level of the river was at one of its highest points in the past 10 years, which made the Mist Trail extra misty! The trail is a long staircase cut into the mountain that follows the river along Vernal Fall. The waterfall created so much mist that we were drenched in no time. It also made the stairs slick, so we had to be careful. We’d brought ponchos but had decided against wearing them since the mist initially felt nice and cool. By the time we reached the top of Mist Trail the kids were shivering and wet, but still in good spirits.
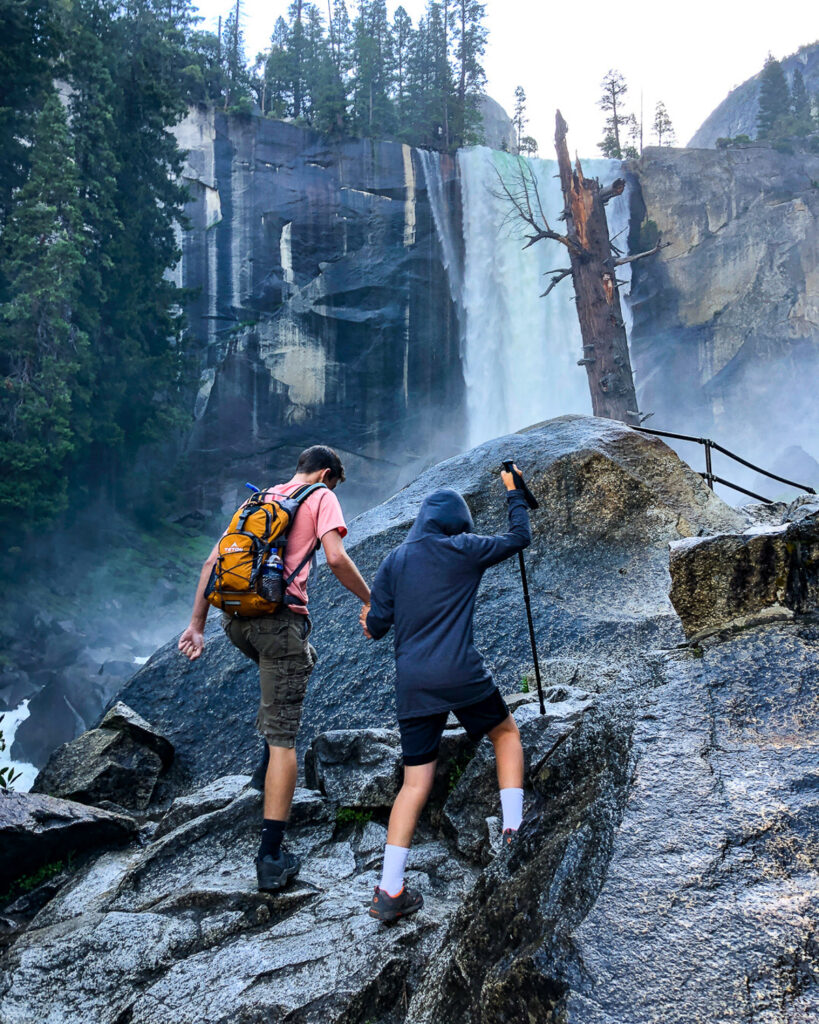
At the top of Mist Trail we were able to walk right up to the edge of the falls (there is a guardrail) and were amazed by the view and the power of the river as if fell over the falls.
Nevada Fall
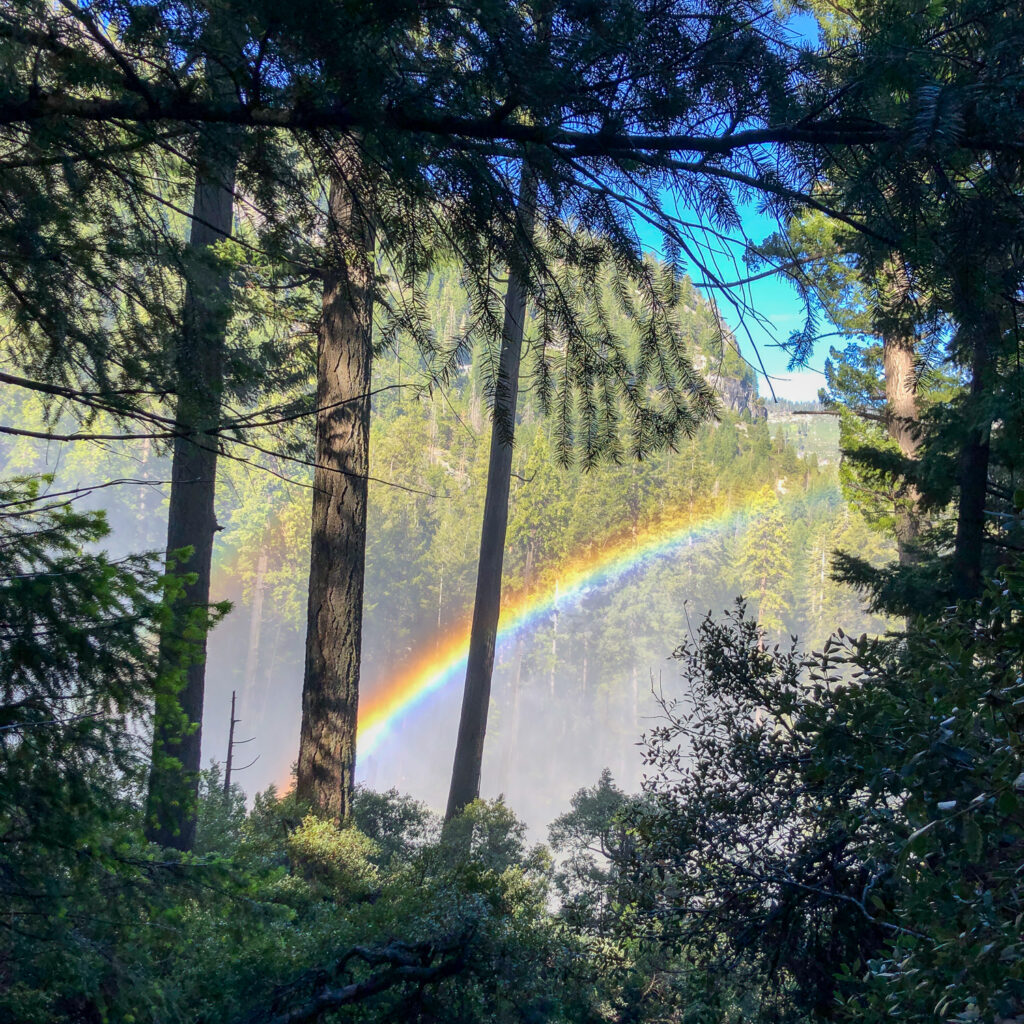
Leaving Vernal Fall, we followed the trail, which continues to gain elevation. It didn’t take long for the exertion to warm up our mist-chilled bodies. Soon we were able to hear and, a bit later, see Nevada Fall. It was another waterfall that is definitely worth a short stop to admire. We even got a view of a rainbow in the mist from the falls. The climb near Nevada Fall was steep, and we took a short break at the top. There are also some pit toilets at this location.
Little Yosemite Valley
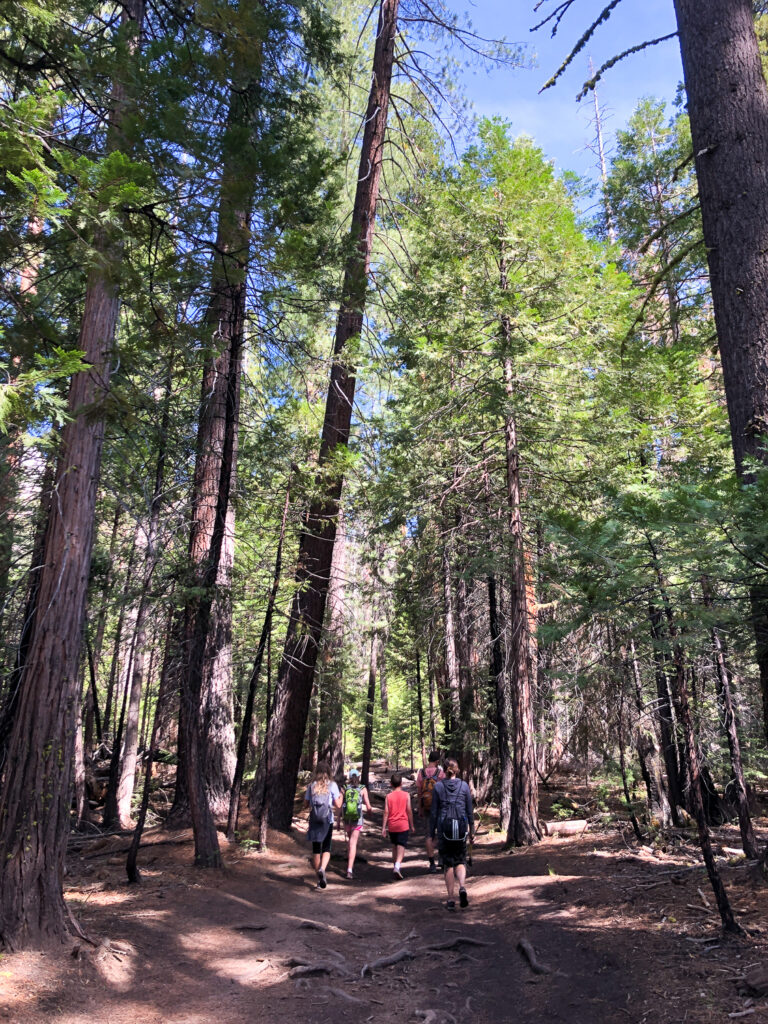
The trail then began to level out a bit and we found ourselves walking through a beautiful Sequoia forest. Though not as big as the trees in Sequoia and Kings Canyon, it is still a beautiful walk. We passed by the Merced River and Little Yosemite Campground, which has more pit toilets. The Merced River was our last opportunity to refill water bottles (which we would have had to purify/filter) but we were still good on water. I did try out our electrolyte mix for hydration, which helped but the kids weren’t thrilled with the taste.
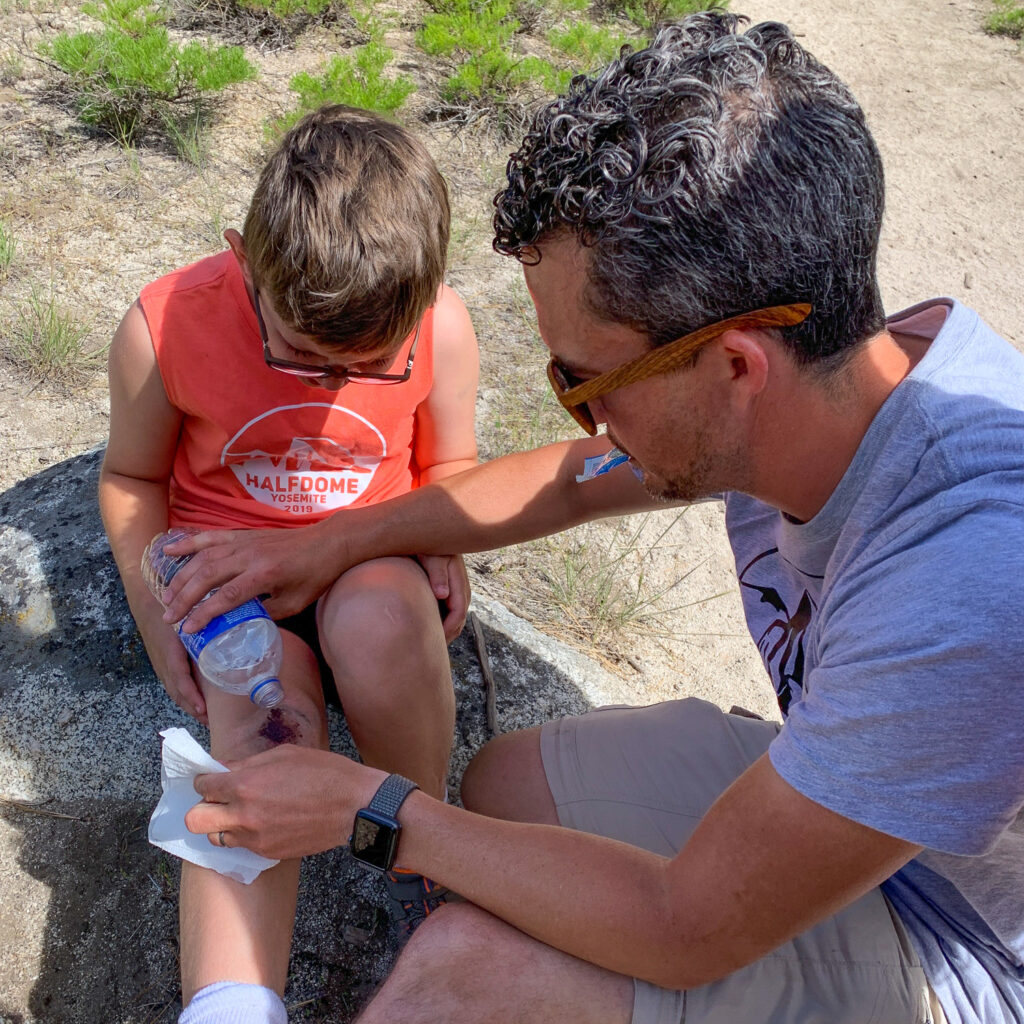
After the campground the trails turned upward and we again started to gain elevation. At this point, Will took a stumble and scraped up his knee pretty badly. Being the youngest, he was our biggest concern and we worried that his injury might keep him from making the top. However, after a little trail first aid, he jumped right back on the trail in good spirits.
Subdome
After the uphill switchbacks we reached a bit of a rise where the trail leveled off a bit and the Subdome and Half Dome were in full view. We opted to eat some sandwiches at this point to get a little PB&J fuel in our bellies in advance of what lay ahead.
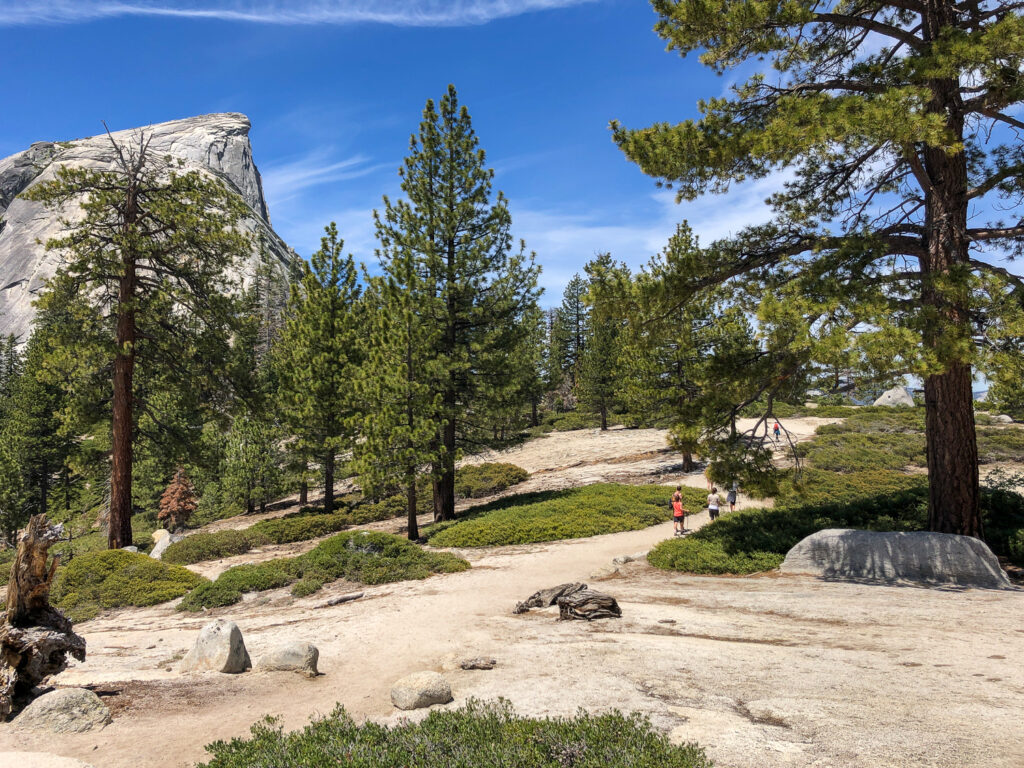
At the base of Subdome we met a park ranger who was super helpful. He was also checking for permits for anyone wanting to proceed up the Subdome. After checking our permit, he gave us some tips and instructions about not feeding the animals or leaving food unattended. He noted our hiking poles and said it was OK to stash them at the base of cables, since they could be a hazard in our packs as we went up the cables. Then we were on our way up Subdome.
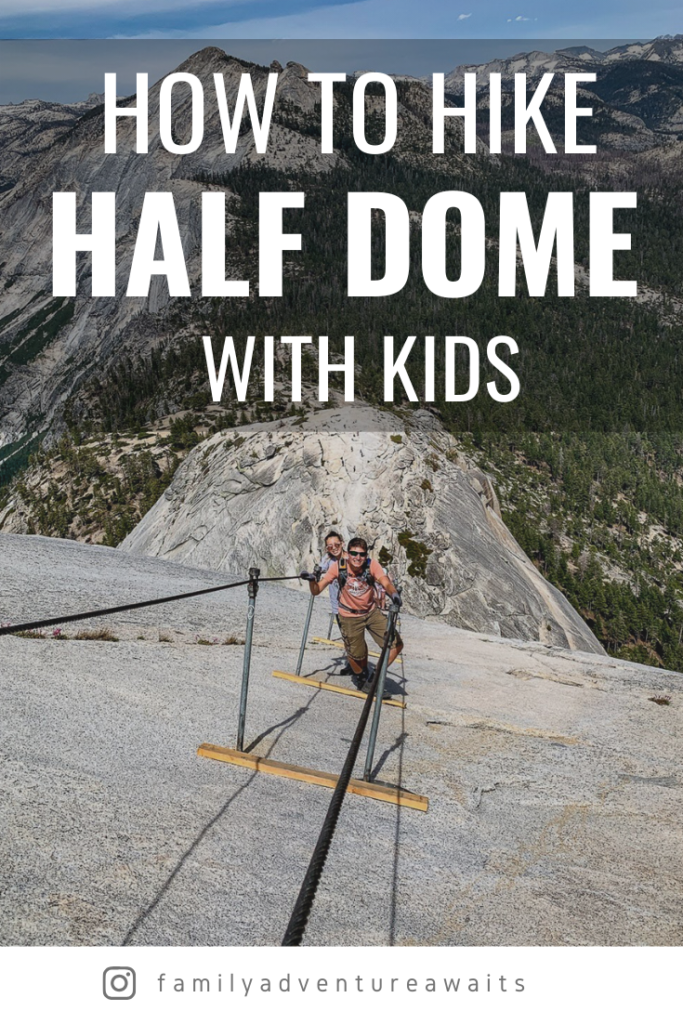
The Subdome itself is an intense hike. It is path across and up the granite below Half Dome. At some points there are big, often uneven stairs cut into the granite, which gave our legs a burn. In other areas the trail went across the granite and wound its way to the base of Half Dome, where we caught our first glimpse of the cables.
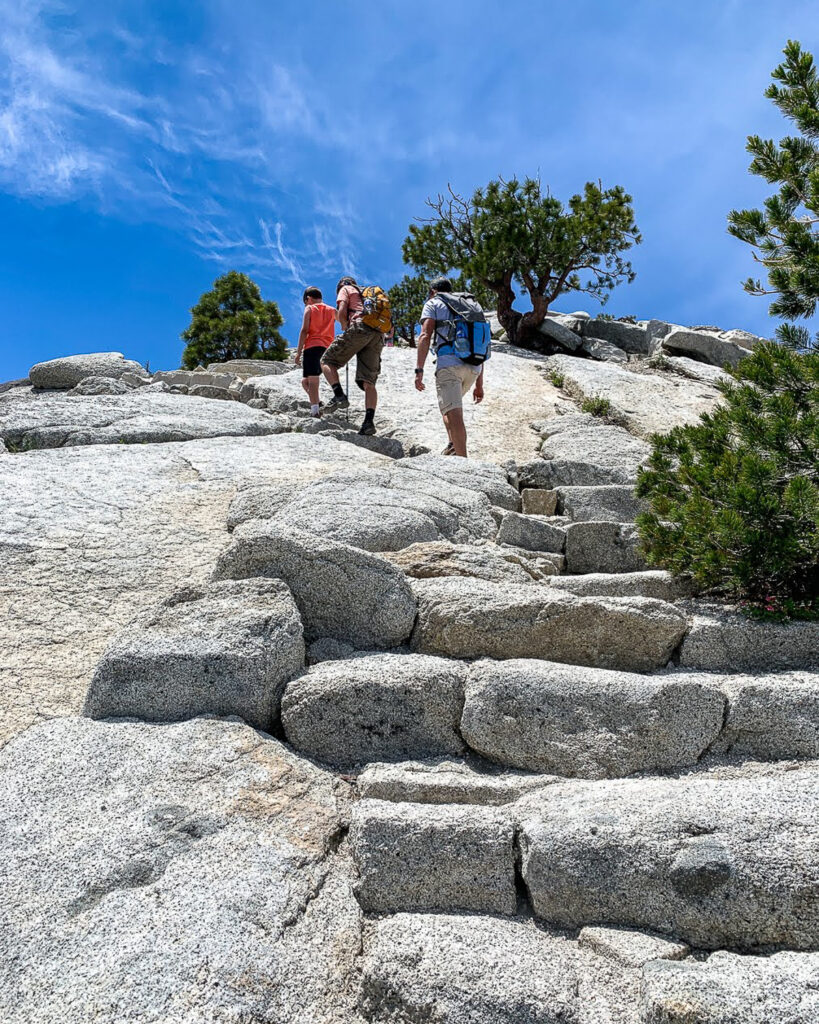
One thing that helped us during the ascent was using our family as a team. During the second half of the ascent, we transferred some of the load to Reed and myself (Dad) by having us wear two backpacks, giving Emmy and Mom a break. Abby wanted to carry her pack the whole way and wouldn’t give it up.
The Half Dome Cables
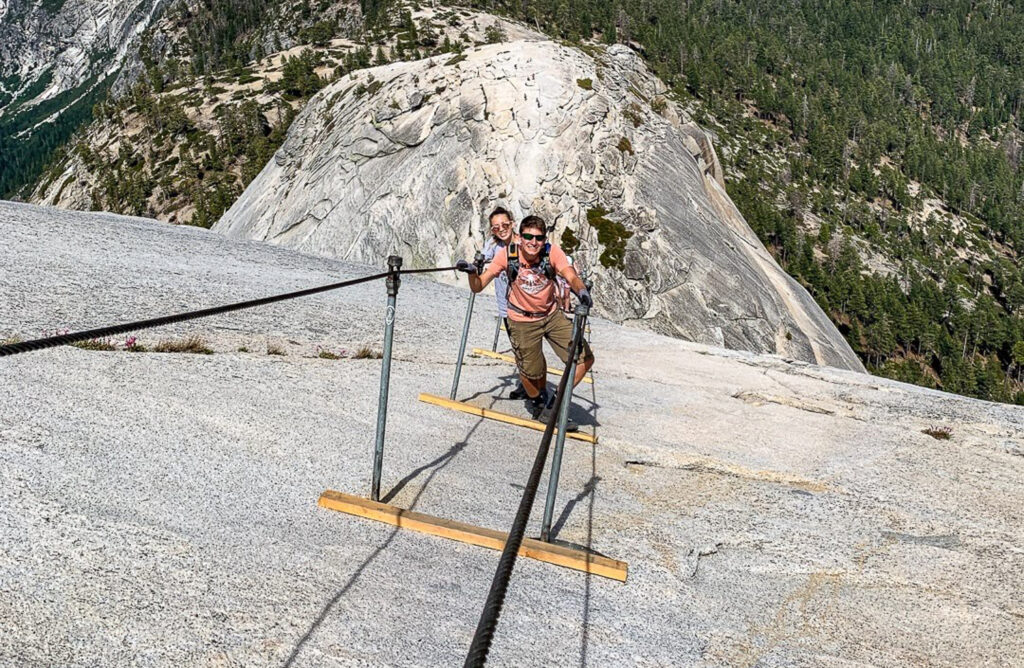
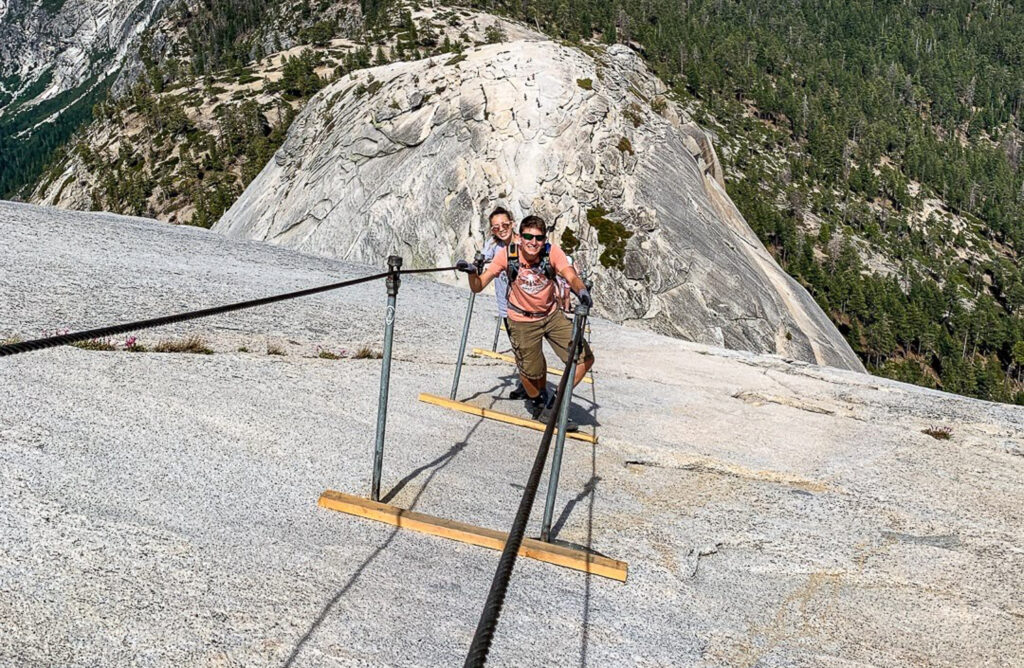
We reached the cables a little before noon, after about 5 hours of hiking, including a couple of short breaks. We paused and took a 5 minute break, donning our gloves and stashed our trekking poles under a bush. The we started up the cables! It as the moment we’d been waiting for!
We knew the cables were going to be difficult, and they were. The angle of ascent varies between 40 and 60 percent, which is super steep! Pulling ourselves up the cables worked our arms as much (if not more) than our legs. Emmy, 14 and in pretty good shape, went a little ways up and found it harder than expected. For a second she thought she wouldn’t be able to make it, but then she dug deep and continued on up. Abby, 12 and Reed, 14 went first and kept moving up.
The height of the cables and the incline made it difficult for Will, 10. He did the first 20 yards or so on his own, with me right behind him. After a bit, he and I decided to work together as a team. I walked right behind him, and in places where the incline was too steep or the granite too smooth, he would put his feet on mine and we’d walk together up the dome.
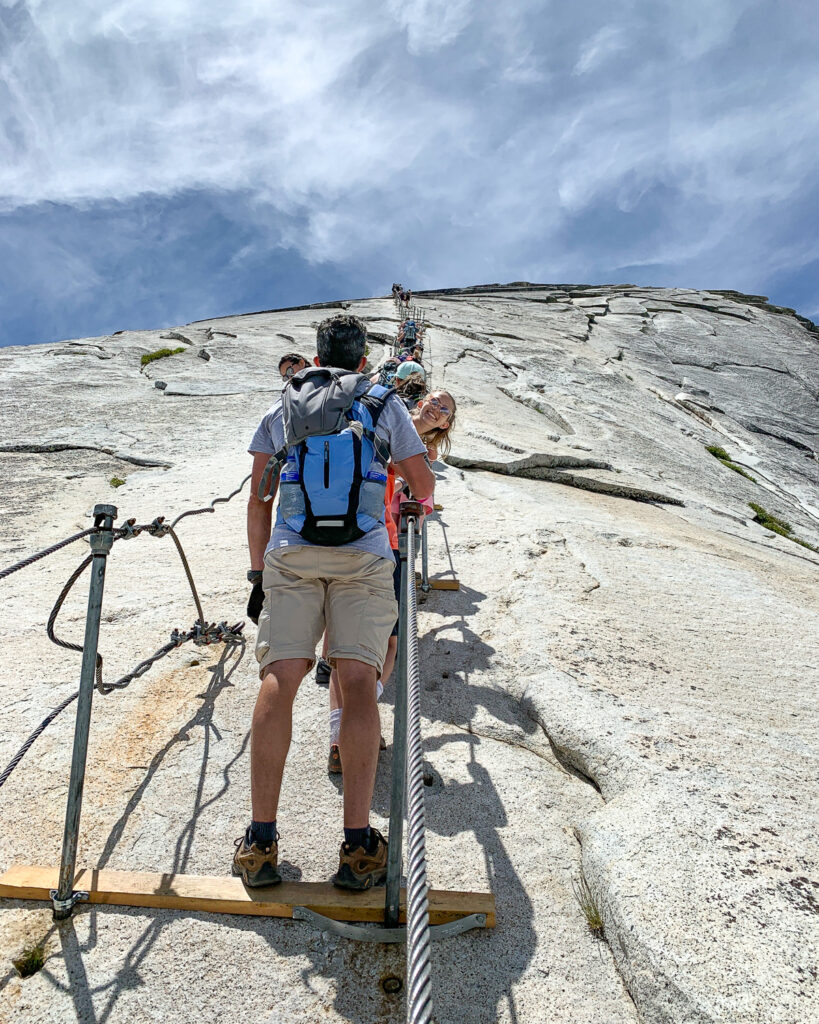
Thanks to the permit system, the cables were not overly crowded, but still had several other people. It required us to stop and let others pass us on their way down. Everyone was super friendly and worked together. Lots of people commented on how well the kids were doing, and we passed another family coming down with another 10 year old. The people immediately ahead of us were very nervous and slow, which was fine with us as it took any pressure off us to go fast. With all of the stops and pauses, and with the slow folks ahead of us, it took us around 50 minutes to reach the top. If no other climbers were there, I think 25 minutes would have been doable.
The Top of Half Dome
Because of our slower pace up the cables, we weren’t as tired as I expected us to be when we reached the top. We were a bit surprised at just how big the top of Half Dome was; it seemed to be several acres. It was a large, relatively flat expanse where we were able to find a nice place to sit down, take a break, and enjoy the views in relative privacy. We had to be vary of some persistent ground squirrels, who were brave enough to come and try to steal our snacks right out from under us.
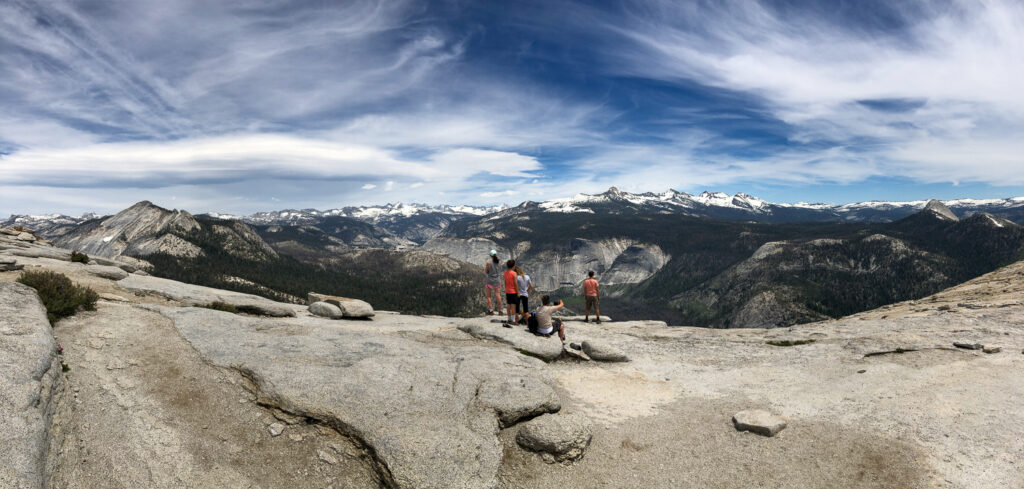
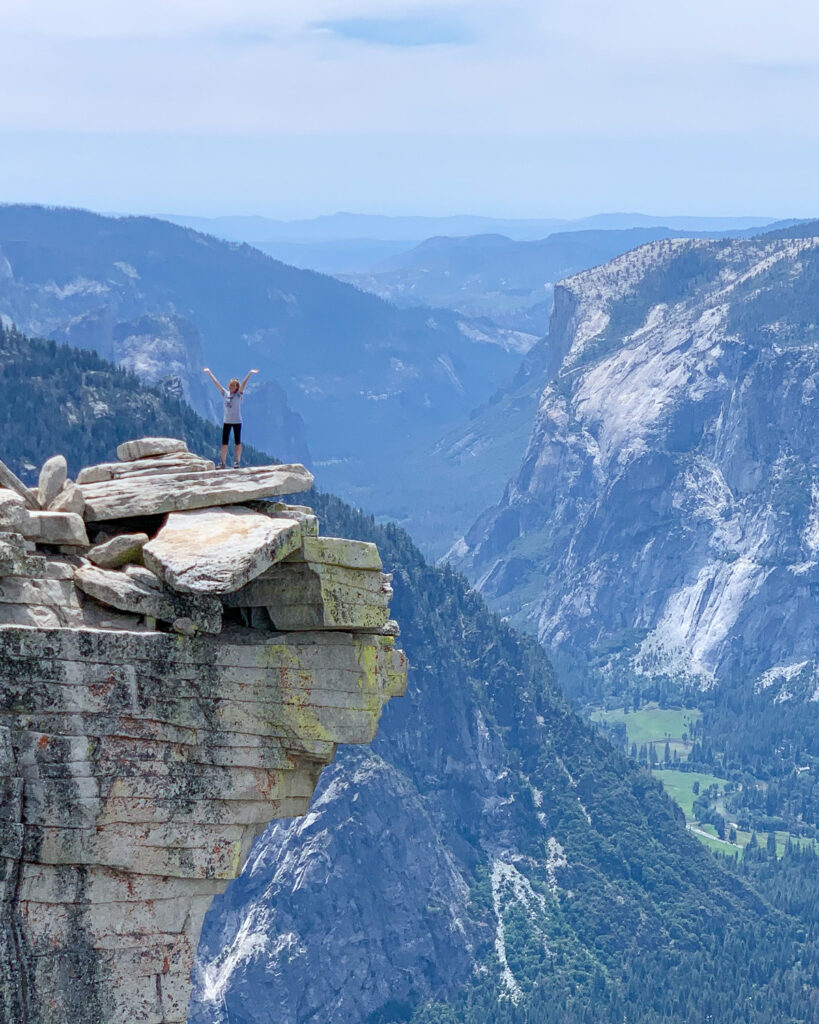
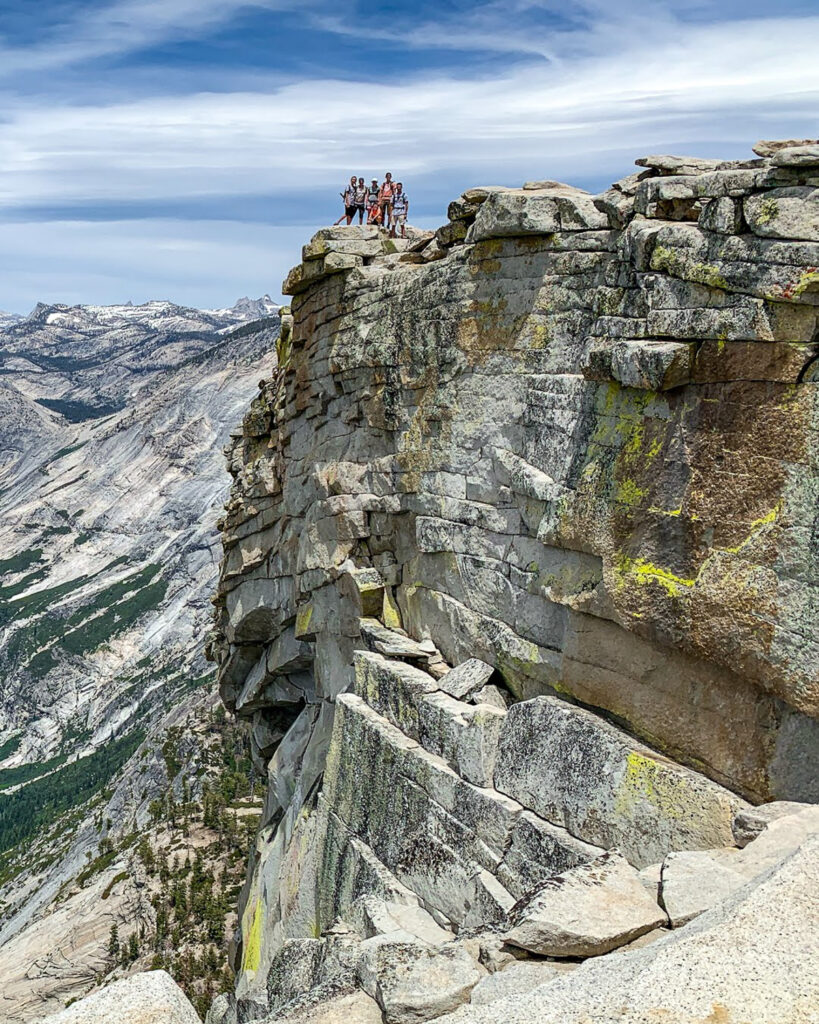
There is a section at the top of Half Dome where the granite shelf juts out right at and all of the iconic pictures are taken. This area was a bit more crowded, with maybe 20 other people on average enjoying the views and taking turns getting pictures. We were able to ask some of them to take family pictures for us in these iconic spots.
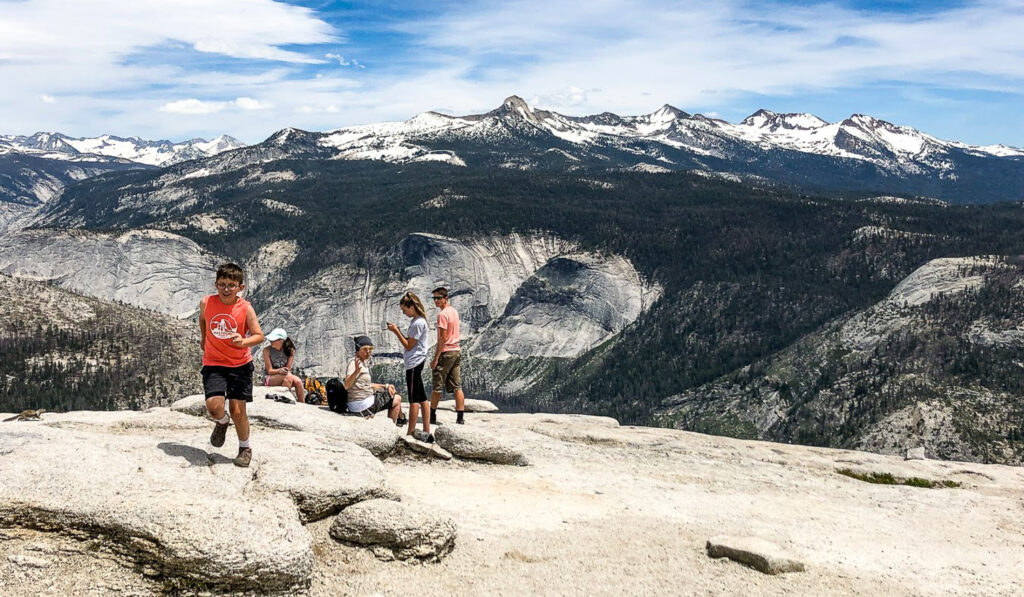
We ended up staying at the top for about 1 1/2 hours; longer than we expected but we enjoyed it so much up there that time flew by!
The Hike Down Half Dome
Going down the cables we still met people coming up as well as going down with us. We found that going down backward worked best for us. Mandy and the older kids went first, while Will and I repeated to procedure of him standing on my feet in the trickier spots. It took us about 50 minutes to go down. Once at the bottom, we retrieved our trekking poles and headed back the way we came until we reached Little Yosemite Campground.
On the way down, Will commented to Reed that he needed to take a dump. Out of the blue, a passing hiker, who looked very much the care-free, 20-something, sleep-in-my-car type of guy, overhead Will and piped up, “I’ve got some TP. When you’ve got to go, you’ve got to go!” That cracked us all up and became a running joke to this day.
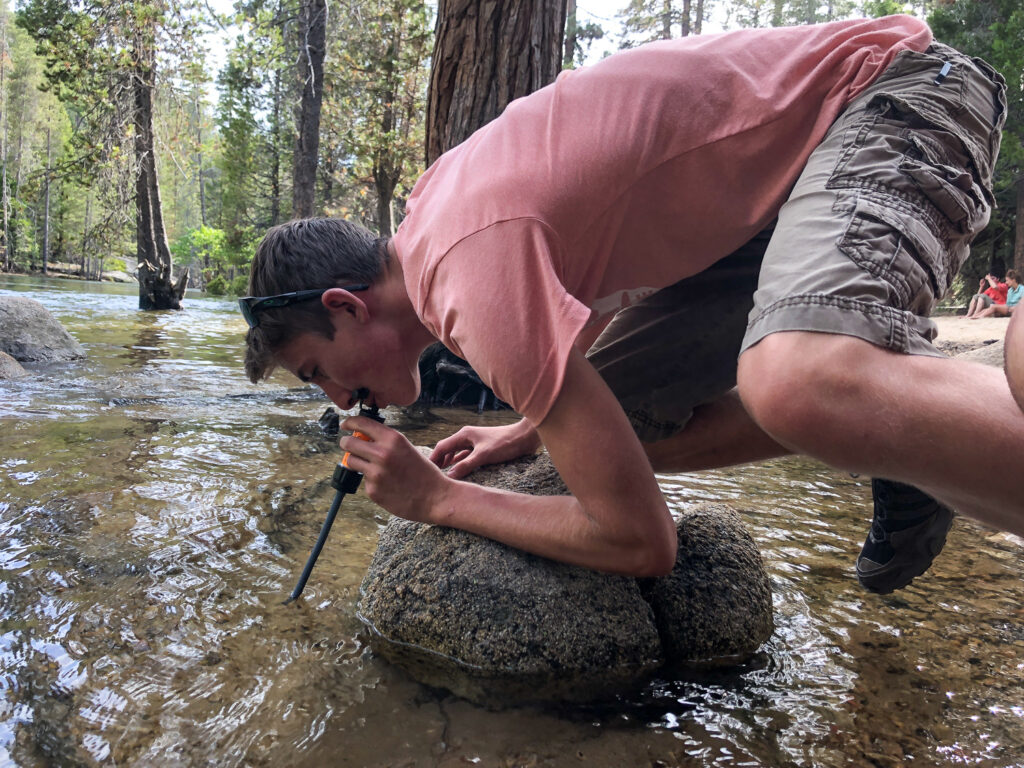
Fortunately, Will did not need to go until we reached Little Yosemite Campground, where we took advantage of the pit toilets. We also took a shot detour over to the Merced River. We had brought plenty of water, but still wanted to try out the water filtration straws that we had brought as a backup. The filtered river water was a cold, fresh alternative to the now warm water in our hydration packs. We then continued along the relatively flat trail, which was a welcome relief after all of the downhill we had just endured on Mandy’s sore knees.
Descent on the John Muir Trail
We again reached the pit toilets near the top of Nevada Fall. We knew we could either descend back down the Mist Trail or take the longer yet scenic route down the John Muir Trail. We had leaned towards the Muir Trail in our planning, and bumped into some Yosemite hiking veterans who also recommended the Muir Trail. At this point, tired and a bit worn out, we did not look forward to getting soaked again on the Mist Trial, so we opted for the Muir Trail, knowing it would be adding about 1 1/2 miles to the hike.
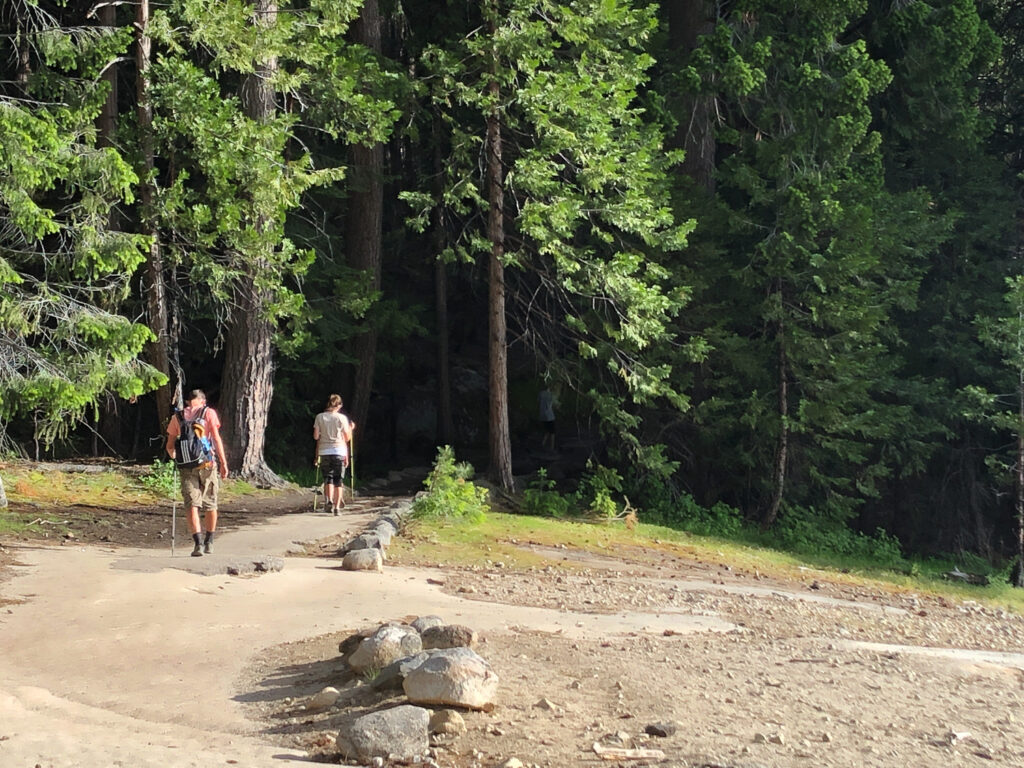
Soon, we were very glad we took the John Muir Trail. We quickly reached the top of Nevada Fall and crossed the bridge, amazed again at the power of the river and the awesome views at the fall.
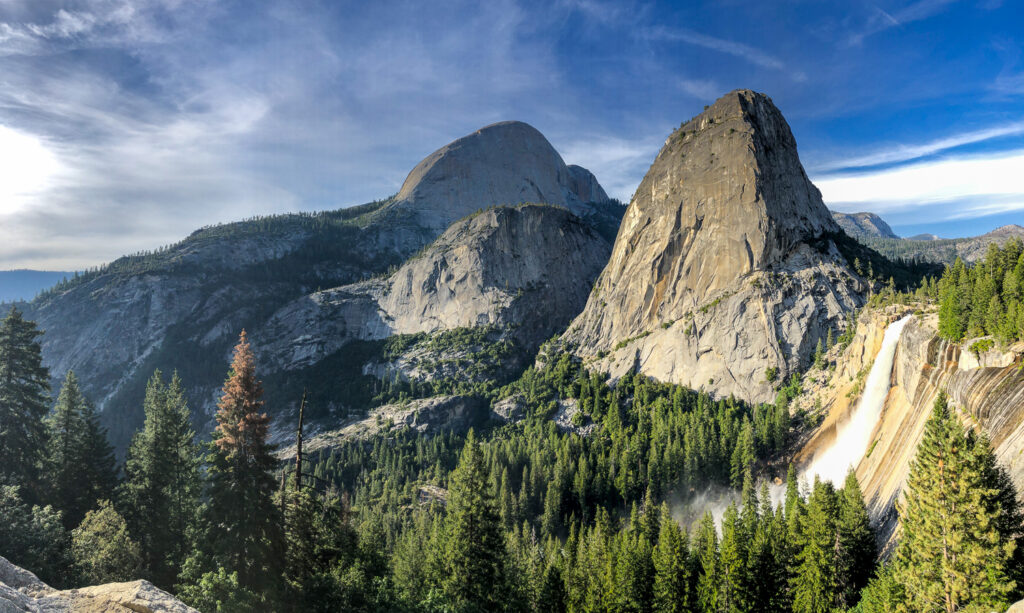
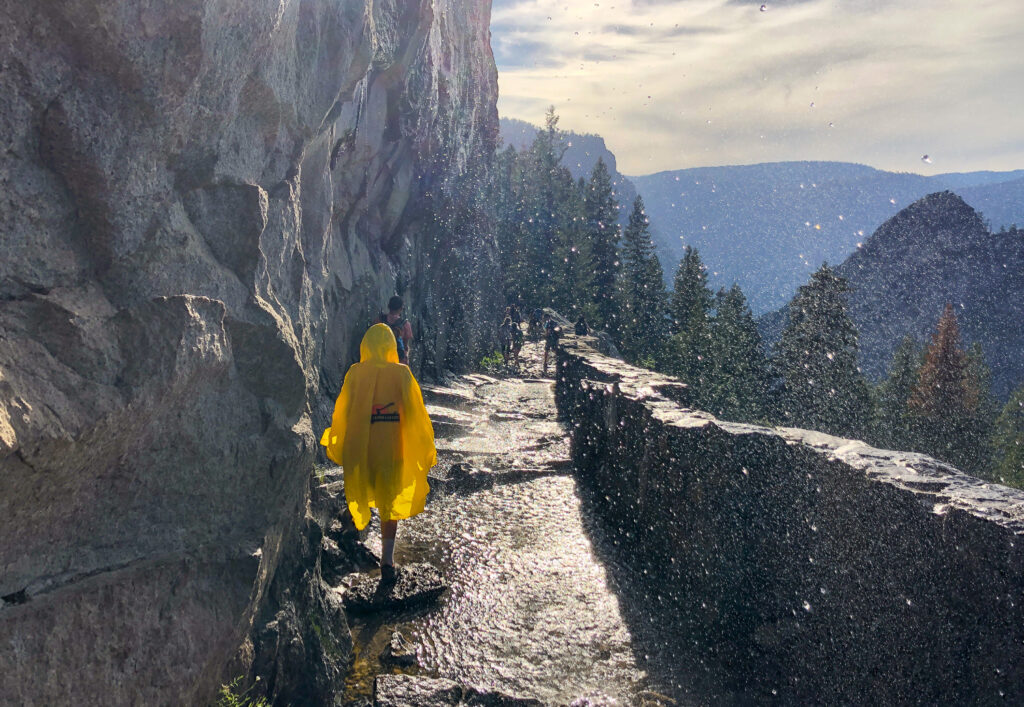
As we continued down the trail, we could look back and see superb views of Half Dome, Liberty Cap, Nevada Fall, and miles of granite walls. Walking under one massive granite section similar to a “weeping wall” we were showered with light droplets of snow melt, which was the perfect answer to the warm afternoon and provided a scenic descent for the first mile.
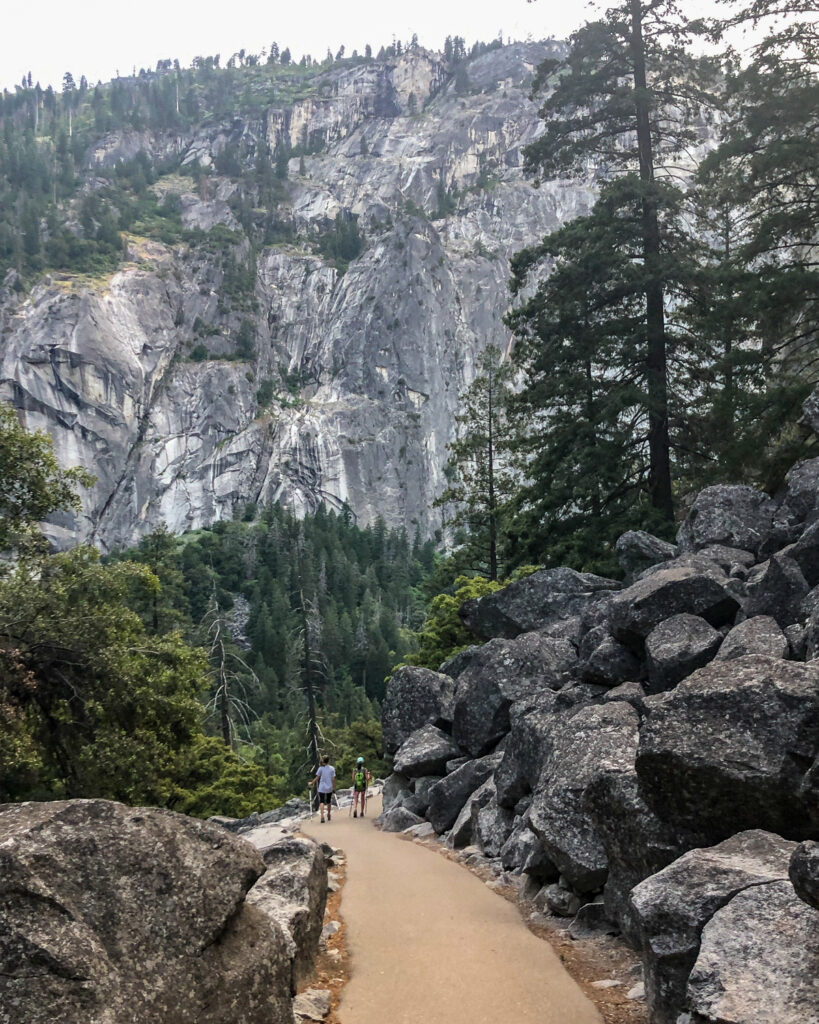
After passing the “weeping wall” we started on the last leg of the hike, which was a steady downhill descent with lots of switchbacks. This part of the hike as a bit more monotonous, I think because we were tired and so used to amazing views from earlier in the hike.
We reached the parking lot around 8:30 pm, tired but proud of our accomplishment. We were camping in Upper Pines Campground that night, so we quickly set up camp and cooked dinner.
Our Tips for Hiking Half Dome
- Decide if this hike is for you. It’s difficult, dangerous, and requires physical fitness, so proceed with caution.
- Start early! 6:30 am worked for us, though we’d have started earlier if we were closer the morning of.
- Hiking/trekking poles were a must for us!
- Watch the weather. Do not attempt the cables if there is a chance of rain, wind or lightning.
- Take your time. Not only will you enjoy the views, but you’ll be better rested when you reach the cables. Decide on a “turn around time” for the half-way point, and stick to it.
Should You Hike Half Dome with Kids?
In the opinion of our kids, Half Dome was the hardest yet best thing we’ve done as a family! It was fun, challenging, and oh-so-rewarding! We would do it again in a heartbeat.
That said, should YOU try to hike Half Dome with YOUR kids? That is an entirely personal question that you’ll need to answer with research and a good, objective analysis of your kids. Ever kid is different, in terms of temperament, physical capabilities, endurance, and emotional stability.
How old should your kids be? Having done it with a pretty mature 10-year old, we would not recommend it with kids much younger than that. And kids in the 10 to tween age range would need to be self-controlled, determined, and willing to listen and obey. Keep in mind that over 20 people have died hiking Half Dome. It is a serious, dangerous, yet amazing hike. Discuss it as a family and be open and honest about it. If you decide to do it, let us know about how it went!
Custom Yosemite Logo
Are you visiting Yosemite National Park and looking for a logo? We have created our National Park logos for you to make custom family road trip T-shirts, hoodies and more. You can download our National Park Logos here.
About Trevor Beyeler
- What Gear to Take for Hiking The Narrows - April 5, 2022
- Zoom Games for Kids and Students - April 23, 2020
- Zoom Virtual Backgrounds National Parks - April 22, 2020
- Zion National Park: 2 Day Itinerary - March 4, 2020
- Best Southwest Family Road Trip Itinerary - February 26, 2020
- Best Shoes for Hiking The Narrows - February 21, 2020
- Why The Narrows is the Best Family Hike at Zion National Park - February 19, 2020
- 9-Day Southwestern National Park Road Trip Itinerary - February 18, 2020
- Should You Hike Angels Landing with kids? - February 17, 2020
- Family Sunset Hike to Delicate Arch - February 12, 2020





These are great tips, thank you! I really like the part about envisioning your ideal day. Just taking it little by little doing something every day to create your dream life