


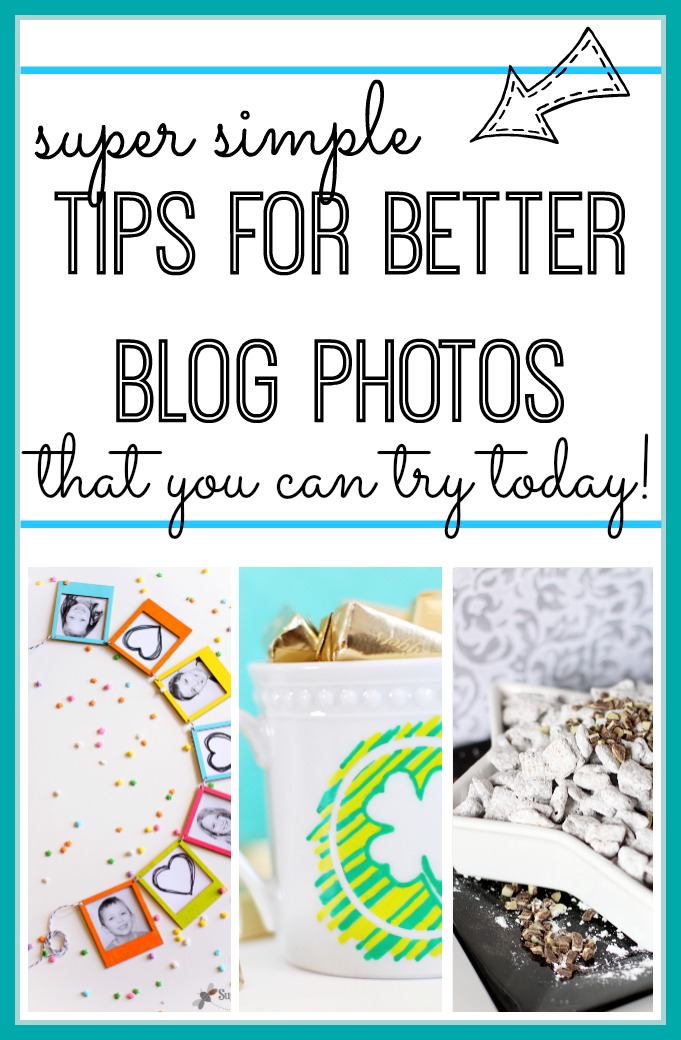
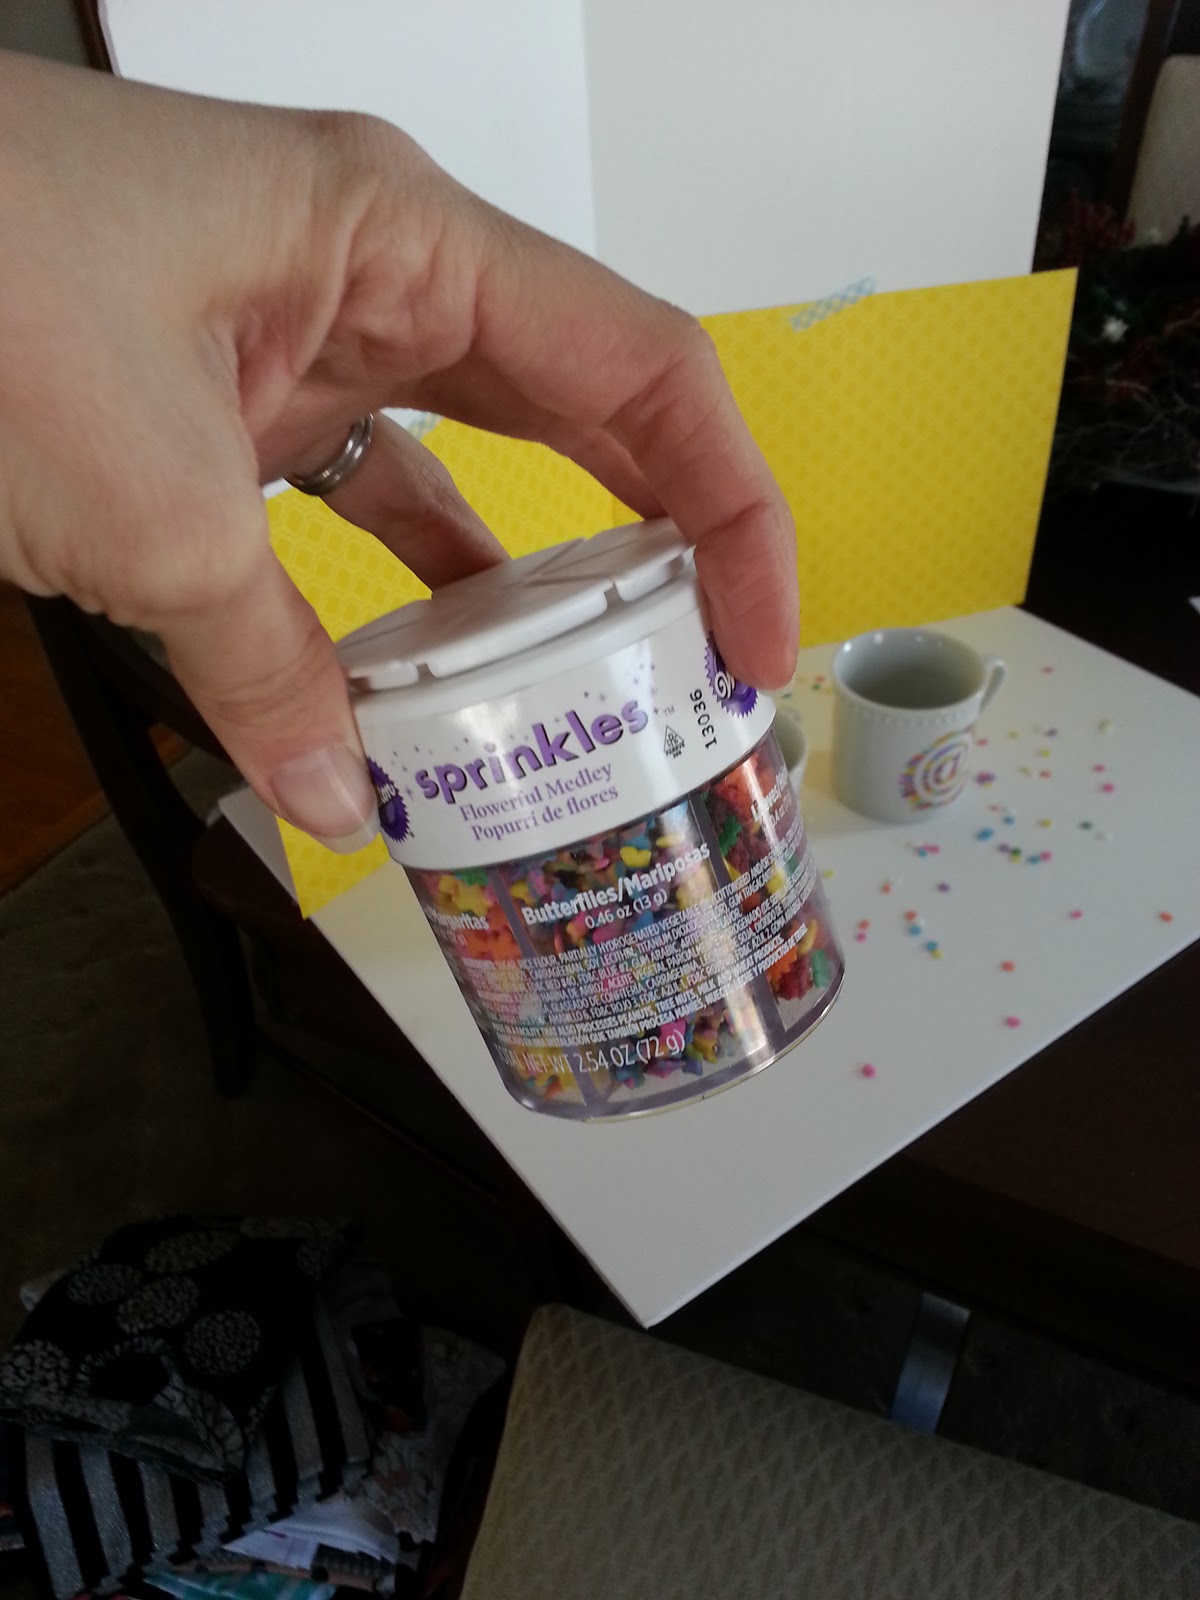
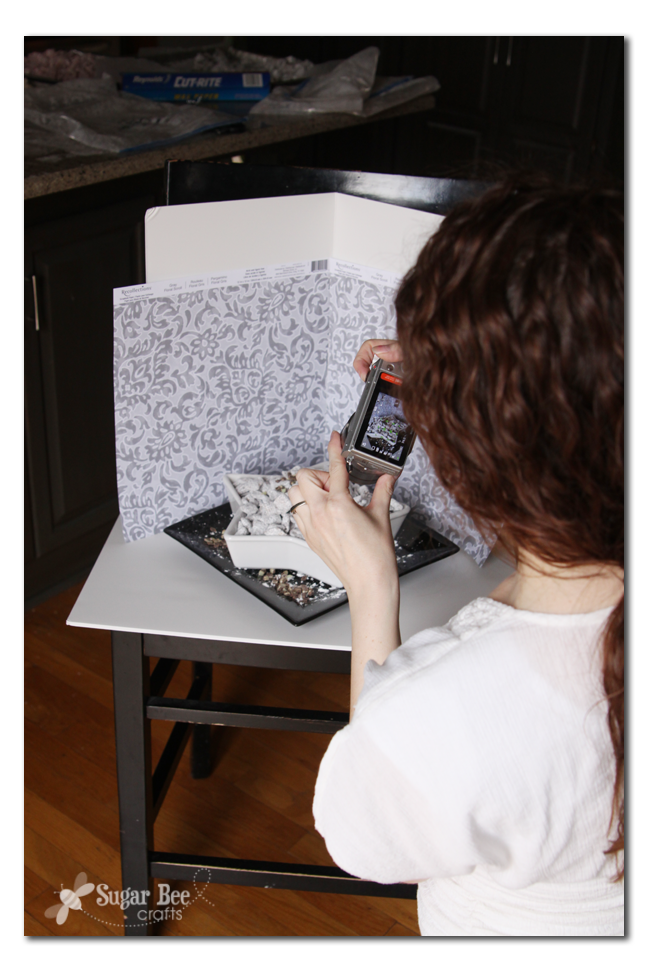
–FOAMBOARD
I have several big backgrounds and a real lightbox, but they’re a hassle to pull out. I’ve gravitated to using simple foam board white boards because they’re easy to store and grab on a whim. One I have a crease in and I use it as the background – I just tape up whatever pretty paper matches my project. Then I use one on the bottom – I’m still on the lookout for woodgrain paper that I love. Anyways, it was like an ah-ha moment when I realized the set-up could be small and simple. As you can see, there’s always a mess in the background – that’s real life!


–NATURAL LIGHT!
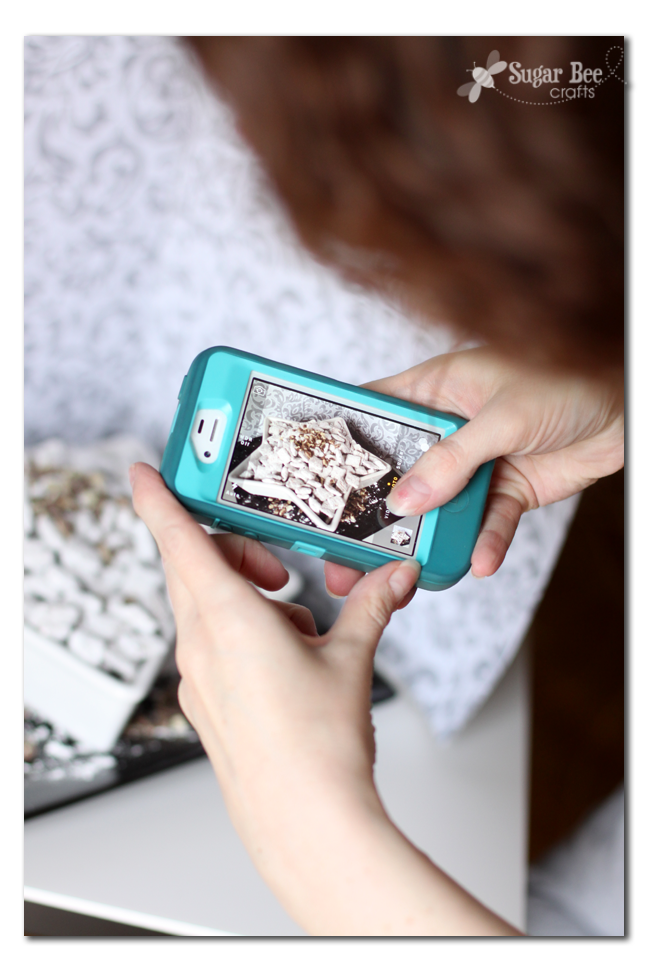
Yep, find the light in your house. And it’s in different places at different times. Just be sure that wherever you set up , you are getting lots of natural light – it makes a world of difference. Oh, and don’t forget to snap a picture on your phone too, for Instagram. Sometimes I like to use the pictures from my big camera on instagram, but sometimes I like to take them with my phone to give Instagram followers a sneak peek or different angle.
–Text On Images?
honestly, I’m not sure on this one – – sometimes I love images without the text interfering, you know? But with the text, it’s easy to people to identify your project. I usually try to provide both types of images in my post, that way if someone wants to pin the post, they can choose which type of image they prefer. If you’re thinking text, be sure to leave a spot in your shot so that you have a place to insert it and not interfere with the project image. And be sure to orient your image vertically – pinterest likes it that way – it’s more catchy visually that way.
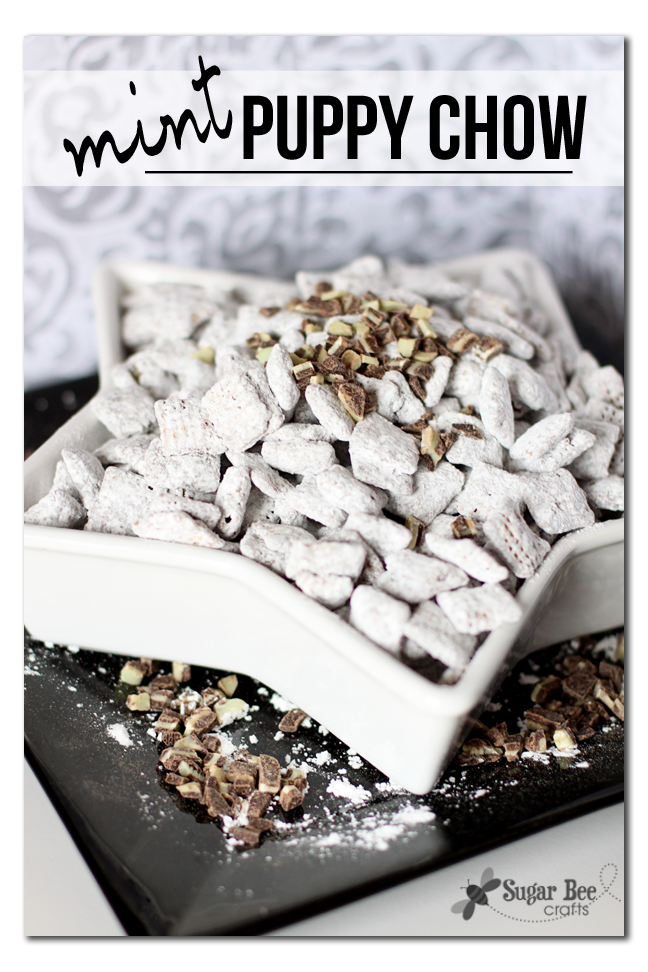
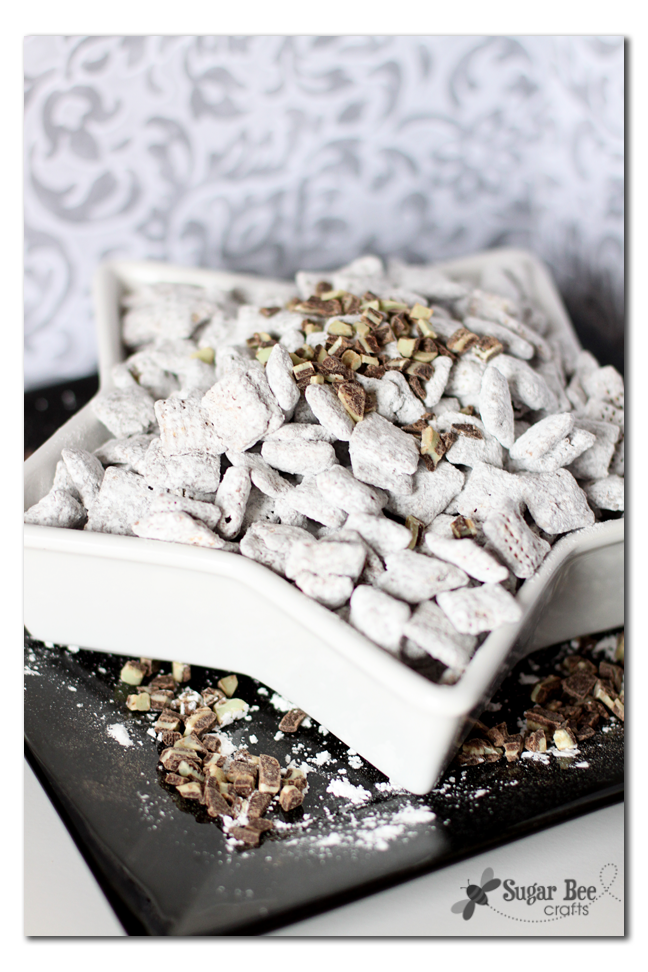
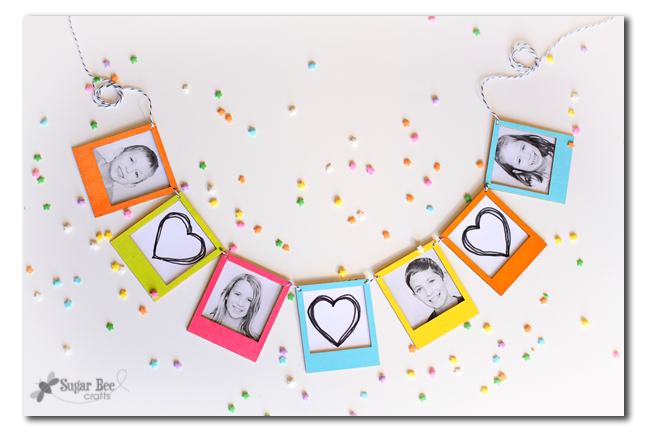
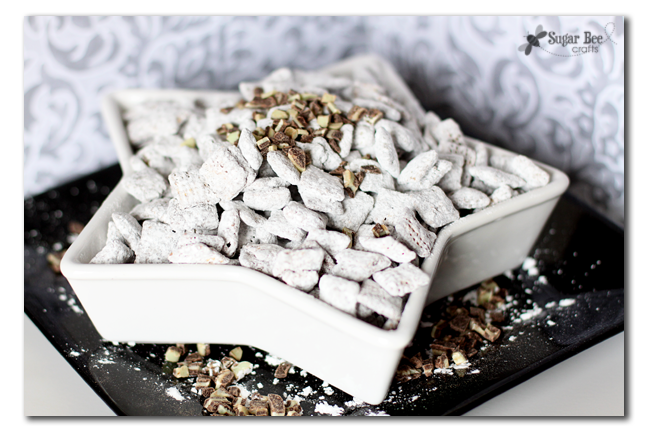
(side note — this mint puppy chow is from when a friend came over and we made several kinds – – I was a diehard mint fanatic and knew it was the best ever – until she made the key lime puppy chow version! both are AMAZING and I’m not sure which I like better – – mmmm, I want some more right now…. you’ll have to head over to Apples by Ashley via those links for the recipe)
That’s it! just a few, super simple tips that you can implement into your project picture-taking life. Enjoy!

Good ideas, especially about the natural light! But I am frankly getting a little tired of the text on images. I’m not meaning that to sound critical, but I think a lot of photos are just nicer when they’re just the image and copyright, rather than big text sprawled across them. Maybe it depends upon whether it’s a beautiful photograph or if it’s a photo of a craft or a recipe.
I agree! – – sometimes I like that it says the project, but really, I just like the picture without text. I usually try to put both options in a post so people can pin what appeals to them.
Love these tips, Mandy! The foam board tip was a new one for me AND the sprinkles! 🙂
These are great tips! I would love for you to share the simplest ways to add text/copyright to pictures for a person like me who really stinks at that and doesn’t know photoshop at all. Could you do a blog post on that?
Great tips, Mandy! I have been looking for an easy (cheap) way to ‘set up’ my photos. The foam board is just perfect! And the sprinkles are great too! 😉 Thanks for sharing!
so creative as always-!! thanks for sharing those tips!
Thanks for the tips! Have bookmarked this and will pin it as well. Hugs and blessings, Cindy
Great tips! I second the foam board. So easy to get/stash/replace/change. I use black foam board if I want a chalkboard background. I write on it too!
My biggest problem is finding natural light. We don’t have a real great spot in our house that is just FULL of natural light… and the winter light is SO much different than summer. I my fridge ALL the time – I lay scrapbook paper on the floor and use a magnet to hold some as a background! LOL. I like the foam board idea though because I love how you can make it look like a corner. Your light years ahead of me in the photography department, but I give it the good ole college try. 😉
I LOVE the tip about the foam board background…I will totally use it in my blog…
Thanks!
https://www.judypimperl.blogspot.com
Great tips! The sprinkles are so cute!
Have you considered using fabric for your wood grain effect? Several of Joel Dewberry’s lines have wood grain prints. Another great solution is to find a wood grain laminate sample at your local home improvement store.
I love the idea of using sprinkles in a non food photo, never tried that. I’ve also seen people used striped straws for decoration in photos but I just can’t get that to work.
Great tips!
I agree with the text, but I think it depends on what platform you’re using to showcase your images. Pinterest is good for catchy titles, but maybe on instagram you won’t use the titles. Or with Google+ where you have the ability to highlight the text directly above the image. So it’s probably worthwhile having both.
Thank you SO MUCH. My photos are the worst (like literally the worst of any blog on the planet), and I had no idea what to do. This is such a great start and I’m buying foam boards pronto. 🙂 – Bre @ Average But Inspired
I love these tips and I love that you showed the real house behind the foam board. I always set up still life and food photos on my dining room table in front of a board that blocks out a huge mess of papers and stuff!
Great tips, Mandy! Thank you for sharing!!
Great tips! Thanks for sharing. 🙂
These are really great ideas! will definitely use them. Thanks for sharing ^_^
Great, I love the foam board idea – this is a nice share, thank you!
These are great tips. I must remember to get foam board! Pinning for sure. Take care – Dawn @ We Call It Junkin
Dawn @ We Call It Junkin.com recently posted…Daylily Garden Tour: Part 4
These are such great tips! I love the “behind the scenes” types of posts. And it’s very much appreciated when people share their secrets.
Thanks so much for this! It’s nice to actually see someones foam board setup.
Stacy
Stacy recently posted…Love Anthropologie? Can’t Afford It? Here’s How!!!
foam board works wonders, and it’s so simple!
These are great tips! I can’t wait to use them on my blog <3
Hello Mandy, love your craft site and tips. What application or software do you use for texting/labeling your photos. Do you use photoshop, Elements or an easier app?
I use Photoshop Elements and sometimes the free online site PicMonkey – PicMonkey is my favorite for making collages, so if it’s a collage that I add text to, I’ll use PicMonkey since I’m already in that program.
Hey Mandy, I have to say, I LOVE YOUR BLOG. Every time I am on here I find awesome things I haven’t seen before. I am so glad I came across this post..I have been debating on investing in a good light box because my home made one just doesn’t seem to cut it for me anymore. But I love the idea of using scrap book paper..I have a ton of it and never even thought about using it for the back drops. GENIUS!! I own a craft store called American Clutter and we upcycle and do a lot of one of a kind pieces so its hard to capture all of them..but this just gave me a whole new way to test out! I am pumped to go to the store and start doing a photo shoot! WAHOO. Check out my blog sometime if you have a chance http://www.liverandomlysimple.com 🙂 Maybe I can pick your brain sometime!! 🙂
It’s amazing how much of a difference natural light can make! I hope to get better with my photo taking abilities so that I don’t have to keep sorting through Creative Commons for good pictures.
Tori recently posted…Weekly Wardrobe Wishlist: Round 11
Thank you for putting together such a simple, easy guide! Every other set of instructions I have read for optimal photo setup just leave me overwhelmed.
Jenn @ The Art of Better recently posted…At What Age Should a Child Have a Cell Phone?
Great! I was aiming for tips that anyone would tackle – – good luck!
Oh I just love this! I’m looking to do some more recipe/craft posts next year so I’m trying to figure out a setup. I love the idea of foam board and decorative paper! AWESOME! Thank you for sharing these great tips 🙂
Amber Kristine recently posted…When I Felt that Forever Feeling
foam board is just so awesome!
These are great tips! Thank you for showing the foam board “photo studio” arrangement, I am definitely trying that out next time 🙂
Wita recently posted…Printable Goals Journal (with freebie!)
That sprinkles idea is genius!
Kat – Tales of a Pale Face recently posted…Beauty tips – how to get perfect winged eye liner
Those are great! I hadn’t thought of putting up foamboard for a background holder.
try it! so easy, but looks perfect!
Thanks for the tips! Going out to buy a foam board now 🙂 xx, jen – misslifestyler.com
jennifer recently posted…Just Say No To Store-Bought Granola Bars! … and then make these
foam board – it’s a game changer!!
Omg. so cool 😀
Thank you for the great comments. I am a beginner at this and now feel like I have some new things to try. Thanks for sharing and for making it seem possible.
Great idea to use foam boards and then tape paper to them to add a bit of colour! This way it reflects the light and still looks pretty, thank you for sharing! x
Thanks a lot for these awesome tips! Tweeted 🙂