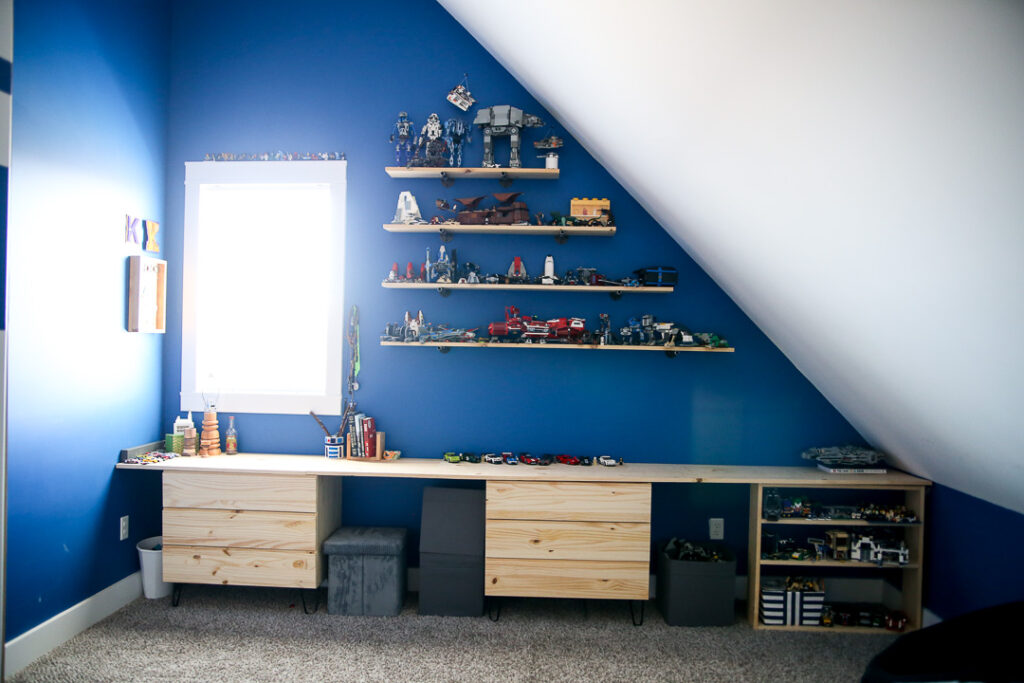
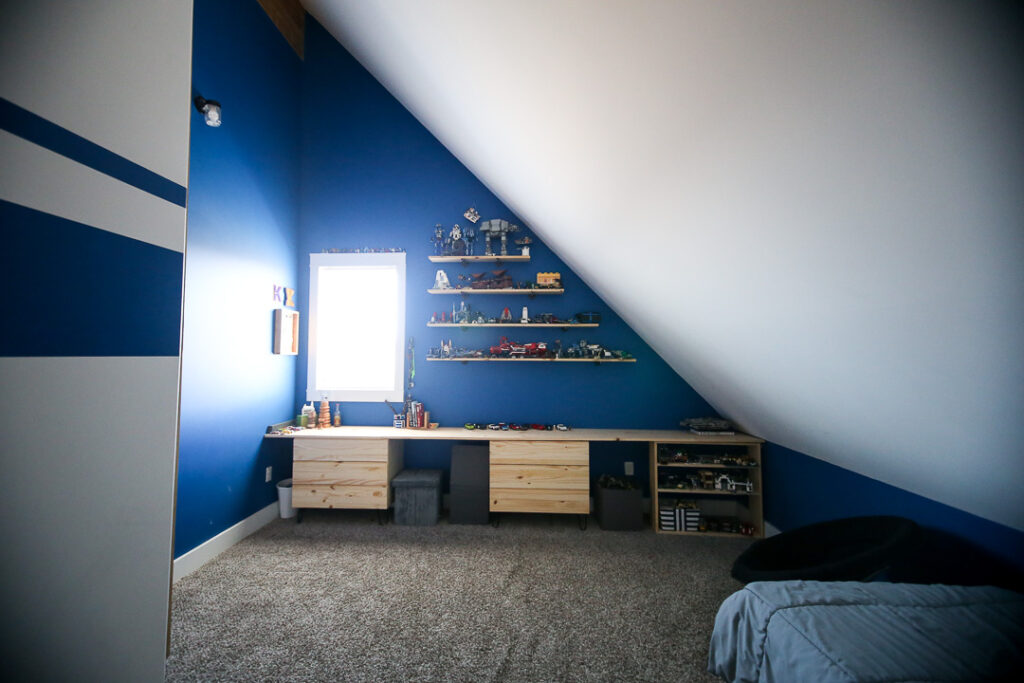
It’s crazy to think, but we’ve been in our house for about 5 years now – and times change! My son wanted a more “older” look in his room, plus it was in desperate need of better storage/shelving. He had an idea of what he wanted and drew it up, and we got to work. It made a HUGE difference in his room! And so I thought I’d walk you through this Teen Boy Room Idea.
Be sure to pin this idea so you can come back later! This post may contain affiliate links.
Boy Room Problems
The biggest problem that needed solved was STORAGE. We’re big into LEGO at our house and so he had a bunch of sets that he wanted on display. The bookshelves we were using before just weren’t cutting it.
Another problem was a desk – he had a desk in there, but it was out of place and not really useable. He wanted a long desk-height surface area that he could sit at if needed, but that would function mostly for displaying things.
He also wanted the room to look older and requested more natural wood instead of plastic or white formica.
Plus there was just the general problem of MESS, right?!
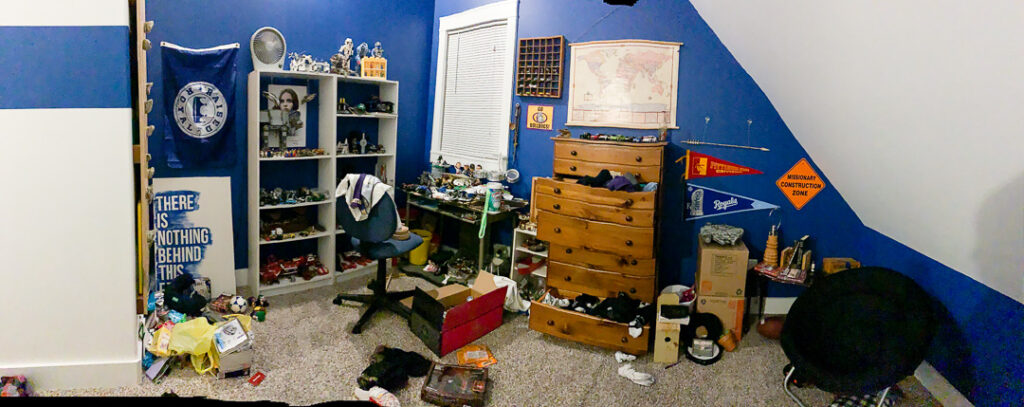
True story, I forgot that I took a panorama of the “before” so I went upstairs just now to take a matching panorama shot of the “after” and there are LEGOs all over the floor already, ha!!
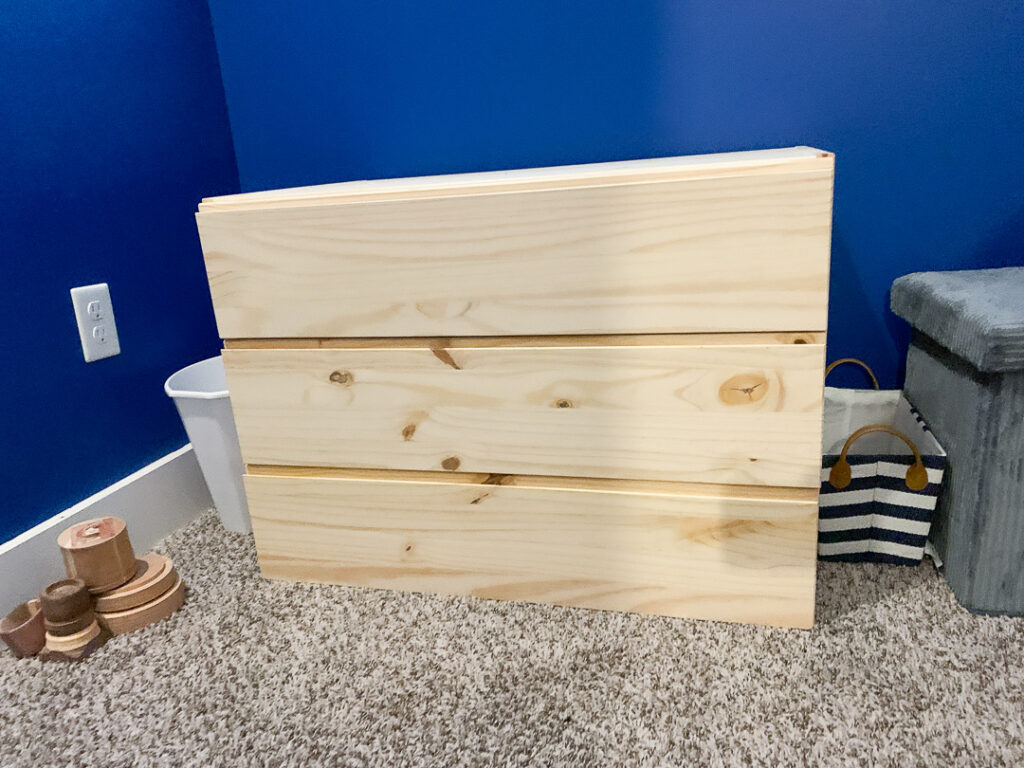
IKEA IVAR Dresser Hack
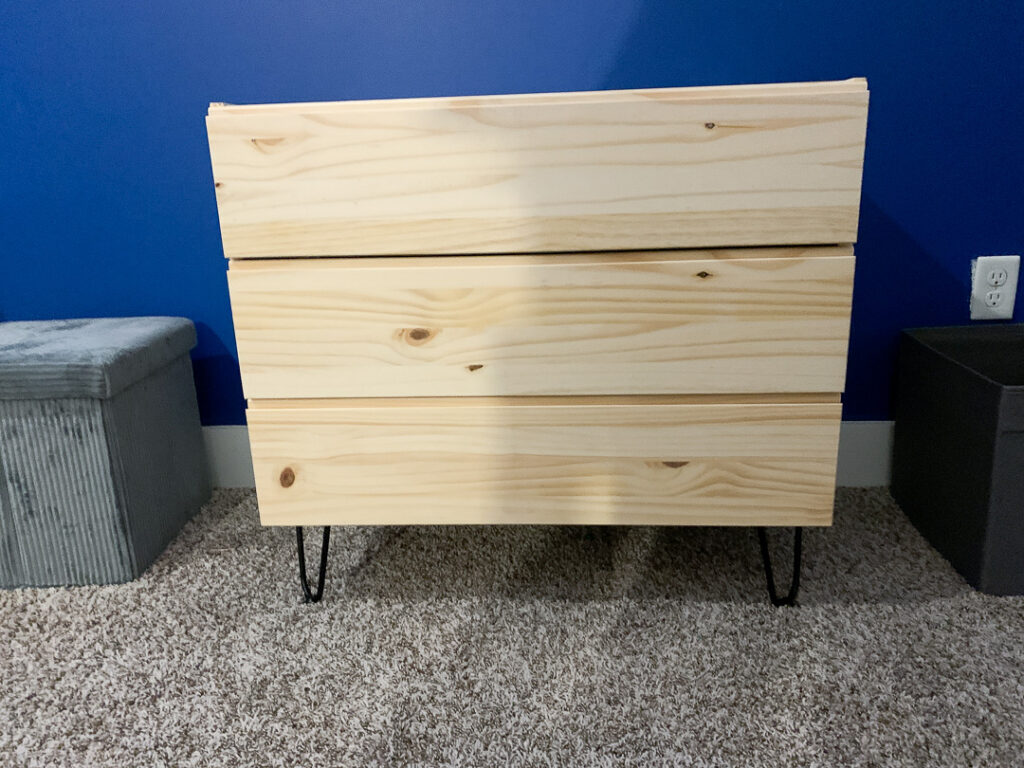
A big problem was the dresser that he had – it just wasn’t working in the space. He wanted drawers under a long desk, and instead of build those, I thought let’s just buy a couple of short dressers. I went to IKEA in search of a different dresser (but it was out of stock, booo!!), and after much debate ended up with 2 IVAR dressers. I liked that they were a blank slate and real wood. It’ll be up to him to add handles that are pipes or leather pulls or whatever he’d like.
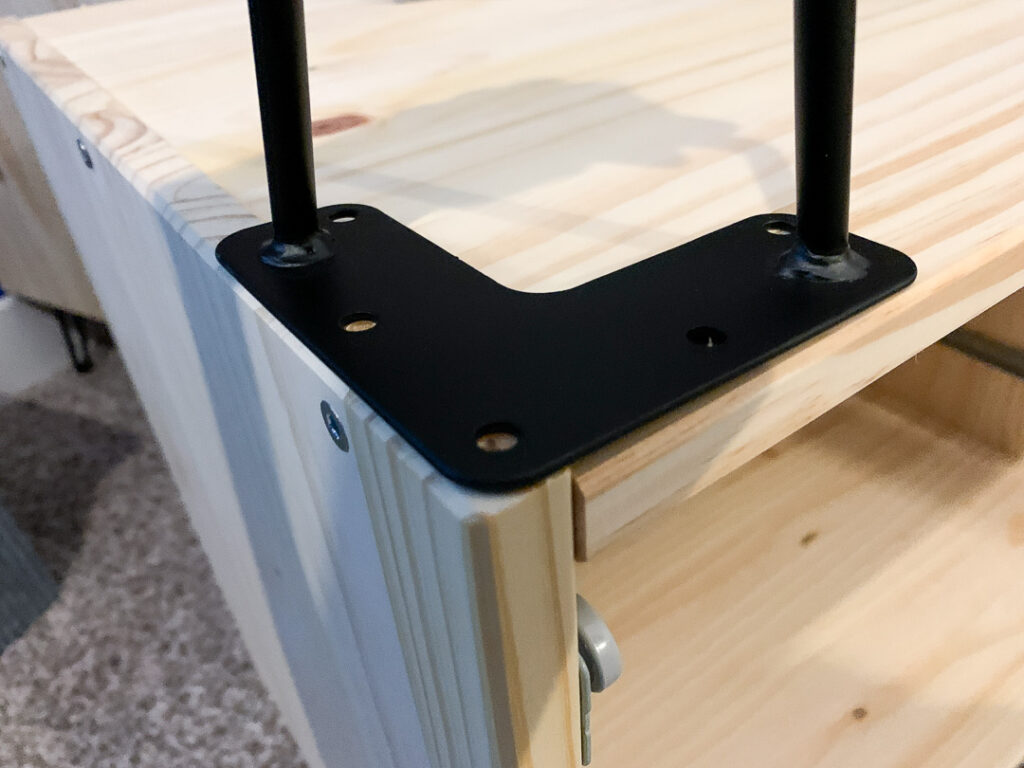
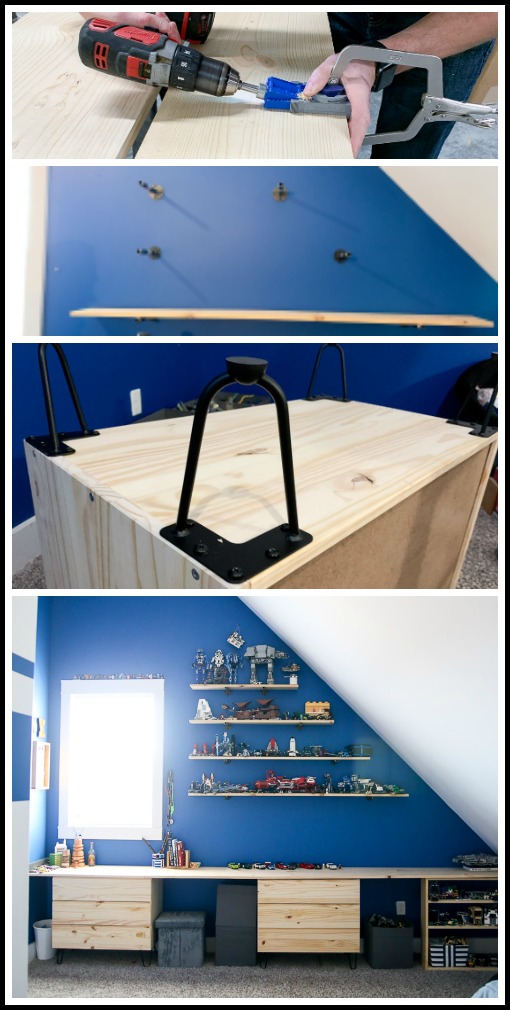
But they were SO plain that they definitely needed a little something. Plus they were a little short for a “desk”. The perfect solution was to add black metal hairpin legs. I like the “older” yet modern vibe and it was a super easy IVAR Dresser Hack. Here you can see the difference that just adding the legs made.
We purchased THESE hairpin legs from Amazon and went with the 6 inch size. We made sure to attach them in the corners on the side piece of the dresser to support that weight.
DIY Modular Desk
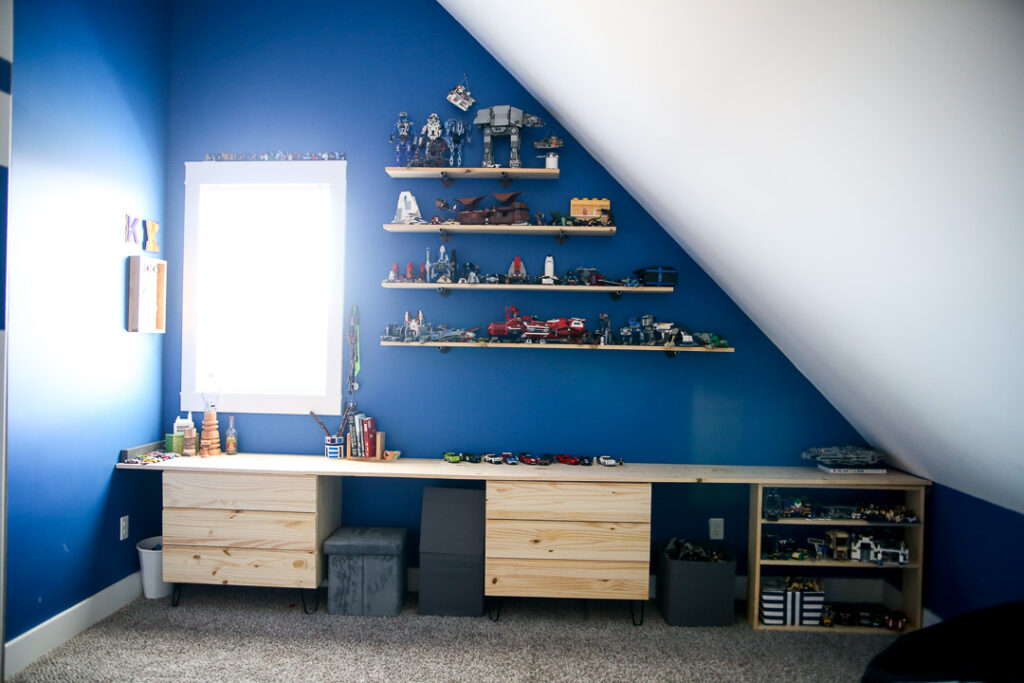
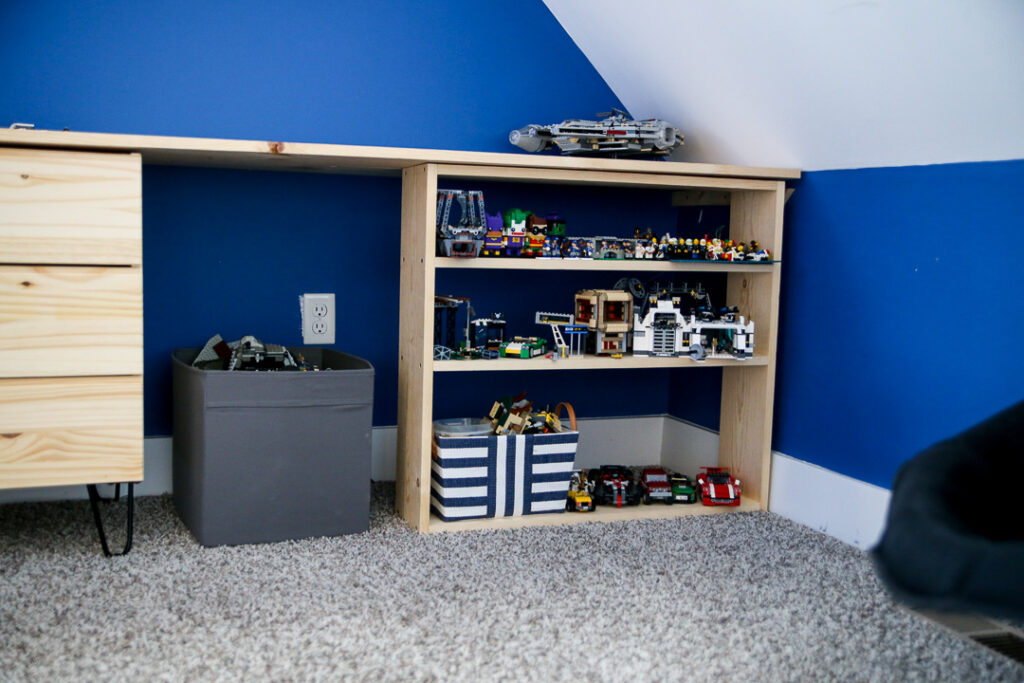
He only has a couple more years at home so I wanted these pieces to be able to be flexible in case he needs them in college, etc. So everyone is moveable and stand-alone. He can rearrange the dressers, stack them on top of each other, use the bookshelf as a nightstand, whatever. Nothing is attached.
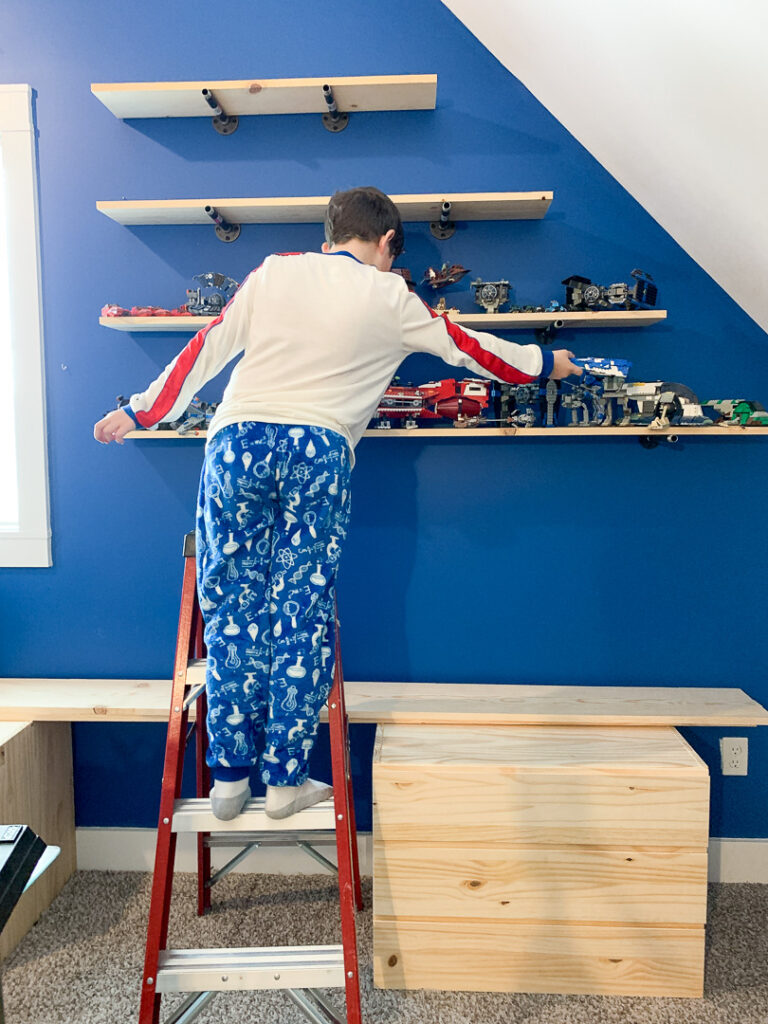
Once the upper shelving was installed, we realized it still wasn’t enough shelving, of course. So using some 1x6s that we had on-hand, he made an open bookshelf to create more storage.
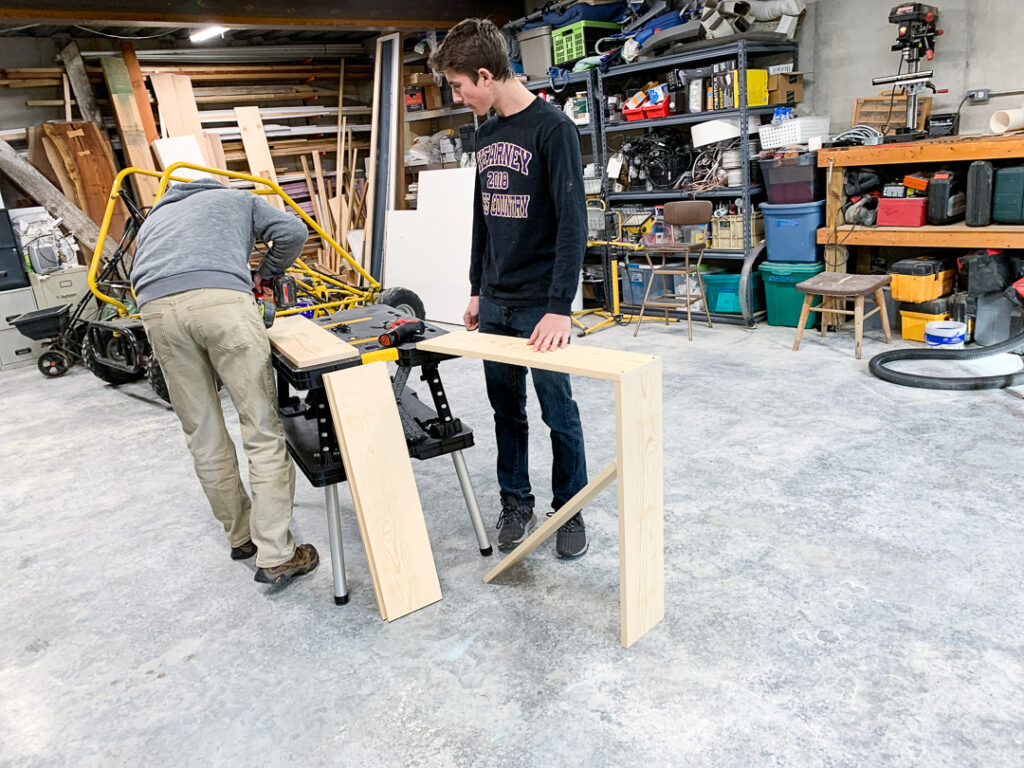
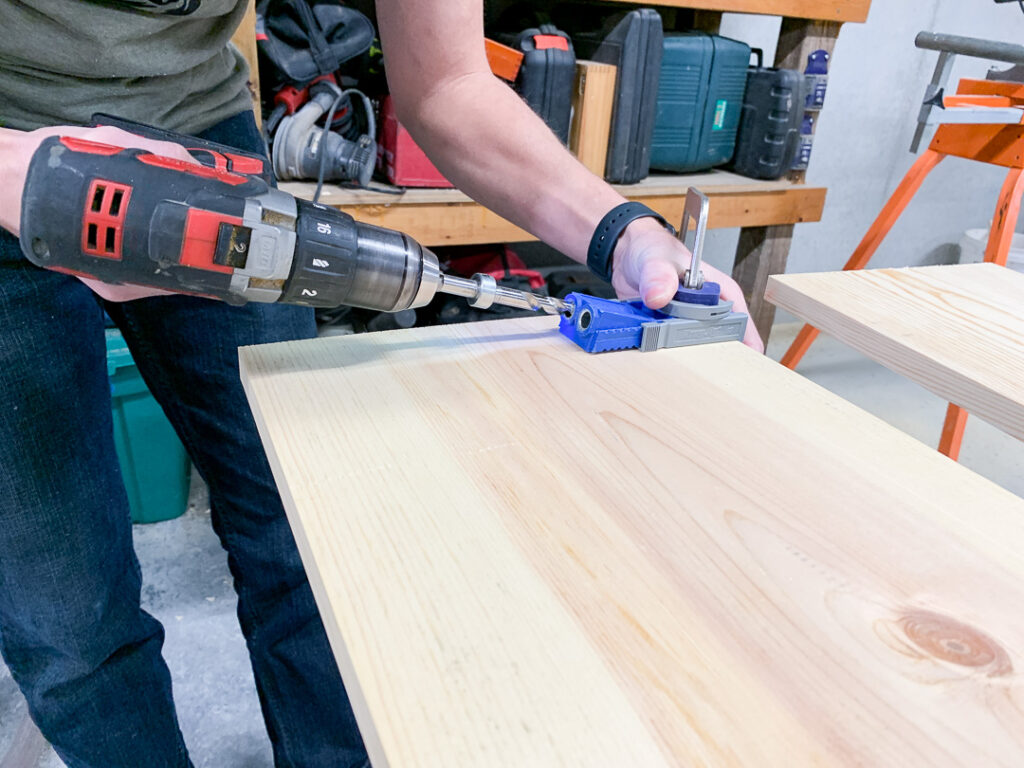
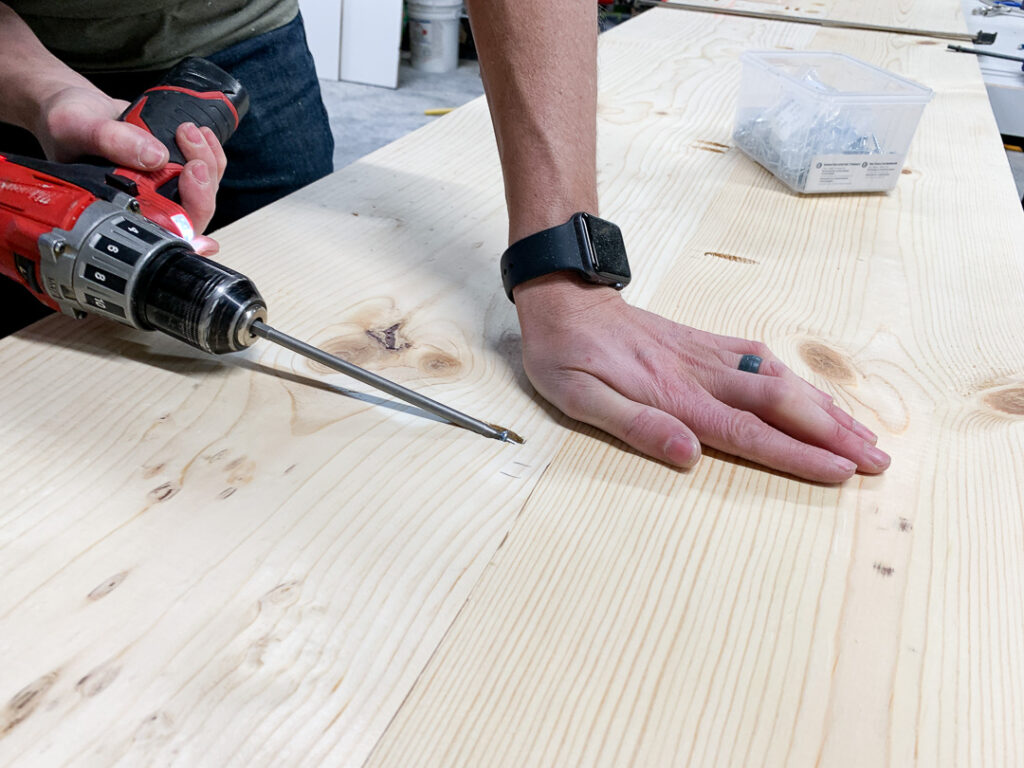
The top of the desk is 1x12s and 1x10s – again, using some of what we had on hand. I was thinking we’d just lay the boards across the top, but Trevor went ahead and used pocket screws to turn the 4 boards into one top desk piece. The kreg jig is so perfect for this type of project! It connects the boards while hiding the screws.
And then we just set the top over the dressers. We did attach a cleat to the wall on one end (the bookshelf just slides under, it isn’t actually holding up any of the desk top. As I mentioned, this layout could all be mixed and matched different if he wanted to switch things up.
LEGO Storage Solutions
As anyone who has any LEGOs knows, you need storage! Once the sets are put together, they want them to be on display. And then there are all the odds and ends pieces that need spots.
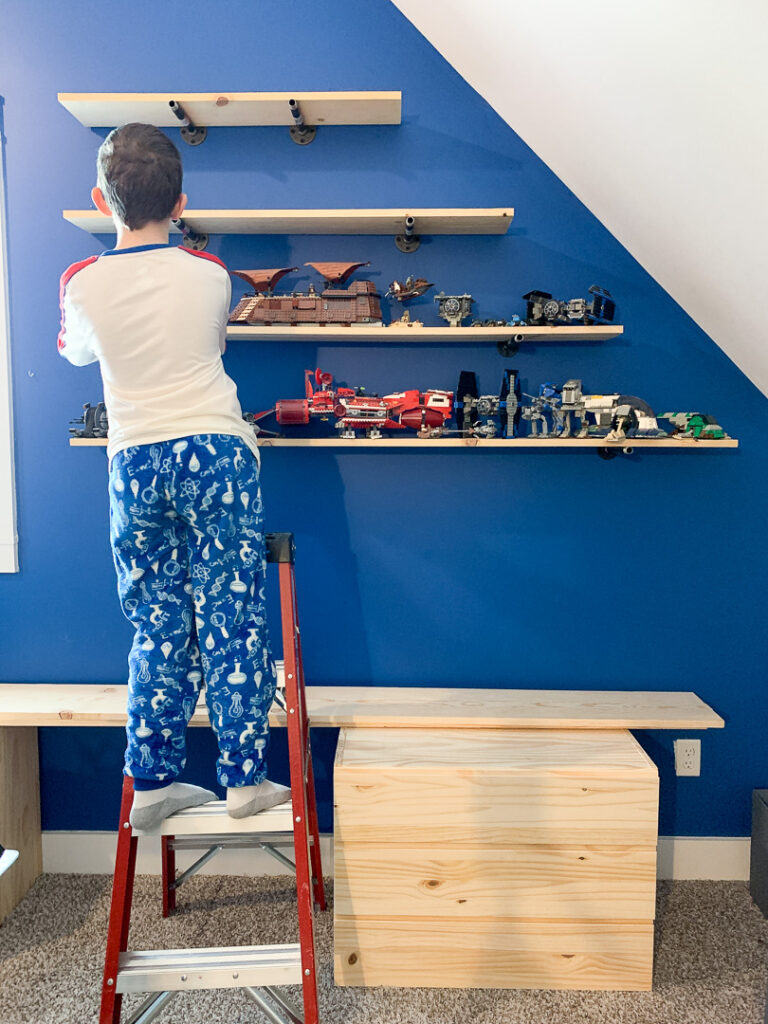
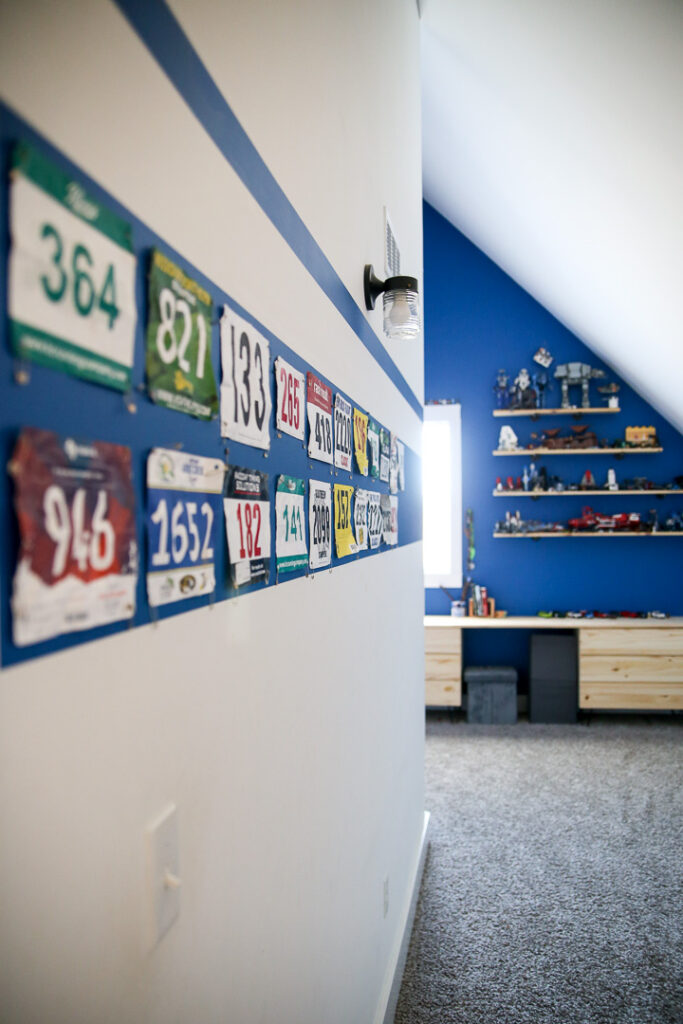
First up, we created open shelving with an industrial vibe. It goes well with the desk with the natural wood an metal elements. Those shelves are LONG – the bottom one is 6 feet long, and then the next one up is 5 feet long, etc. We have a 45 degree slant ceiling, so we made the shelves incrementally shorter as we went up the wall.
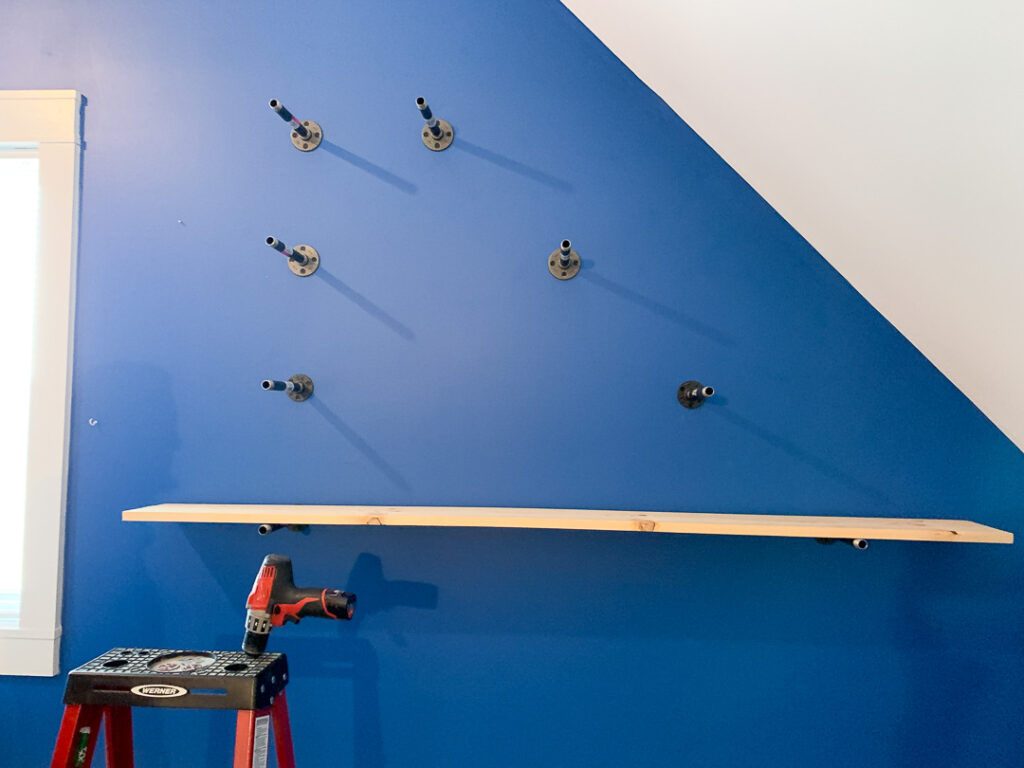
We used black metal piping (found it cheapest on Amazon), and metal caps (I actually haven’t put them on yet, ha!), and flange pipe holders.
For more details on DIY Industrial Open Shelving, check out my post from when we put the same shelves over our computer nook.
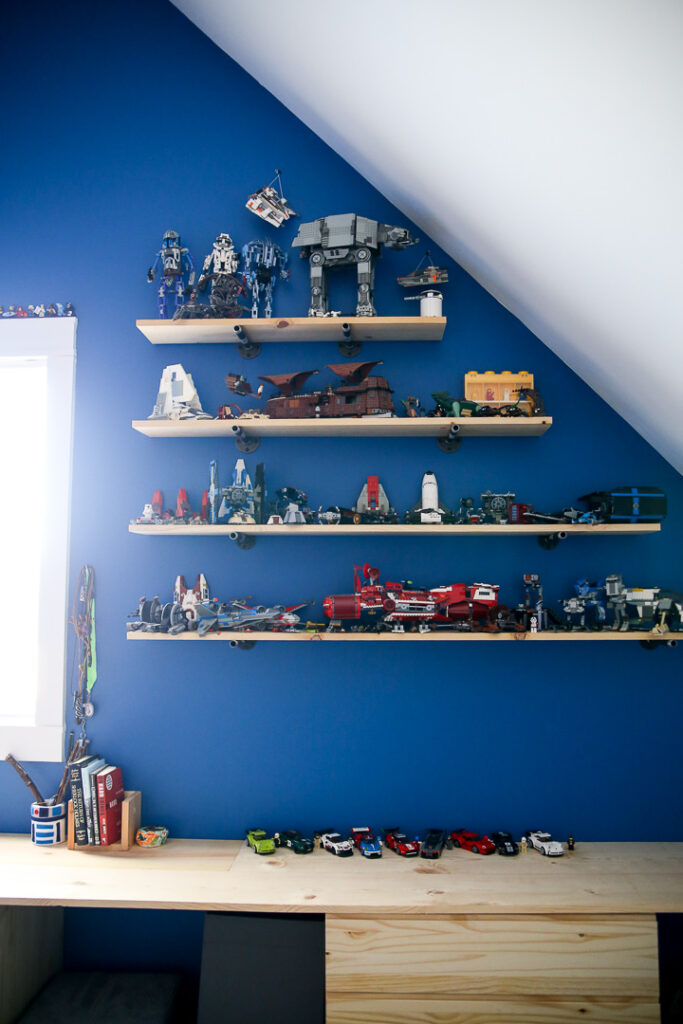
My younger kiddo loved having the job of LEGO placement for his brother’s room – apparently there’s a system to what sets go by which ones, etc.
MORE storage is all around the room – he has a bed with drawers under it, all FILLED with LEGOs, and then we added storage bins under the desk, also filled.
Teen Boy Room Decor
We went pretty minimalistic when it comes to decorations in the room – obviously the LEGOS are being used as decorations and a focal point, so not much more was needed.
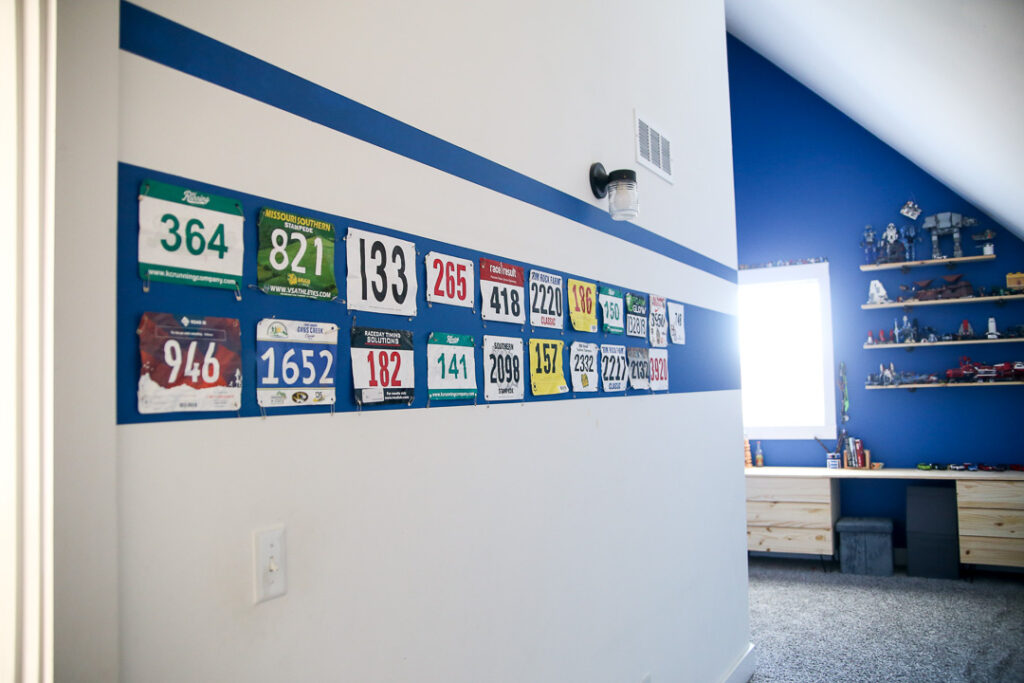
When sorting and organizing, we found a ton of his race bibs, and instead of just tucking them away in a drawer, we used ticky tack to hang them on the wall (which already had a stripe). It’s probably my favorite part of the room!
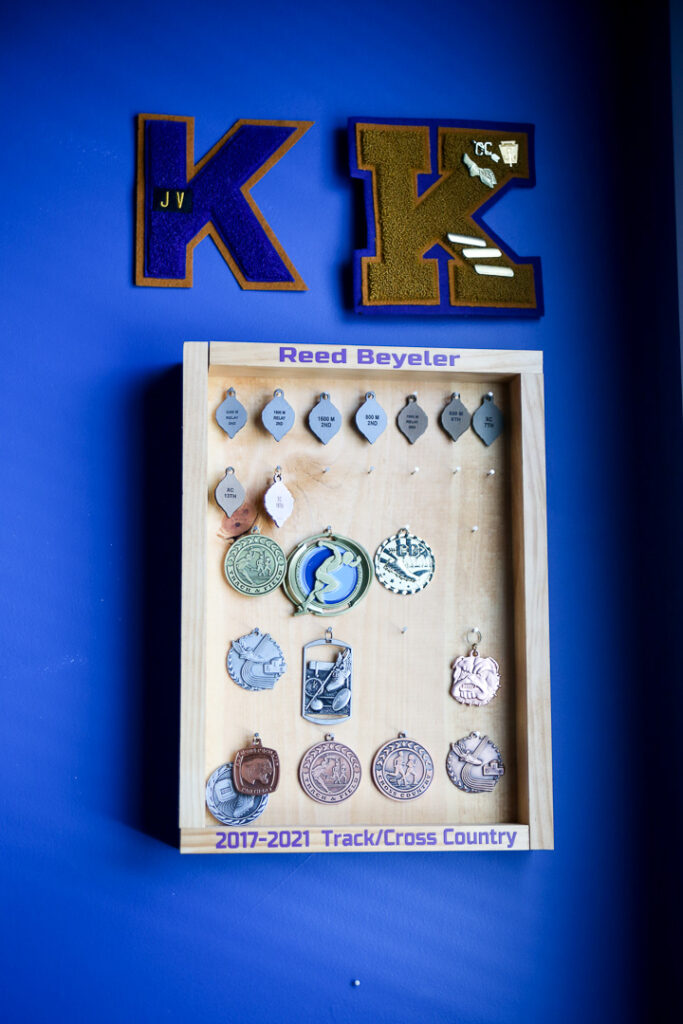
He also had previously made a display case for his medals, so we made sure to have that hung on the wall so it could be seen and appreciated.
Tips for designing a Teen Boys Room
- STORAGE
- Wood and Metal elements give an “older” feel
- Get input from your teen (he really wanted the desk, I was just going to do a whole wall of shelves)
- Make it able to be used as they move out – modular
- Display things that capture their interest
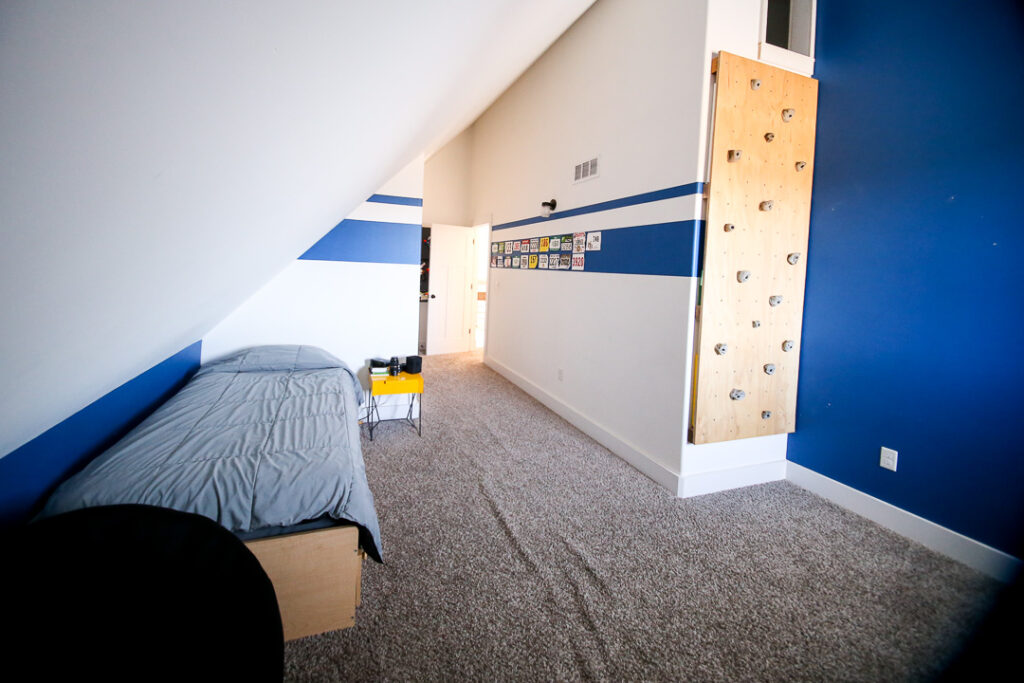
(PS, I was going to link to my post when I told all about how we made his DIY Rock Wall, but apparently I never posted about that?!!? I’ll put that on the to-do!) . Hope you loved our Teen Boy Room Idea – good luck on refreshing your own space.


Wow!
Totally saving this to show my brother 🙂 This is awesome!
Thanks for sharing……
Mira Edorra recently posted…Do you need a box spring? In-Depth Guide
The room looks great. You did an amazing job!
This room is perfect! I love the desk you built, and how you really utilize the space you have in what I imagine is a room that is pretty difficult to work with, with the ceiling lines and everything!
Paige
http://thehapyflammily.com
Paige Cassandra Flamm recently posted…A Minimal Valentine’s Party for Kids
This is lovely, I must say. I love what you did with the spaces.
I think I have an idea for my boy’s room now. Thanks a lot for this; I’m impressed.
Mike Pucks recently posted…Can You Wax an Air Hockey Table?