I’ve declared the whole theme of our house to be “rustic modern” and as such, we have lots of mix of metal and wood elements. Which means this DIY Industrial Open Shelving was kind of a must 😉 As you know, we’ve been building our own house (yes, like from scratch – we’re crazy), so there are lots of projects still left to accomplish. Which means that decor takes a back seat. But after living with the blank nook of the “before” for over a year, it was time to take action! This was one of those projects that goes so quick that you’re thinking “why didn’t I do that months ago?!”
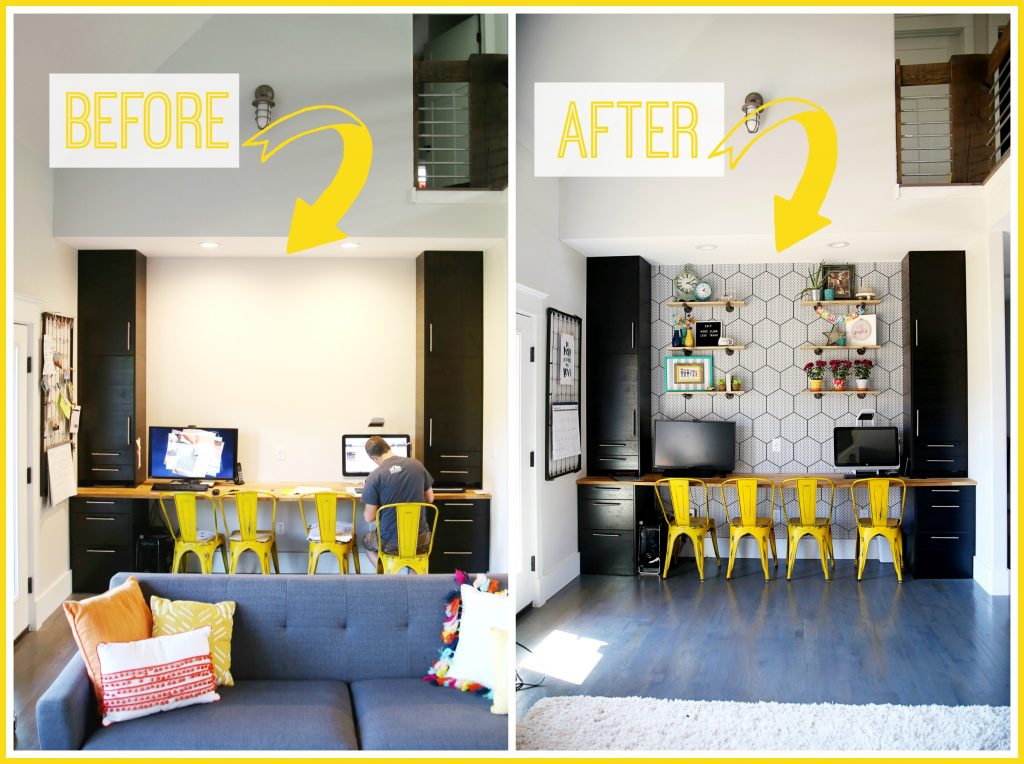
Didn’t it just turn out so great?! I’m pretty much in love with having a place to stick a few knick knacks and add a personal touch to make our house more of a cozy home.
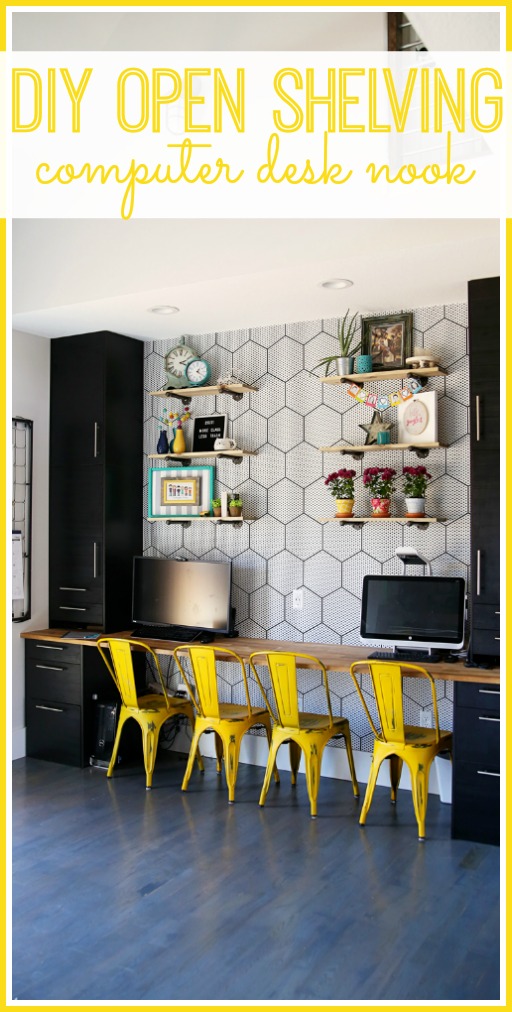
Let’s dive right in to the details!
UPDATE: For those asking about the YELLOW METAL CHAIRS, we bought them from Amazon, yep!! We shopped around and they were the cheapest we found. I LOVE them!! You can find them HERE (affiliate link).
Wallpaper
You might remember stage 1 of the makeover – I posted it back in the fall. I used an adhesive vinyl – the pattern sticks right to the wall. It’s in two pieces, and I dare you to the find the seam – it went up so perfectly! I knew that I wanted open shelving to go on top of the pattern, so it needed to be fun and eye catching without being to strong and bold. I really think the hexagons work well in the space. This nook is a cut-out part of our family room, so the wall paper sets this area apart from the rest and gives a fun focal point for the room. You can read all about the Wallpaper Adhesive Vinyl installation HERE in that previous post (there’s even a timelapse video, so enjoy that!)
Industrial Shelves
You’ll need:
–1×8 common boards
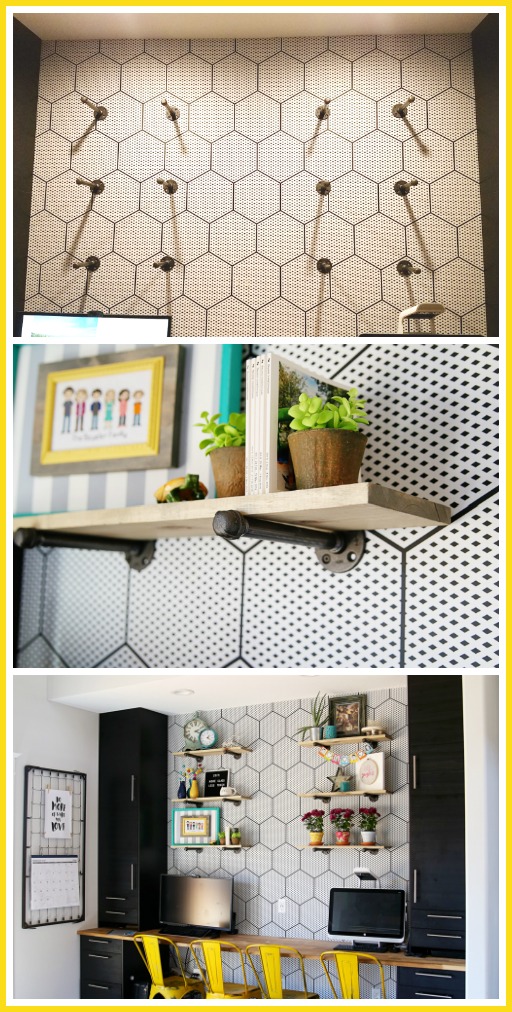
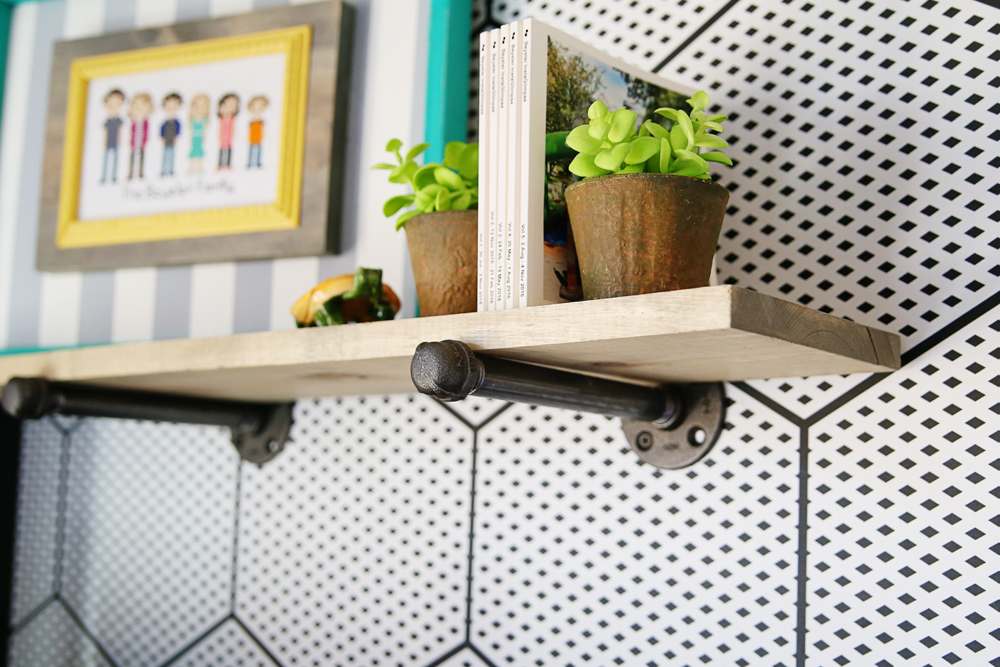
So next up came the shelves. I don’t have a picture of the pieces, but I’ll update it when I get one (the parts are in a bag in the back of my van – I got rear-ended, so they’re in the shop right now, whoops!) But, they’re the black piping found in the plumbing section. For each shelf you’ll need 2 caps, 2 round flange things (those discs that attach to the wall) and then 2 of those short pipes that have screw threading on each end. Just a heads up, I thought because this was a DIY, and the parts were from the hardware store, it’d be thrifty. Those pipe pieces can get pretty pricey! But it’s worth it because I love them 😉
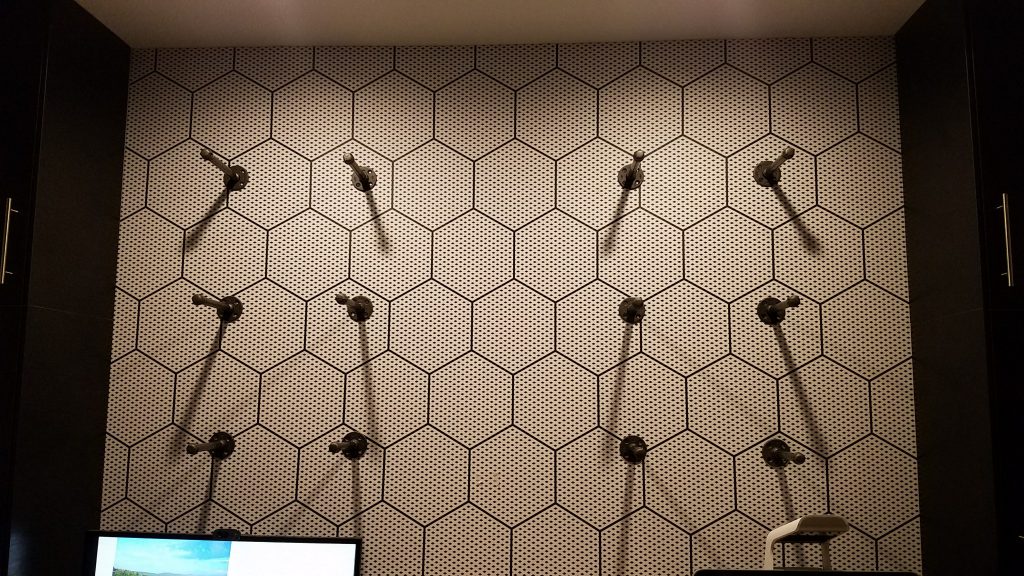
Attach the round plate to the wall, screw the pipe into it, and then screw the cap on the end of the pipe. We made sure to attach them on the wall where there are studs. The hardest part might have been getting those pesky stickers off from when you buy them!
The boards we used were just cheapo common board, 1x8s. I figure we can always upgrade to nicer boards later if I get that vibe. I stained some boards with a gray stain (I think it was “weathered gray”). And then to complete the shelves I just set the boards over the pipes that were sticking out of the wall. Eventually I might use a piping strap to wrap around the pipe and secure it to the underneath of the board, to make them more secure, but I haven’t done that yet. And may never…. 😉
Decorating the Shelves
This was new to me! I’m great with projects, but when it comes down to decor and staging, it’s a struggle! I keep moving things around and just trying out different spots for different things. I think it’s mostly trial and error. Who knew it was so hard to stick a few things onto open shelves 😉
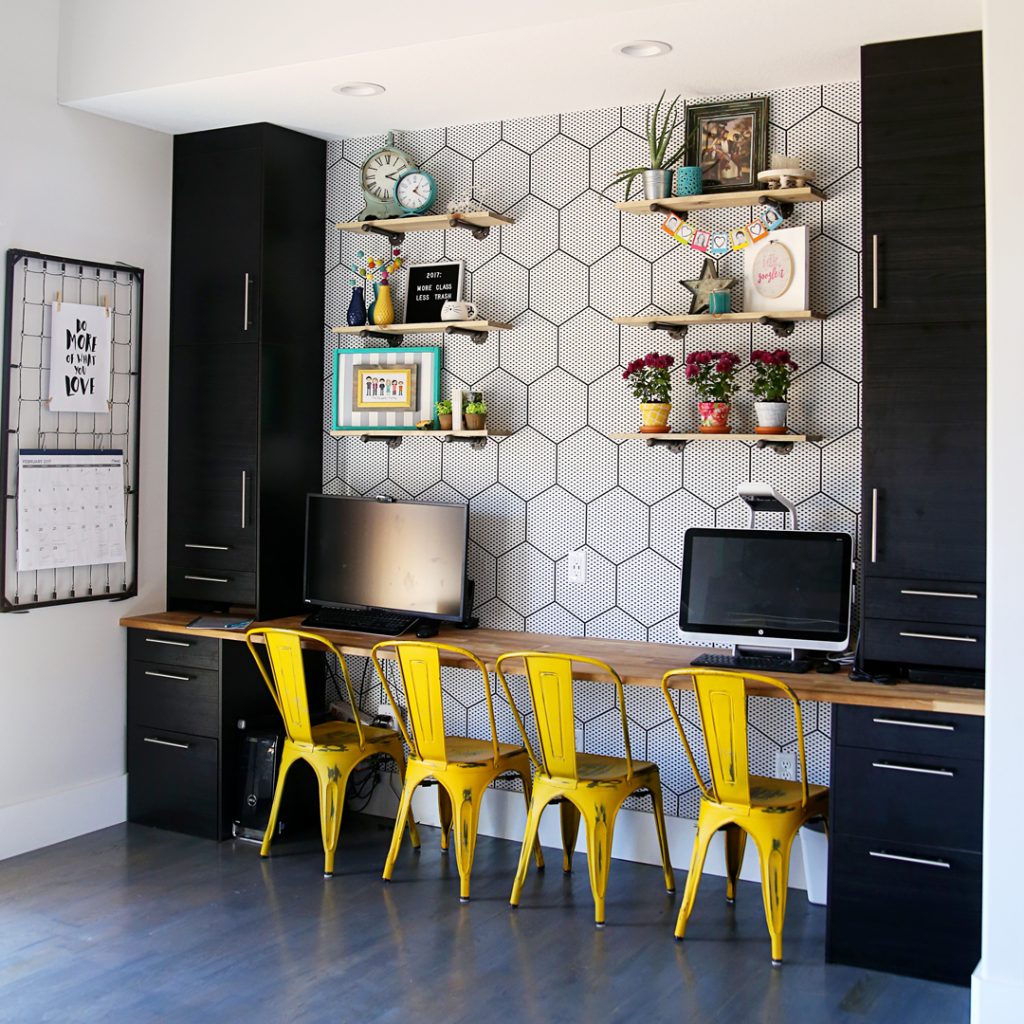
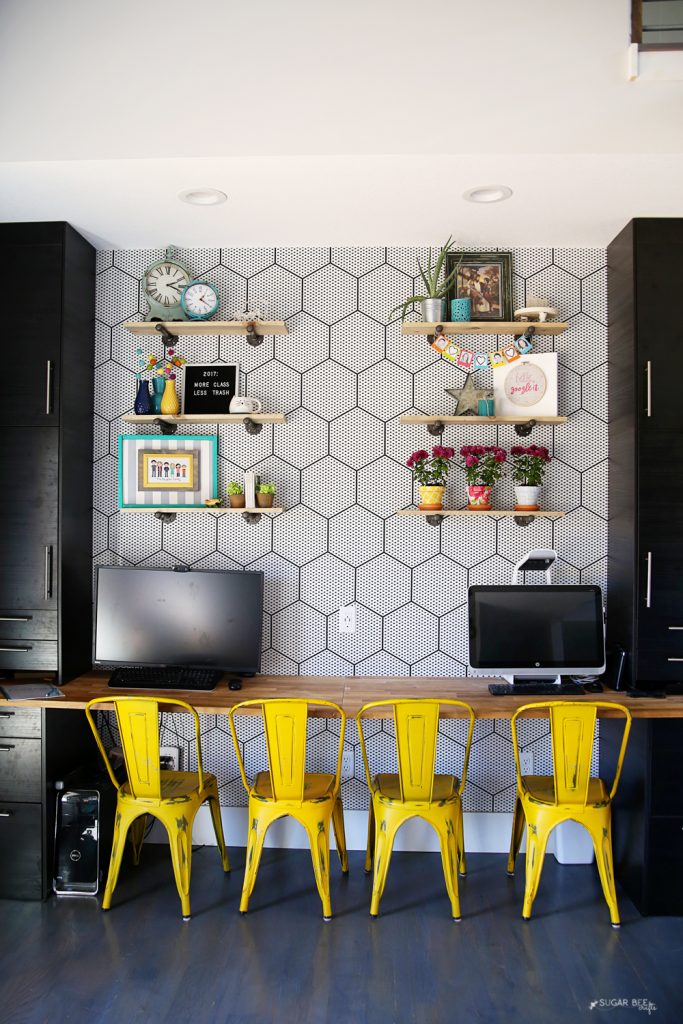
I tried to bring in some color and some crafty elements (of course!) and some natural elements too. A quick glimpse into a few of my favorite shelves (yes, I have favorites!)
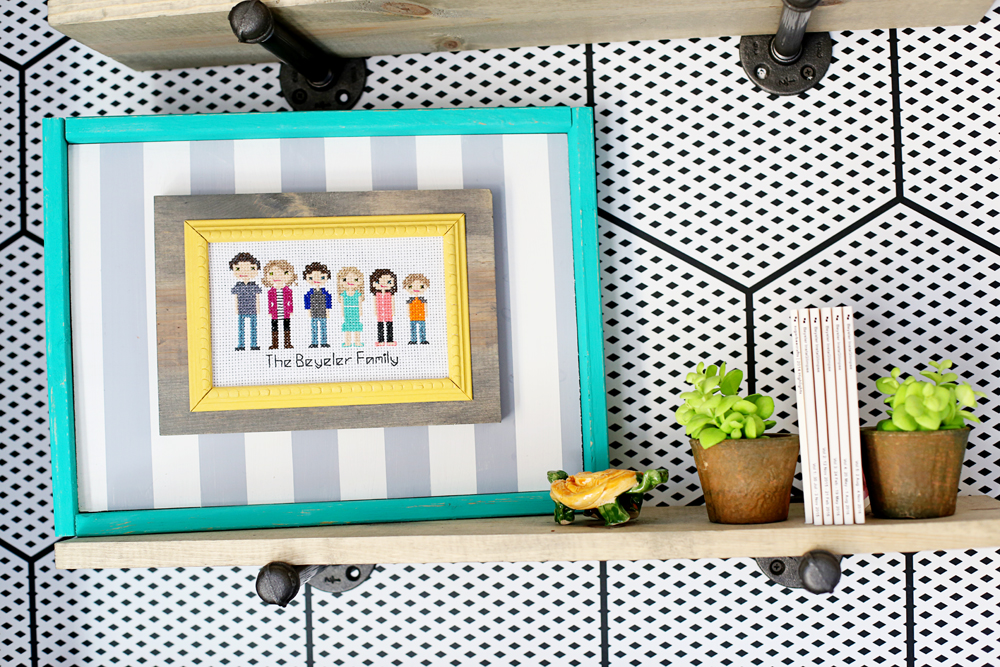
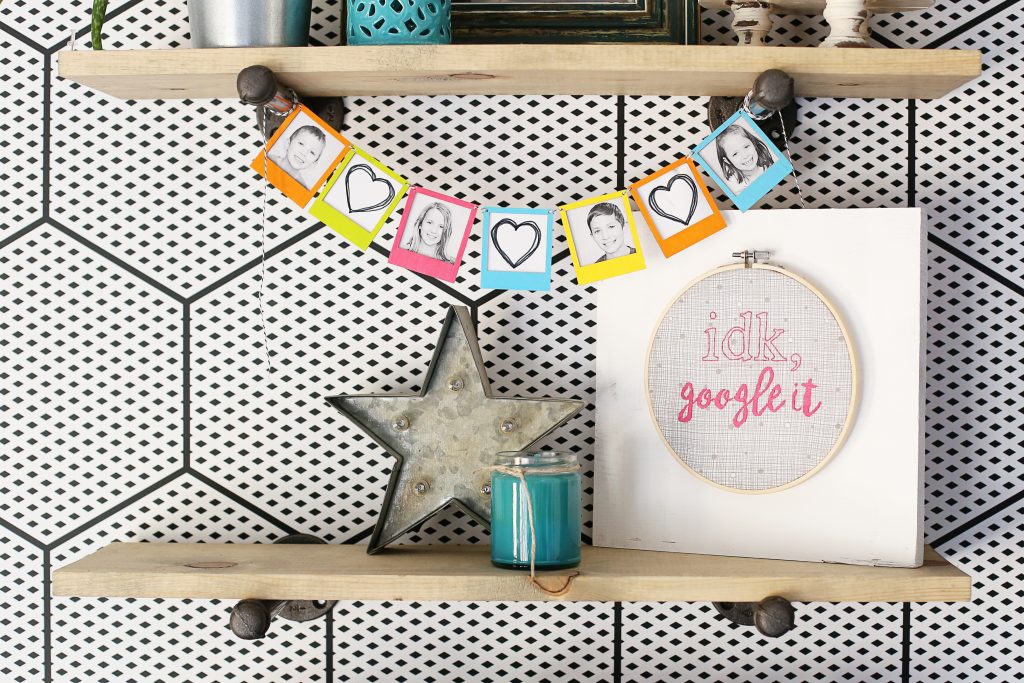
This shelf is my most favorite – that cross stitch projects is one of my favorite (you can check out how I made the frame here) and then it also has our Chatbooks. I just finally tried Chatbooks a couple months ago (I feel like I was the last one to try it!) – it automatically prints all the pictures from my family Instagram account. My kiddos will spend hours looking through those pics, so I like having the books on a shelf that’s low and easy for them to reach. (want to try it for yourself?? you can get a FREE book with my code —> https://invite.chatbooks.com/mandybeyeler703)
I also love the colors on this shelf, and that fun picture banner (I blogged about it a few years ago here: DIY Mini Photo Banner). And then that’s one of my favorite embroidery – “I don’t know, Google it!” 😉 The hoop looked a little small on the shelf, so I grabbed a scrap board, stuck a nail in it, and then hung the hoop on that. It was a great solution to make the hoop work in the space.
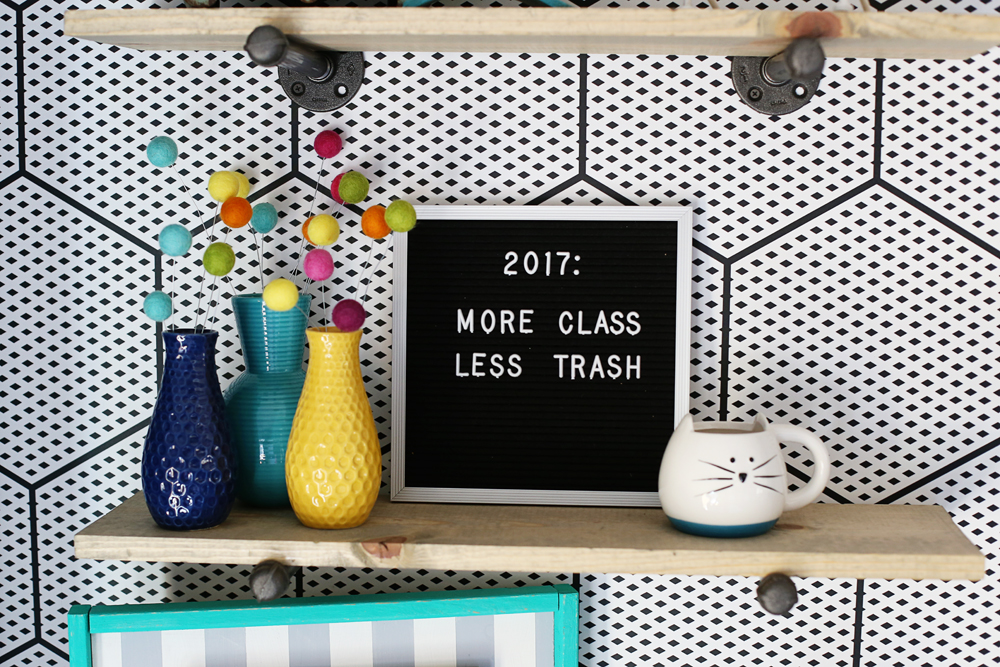
And then this is our family’s motto for the year, ha!!! The kids were talking about something inappropriate yet again… (probably something stinky….) and I overheard Trevor say, “that’s it, in 2017, we need to have more class in our house. and not so much trash”. Instantly, a motto was born, ha!! I had the vases on the shelf with nothing in them until I went to take pictures for this post and thought they needed something, so I added color with those fun felt ball sprout things.
All Together
That’s the space in a nutshell! It makes for such a fun and cheery work area!
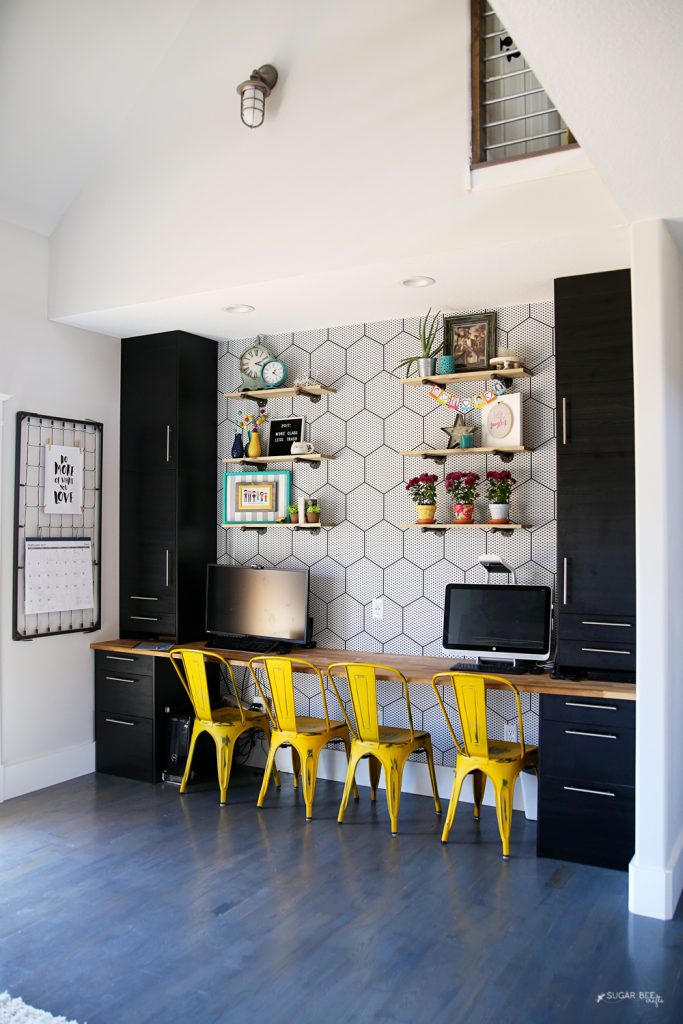
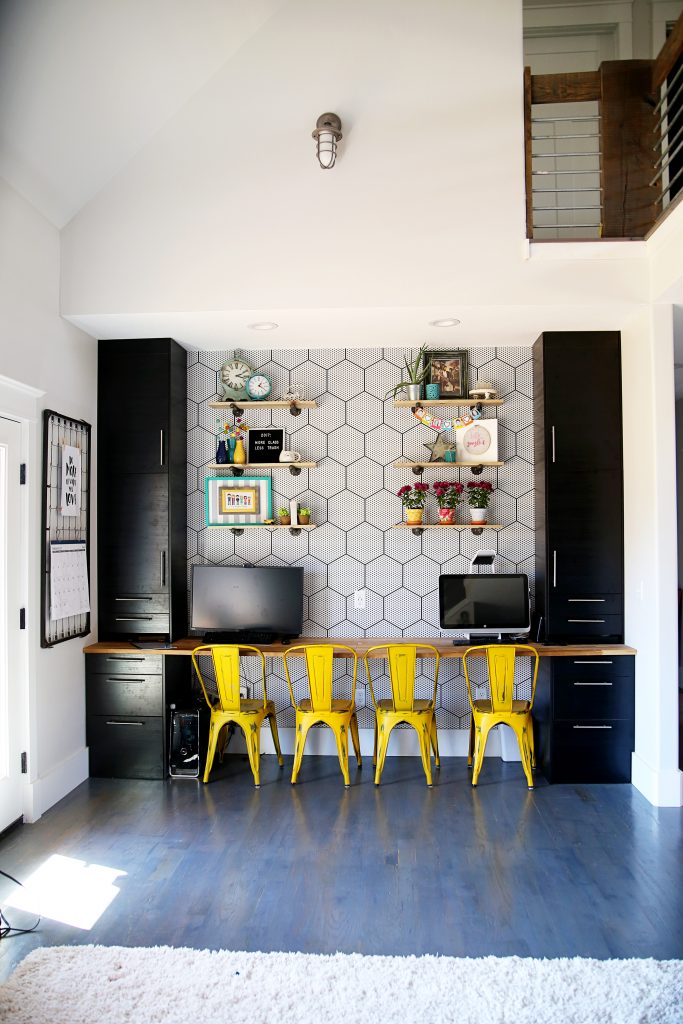
Do you have a favorite part of how it all came together??


Love this. Hugs an blessings, Cindy
The wallpaper is everything!! It adds such demention & detail, I think with the honeycomb pattern adds so much vs. if it was a floral. Just Georgous!!!!!
thanks so much – I love it too!!