


You can use ACTIONS to take this:

to this:

or how about a “seventies” look – from this:
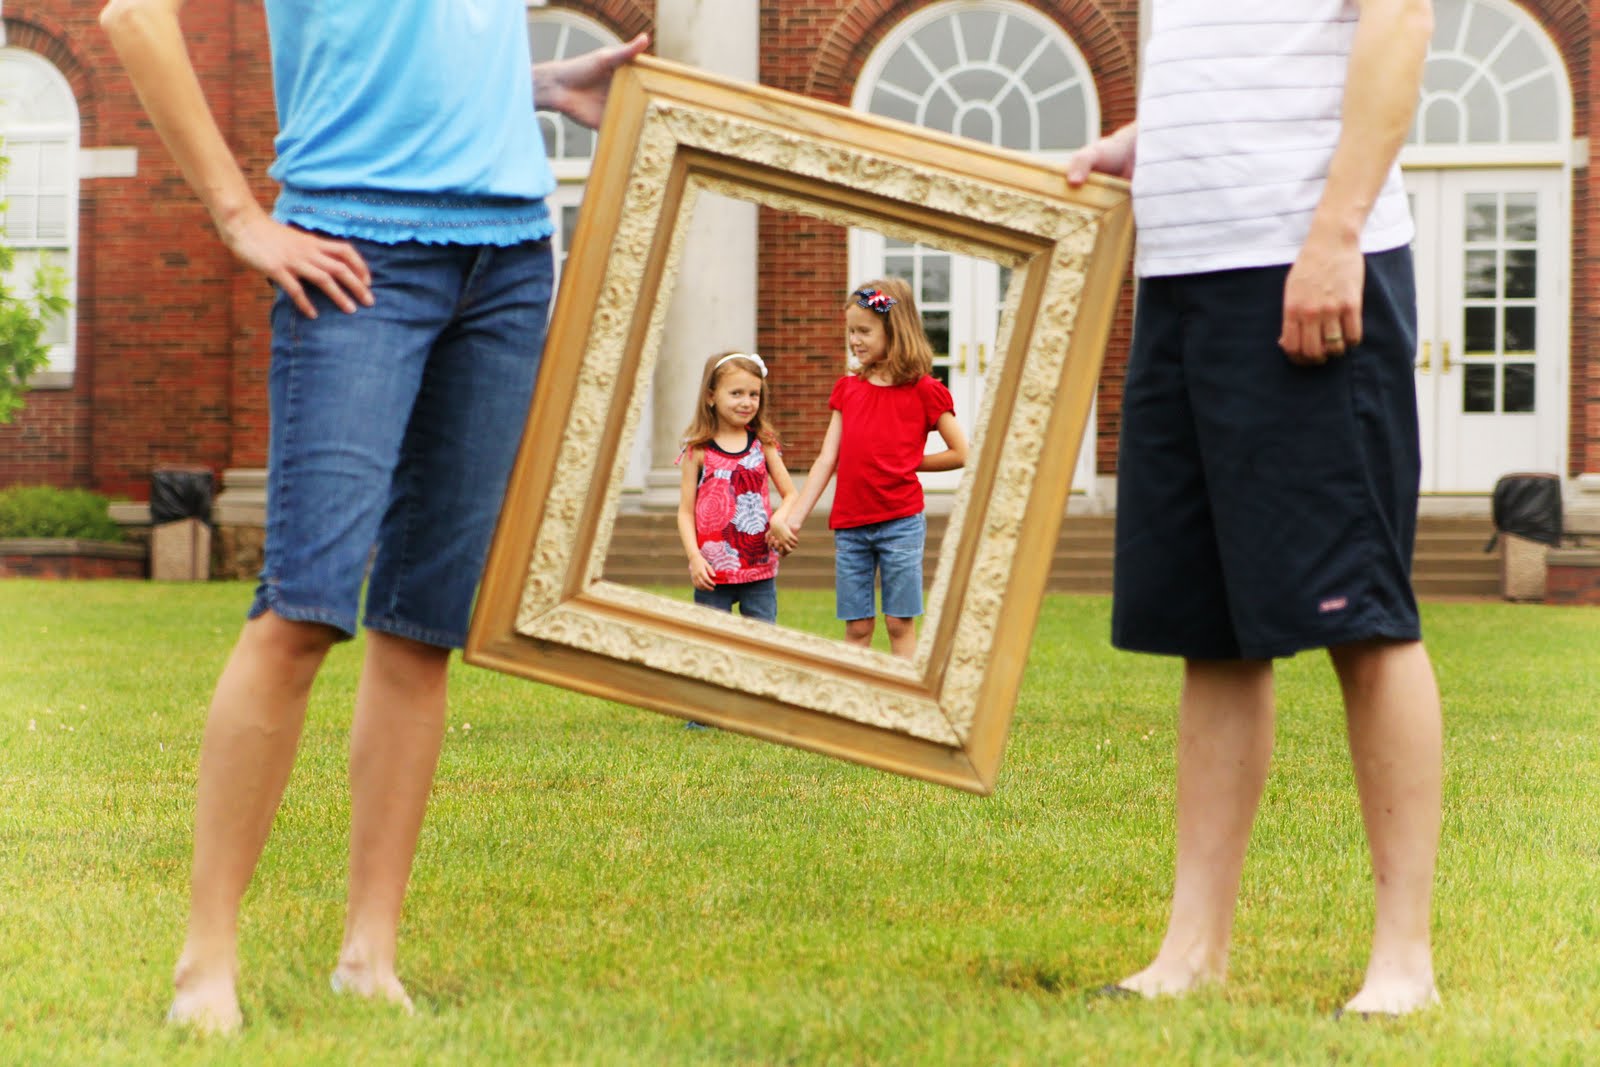
to this:

Now, remember, I really don’t know much about what I’m doing. I don’t use the right techincal language. I may say something wrong. Just so you know.
I use Photoshop Elements 7 – I bought it off of Ebay for $30. I found actions awhile back and dreamed of owning Full Photoshop so I could get in on the craze of actions (there are TONS of free ones for it). And then I made a discovery – free actions for ELEMENTS – wahoo!! With that, Elements is all I need.
So, are you asking, what is an Action?? An action is something preset for elements to do a bunch of stuff. Kind of like a phone app – all the jargon is programmed in. For example, to get a vintage look on a picture you might need to fade the color, add yellow tones, brighten the photo, and a bunch of other stuff that I don’t even know. Instead of doing all that, if you have a “vintage action”, you just click the button and voila, done.
For the Seventies look I clicked on the button that says Seventies (it’s circled below)
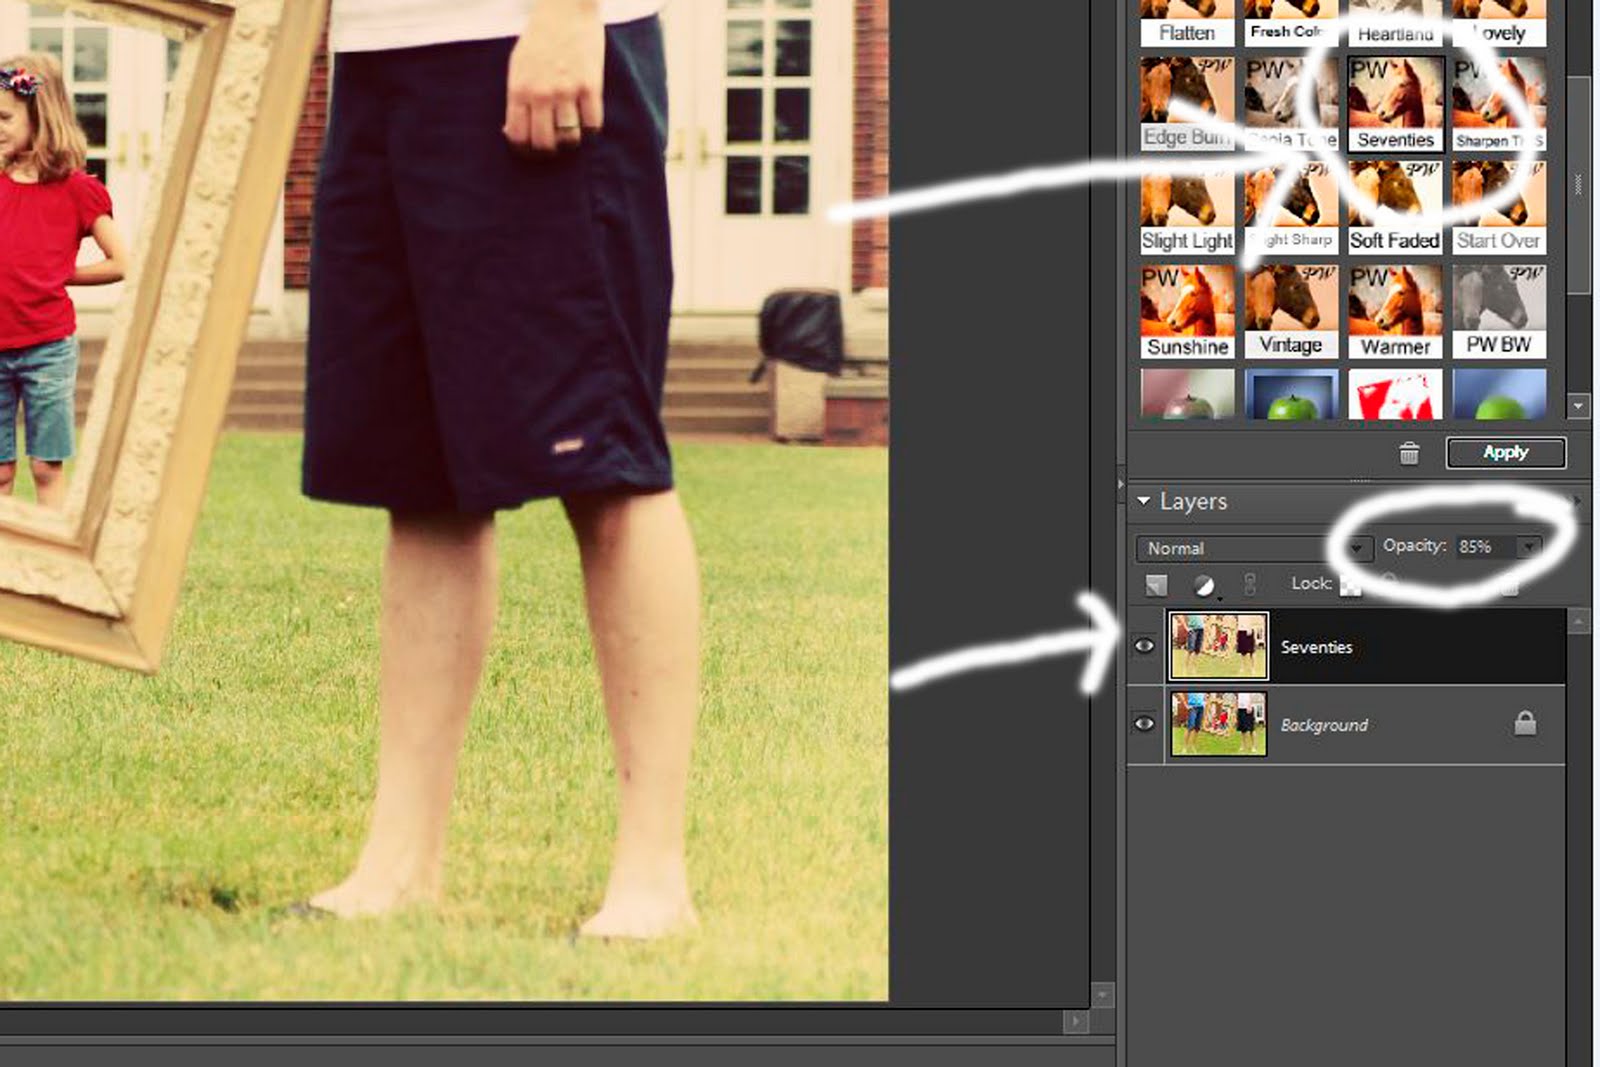
Then photoshop elements runs the action and makes a layer. We talked about layers earlier. The new layer is called Seventies. You can click the little eyeball thing my arrow is pointing at to turn off the layer if you forget what it looked like without it. Click again to turn it back on. If you see the eyeball, the layer is on. Now, say you don’t want it too Seventies, only just a little. See how the Seventies layer is highlighted in black – that means that’s the active layer, or the thing you’re working on. So with that highlighed you can change the opacity, or see-through-ness of the layer – I circled that. I brought it down to 85% for this picture. After you’re done playing you click Layers at the top and get a dropdown bar – then click flatten layers.
So in the example above, only one layer was created with the action. Some created a couple of layers you can adjust and play with. Once action I run makes a bunch of layers – it’s the Perfect Portrait action and I use it for up close shots.
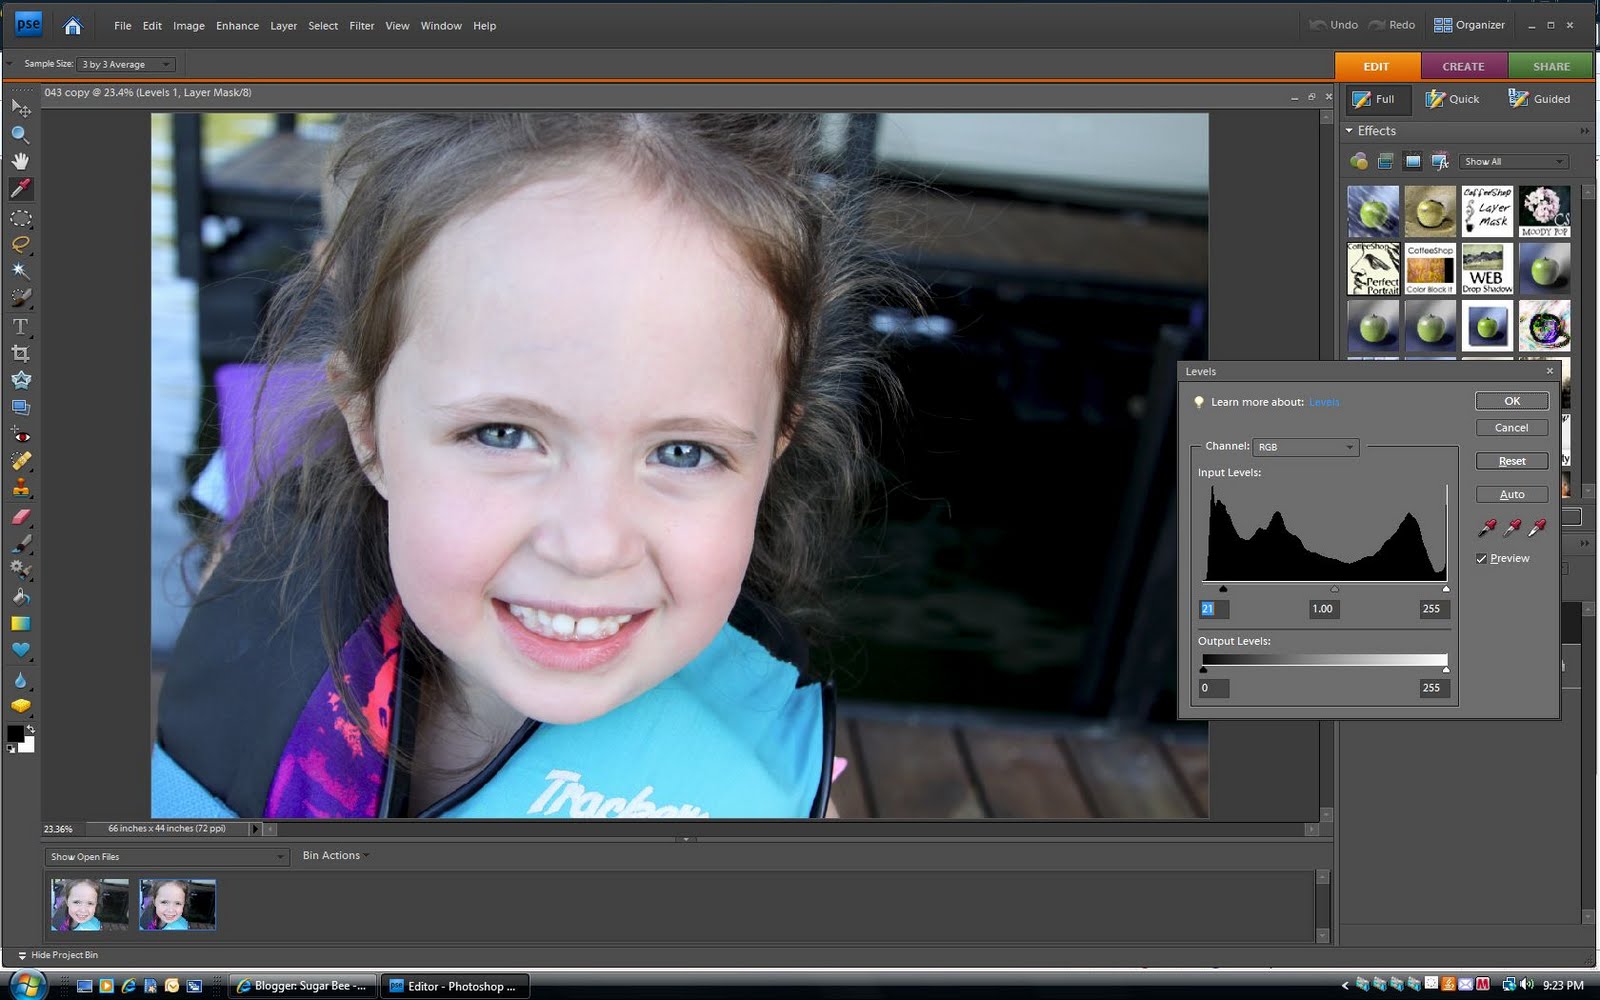
First it brings up a layers box where you can drag the blacks and whites to show more. Then you click ok and your action runs.
See in the bottom right in the picture below, all the layers??

As I mentioned before, eyeball thing turns it on and off. See below, the next to bottom layer is “sharpen” – in the picture it’s off, but then I clicked it on and dialed down it’s opacity.

Something else to note besides turning on/off layers and using opacity, pay attention to those white/black boxes. I think those are called layer masks. The one circled above is for “white teeth” and it’s a black box. Black is nothing, so it’s not actually on the picture. You can add it to specific areas on your picture (you know, teeth) by painting in white. On the bottom left is a black/white box thing that has a double-sided arrow – click that to make white on top. Then a little ways above that click your paintbrush. Then you can paint that layer onto the teeth.
Same concept (sort of ) if there’s a layer with a white box. White is everything, so a white box means it’s applied to the whole layer. Make your paintbrush black to take that layer off of areas – for example, there is a color pop layer, but color pop can look wierd on skin so sometimes I color with a black brush over skin to eraser the layer from that area.
So, where are these magical layers??
I have a few from CoffeeShop (including Perfect Portrait used above) – detailed instructions on how to install them HERE
And I grabbed several that downloaded in a bundle from The Pioneer Woman – she has detailed instructions on how to install actions, even videos on how to use them, on Texas Chicks HERE
Installation of actions isn’t hard, but it is involved. Just walk step by step through the tutorials and you can do it. Once they’re in your Photoshop Elements, they will be in there every time you open it. And then life will be so much easier when it comes to photo editing!!
Questions?? Did I loose you? Any photo-related subjects you’d like me to take a stab at explaining?

Thanks for checking out this post from www.SugarBeeCrafts.com – – click on over to read it in its entirety – you’ll love it!
actually, the fact that you use ‘common language’ instead of Photoshop talk is a plus, we believe.
therefore, please do link it up in our DIY TUTORIAL linky party as our readers would love to be able to find your blog and be inspired by you:
https://www.finecraftguild.com/diy-tutorial-linky-party-6/