My parents recently moved and downsized homes. That means that their previous furniture, etc, just wasn’t working for the new space. Perfect reason for a room makeover post 🙂 This is a makeover in the works, so Phase 1 is what we’re going to cover today – the Gallery Wall.
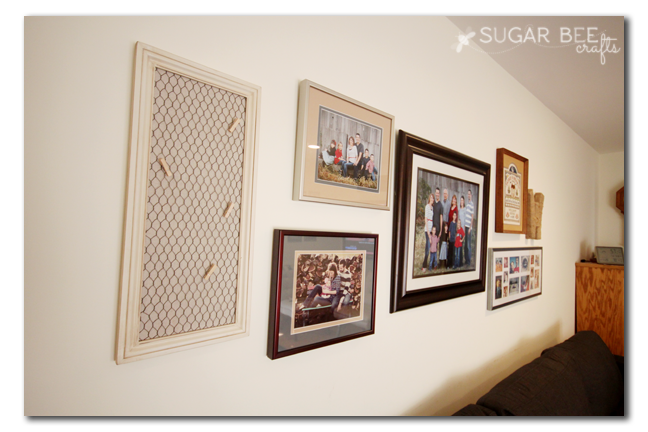
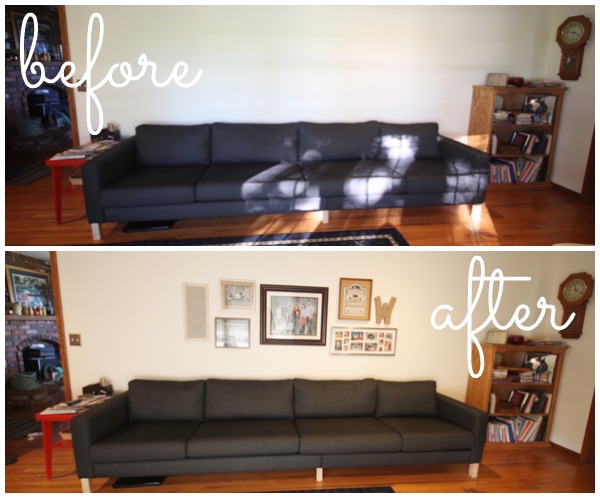
A quick before and after – – they have lived here a while, and had yet to hang anything on the wall. I think it makes it cozy and inviting and turns a house into a home to add family pictures to the walls.
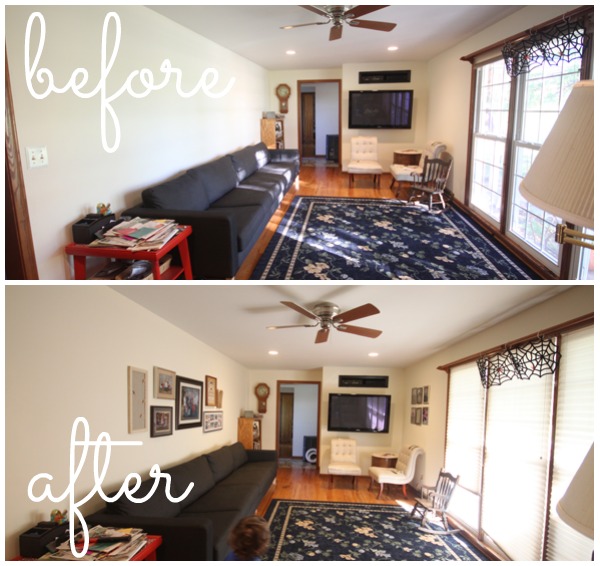
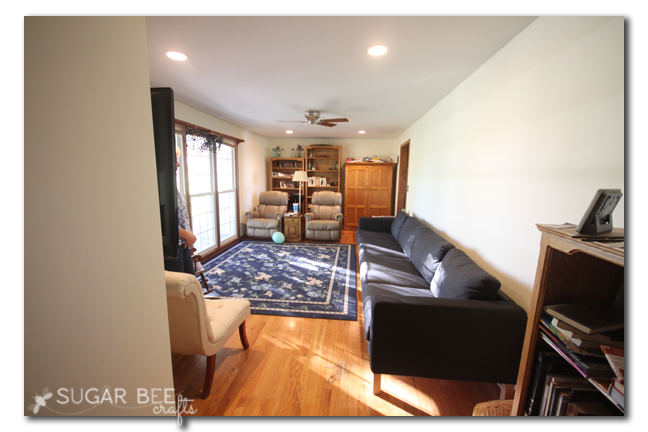
And a look back in the other direction, so you can get a feel for the room. Yet to do on the makeover list – new rug, curtains, painting sidetables, and reupholstering the 2 sitting chairs. All to come!
It’s a long and narrow room, so first to go was the old couch and loveseat – they just wouldn’t fit. My mom hacked an IKEA couch to make one super long couch which fits perfectly in the narrow room (I still need to post about that project – it’s genius!). So with that long couch and long wall, it’s just begging for some framed photos.
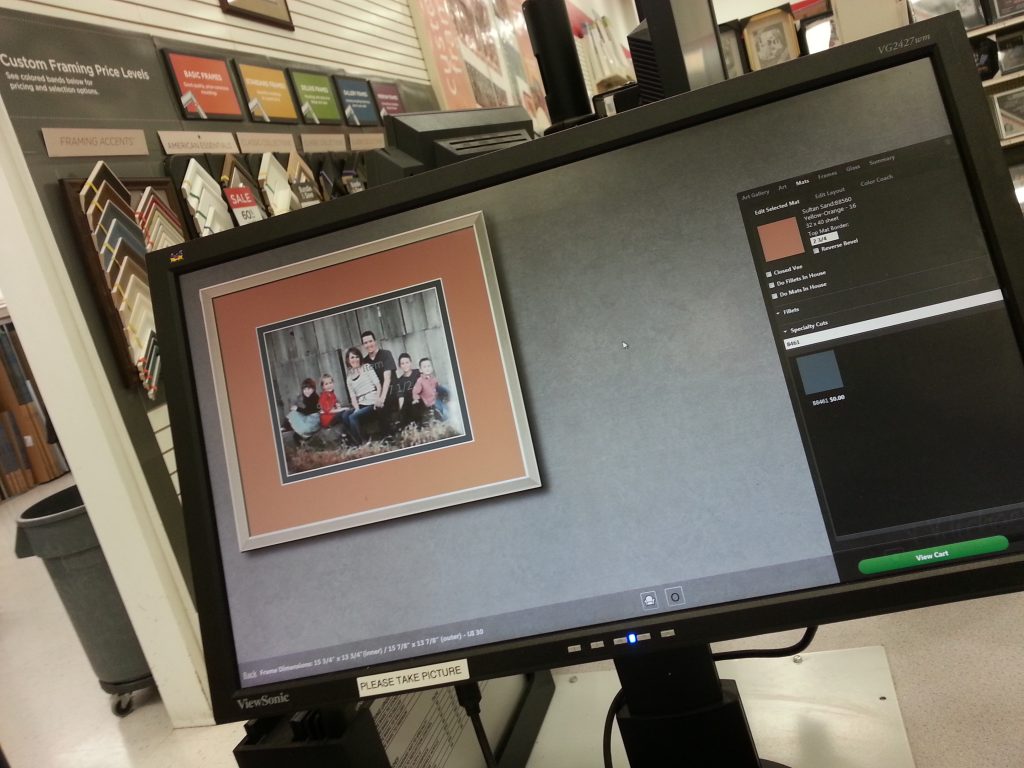
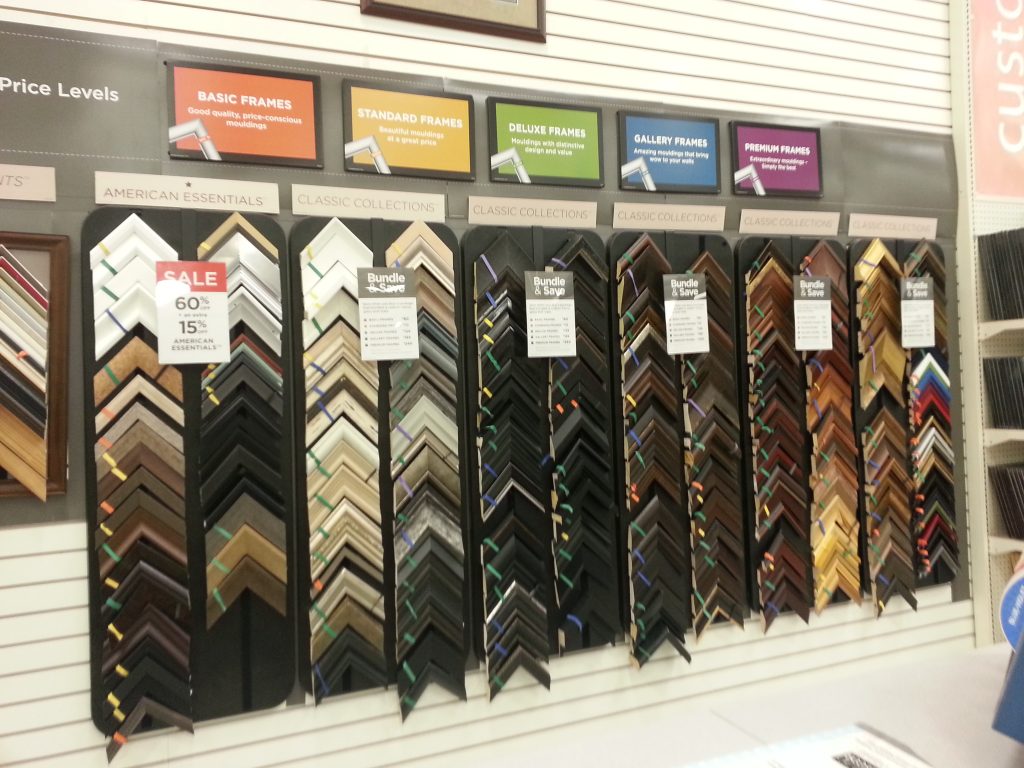
I was able to try out the Custom Framing from Michaels (they provided the custom frames) – I had never had custom frames made before and was wowed by the process. The staff was super knowledgeable (they’re Certified Framing Experts!) and helpful about picking colors and mats that coordinated. They even scanned and uploaded my image into their system so that I could get a visual on different options and how they would look:
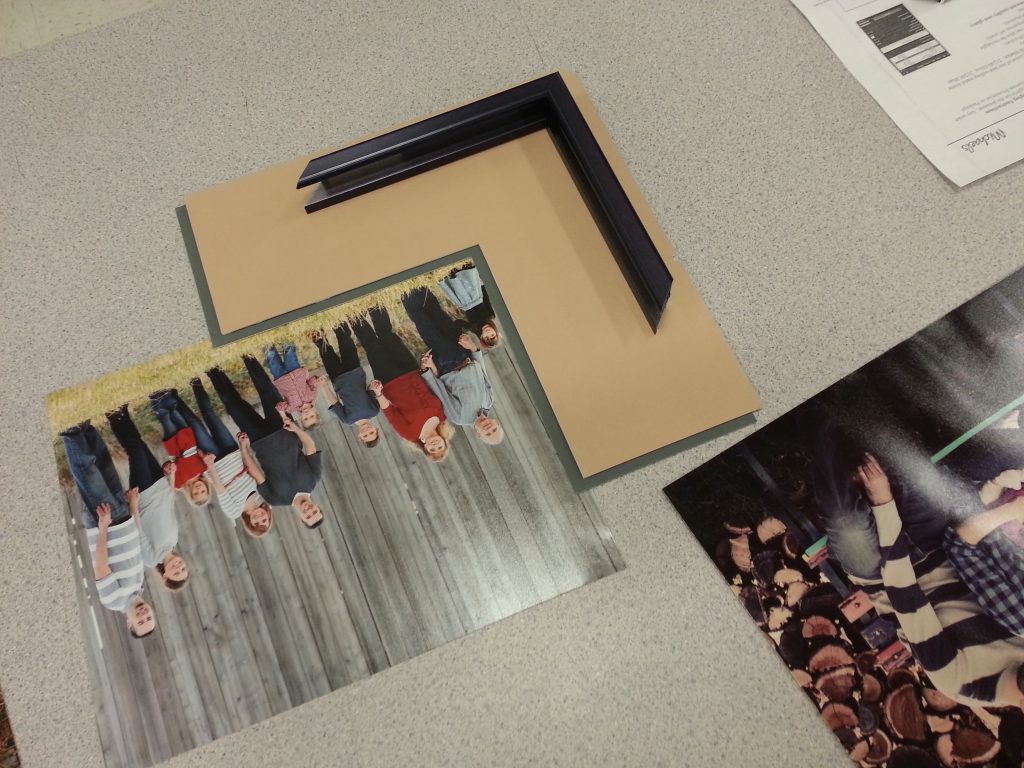
The picture is sealed in the back and protected inside the frame, which gives it that high quality. This holiday season, Michael’s is offering a custom photo frame up to 8×10 for just $49 – this includes a choice of 9 metals frames, basic mats (100 colors to choose from), preservation mount and fit.
Trivia – – did you know, Michael’s is America’s #1 Custom Framer. Powered by Experts. Trust is not given, it’s earned. Let our Certified Custom Framing Experts earn yours by turning your most precious memories into lasting works of art. With quality mouldings, a spectrum of matting color choices and our happiness guarantee, we can help you find the right frame for your wall, and your budget!
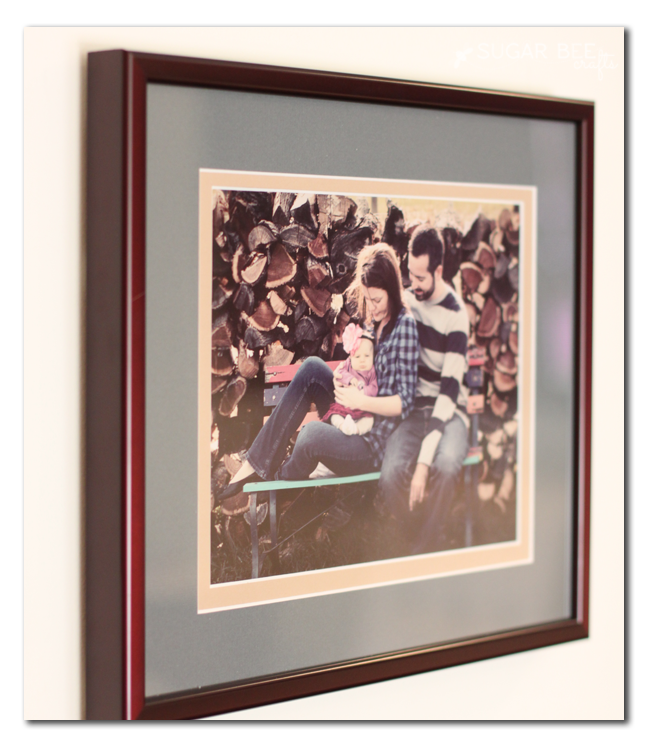
And upclose of how one of mine turned out – –
So, back to our gallery… the biggest help is to lay everything out right there and get a feel for how you want it displayed. I like having the biggest photo in the center as the main focus point, then balancing around that. Once you have it on the floor how you’d like it, then start hanging onto the wall one photo at a time, starting with the middle and working your way out.
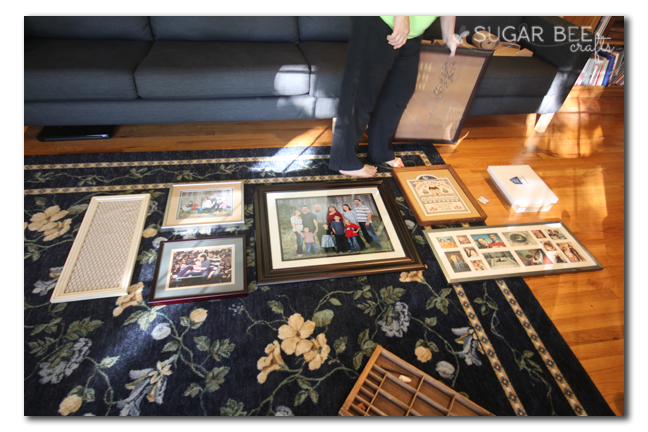
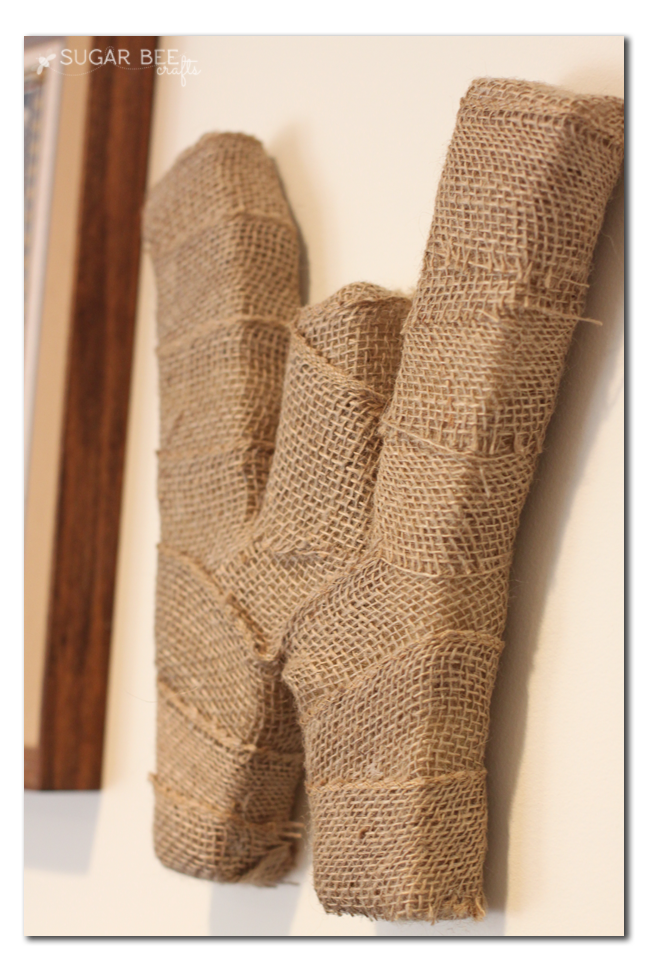
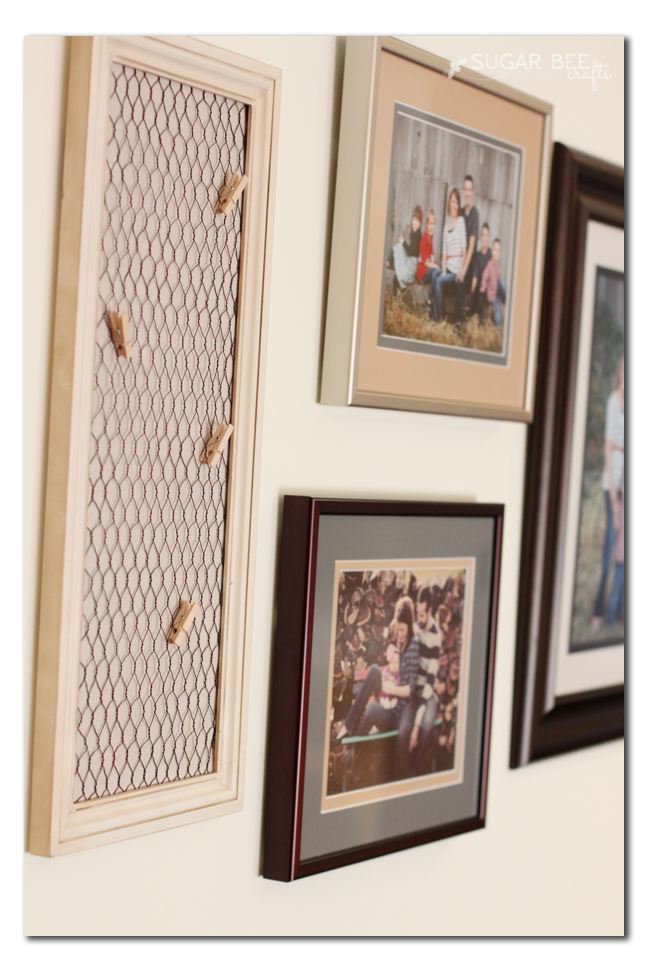
It’s also great to incorporate a few things that aren’t photos. I picked up this framed chicken wire memo board from Michaels while I was there – it’ll be a fun place to display snapshots and whatnot. We thought a monogram initial would look great, but didn’t have one on, so I whipped up the burplap “W”. I simply cut a piece of foam into the letter shape, spraypainted it gold (so the white foam wouldn’t show through), and then wrapped it in burlap. I used hot glue to secure the burlap wrapping.
Can’t wait to see how the rest of the room pulls together and get some fun staged “real” photos!! So stay tuned for that…


Looks awesome!