Hi, my name is Melissa. I blog over at Redfly Creations. I began my blog as a creative outlet for the many ideas that constantly float around in my head. I just wanted to say a big thank you to Sugar Bee Crafts for allowing me this opportunity to guest post on her blog today. Now, onto the pies.
Many people associate the coming of fall with the beginning of baking season. I really can’t say that applies to me, as I love to bake all year round. Pies, however, do hold a special “fall” place in my heart. It just seems that the yummy smell of a baking pie fits so well with the changing leaves, cooler temperatures, stews /soups, football, long walks, roasting chicken, ….. Ok, fresh baked pies go with ANYTHING!
In our house, our children have not quite figured out how extremely delicious pie is. Not really a problem, except when my husband and I end up having to eat a whole pie alone. Again, not really a problem – but not really good for us either. :0)
Enter, mini pies! Yep, they are pretty much the perfect portion. *sigh*
Ok, so here are the needed ingredients to make individual mini-pies. Start out by mixing together your favorite pie crust. You can find my favorite recipe here. You only need one crust for this recipe. If you have crust left over, just stick into the freezer or fridge.
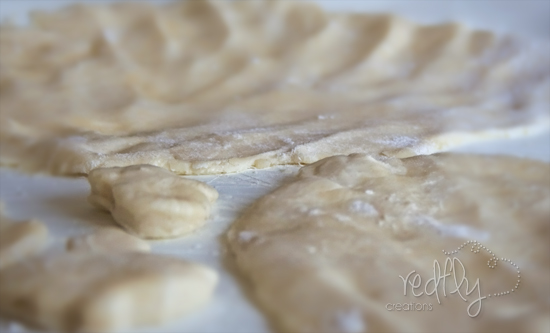
Divide the dough into four equal parts plus one smaller circle. The small circle is to make four little cut-outs for the top of the pie. The little circle should be about the size of a cookie. Take the four equal circles and roll them out till they are approximately 1/8″thick.
Now, press your pie crust into your little jelly canning jar. Here is the recipe for the filling:
Mini-Blackberry-Pie Filling:
3 cups of blackberries
1/2 cup flour
1/2 tsp cinnamon
3/4 cup sugar
Mix well; pour into jars.
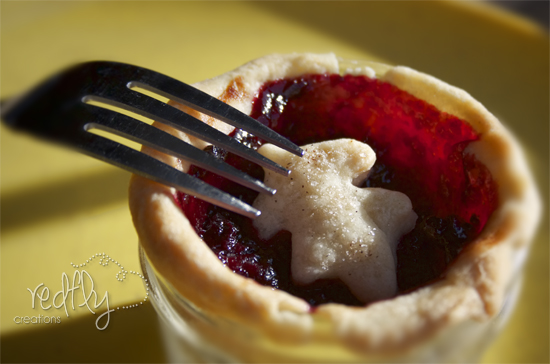
With the little ball of leftover crust, cut out four little shapes for the top of the pies. I had these cute tiny Gooseberry Patch fall cookie cutters that I used.
After layering in the pie filling, top with the cutouts.
Bake at 350 degrees until it begins to bubble, about 40-45 min. Allow the pies to sit for a few minutes to cool and then ENJOY!
I hope to see you over at Redfly Creations sometime where you can check out some of my other recipes and tutorials such as the following:
The Amazing Amish Cinnamon Bread Alternative I love this recipe because it requires no starter nor endless kneading. It turns out just as moist and delicious as the original. Always a hit!
Thanksgiving Activity Book for Kids – Free Printable! Here is a way to keep the children entertained at the Thanksgiving table.
Thanks for checking out this post from www.SugarBeeCrafts.com – – click on over to read it in its entirety – you’ll love it!


beautiful!! love the pics pinned it!
AMAZNG!!!!!