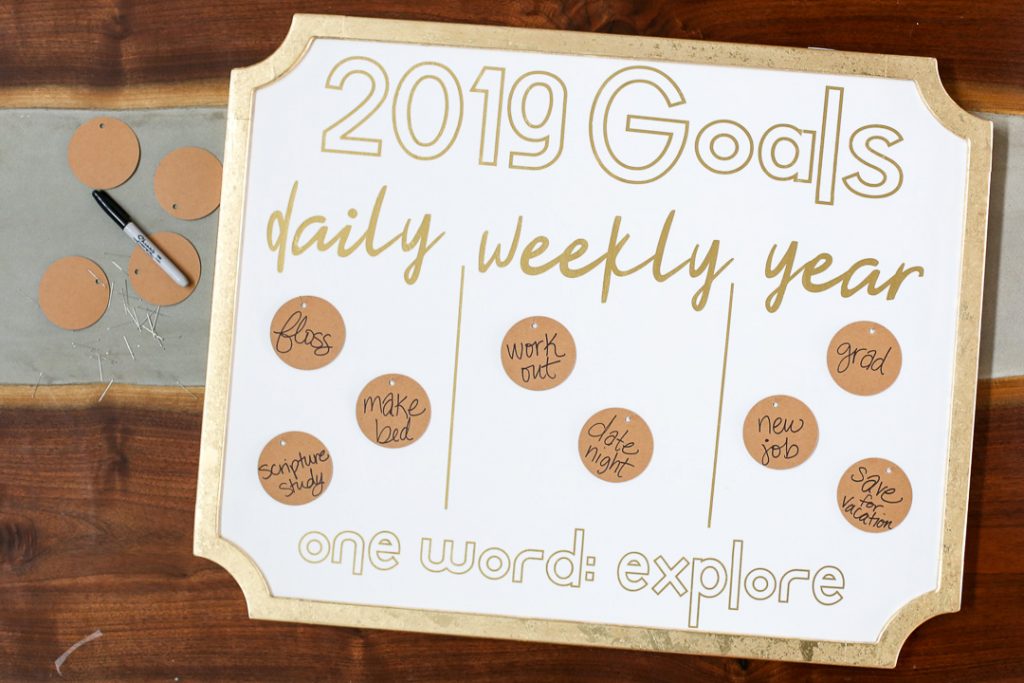
New Year New You – or something like that 😉 I know as a new year rolls again, it’s a great time to look at your dreams and ambitions and set goals to get you moving on your way to achieving them. Most of us are motivated visually, and so a goal board is a great idea for showcasing things you’d like to accomplish. Making something that helps you visualize and achieve your resolution is key! Michaels has loads of solutions from DIY items to ready-made décor that will help keep you on track to hitting your goals! I love this pinnable Goal Board because you can change out your goals and adjust them throughout the year. And so it’s time to make one for yourself – I am here to show you How to make a Goals Board:
This post is part of my participation as a Michaels Maker – all opinions are my own.
Here are some images you can pin so you can save this idea for later:
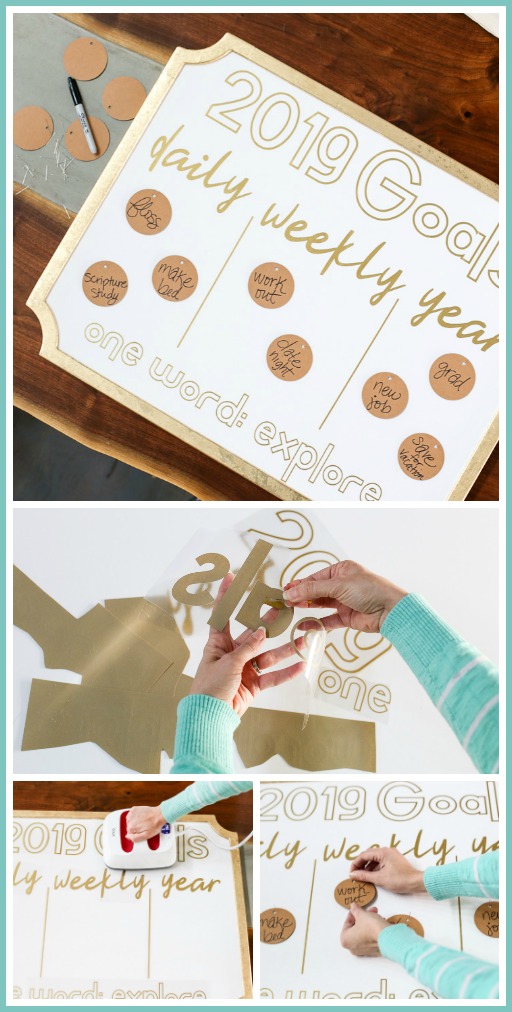
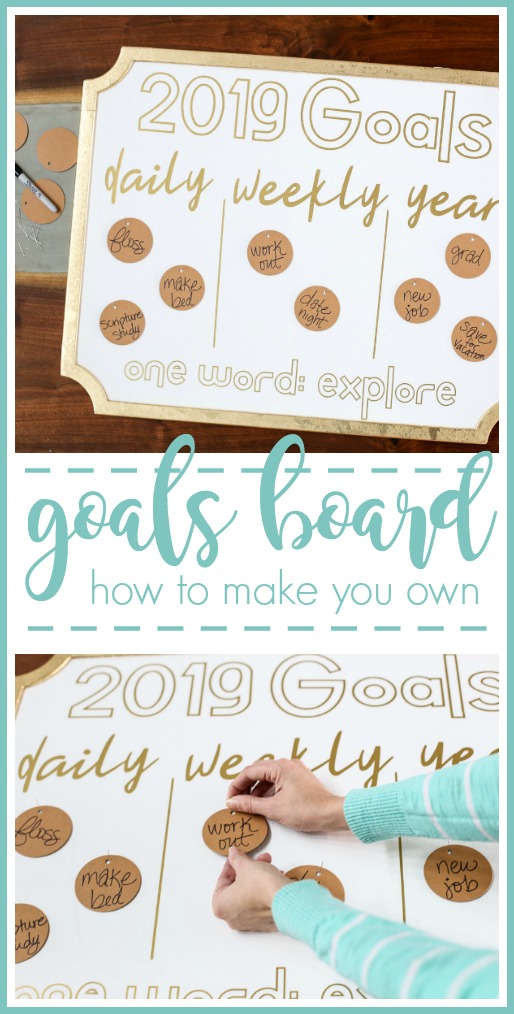
How to make a Goals Board
You’ll need:
–title decals cut from Heat Transfer Vinyl (I used my Silhouette Machine) and heat press (I got mine also from Michael’s) or an iron
–Pin Board covered in cloth – this one is from Michael’s Stores
–Cards to write goals on
–straight pins
Goals Board DIY Video Tutorial
Yep, I put together a video for you to see the how-to of putting together this Goals Board – enjoy watching!! And then if you prefer step-by-step photo directions, I have those too, below the video.
Goals Board DIY Tutorial
First you’ll need to weed out all your HTV – you do this by pulling out all the unwanted vinyl:
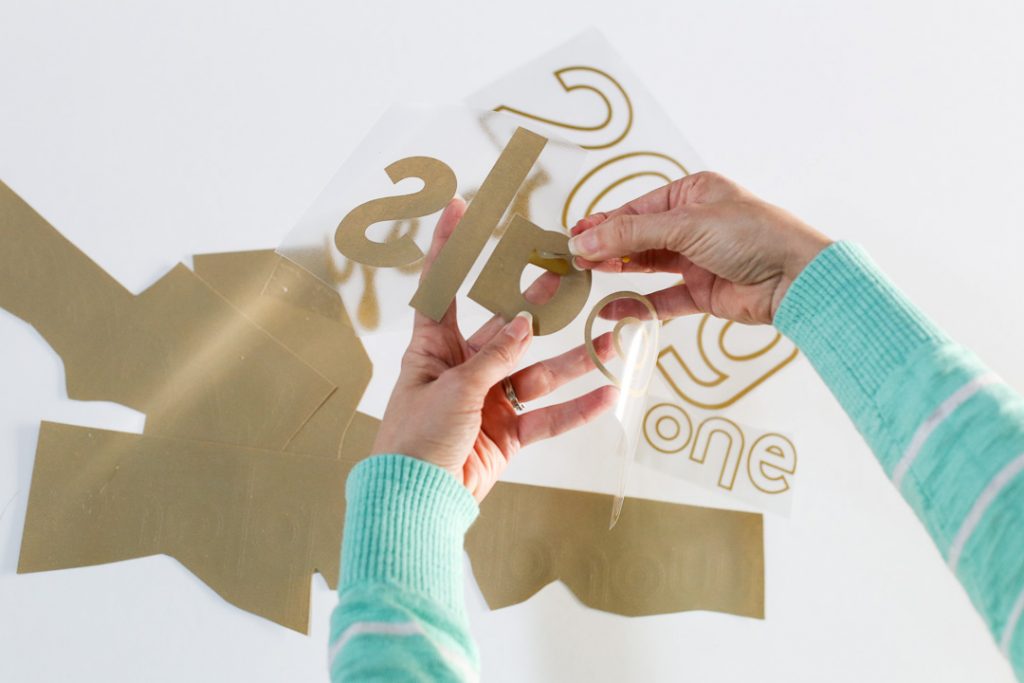

Once you have your title words all weeded, you’re ready to dive into assembly!
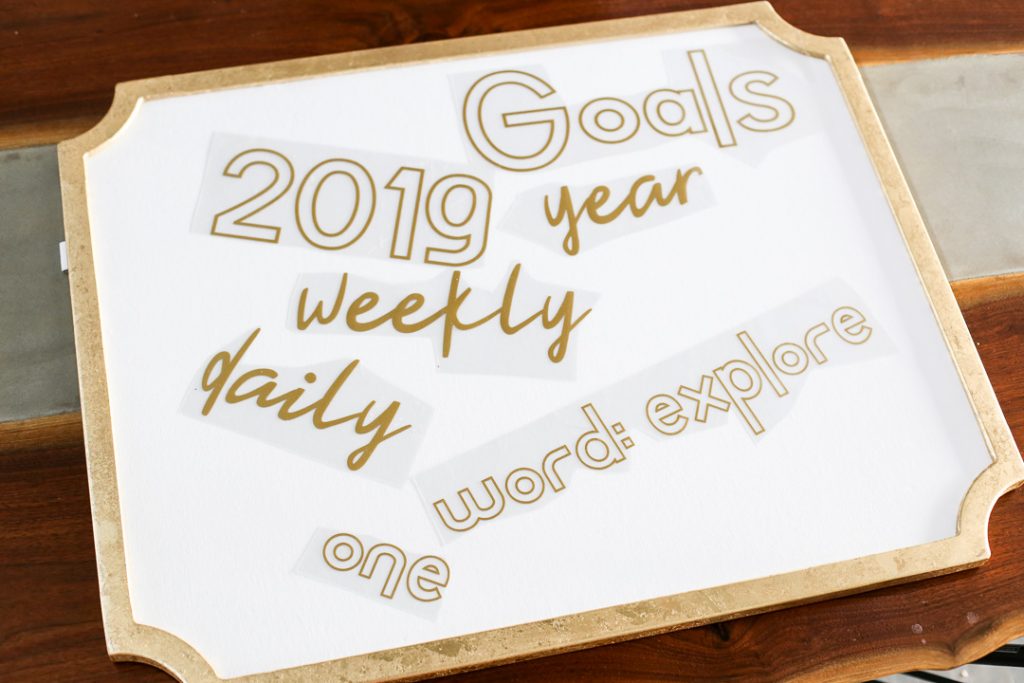
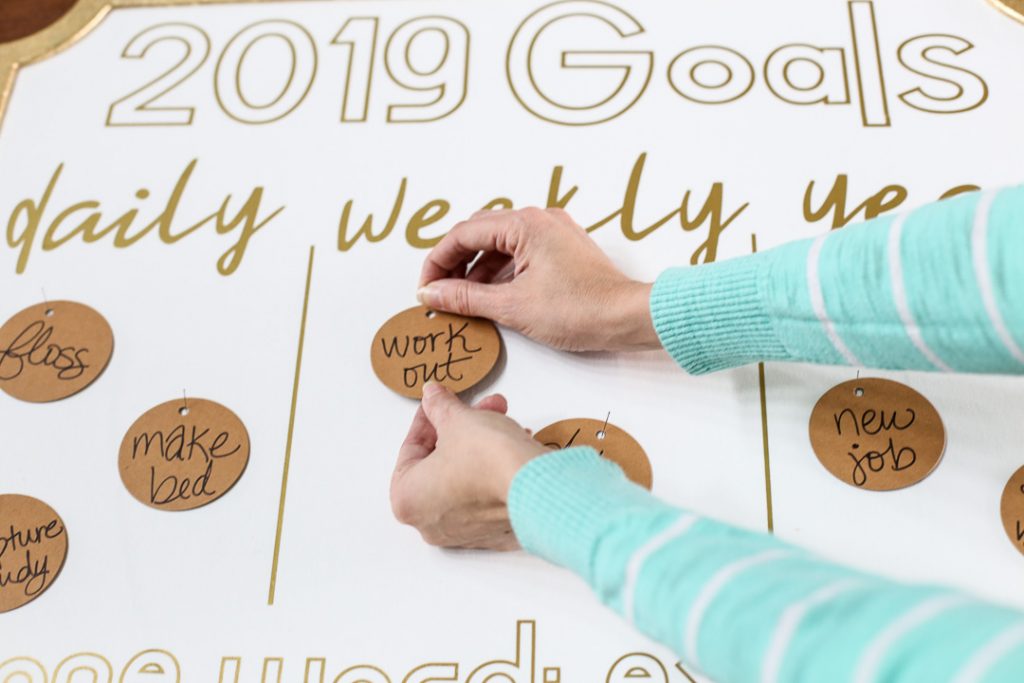
Place all the words where you would like them on your board. I created 3 columns on my board, for “daily”, “weekly” and “year” goals.
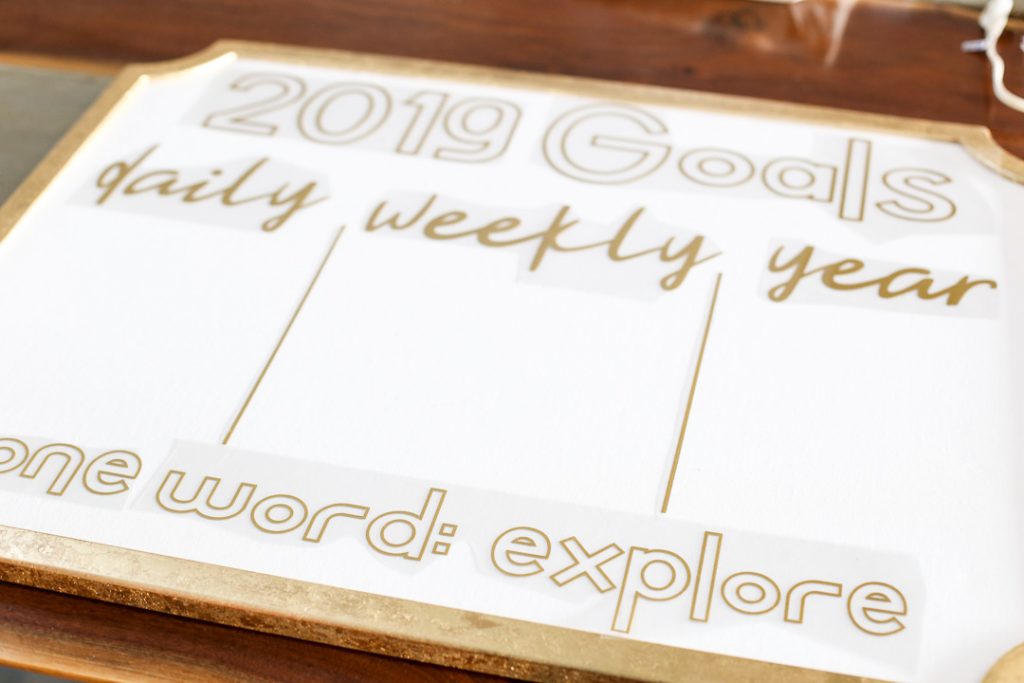
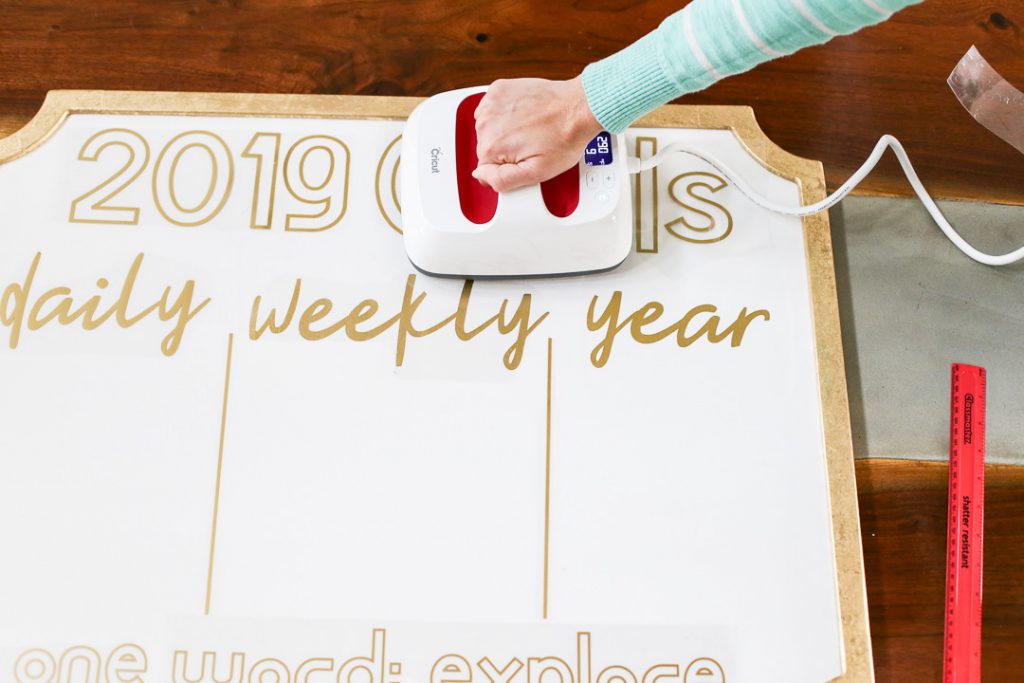
Attaching Heat Transfer Vinyl to a Pin Board
This pin board is covered in cloth which is why you’ll need heat transfer vinyl instead of adhesive vinyl – you’ll need to attach it with heat. Once placed, you can use a heat press or an iron to press onto the vinyl. Once it’s adhered to the cloth, you can pull off the clear transfer sheet and the vinyl will remain attached.
Next up, write out your goals! You could also print these or use vinyl if desired.
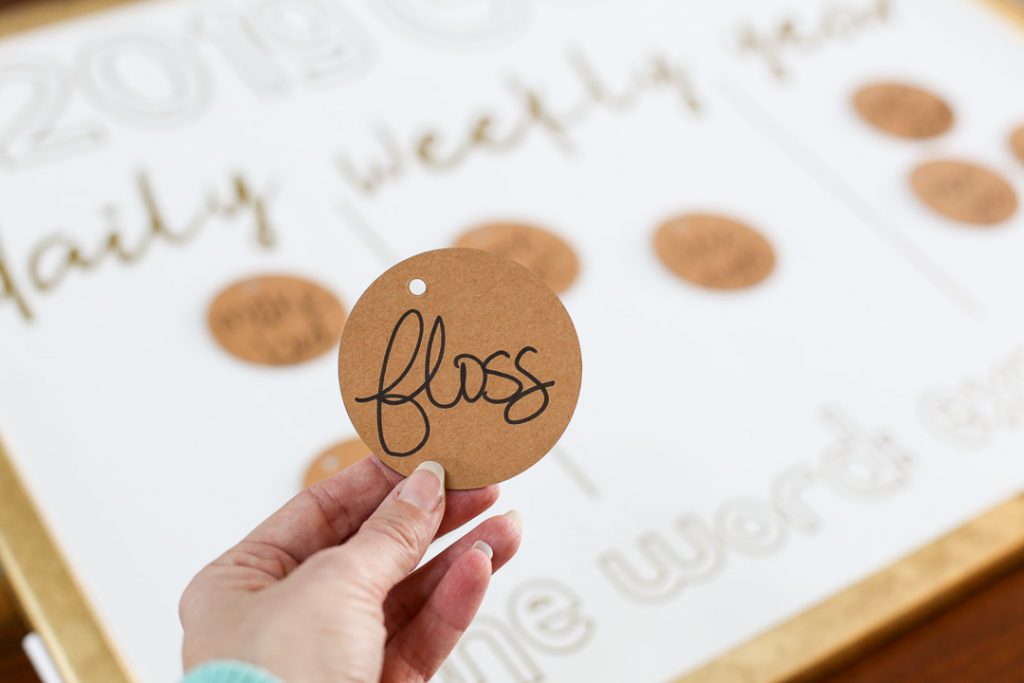
Then I simply pinned the goals onto my board. I love how these can change out as the year changes. Display where you’ll see it often!
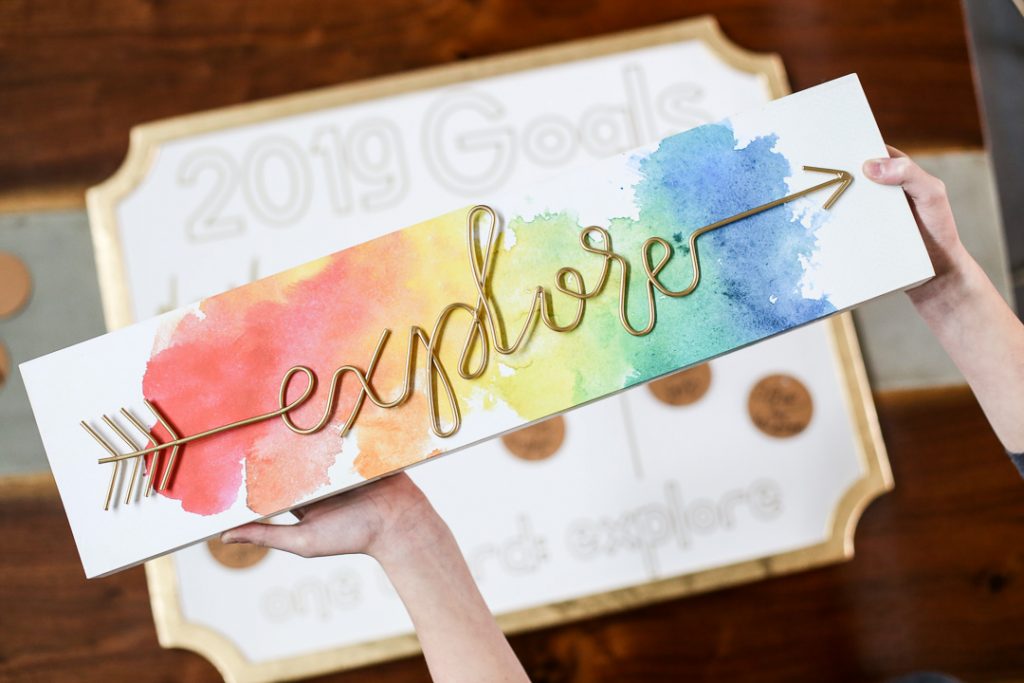
Sidenote, I set my One Word goal for the year as “Explore” for a variety of reasons – then later that day I saw this Explore sign at Michaels – the universe is speaking to me!!!! It was meant to be 😉 . Can’t wait to see all the Goals Board that you all make!


[…] How to make a Goals Board […]