Have you ever found yourself in need of a spinner? Whether to pin for household chores or spin for prizes, or to use it in your business or at carnival events, spinners can be so great! I’m going to tell you how to make a Custom Spinner today, get excited, I know I’m excited about how it turned out. This post may contain affiliate links.

We’ve tried starting from scratch in the past, but the BEST way to make a custom spinner is to start with a spinner and then customize it.

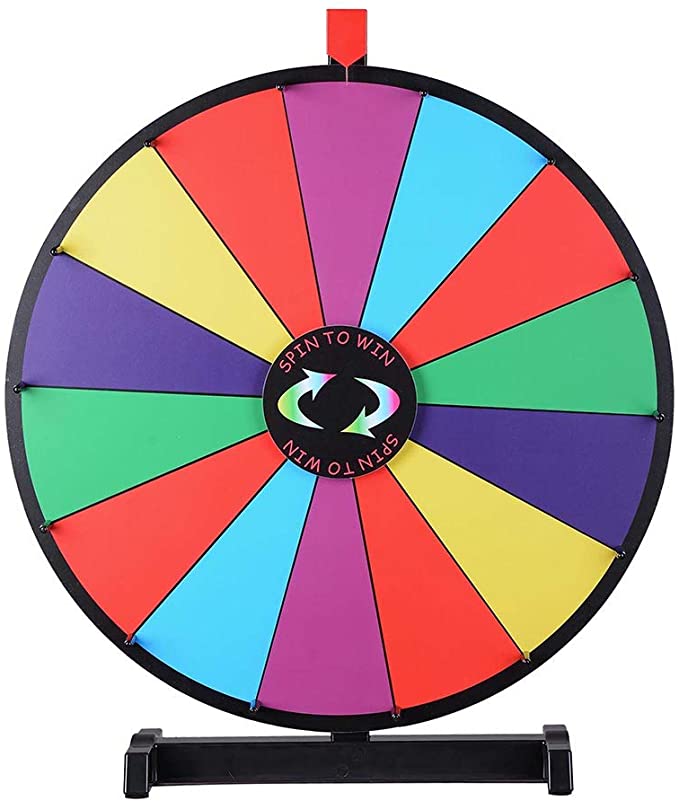
Best Spinner Wheel
I purchased this Spinner Wheel online – it is LEGIT! It’s very solid, large in size, and sturdy. It’s a little pricey, but you’ll definitely regret getting one that is cheap and flimsy.

Custom Spinning Wheel
You’ll need:
—paper in desired custom colors
–scissors, pencil, straight edge, etc
It comes with a dry-erase front. That Front is not detachable. SO, to customize your spinning wheel, you’ll need to work around it. You’ll need to do this before you assemble your spinning wheel.
Using a piece of paper, trace the size of one of the wedges. This will be your template. Use that template to trace onto and cut out wedges in various colors of paper that you desire.
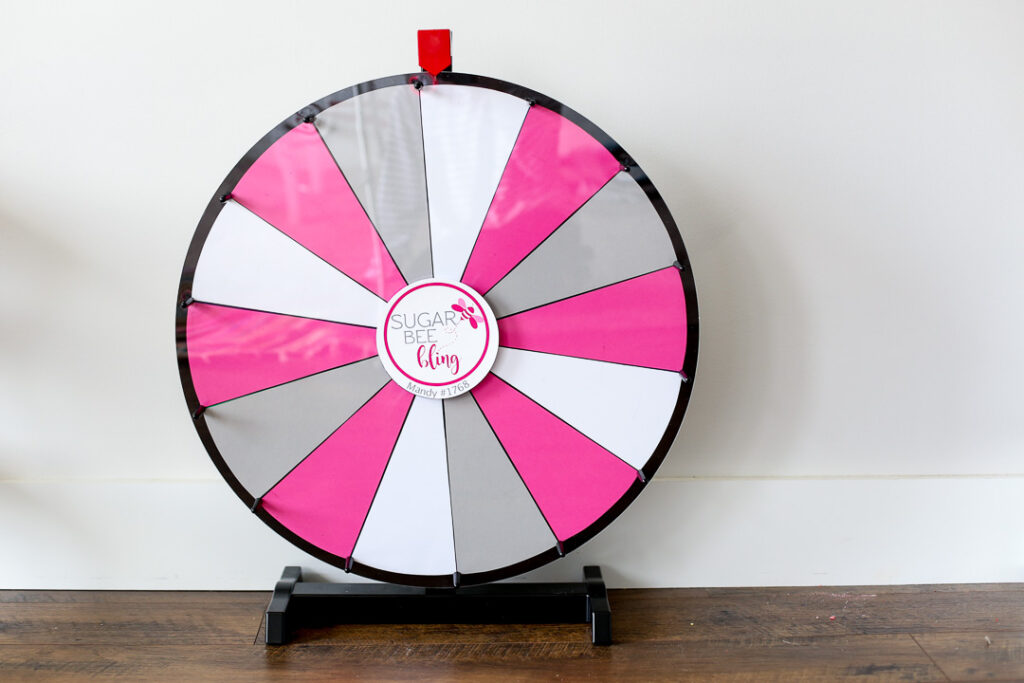
Once you have your wedges cut, slide them in under the clear front. If they don’t go exactly to the center it’s okay because the logo center disc that goes on top will cover that part up. Here’s a quick video showing how I inserted the wedges:
I did not use any tape to secure the paper, but you could if you wanted. I felt like they are going to stay in place by themselves because of the tightness of the clear front.
To finalize the custom look, I used vinyl on a white disc to create a logo for the front of the spinner. I simply taped this over the center disc that it comes it.
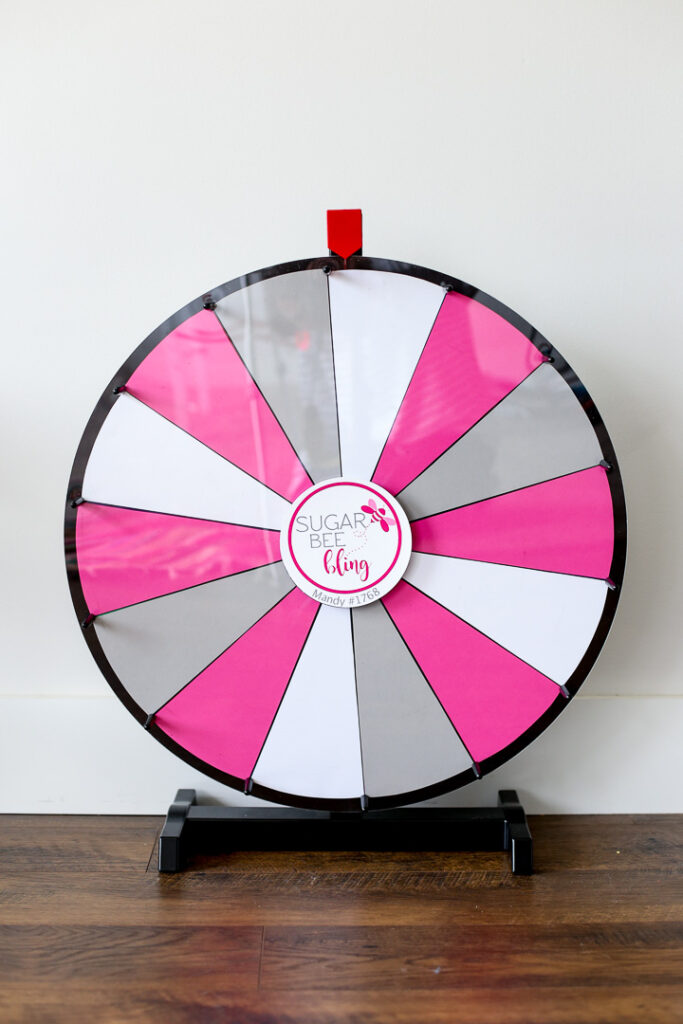
Now you can finish the assembly of your spinner wheel – and voila! You’ve made a CUSTOM spinner! Enjoy!

DIY Game Ideas
If you loved this, you might also want to check out:


