this is a sponsored post, but all opinions are my own, and I want to #foilallthethings!!
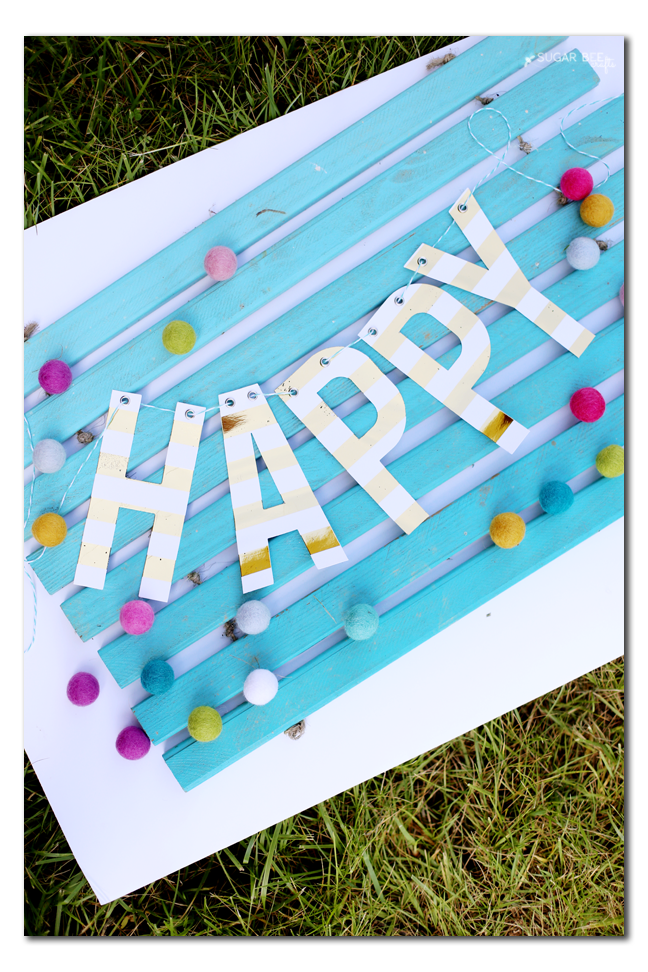
I am still enjoying the Minc, and foiling everything! It takes a simple project and really adds an awesome pop. I recently made a fun “Happy” banner that I can bust out for home decor (I can’t decide if I’ll put it in my daughter’s room or display it over our family chalkboard – it’ll probably rotate around a few different places)
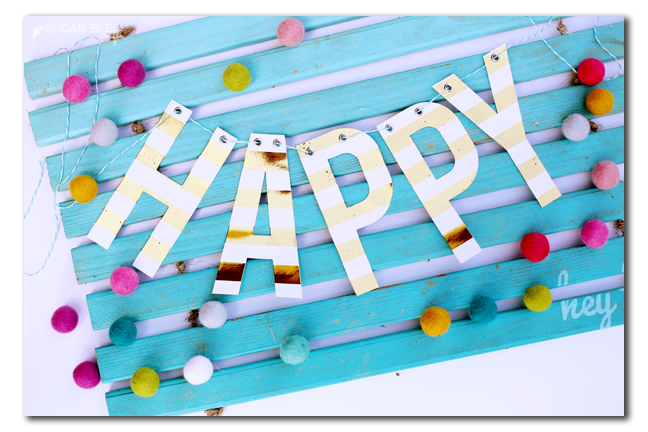
It’s so fun – kind of hard to catch the shimmer of the foil in a picture, but it’s great.
Let’s jump right into how it works, for those that are new to the Minc.
You can print from a laser-jet printer, or use premade items from the Heidi Swap Minc line. These letters came from that line. You place them in the carrier sheet.
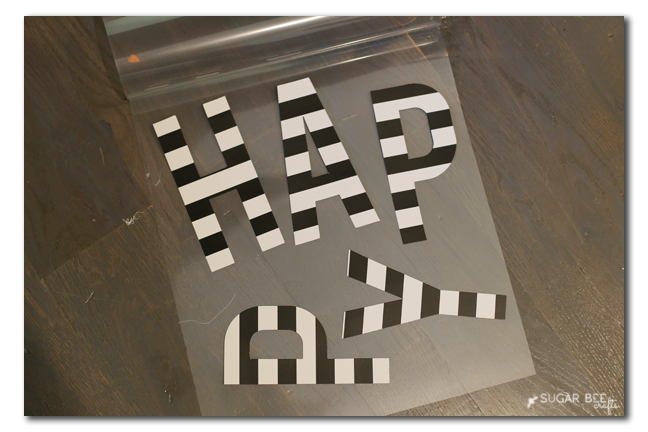
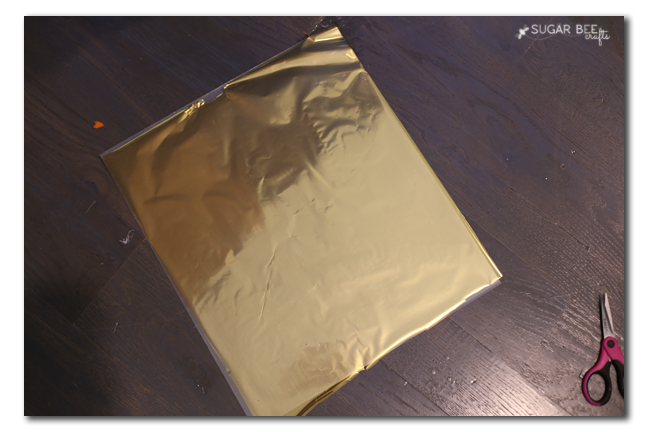
Then you choose which color of foil you want (I went with gold for this project) and place that over the areas you want to foil. I just used one big sheet to cover all the letters, but you can cut individual sizes if you want.
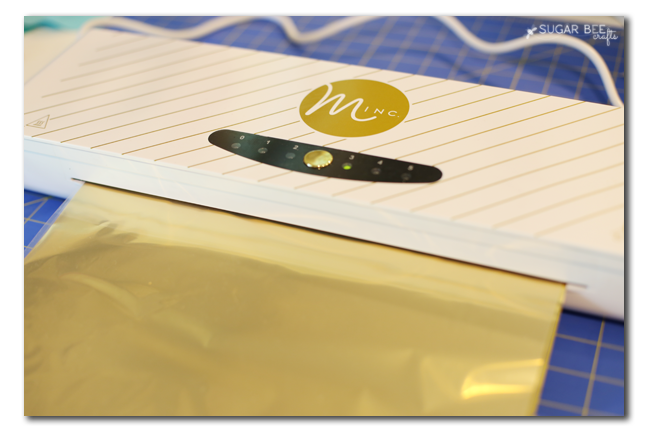
Then you run it in the machine. The heat and pressure will adhere the foil to the printed areas.
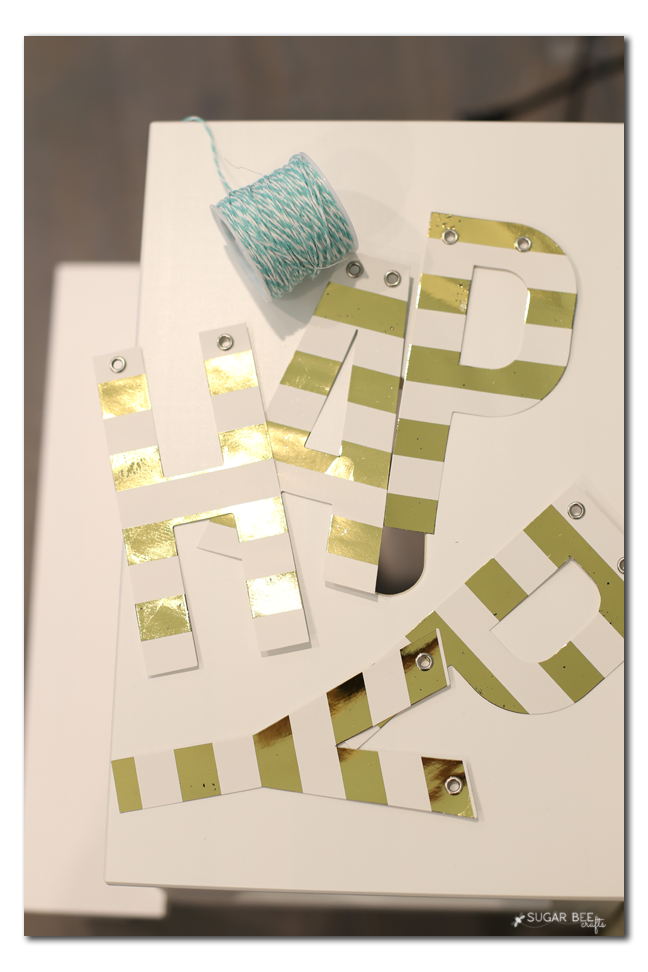
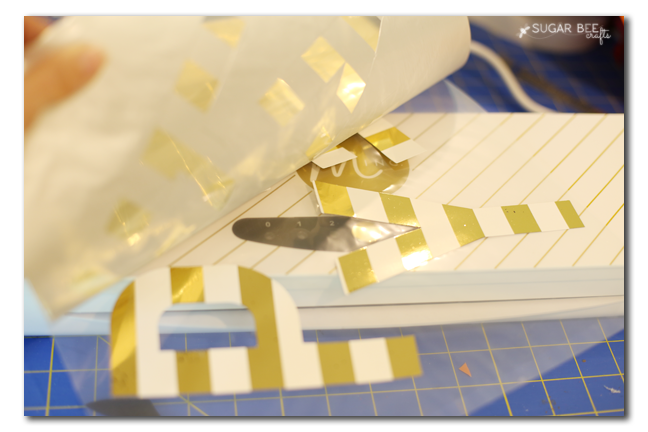
Then come the best part – opening up the carrier sheet and lifting off the foil, to reveal your project. I love it every time!
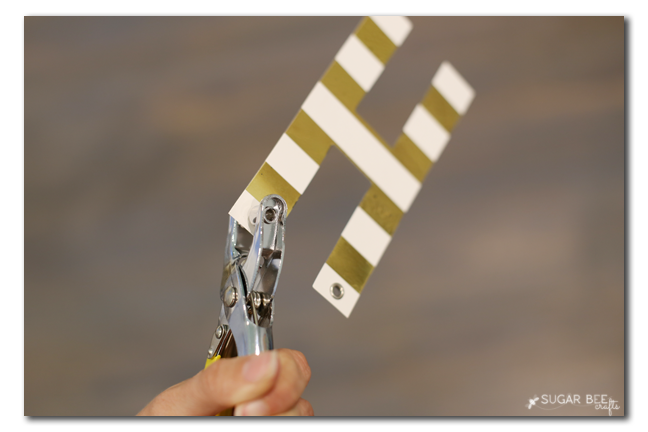
That’s all there is to the foiling. Then I added grommets to make it easy to string a banner. I have a whole post on How To Add Grommets to a Banner, so if you need that info, check it out.
Then I simply wove some bakers twine through the holes – love the simplicity.
