


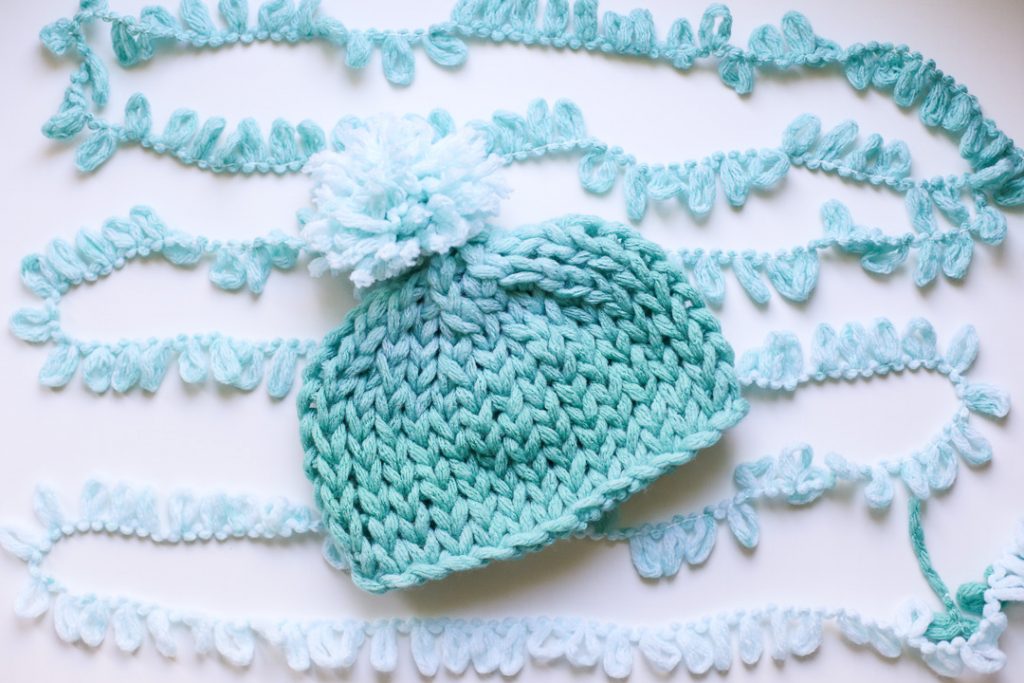
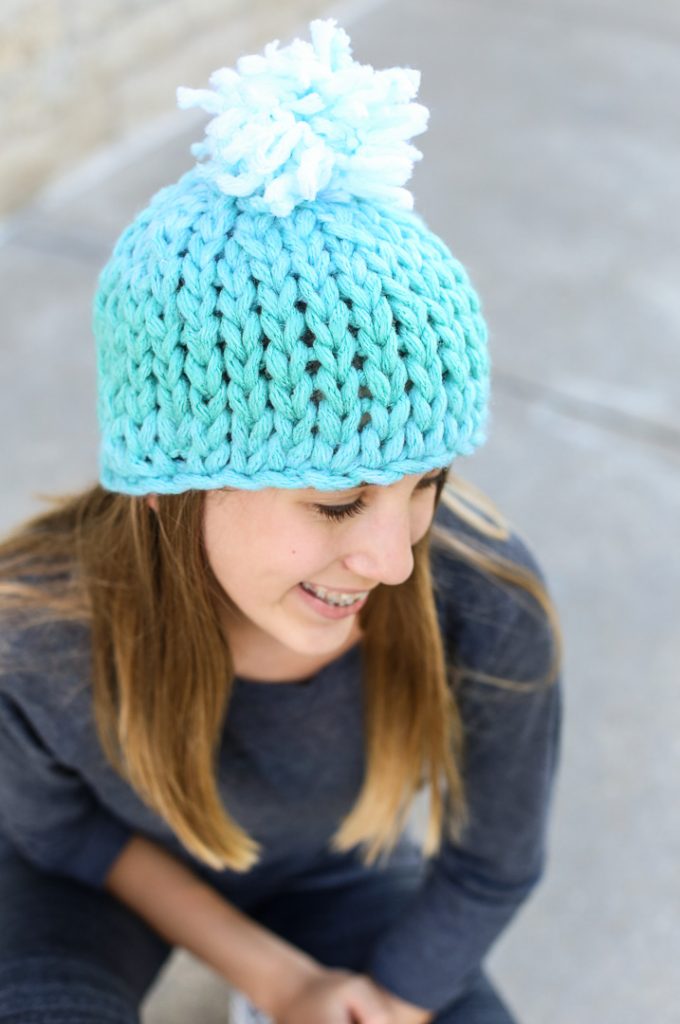
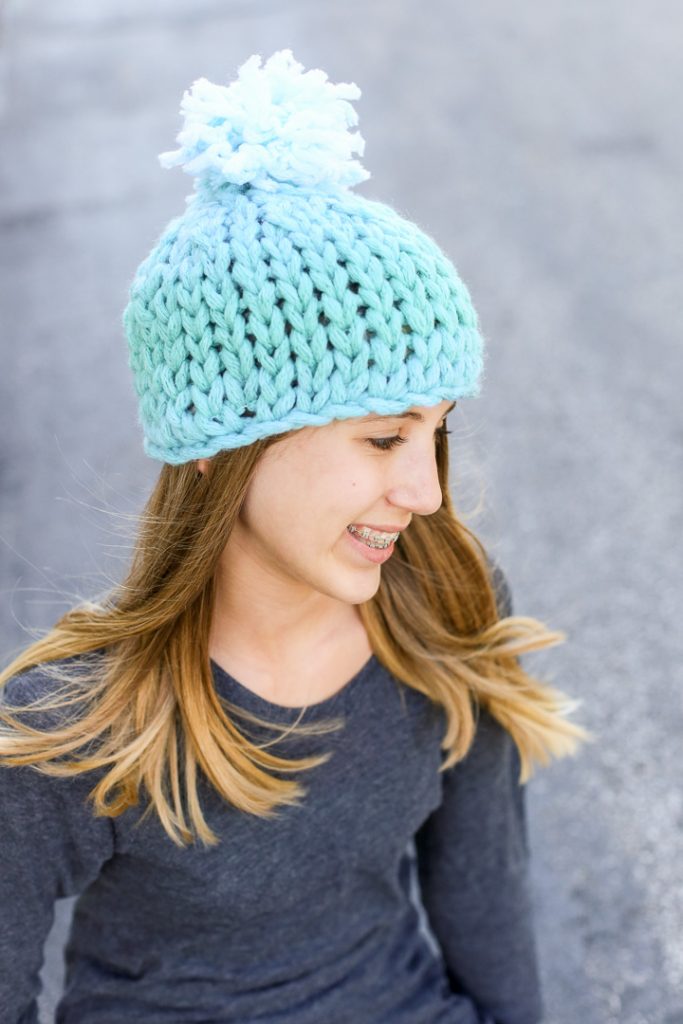
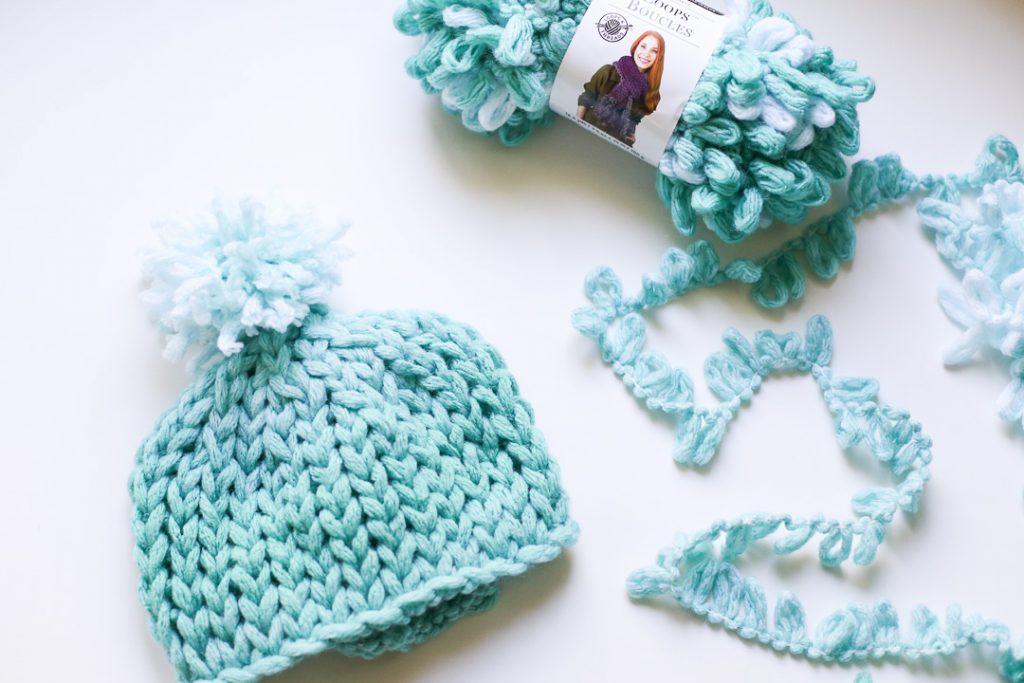
Remember the Finger Looping Hat I made earlier?? I actually made a couple – there are different types of looping yarn and I wanted to try different versions out. YES, I made this cute hat WITH MY FINGERS – you DON’T have to know how to crochet, you DON’T have to know how to knit. You don’t need any special tools. So easy and so fun and I have the Finger Looping Hat Instructions for you today!
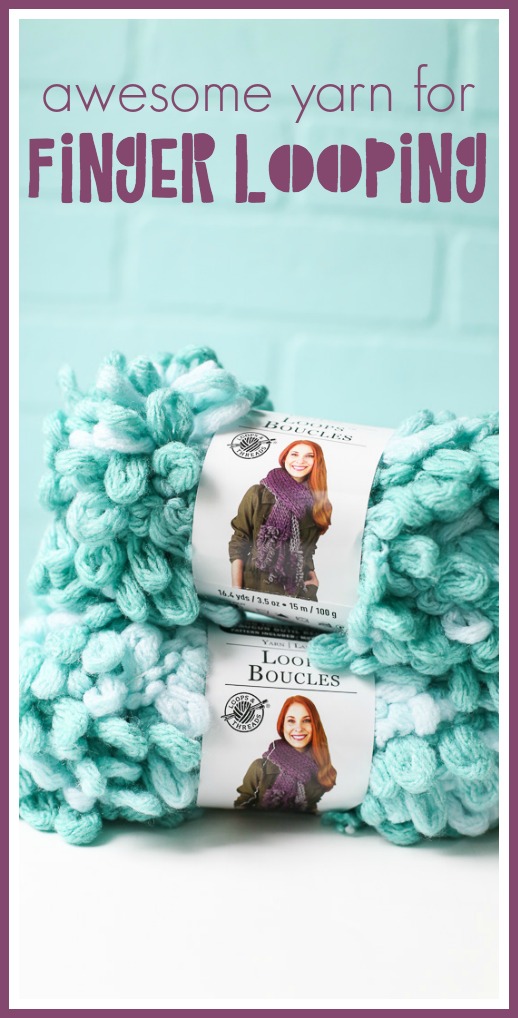
Here are some images to pin in case you want to save this post for later:

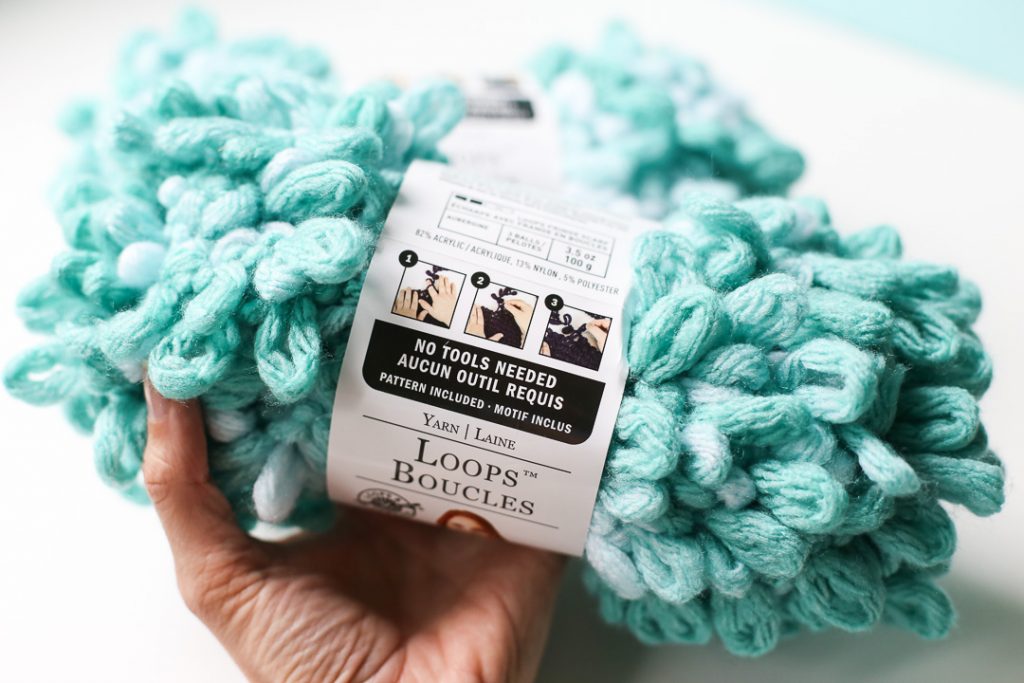
What is Loop Yarn?
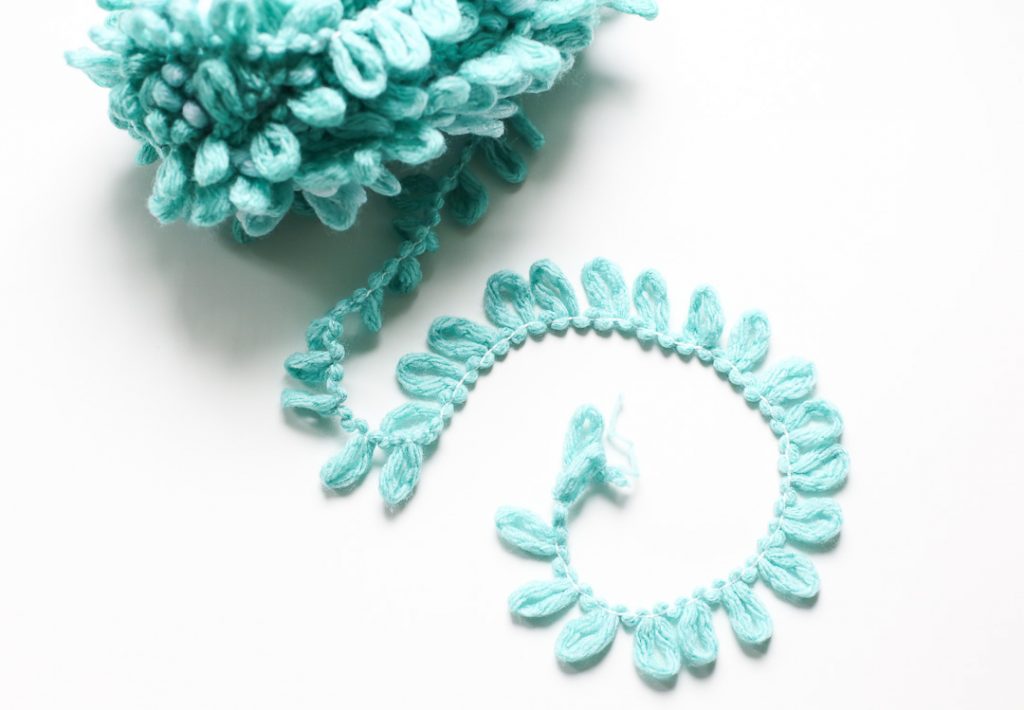
It is a special yarn type that has loops along a strand. It is chunky and soft and awesome. The loops provide a unique way of making yarn projects without any tools at all – really!! You can use your fingers for loops – no special skills required, anyone can do it!

Is Finger Looping the Same as Finger Weaving?
They have a similar process, but they are different. Finger weaving uses your fingers to build your project upon and limits the projects you can make (normally belts and headbands). Finger Looping using a special yarn with built-in loops to open up endless possibilities in creating projects.
How to make a Finger Looping Hat
You’ll need:
–one skein loop yarn
–scissors
Yes. That’s It!
I am not the strongest at “patterns” – I really love just working through a project. So I put together a video to show you how I work through this project. And then if you like a pattern, I have that too, on down!
How to Make a Finger Loop Hat – VIDEO
Finger Loop Hat Pattern Instructions
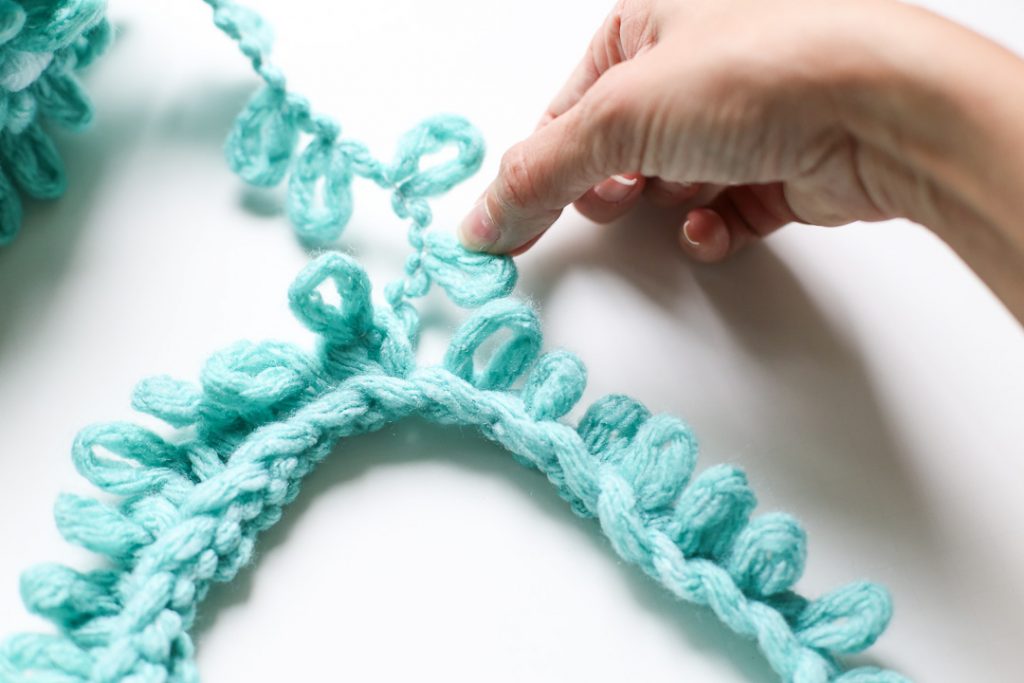
Ready to dive in?! First notice how the loops lay along the strand of the yarn. The yarn coming from the ball/skein I will refer to as the Working Yarn.
First we want to create a border for the edge of the hat. Take the loop 2nd from the end of the strand and push it from back-to-front into the first loop. So now it becomes the first loop. Then repeat, take the 2nd loop and push it from back-to-front into the new first loop. Keep repeating this (you can see it on the video). As you do so a “braid” chain will form. Keep going until that chain edge is long enough to wrap around your head (that’ll be the size of your hat).
Work in the round. Put your edge in a circle form. Use your working yarn to push loops into every top “loop” of the chain. This is the hardest part! Once you see what I mean, you’ll be able to figure it out quickly (again, this is in the video).
Then just work your way around the circle, over and over again, round and round, pushing the working yarn loops in to the open loops in your project. Depending on the size of your hat is how many rows you’ll make. I made 7 rows.
On row 8, I used one loop from the working yarn but put it through TWO loops on my project. Then the next stitch I did regular. Then the next stitch I put 2 loops on again and repeated that pattern for that whole row. This helped decrease the stitches and make the hat smaller at that section (we need to make it smaller as it gets to the top of the head)
Row 9 I made as a normal row, one for one looping.
Row 10 I repeated the pattern from row 8.
After Row 10 I just did the double looping thing over and over until it reduced down to one loop on my project left. I snipped off my working yarn and pulled it through that loop and bam, done!!
I used some of the yarn to also make a fun pom pom for the top – isn’t it the cutest?! And it doesn’t look at all that I made it so easily with my fingers.
I can’t wait to see what projects you make!! We can be Finger Looping Hat twins!
This was a great tutorial! I’m doing this today or tomorrow. Thank your for sharing.
Your hat is beautiful! How many rows would you suggest for a toddler hat? Thanks for any thoughts
I’m not sure, I haven’t made it in a toddler size, but would just recommend trying something out and sizing it up around the head. Good luck with it! That will be super cute!
How adorable. I had bought loop yarn to make a blanket but then changed my mind. It seemed as if the yarn purchase was a waste until I saw your Pinterest post. Now, I will be putting the yarn to use making hats. What’s especially nice about your hat is that it won’t flatten the hair like most winter hats. No hat hair!
How adorable! I had purchased loop yarn to make a blanket but changed my mind. It seemed that the yarn purchase had been a waste until I saw your post. The yarn will now be put to use making hats. What’s especially nice about your hat is that it doesn’t flatten the hair like most winter hats. No hat hair!