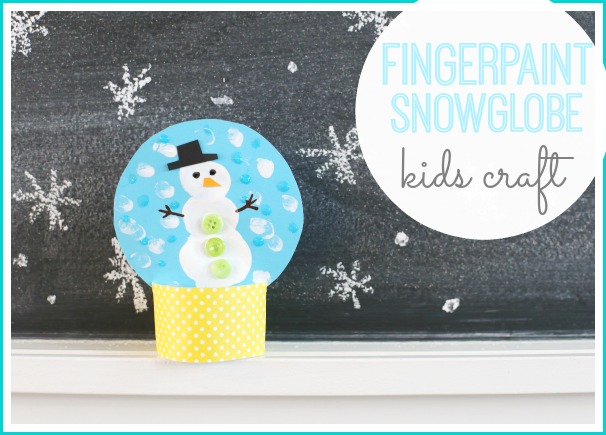
I have a thing for snowglobes! We’ve modified this snowglobe craft to bring in one of my kiddos’ favorites – fingerpainting! I think all kids love finger painting, and a snowman and snow is an easy shape for them to experiment with. Have fun making your own Fingerpaint Snowglobe Kid’s Craft.
Supplies Needed:
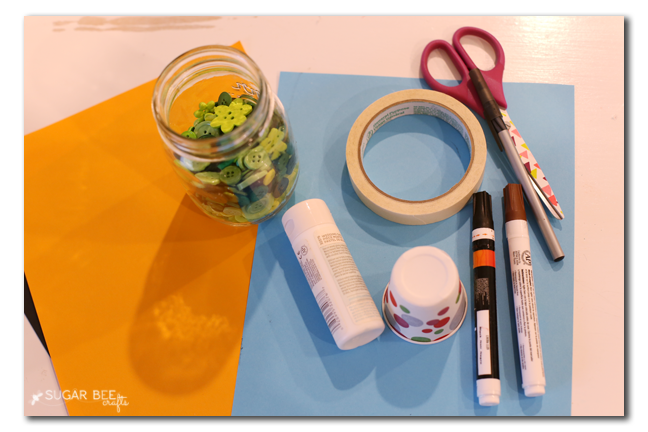
–round object for tracing (tape roll)
–white paint
–blue paper, scraps of orange and black paper, colorful strip of cardstock
–black and brown paint pens or markers
–scissors, pens, buttons (optional), glue and glitter glue (optional)
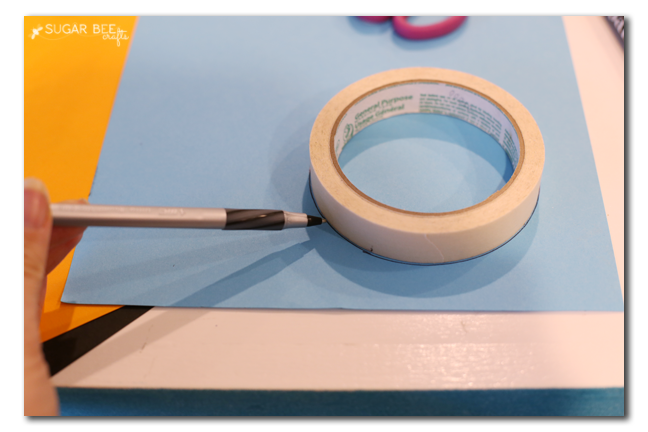
First up, trace around something round. Kids are great at tracing! Once they have traced the circle, they can cut on that line to cut out a circle.
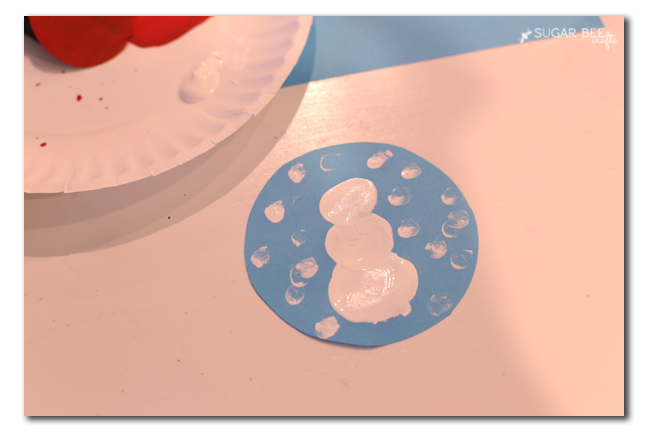
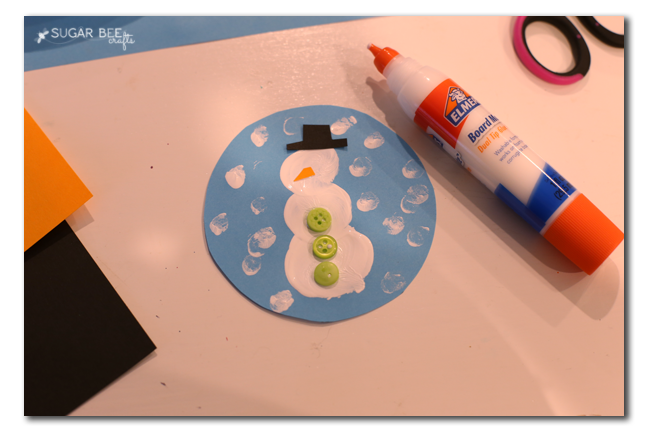
Next is the funnest part – finger painting. Dip a finger in the white paint and create a snowscene.
Add details – we cut out a nose, and hat, and glued on buttons.
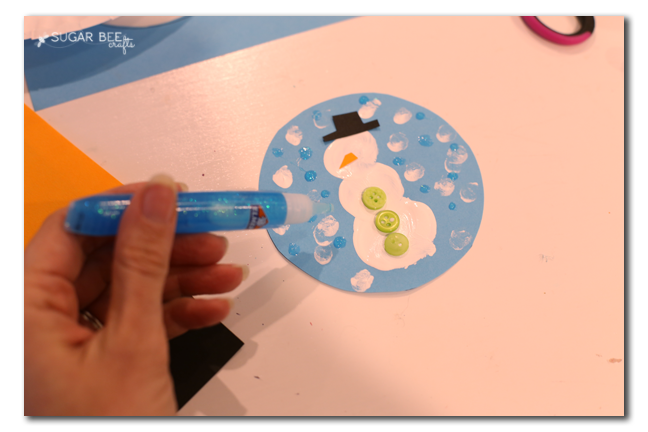
In our house, no craft is complete without a little glitter glue 😉
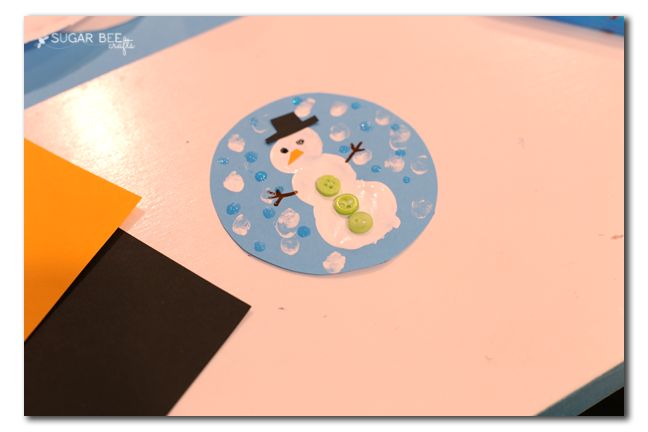
–Use the markers to draw on arms and eyes.
Originally we planned on using a paper bathroom cup as the base, wrapped in cute paper…
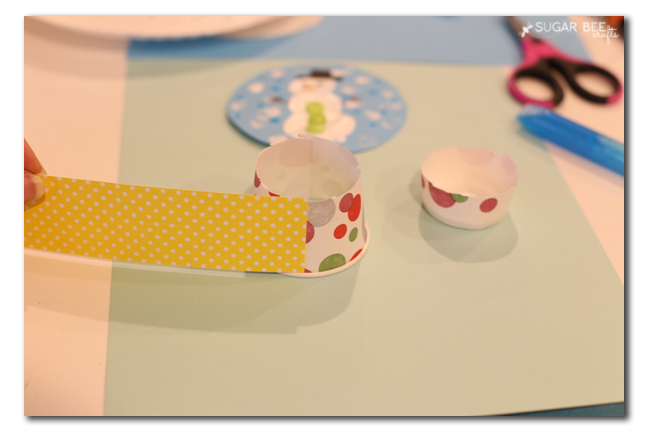
But it turns out that the strip of cardstock will stand up on it’s own, no paper cup needed. Glue the strip into a circle. Then if you slightly flatten the circle, you can see 2 sides – cut 1/2 long slits into each of those sides.
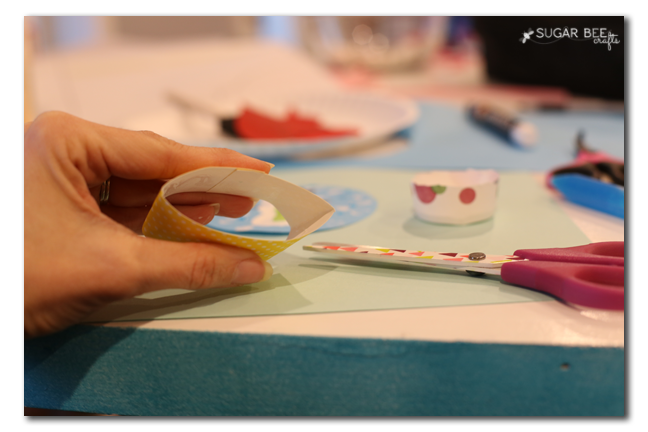
From the top looking down, you can see how the “globe” paper slides down those slits into the base.
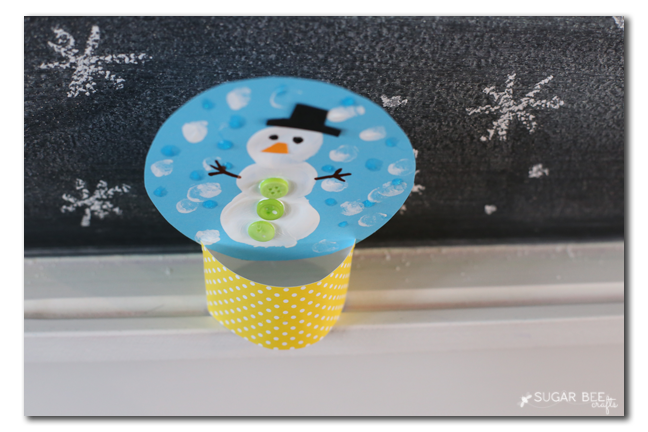
That’s it! Display and enjoy – your kiddos can make a whole collection!!
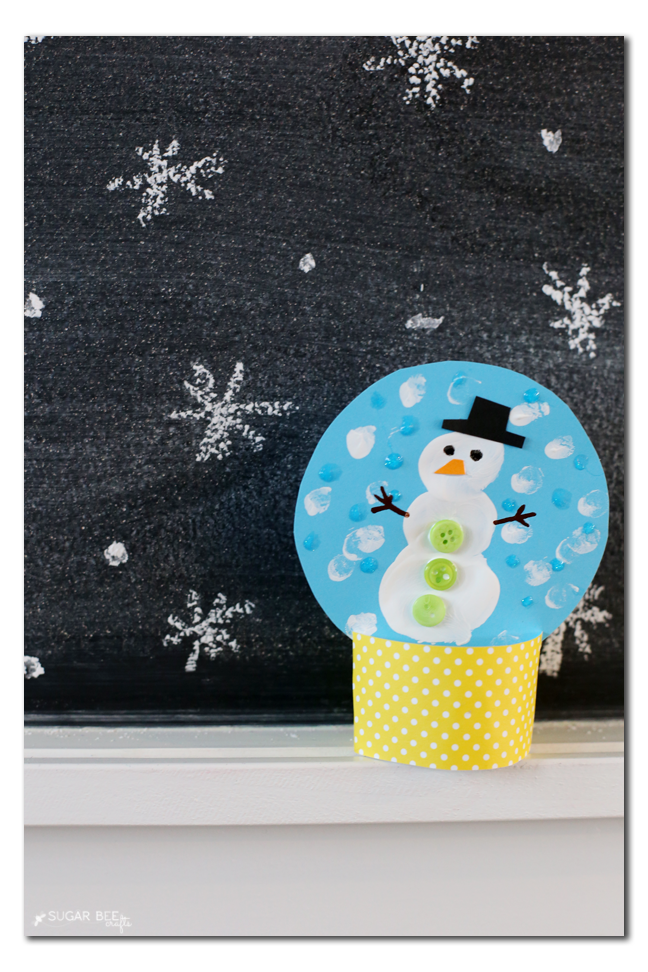


Such an awesome craft. DIY things that can be done in one hour really appeal to me.