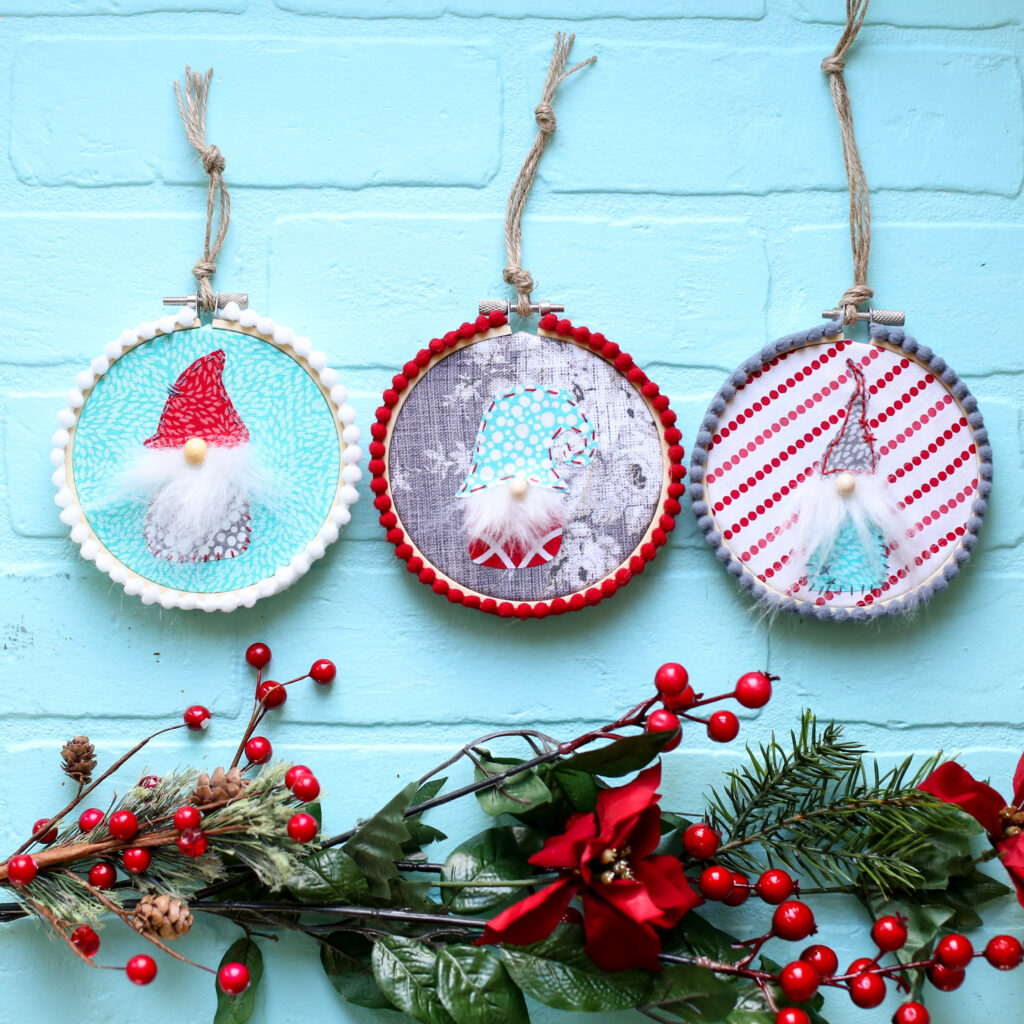
Looking for a cute addition to your holiday decor? Gnomes are the answer! Make this simple Gnome Hoop Ornament in no time!
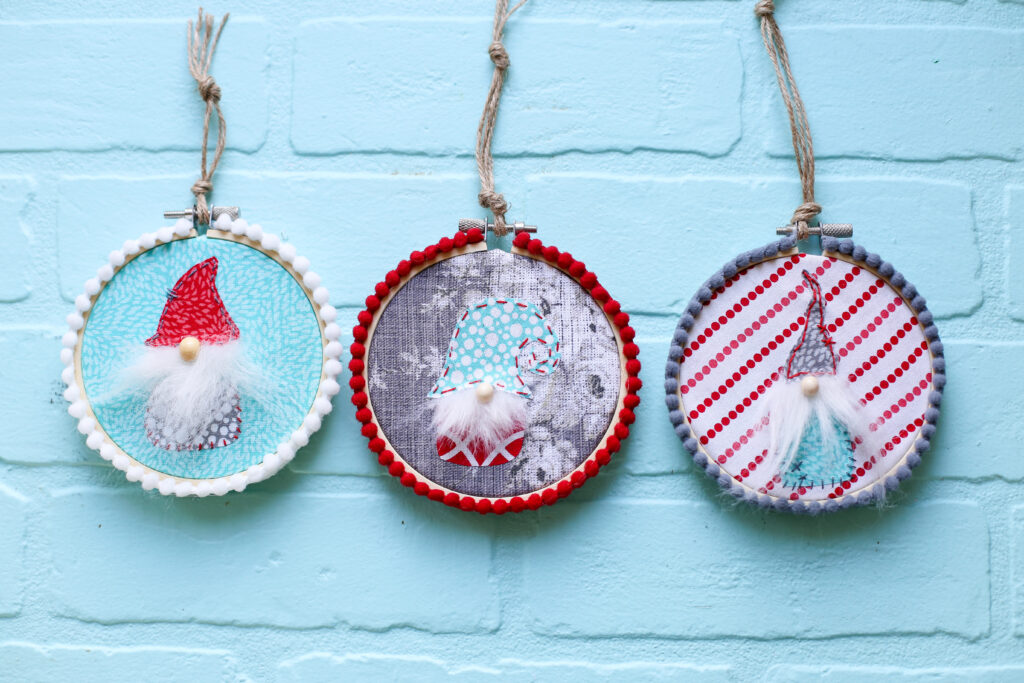
This project is made especially fun with the fabric choices! It can really showcase fun patterns and styles. All the fabric I used are Waverly Inspirations Fabric from Walmart – love them!!
This is a sponsored post, all opinions are my own. May contain affiliate links.
Gnome Hoop Supplies
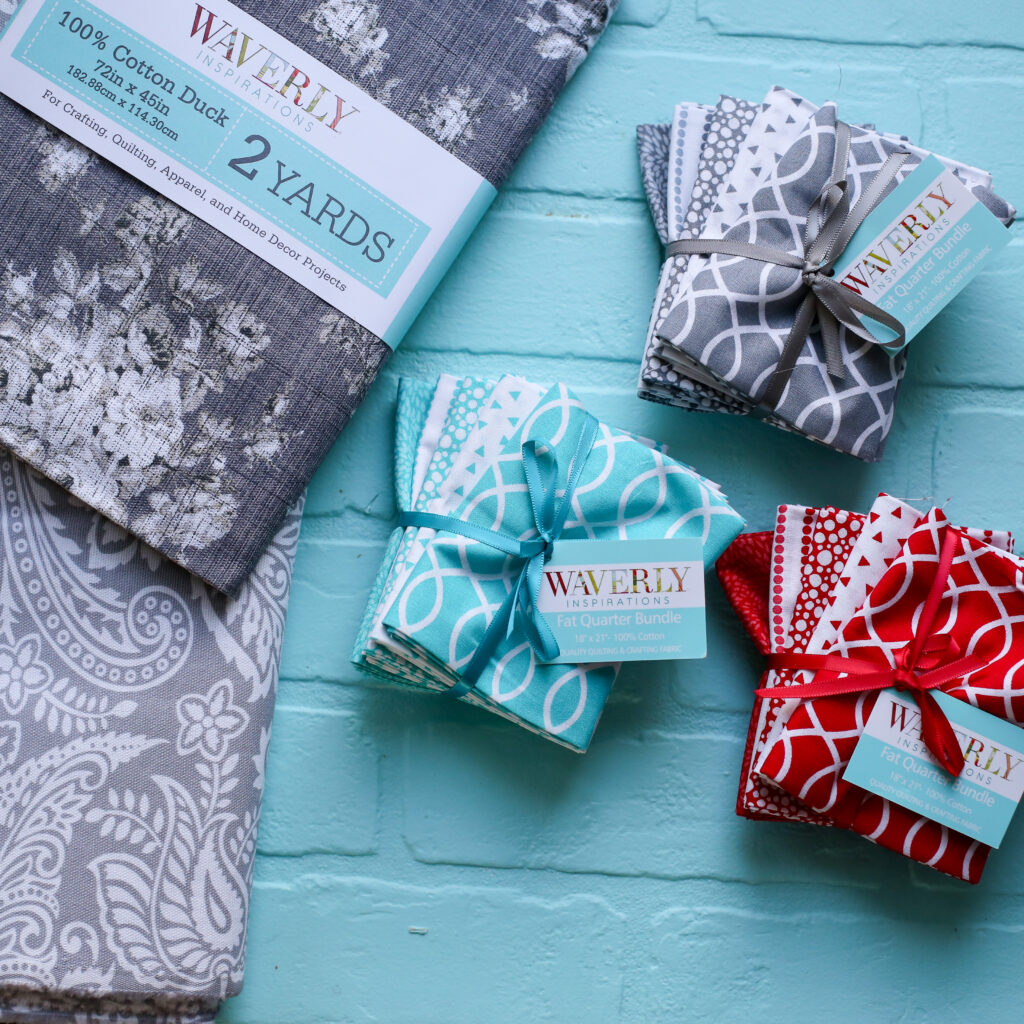
You’ll need:
–fabric, in a variety of coordinating colors, including “fur” fabric
—3 inch embroidery hoops
—heat n bond
—embroidery floss (optional)
—pom pom trim (optional)
–free printable gnome pattern pieces (see below)
Free Printable Gnome Pieces
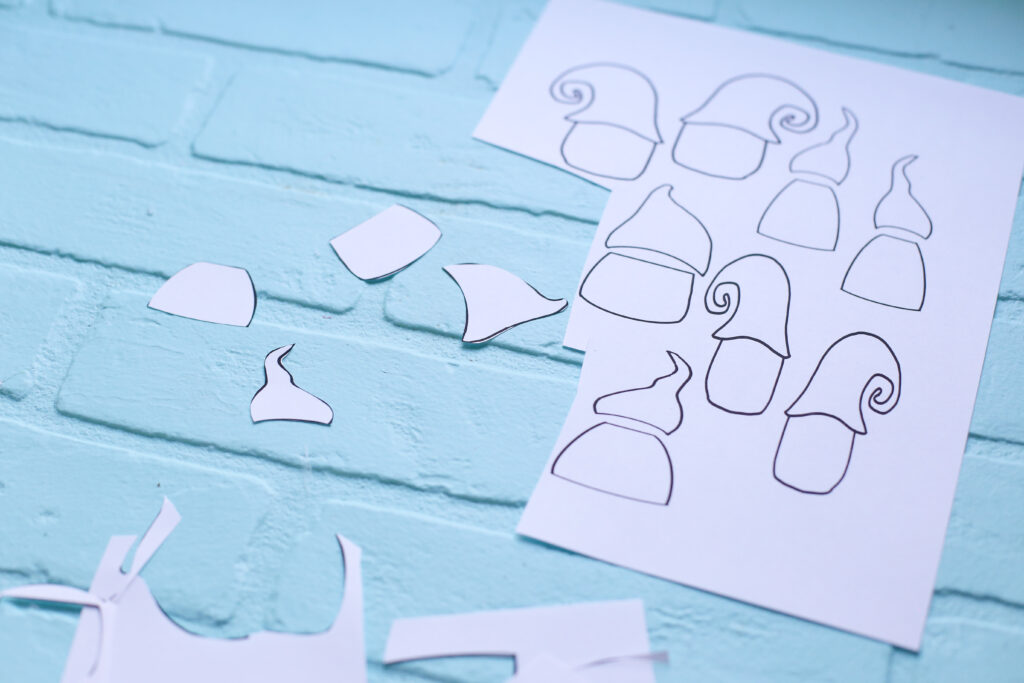
You can freehand your gnome hat and body shapes, but I also have a printable available for free if you’d like to use those pattern pieces. To access the free printable, enter your email address in the box below:
FREE Gnome Patterns
FREE Gnome Patterns
Enter your email address below to get the free printable. You’ll be taken to the file and be able to download it from there. Click your browser back button after you download the file to get back to this page. By entering your email address, you will be added to the Sugar Bee Craft Club email list and can unsubscribe at any time.
Thank you!
You have successfully joined our subscriber list.
Gnome Hoop Instructions
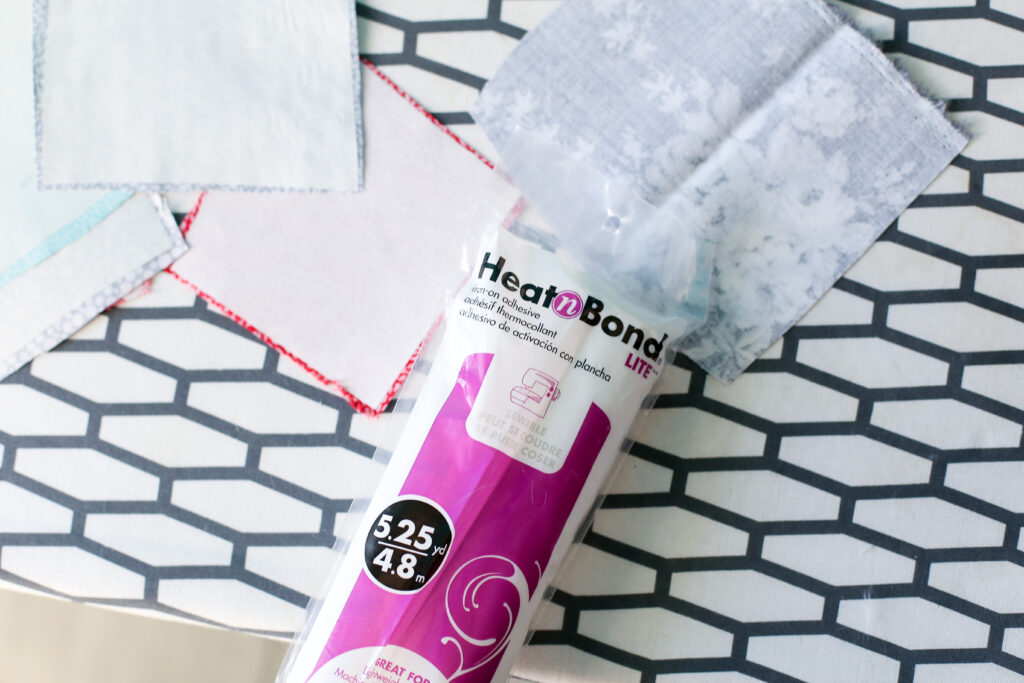
First iron the Heat N Bond onto the back of the fabric that you are going to use:
Next up, cut out your gnome pieces as desired:
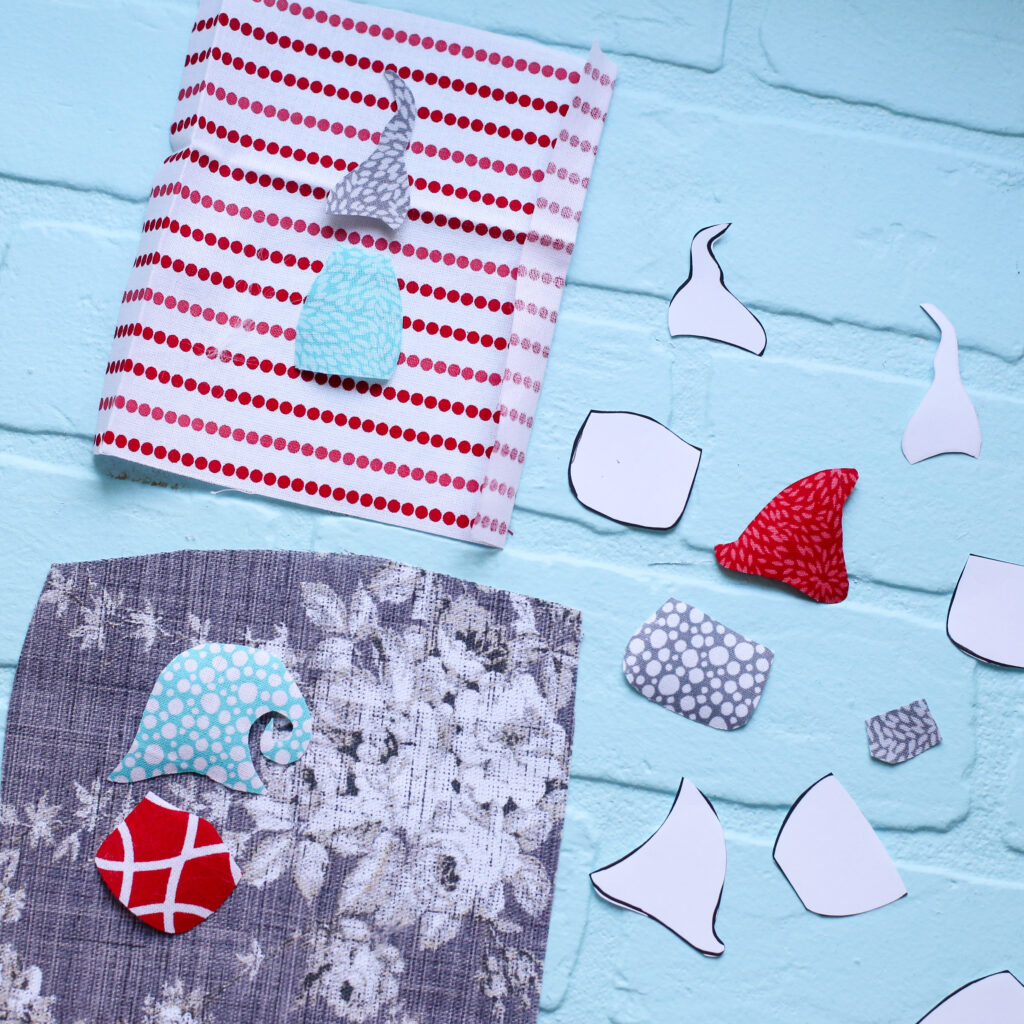
Arrange pieces to accommodate for a beard. Cut beard out of fur material.
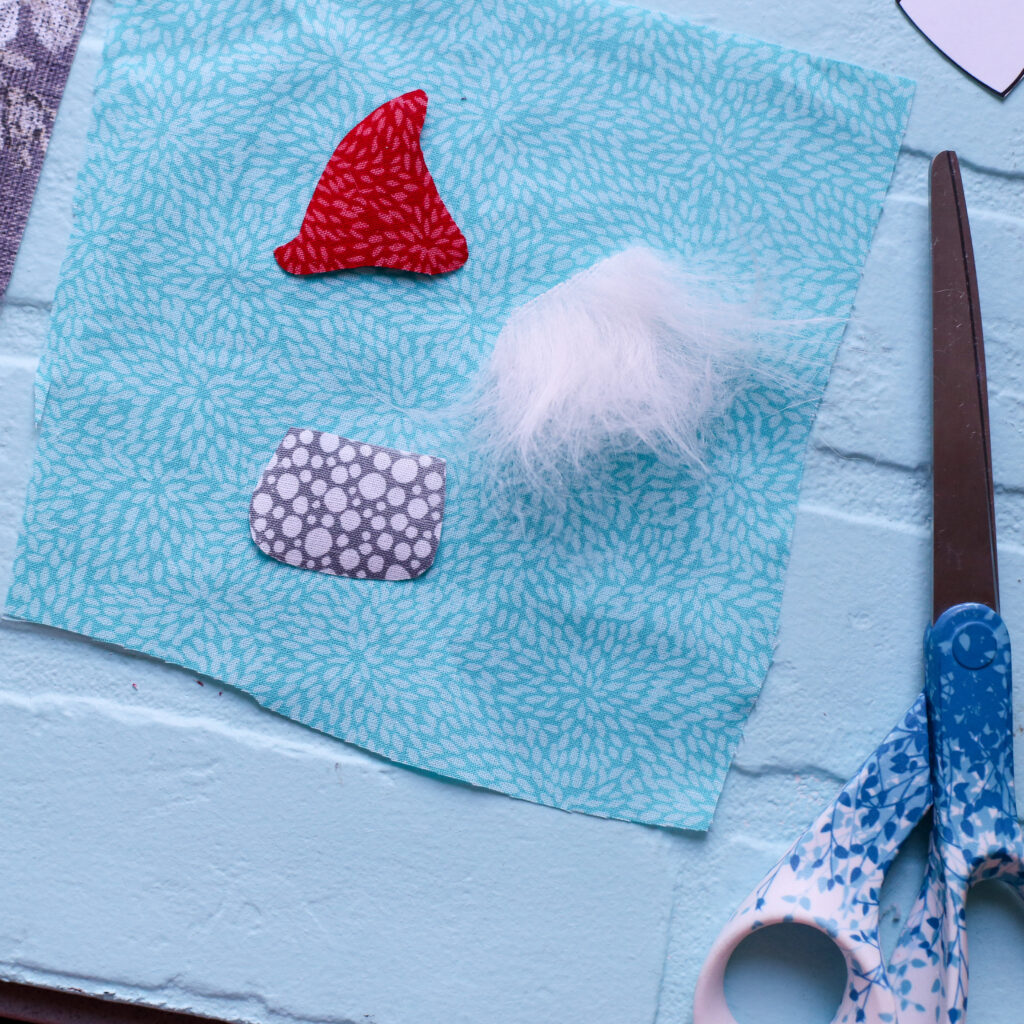
Peel backing from heat-n-bond. Place pieces on desired fabric background and iron into place. Use hot glue to attach the beard piece.
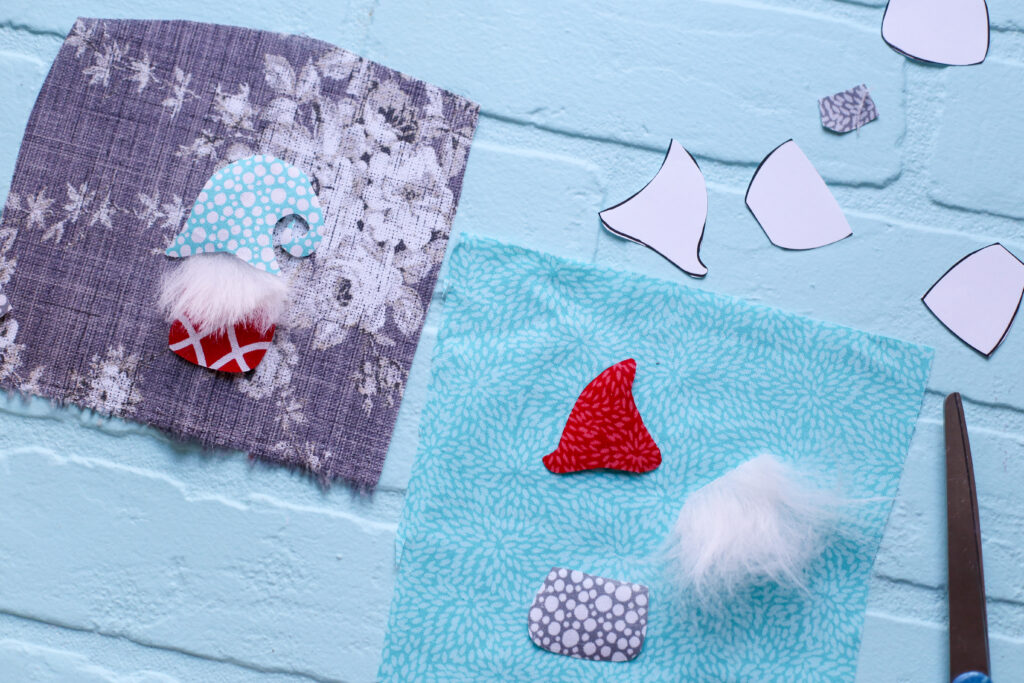
Finishing Gnome Touches
To finish your Gnome Hoop, put the gnome into an embroidery hoop. Hot glue excess fabric behind the hoop. Add top stitching with embroidery floss if desired. Add pom poms to hoop with hot glue if desired. Tie with twine to hang as an ornament.
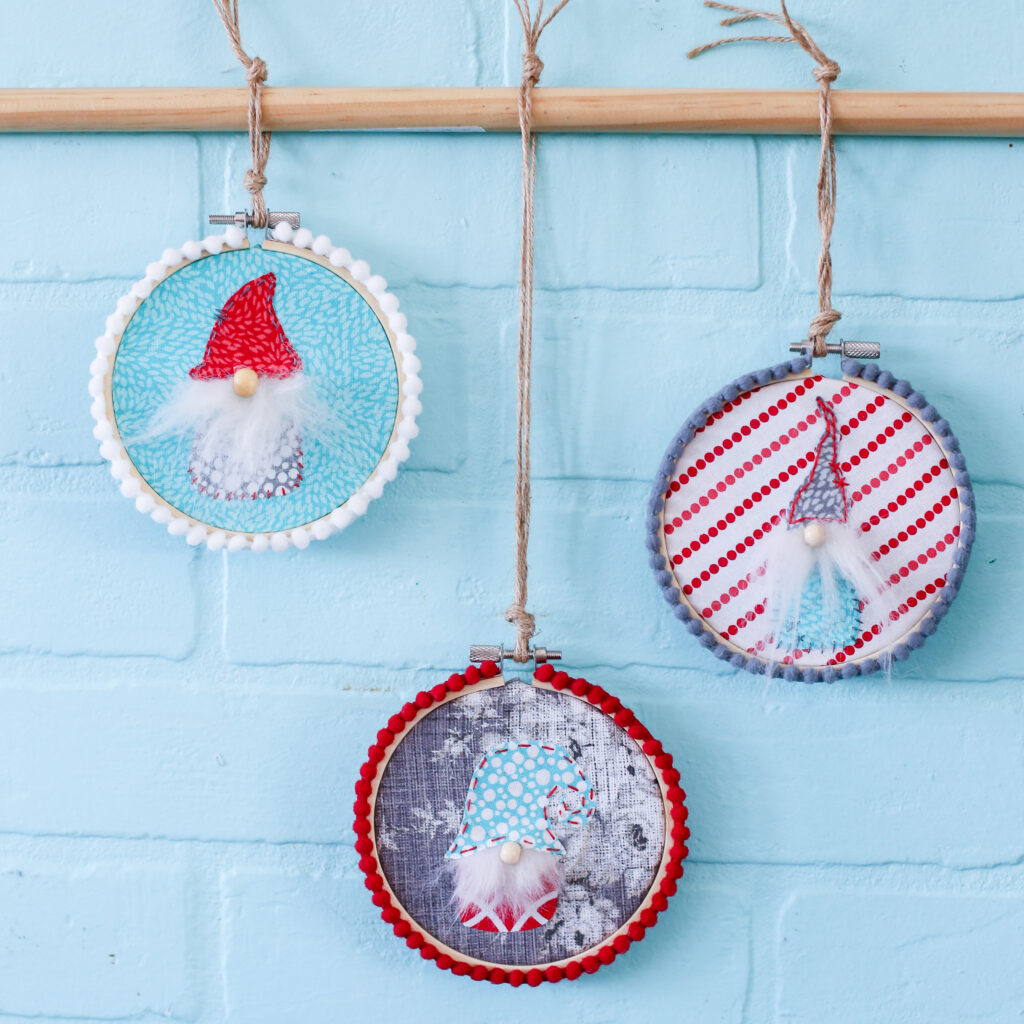
That’s it!! Enjoy making your Gnome Hoop Ornament!!
