


I know you’ve heard it before, but I just LOVE heat transfer vinyl. And Expressions Vinyl has TONS. I especially like the glitter – pictures don’t do it justice, you need to get some and see it in real life!
I’ve done tutorials on heat transfer vinyl in the past, so I won’t re-do them, but I’ll give you a quick walk through:
–Design your item on your cutting machine software. I love my Silhouette because I can use any fonts that are installed on my computer. Thicker fonts are a little easier to work with.
–MIRROR YOUR IMAGE – this is huge – you cut heat transfer from the back, so if you don’t flip your design it will come out backwards
–Load your vinyl on with the clear sheet side down
–Cut
–Weed out the negative space. The clear sheet will act as your “transfer” sheet.
–Place your design (still on the clear sheet) onto the shirt. Cover with a thin cloth/fabric and iron it a bunch.
–Let cool for a minute or two, and slowly peel off the clear sheet. If your vinyl starts to peel, iron some more, even hotter than you were.
–That’s it!! Wear and enjoy:
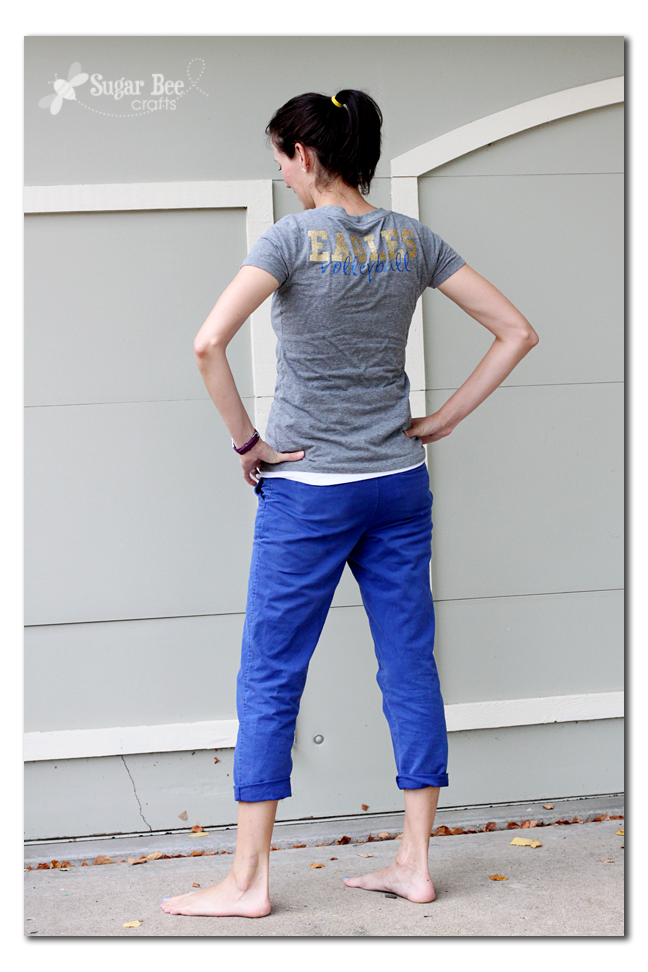
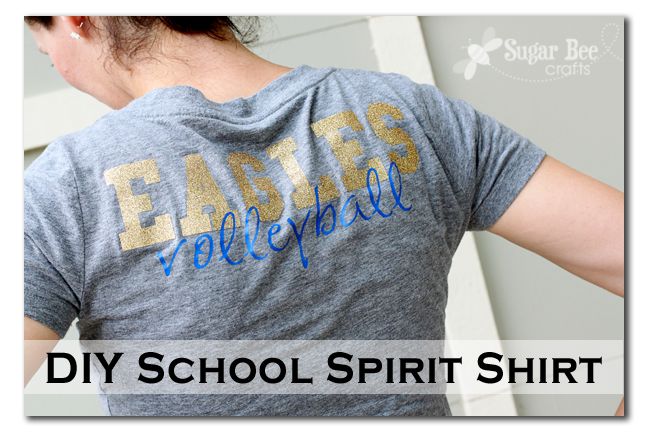
I like to stock up on blank tshirts when they are on sale – that way you can get a custom School Spirit Shirt for about $5 (you can get several designs out of one sheet of vinyl, depending on the size of the design)
What a fun way to prep for back to school!!


‘Love it! -Marci @ Stone Cottage Adventures
how does that vinyl hold up in the wash?
This might be a dumb question, but how do you iron on two colors, overlapping like in your photo? Do you iron the first on and then add the second? Won’t the first stick to the iron once you peel off the plastic?
yep, iron on the first one, peel off the plastic, then iron on the second one. I use a thin cloth between the vinyl and my iron.
This is genius. Those school spirit shirts are always so expensive and honestly, way less fun looking!!