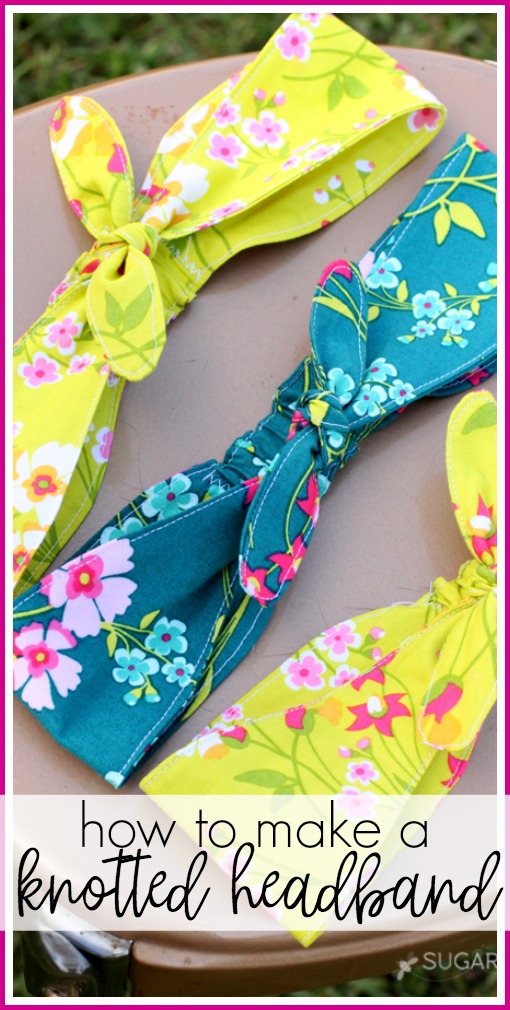
What is it about headbands that just makes them so cute?! I see fun fabric and think “that would be awesome as a headband”. I love trying different versions of headbands, and the tied knot one has been on my to-do forever. So here ya go, the Fabric Knotted Headband of awesomeness:
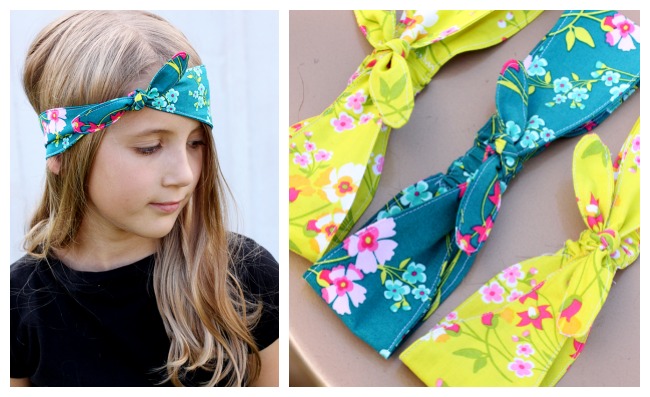
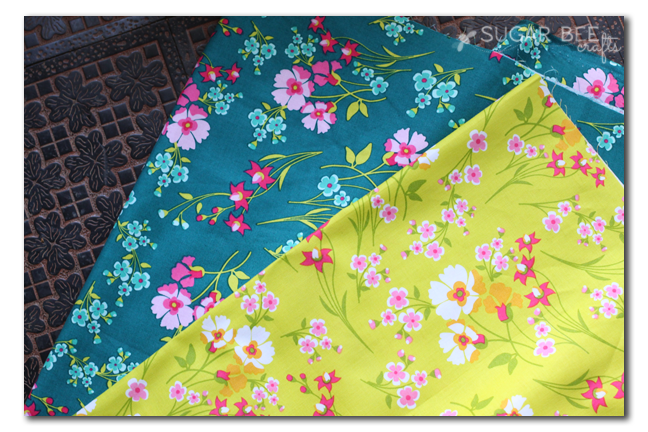
I love using quilter’s fabric for fashion -there are just so many fun prints. I found this designer fabric at JoAnn, and I’m in love with the whole line.
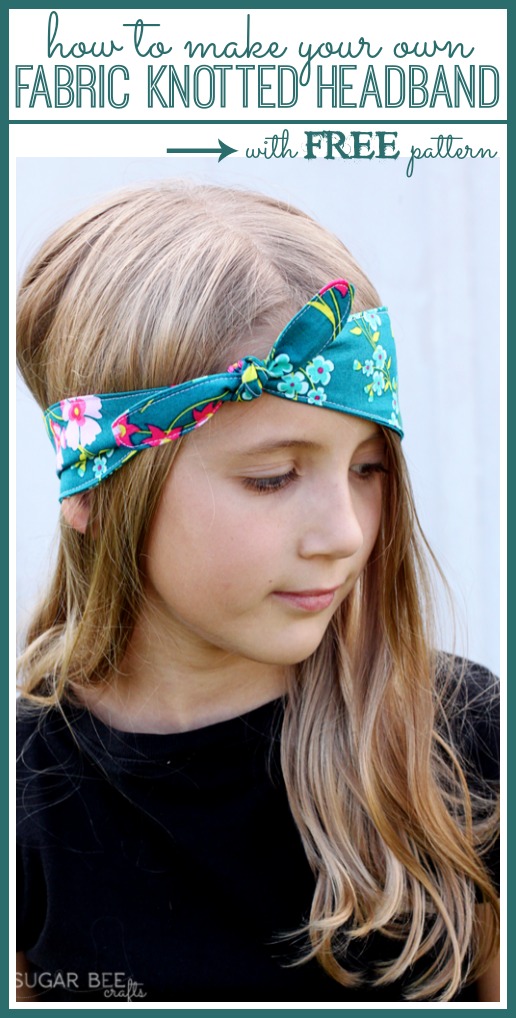
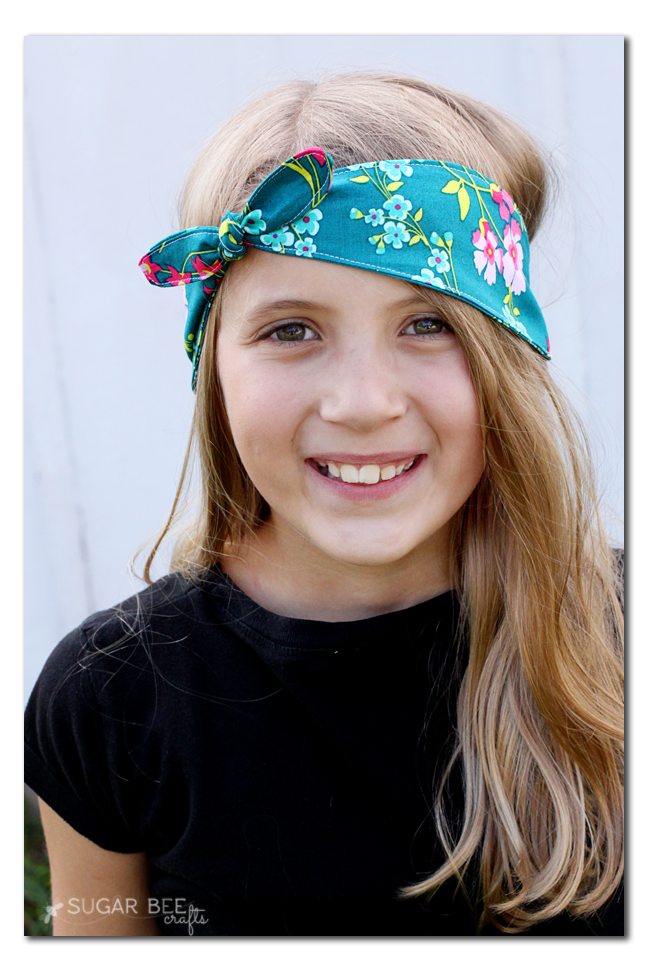
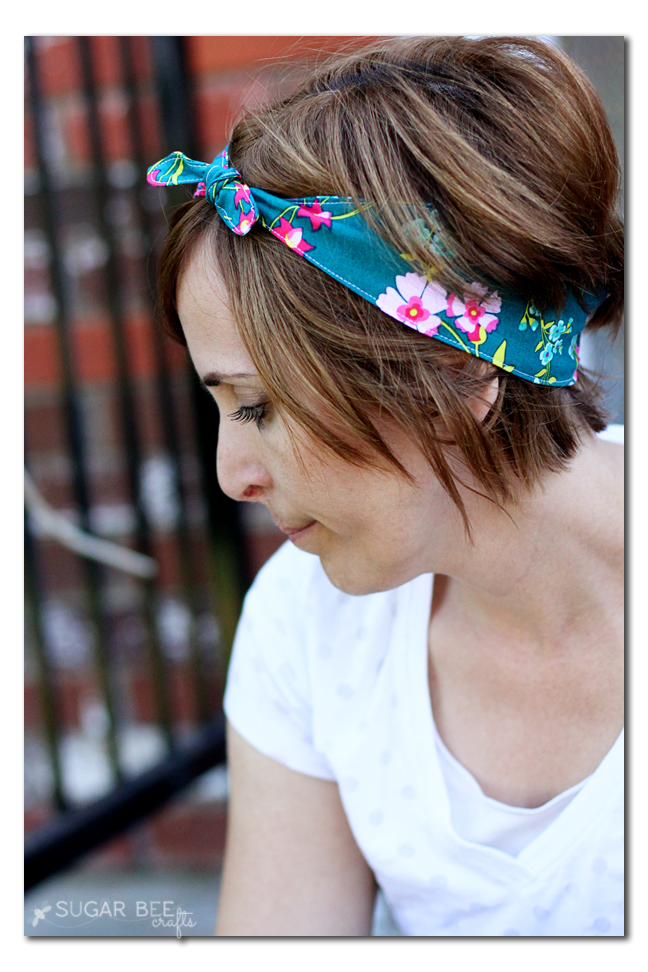
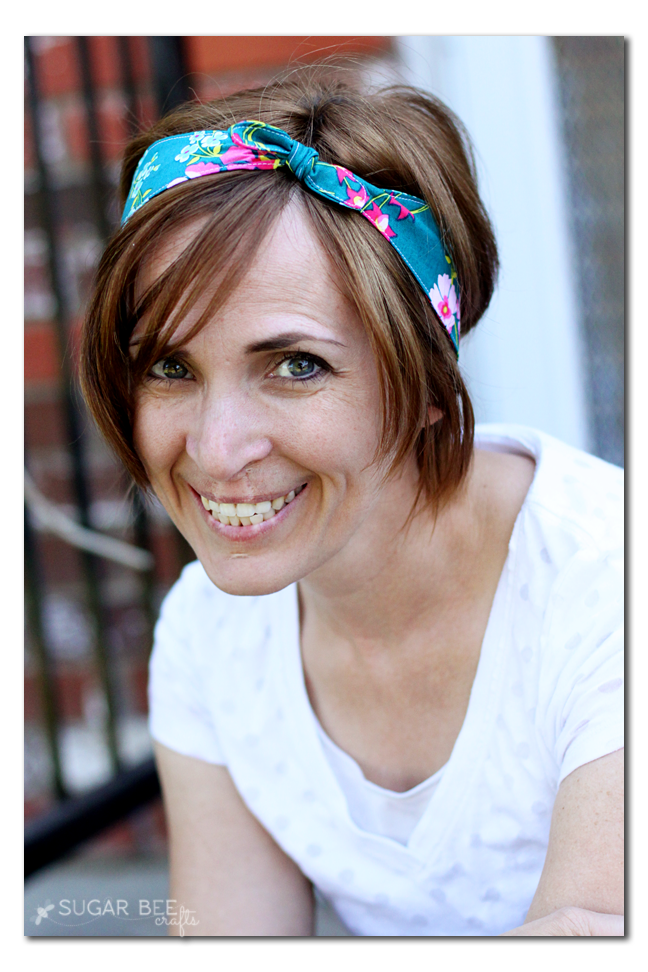
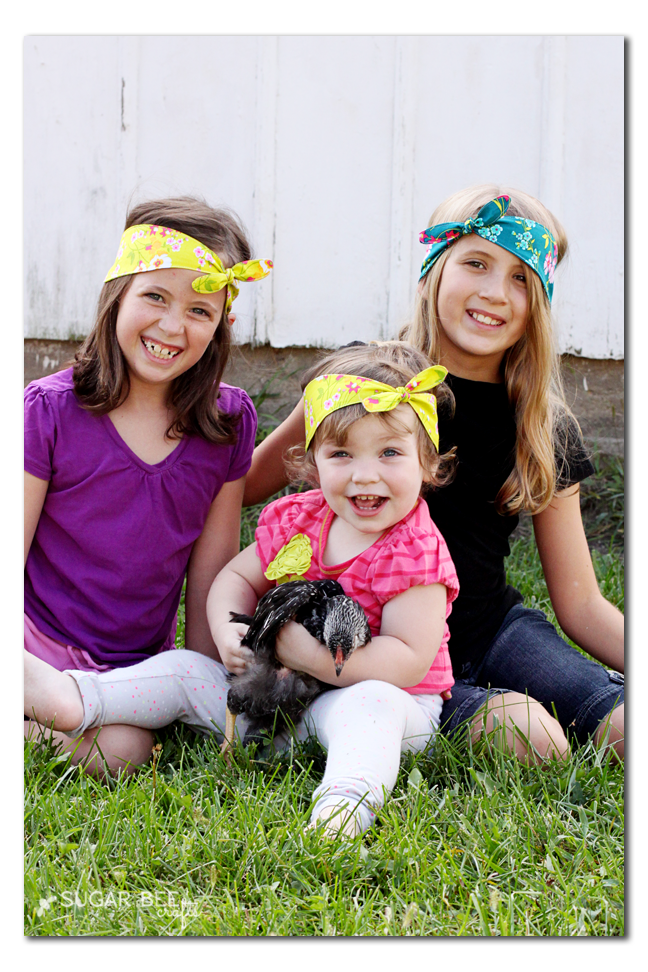
True Crafter’s Confession: I made the headbands for my girls but then stole one back for myself – it was just too cute not to!
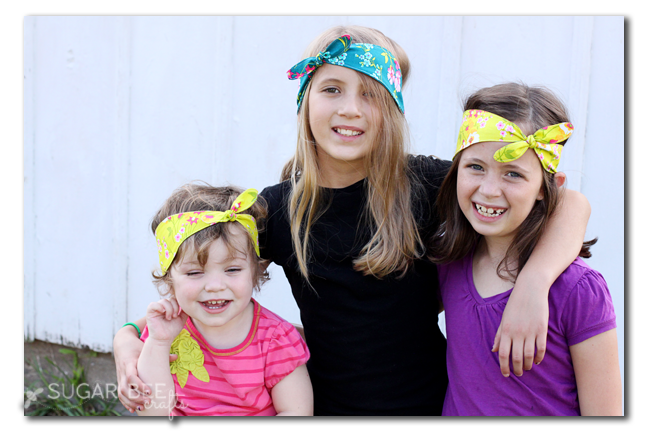
But of course, it’s cute on them too (and a matching one for my niece). The great thing is that it’s adjustable, adult to child, because you tie the knot to specifically fit your head. Perfect!
Fabric Knotted Headband
So, let’s get started with the tutorial – –
SUPPLIES You’ll Need:
–Fabric (mine is from JoAnn) – you can get away with 1/4 yard
–scrap piece of 1 inch elastic (about 1-2 inches long)
–Pattern piece – you can enter your name below to access the FREE PATTERN
FREE Knotted Fabric Headband Pattern
Enter your email address below to get the FREE Knotted Fabric Headband Pattern. You’ll be taken to the folder and be able to download all from there. Click your browser back button after you download the file to get back to this page. By entering your email address, you will be added to the Sugar Bee Craft Club email list and can unsubscribe at any time.
Thank you!
You have successfully joined our subscriber list.
Fabric Knotted Headband Tutorial
Put your pattern piece on the fold of the fabric and cut around it. Do this twice, so you’ll have two pieces.
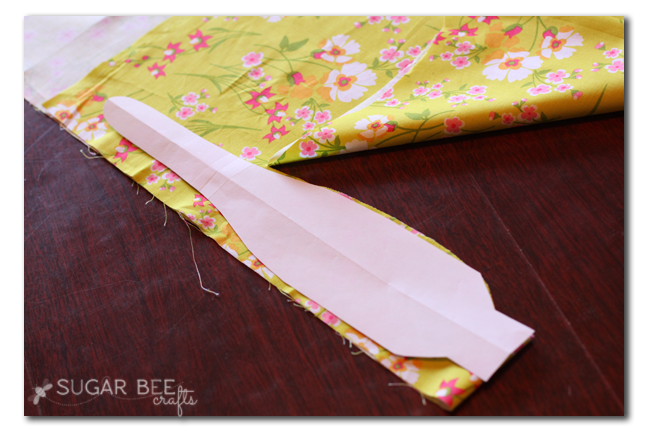
You’ll end up with two pieces of fabric (below you can see it folded, then unfolded) and elastic that will span that middle section when stretched:
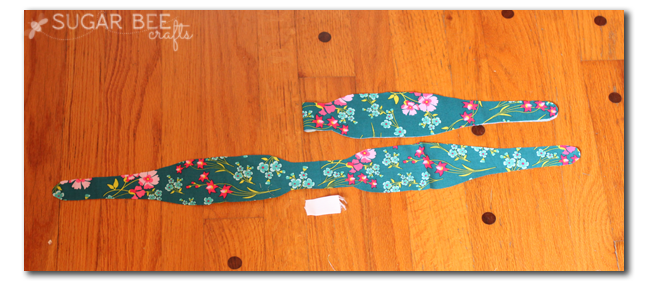
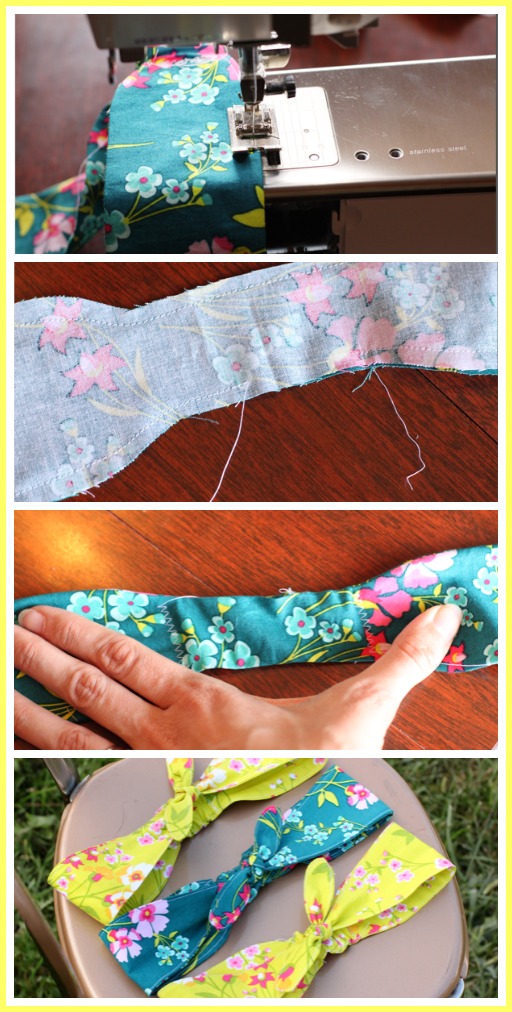
Put the pieces right sides together and with a small seam allowance, sew all the way around, leaving an opening at the center middle section:
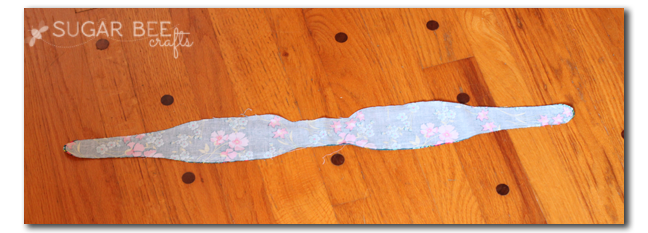
Below you can see the spot where I didn’t stitch:
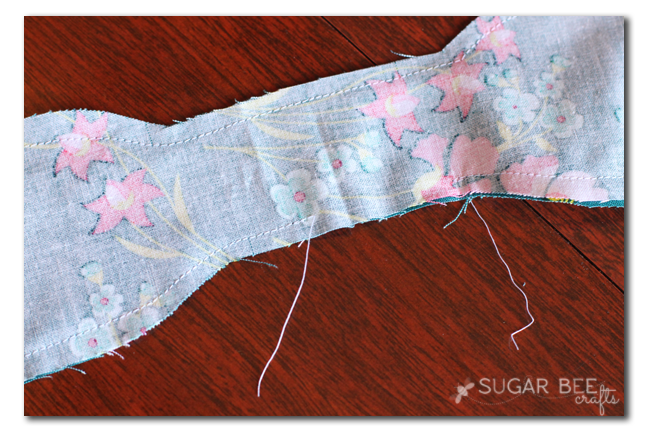
Through that opening, pull the whole headband right-side out. Then iron it to make the edge seams nice and crisp. Now to add the elastic. Insert it into the opening and shimmy it to one side and zig zag sew that edge of elastic. Then kind of gather up the headband to where the other end of the elastic is at the other end of the flat section and zig zag that into place.
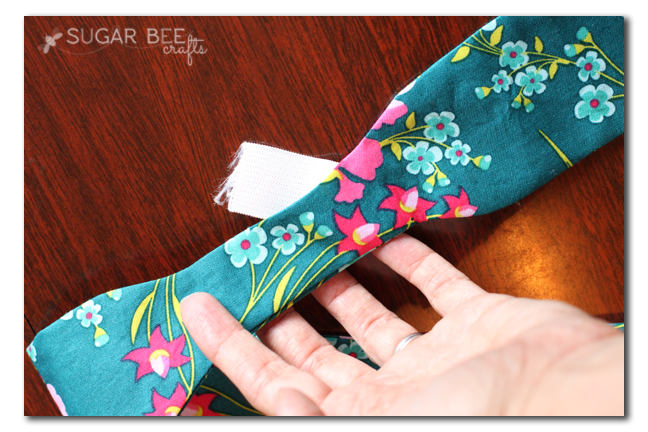
You can see the two zig zags when I stretch it out in the pic below:
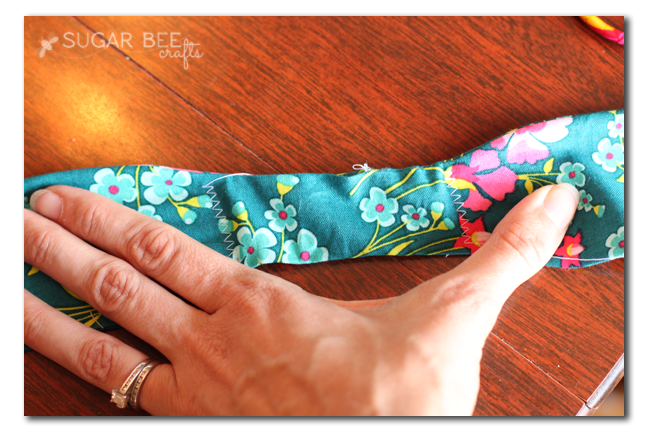
And when it’s not stretched, it gathers the fabric in that section – here a back view of the headband to see that:
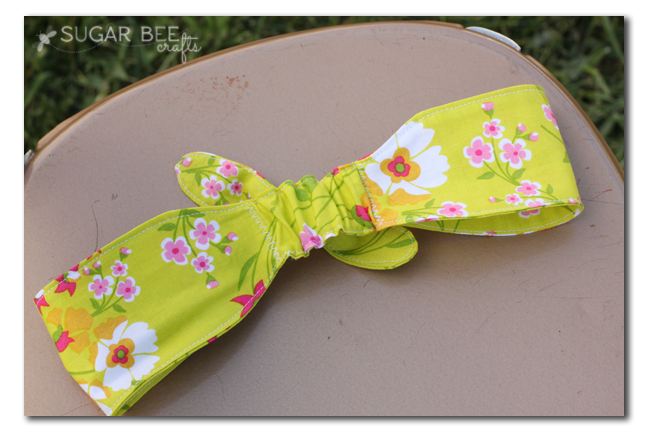
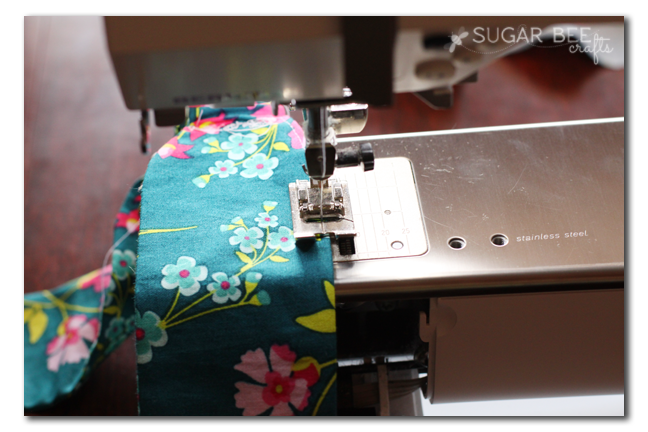
Then topstitch (which is just sewing along the top of the fabric) the outer edge, all the way around the headband:
That’s it! Try it on and tie the ends in a double knot that will allow for the perfect fit around your head.
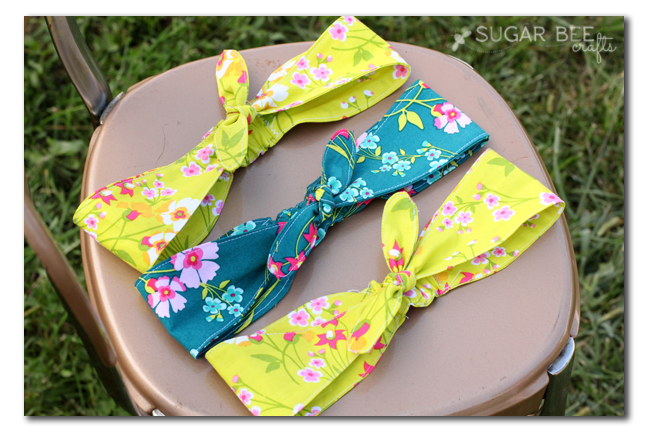
It’s fun to wear kind of “hippie” style, around your forehead (like we did), but you can totally wear it as a regular headband too – that would look extra cute with a messy bun, etc.
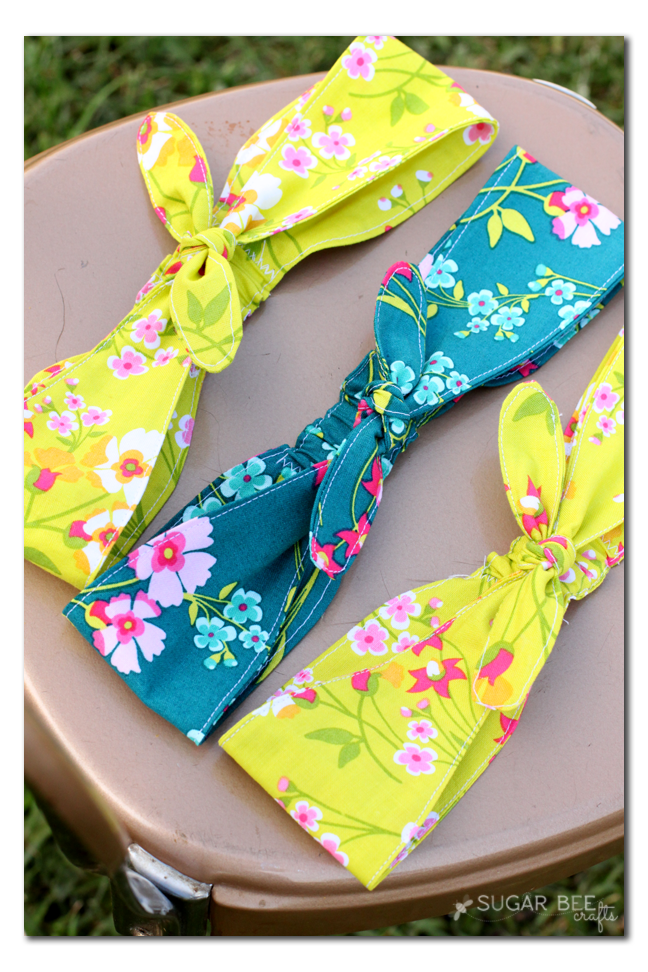
and a hint to our new-found “farm lifestyle” – –
Hope you enjoy the Fabric Knotted Headband!
If you love making headbands like I do, check out a few more of my tutorials below:
Dahlia Headband
Braided Headband
Tshirt Knot Headband


Love it!! I’ve got a Craft Gossip post scheduled for tomorrow that link to your tutorial:
https://sewing.craftgossip.com/tutorial-knotted-fabric-headband-with-elastic-for-a-snug-fit/2014/09/30/?preview=true
–Anne
Anne recently posted…Tutorial: Fabric baskets to keep small things organized
OMG Mandy, I love this! I’ve been buying up these types of headbands for Eleanor. Now if I can find the time I’ll just make my own. Thanks for sharing!
Emily recently posted…Upcycled Vintage Step Stool
so fun to make them!!
So cute!
Hani Shabbir recently posted…DIY Halloween Garlands (Pennants, Buntings and Banners)
These are SO cute! I just attempted one… the pattern is too small for my head. I am a VERY beginner sewer though so I may have done something wrong. Thank you for posting this pattern and tutorial!!!
oh no – – maybe try adding to the pattern to make it longer??
Is this pattern still available? The link appears to be broken.
thanks for letting me know – I fixed the link, and you can find the pdf here: https://drive.google.com/file/d/0B-CHHbPtK76sdVpDaDlvZGdjT00/edit?usp=sharing
I have been searching ALL evening for a headband pattern that would allow me to use quilter’s cotton and elastic instead of needing to be knit fabric, and I am SO happy to have finally found your tutorial! Thank you from the bottom of my “pregnant bellied, nesting, needing to sew things for new baby” heart! <3
yea!! enjoy making them!!
My elastic didn’t gather when it was sewn in place. What did I do wrong?
You’ll need to hold it stretched while sewing – hope that helps!
Love this headband. Any tips on how to turn this back right sides out? I’m finding this part to be a bit challenging.
Thanks!
I made 4 of these super cute headbands, then, realized that they are too small. I had to add about 4″ to the pattern. Measure your head first is my advice. Still super cute. Not bashing, but just sayin’ ! (I weat a Size 10 clothes.)
good to know, thanks for sharing! The pattern is made for pretty small tails on the knots, when I’ve wanted to have longer tails I’ve added to the length as well, great tip!
what is the finished size
I followed the pattern and instructions EXACTLY and it definitely does not go from adult to child
Has the pattern been posted? Im dying to make one for me and my girls!!!!
I hope to get it up this afternoon!! sorry I’m slow on it 🙂