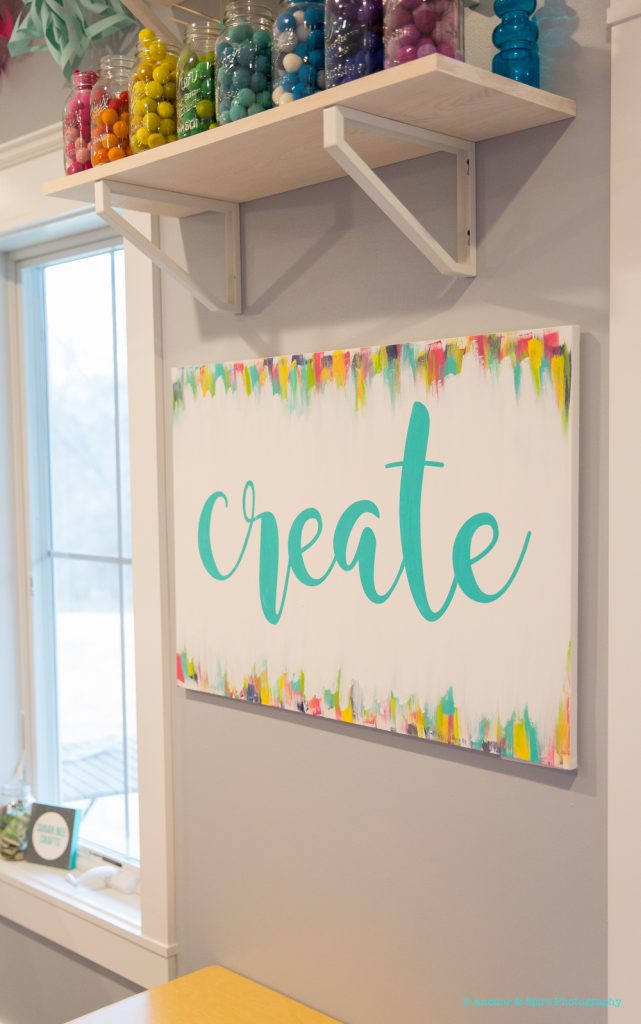
There I was, cleaning up my messy craft room in order to get it ready for photos. I found a canvas, and I spotted a blank wall, and I knew I needed to make something quick to fill the wall space and add another DIY element to my craft room. It was a super quick project without a lot of forethought, but I love how this Create Painted Canvas turned out!
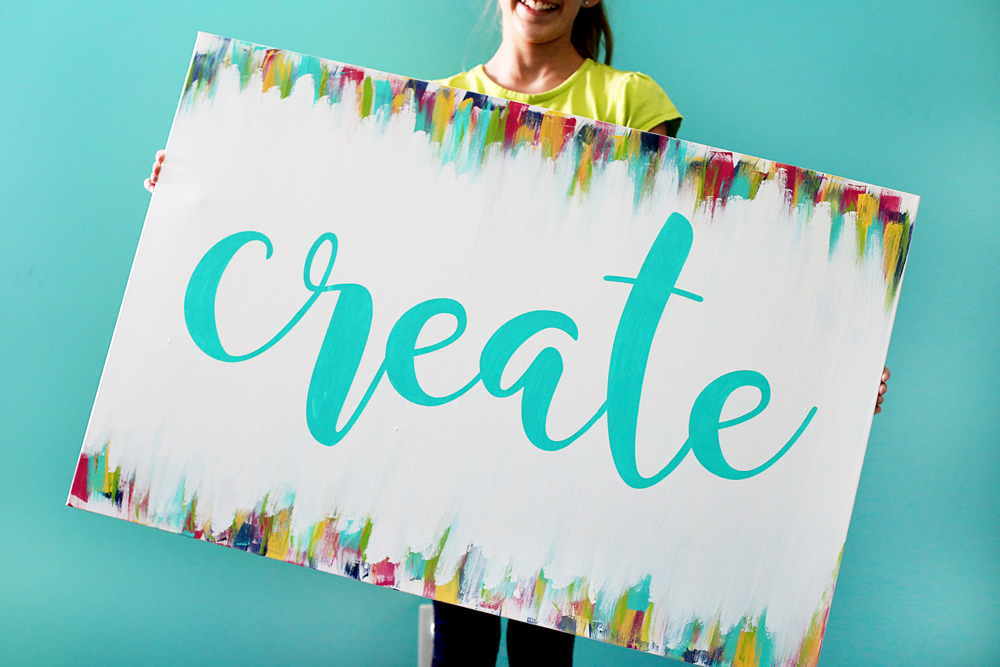
If you have ever thought about using a stencil on a canvas, but wondered if it would work, this is for you! I wondered the same thing, and thought why not just try it – so I did.

As mentioned, this was VERY last minute, and I just started making it instead of taking pictures along the way – blogger fail! But I did come to my senses and start documenting when it came to the stenciling process.
Create Painted Canvas
Canvas:
First I painted some color swipes along the top and bottom. Let dry. Then I painted some white swipes. I used the white because I wanted the colors to stand out and not fade into one another. After the white dried, I layered another color. And then more white. And then another color. And on and on. I didn’t really have a plan 😉 For the last step I painted white over the middle of everything.
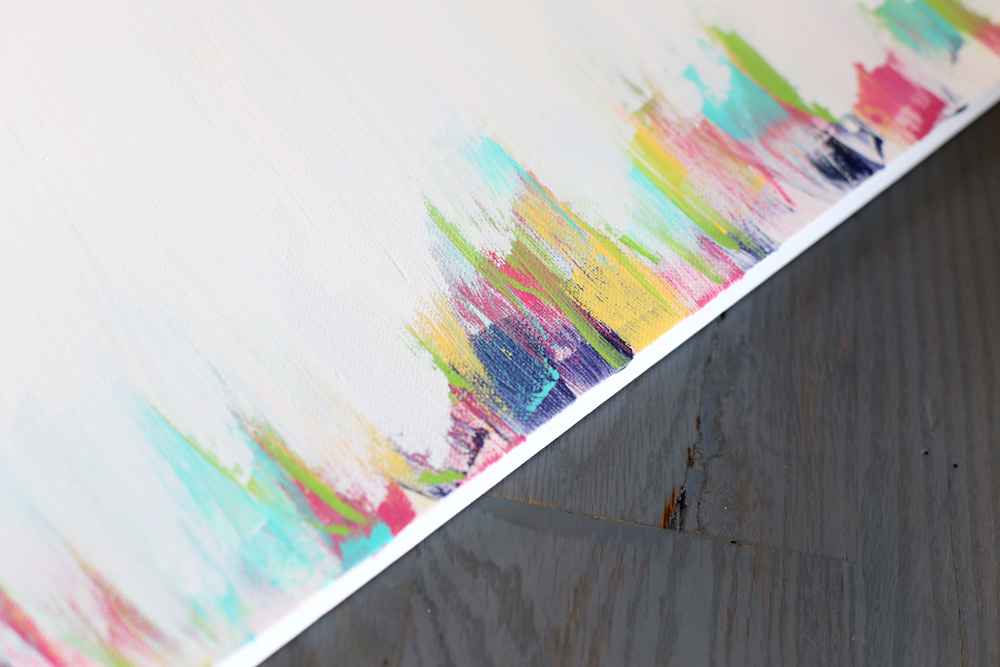
I used craft paints for the colors and the white is a wall paint. I really think it frames the whole project and makes it pretty perfect.
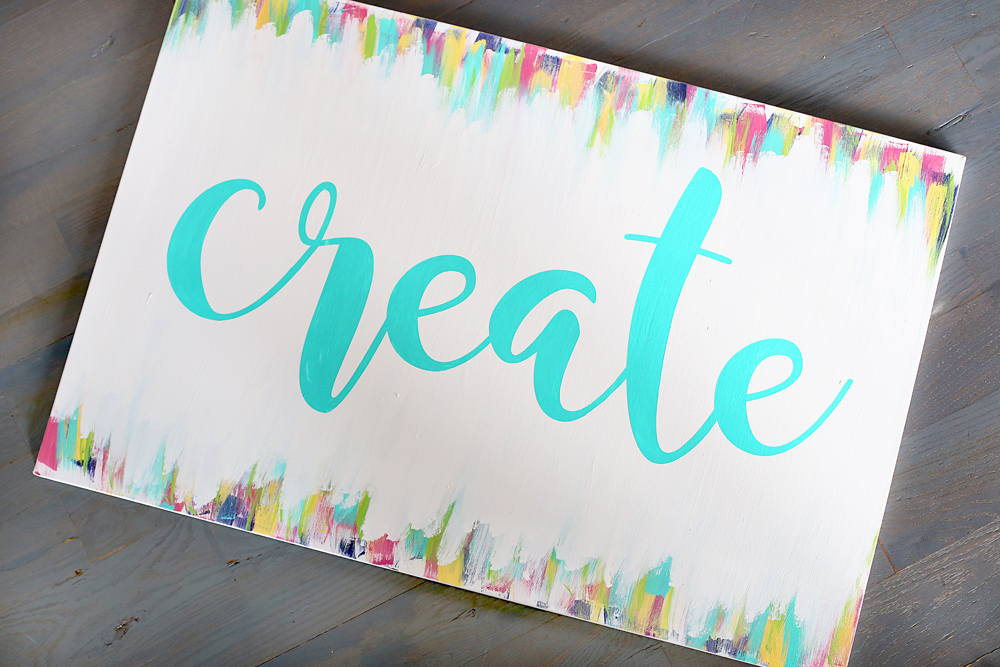
Stencil:
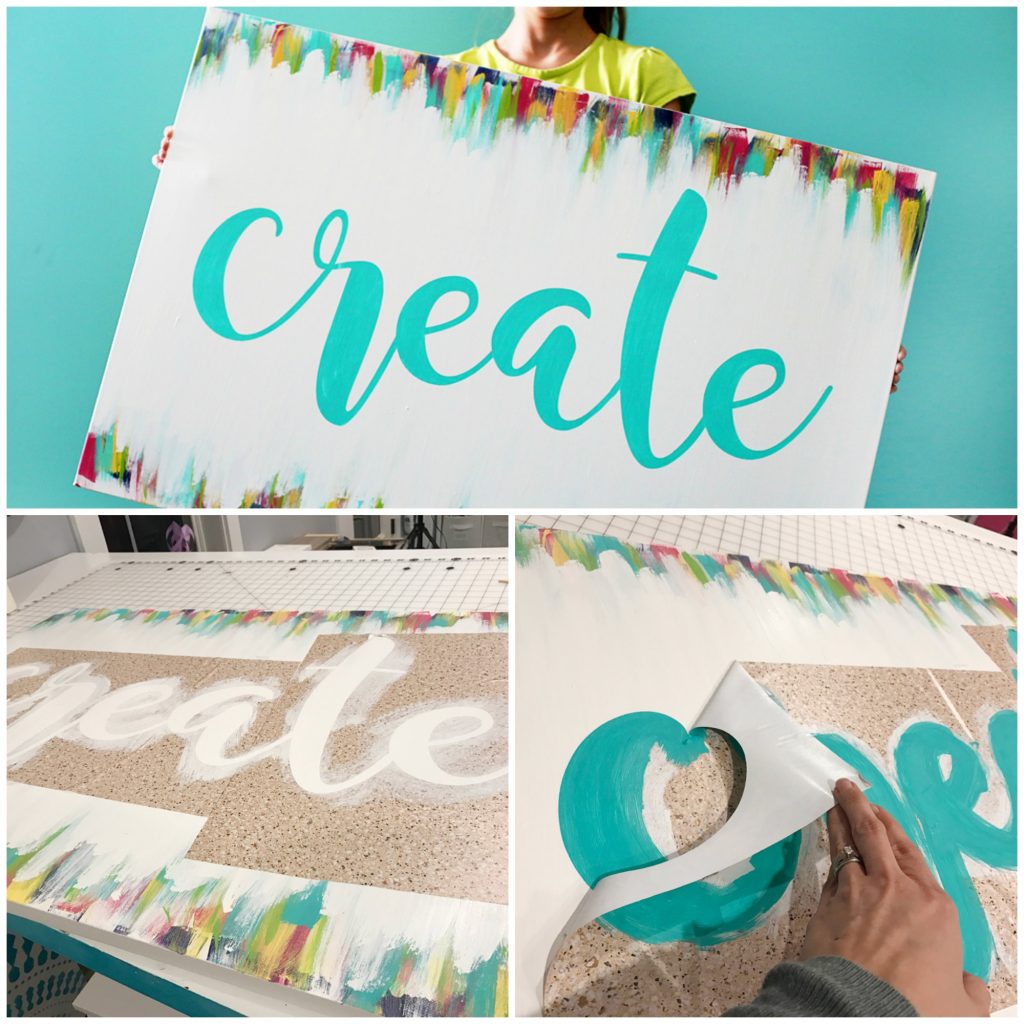
Next was the attempt to use a stencil. The canvas is really big, so I had to make my stencil in a couple of different sections. I used my Silhouette machine and then just some contact paper, like THIS. I love using contact paper for stencils – it’s super inexpensive, which is great since you’re just going to peel it off and throw it away. I used transfer tape to move it over to the canvas and get it adhered where I wanted it to be.
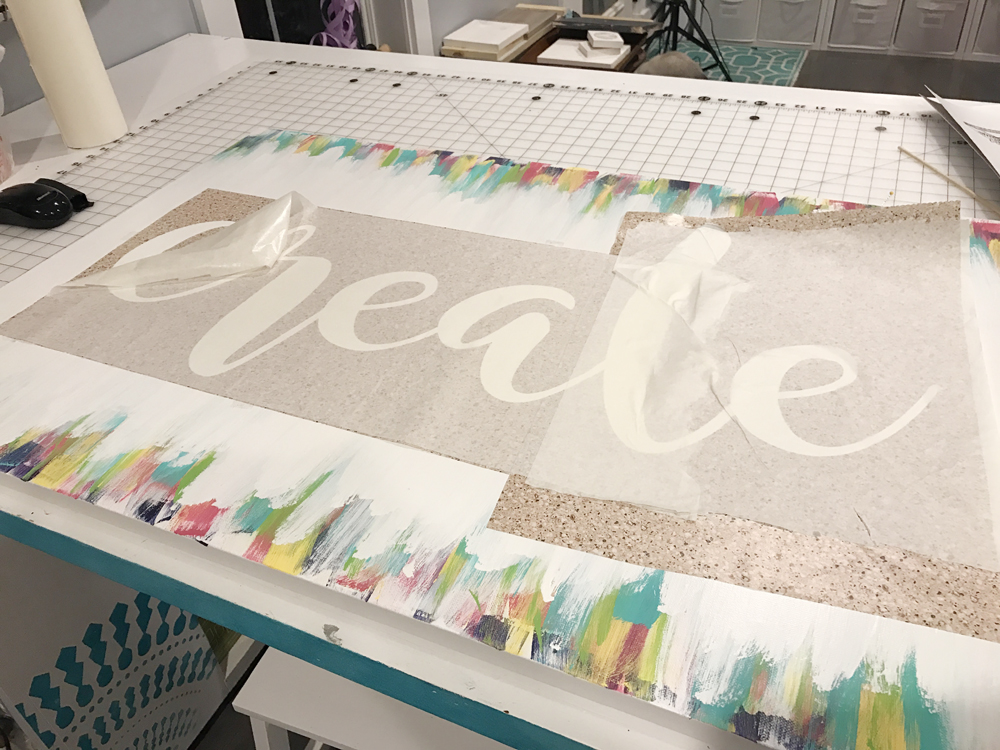
Next up, the SEAL LAYER – THIS is the secret trick to those crisp lines. I use this trick all. the. time. when working with wood signs, so I wanted to try it out with a canvas. And it worked!! You paint the base layer that is under your stencil (in my case, the white) OVER your stencil. The idea is that all stencils will bleed a little, but this way what bleeds will match the background. Then it will seal the crack. So the next layer, which will be color, won’t go under the stencil.
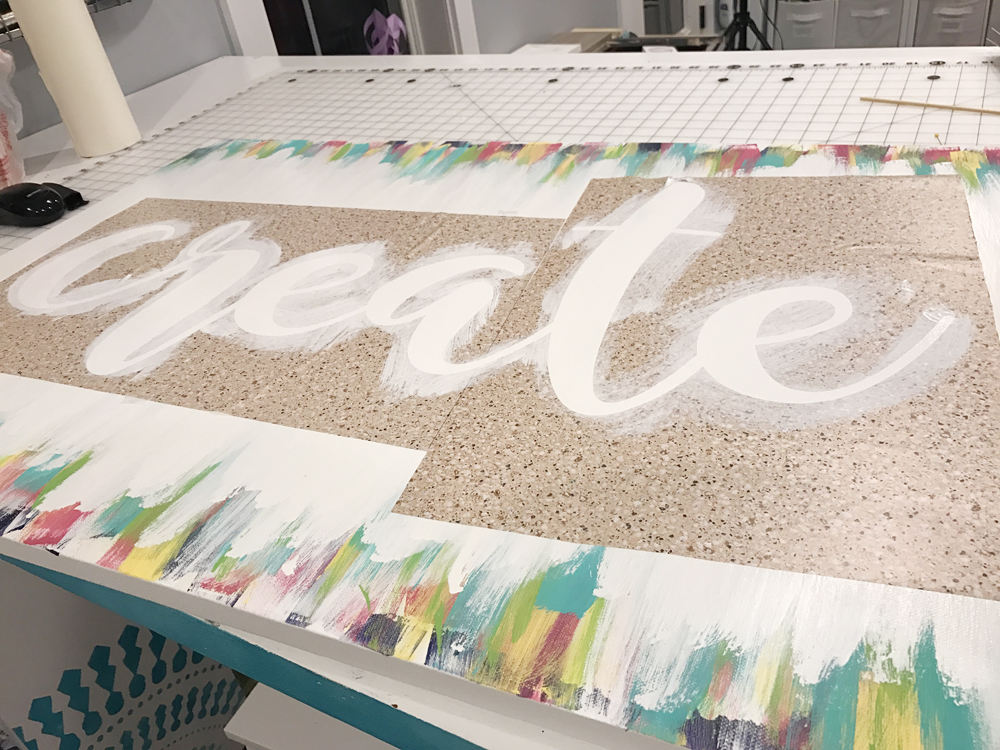
Let that dry. Then go ahead with your main color. Let dry. I did 2 coats.
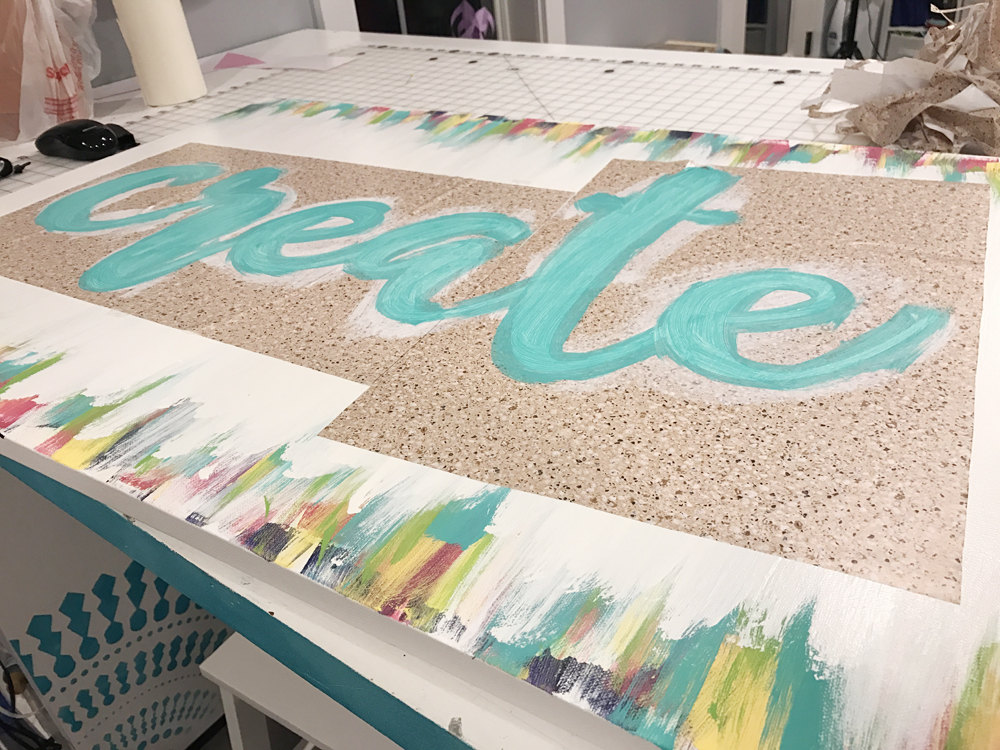
Then it’s time for the grand reveal!! My favorite part!!
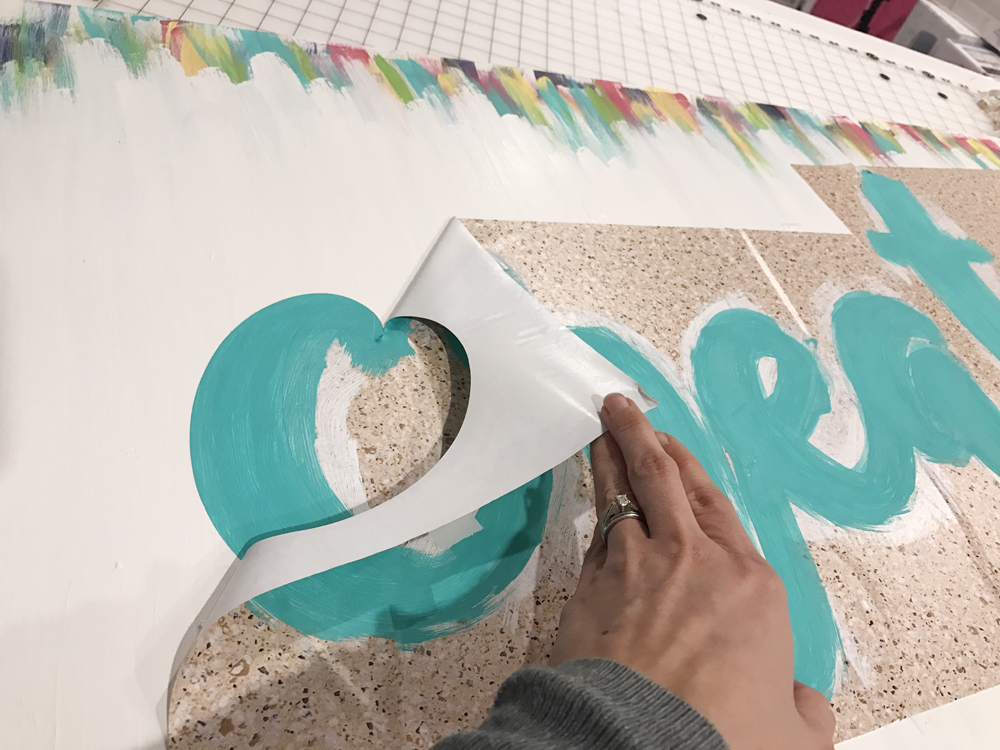
Voila!! there were a couple of spots that needed a little touch up, but I was way impressed with the overall crisp lines that resulted.
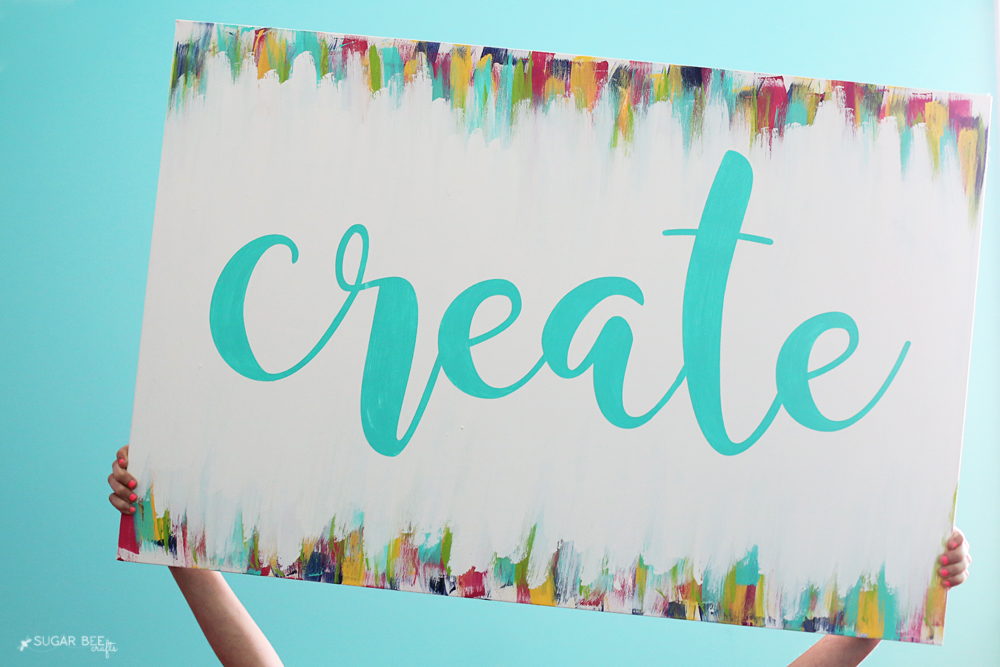
I love having this hang in my craft room – it’s pretty much perfect wall decor for that room! Want to see more of my craft room?? Check it out —> Craft Room Tour
Here’s a reference, a kiddo holding it, so you can get an idea of how huge it turned out – love it!
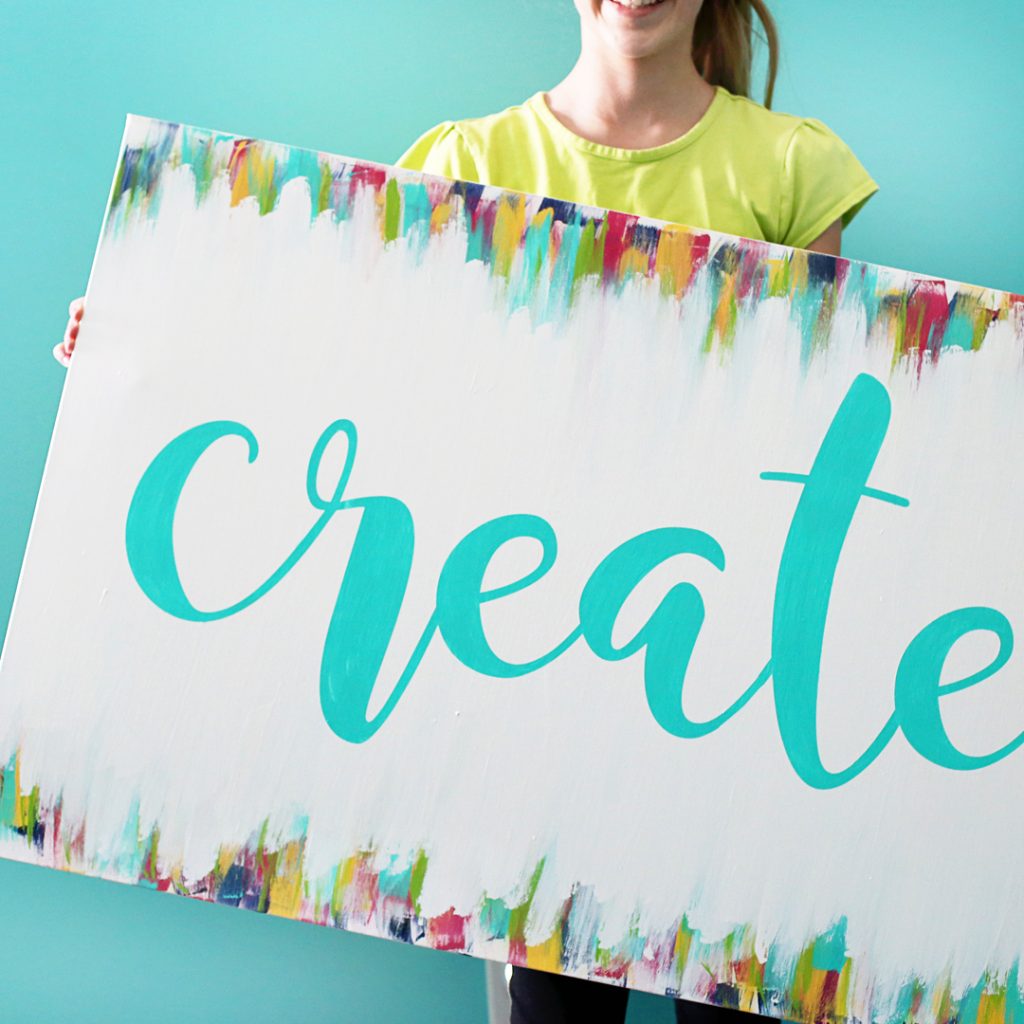
So fun, right?!


I had to comment to say that I actually laughed out loud when you wrote that you had a blank wall in your craft room! I haven’t had a blank wall in at least a decade!! I’d love to find space to fill, but then, I guess its ‘been there, done that’!
I keep meaning to try stenciling… but I always seem to have at least five things going at the same time! Great look though and seemed to be a pretty straight forward process!
I’ve tried to use a stencil on canvas and it was a disaster – I used 631 as my stencil and clear contact paper as my transfer tape. When transferring the stencil, I had a horrible time getting the stencil to stick on the canvas and removing the transfer tape. Any tips? I will try contact paper as the stencil, but I would think that 631 would be stickier than contact paper.
Thank you!
I agree, I think the vinyl would stick better than the contact paper as a stencil, I’m just thrifty and always trying to save my vinyl 😉 Getting the stencil transferred over is definitely the hardest part! I just tried to go really slow as I removed my transfer tape, but it was definitely tricky.
Hi I have a question I used the clear contact paper and it would not stick to the canvas do you paint something on your canvas that makes it stick better????
I didn’t, but it didn’t stick the greatest – you could try painting mod podge over it, that might help!
OK, first of all, that is so cute! Second, yes! Your crisp lines look amazing!
I have trouble with my paint pealing away from base layer. What paint do you use? Any tips?
the base layer of paint was just some extra wall paint I had, and then the color layers of paint were just craft paint – I didn’t have any peeling issues with mine, so maybe that helps. Good luck!!
Beautiful!!! Can you tell me what you use to seal it?
I use the base color of paint – so here I had painted the canvas white, so I sealed the stencil with that same white paint, if that makes sense
This is a great article!! Beautiful project! Can I ask what cut setting you used for the contact paper??
I just set it to the “vinyl” setting
Great idea! Will have to try using the contact paper as a stencil, esp. as I’m Silhouette-less. I have a large canvas like that that needs something new and fun. Visiting from Show + Tell party.
That is a beautiful canvas, it turned out amazing! My daughter and I are having a painting night this Saturday and I may try something like this! Thanks for the inspiration! 🙂
Sounds like a fun night!!
Love to know what font this is? Turned out adorable!
Thats pretty smart, using the color of the piece. I usually just do a light layer of paint on the stencil for the first round, I’ve never tried it on canvas! lol But I did just go a class with 12 ladies first time sign makers (on wood) and they all did very well had very little bleeding. At least the ones following the instructions. lol
I just had to strip a canvas last night because I had so much bleeding… lol This is brilliant! I feel better now about trying again today! Thank you!