


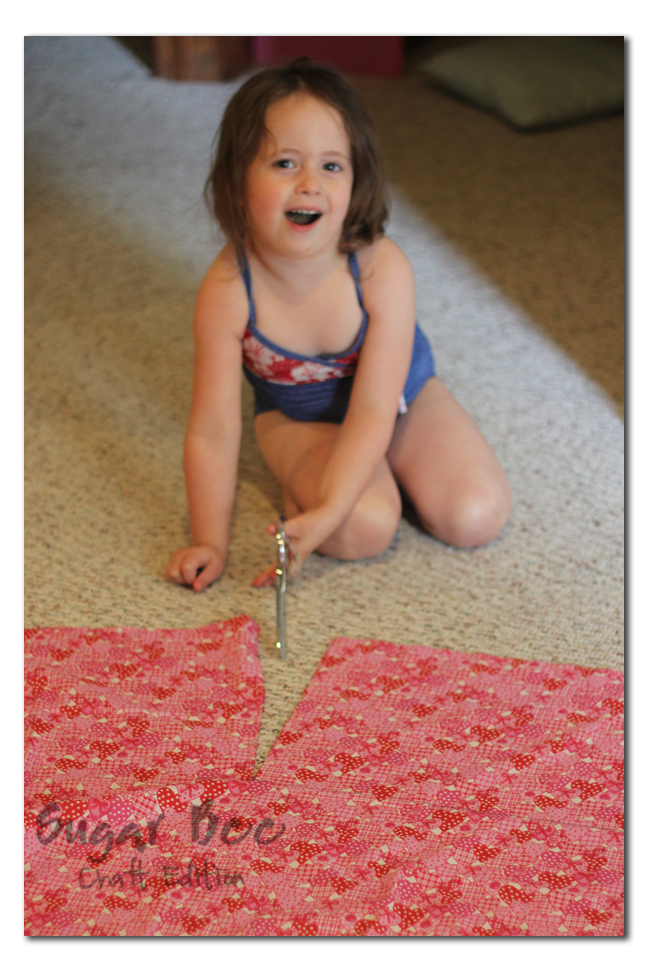
 Just a quick how-to on a child’s apron – I just threw this together, and it almost isn’t worth a tutorial, it’s that easy. The fun of it was letting the kids help – they really like “sewing”. Just be sure to watch them close because sewing scissors are super sharp. Let the kids pick fabric from your stash. Cut a rectangle for the apron part. Cut a band for the waist part. Cut a pocket if you want.
For the pocket I used felt so I didn’t have to finish the edges. I loosely traced a cookie cutter then just placed it on the big rectangle and zigzagged around the sides (not the top – leave it open for a pocket).

For the edges of the main apron part, I didn’t even hem them (although you could) – I just ran them through my serger on rolled hem. I let the kids work the pedal while I guided the fabric through.

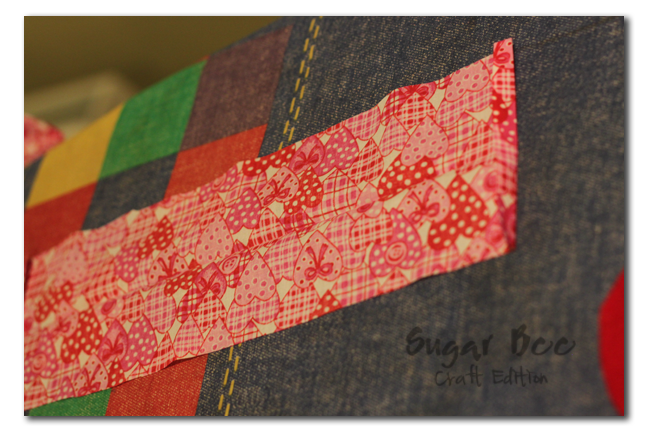
Then take the band, iron it in half, open up and iron the 2 ends in a little, then iron the two long sides down 1/4 inch (not shown) then fold it back in half.
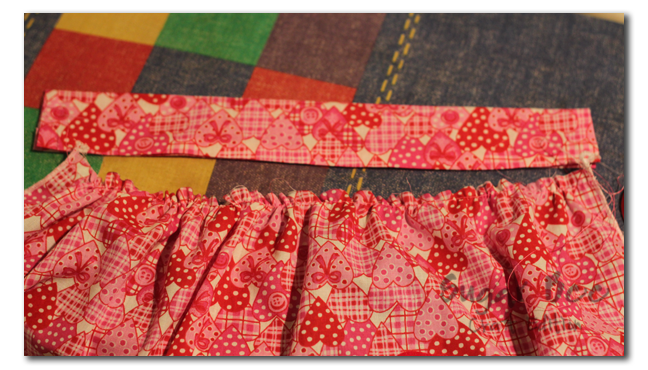
Gather the top of the big rectangle and shove it inside the band. Then pin it in place and sew along that edge.
Grab some ribbon for ties – my ribbon was thin so I had 2 ribbons come out of each side. Just insert them into the side of the band, then sew the side shut, catching the ribbon in the seam.

And you’re done – now they can play house in style!


Linking to all those great link parties!
Thanks for checking out this post from www.SugarBeeCrafts.com – – click on over to read it in its entirety – you’ll love it!
Darling!!!!
Very cute! My kids love to ‘help’ too!
So cute, I love that you let them help you!
So cute! I love the pockets.
-Crystal
Cute! Thanks for linking @”Sew Cute Tuesday”!
Adorable! Thanks for linking up to Tot Tuesdays! I really appreciate it! ☺