Hi All! My name is Janel and I blog over at Hating Martha. My blog is all about how I have learned to embrace imperfection…and just enjoy creating…whatever the outcome! I have a bit of a chaotic life, house, and family that help me hone my imperfection. To find out more pop over to Hating Martha sometime and say hi! And can I just give a SHOUT and a WHOOP to Mandy for letting me be here. She is a brave girl…and oh so sweet! Now on to the main event… It’s that time of year…Thanksgiving!! (You thought I would say Christmas…didn’t you!) And it has me thinking of pumpkins, turkeys, and…burlap! Apparently my H has gotten in the spirit as well. He has been dying for me to try to make this beauty for a few weeks. Ever since I started taking out burlap for other projects. And when he wants me to do something crafty…Hello…I go with it! I feel sorry for that poor guy being married to an obsessed creator person. It must be rough stuff. So his idea…a burlap skirt. Yeah right. My first thought. Hold up. Give it some time. Marinade in it. Okay…it started to take on some possibilities. And problems. But, we will get to that. I love a challenge. So…of course I tried it! And it turned out great! I used natural burlap and white satin for the lining. The polar opposites of each other. Which is why it is so charming! 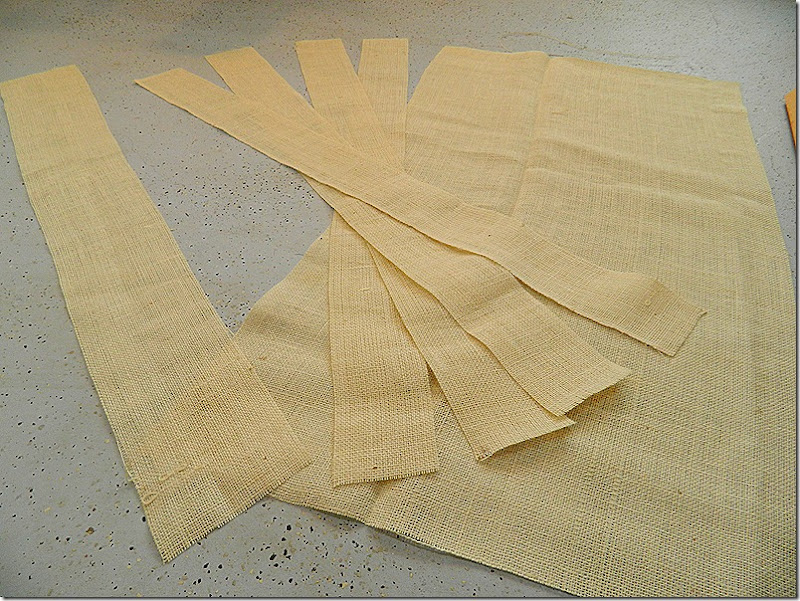 Cut out the pieces for a simple pencil skirt. Basically I took my sisters hip size, added about 4inches. I guessed a bit on her height. But, basically the measurement from waist to just below the knee, add 2 inches for 1 inch hems. I am not a perfectionist…this was my first skirt EVER so please, please do what you know to do! Moving on to the extras… Also cut out strips in the same length (waist size) as your skirt. Those strips will be ruffles and it is up to you how many you need.
 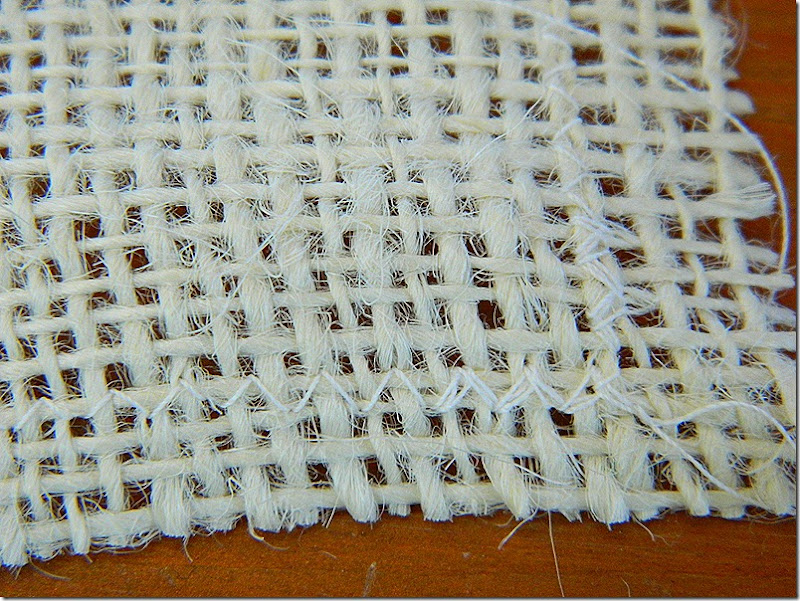 This is important!… After you cut your burlap pieces, use a tight zigzag stitch around all the sides. This is absolutely necessary to stop your burlap from unraveling!
 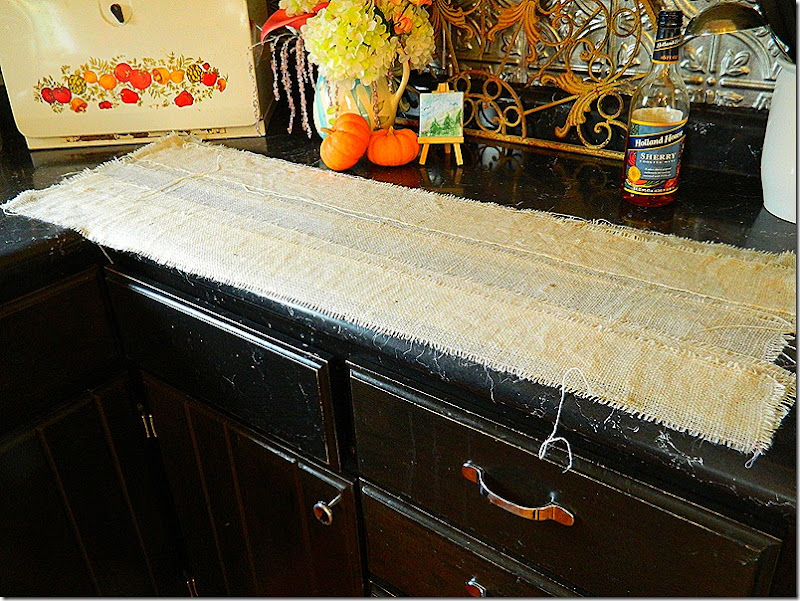 I laid all my strips out flat to dry after washing them. Again…Important!… Do NOT wash burlap in the machine…it makes it wrinkly and unmanageable. Never mind it unravels. But, I find that simple warm water and Ivory soap works well. Move quickly and lay then flat as soon as you can to avoid the wrinkles.
 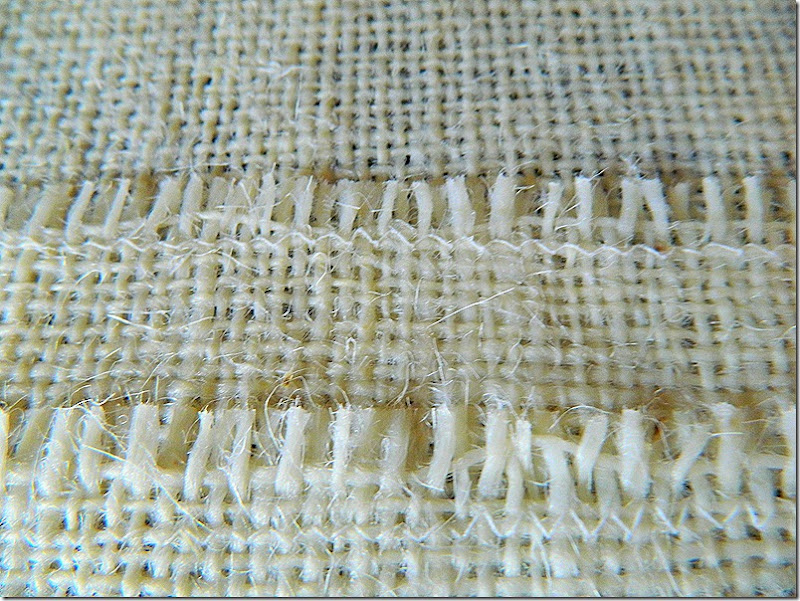 After washing you will see why it is so important to run stitching around the sides.
 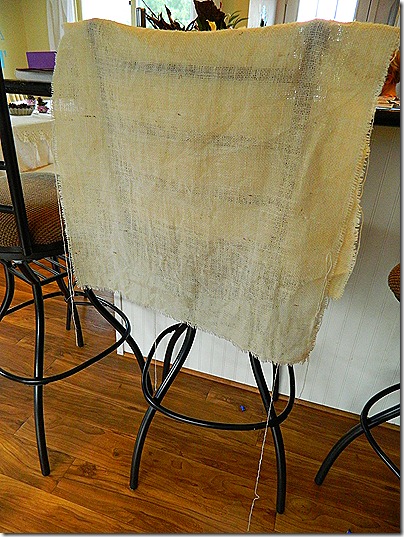 I just set the large piece over a barstool to dry. It took about a day for these to be good and dry. (It could have been less, I didn’t check constantly)
 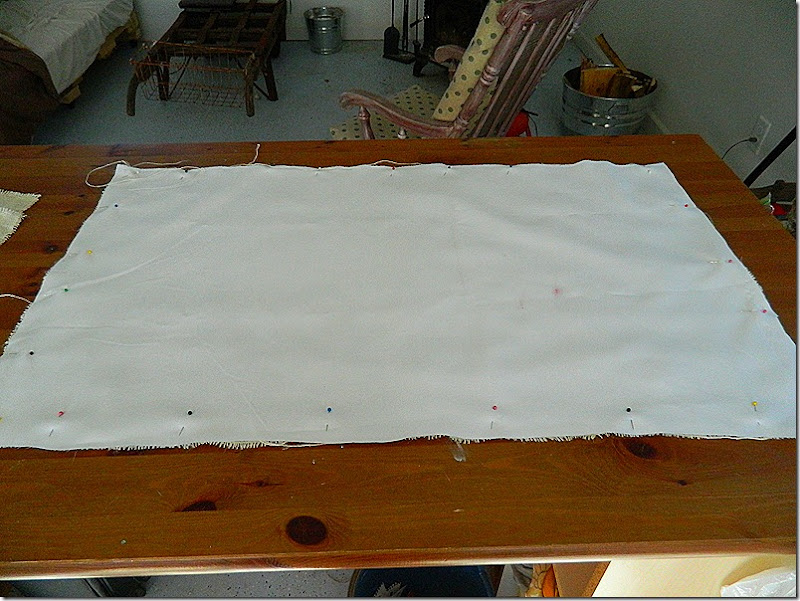 To cut the lining I pinned it to the skirt piece and cut around it. I know that isn’t really the way you should. But that burlap wasn’t exact because of the first wash. And, I am lazy.
 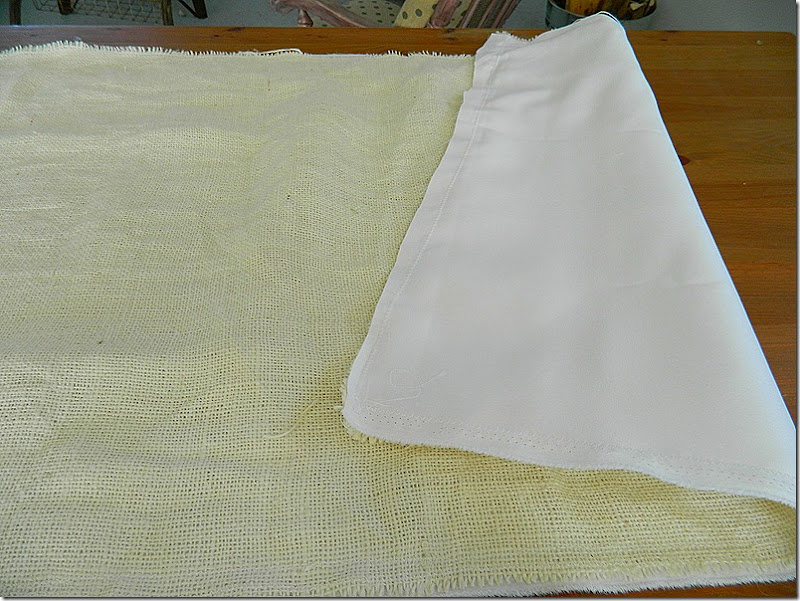 All lined. Be sure to use some serious stitching (I used zigzag) and coordinating thread to disguise all that stitching when you work with burlap! Doesn’t that burlap and satin just contrast each other beautifully…love it!
 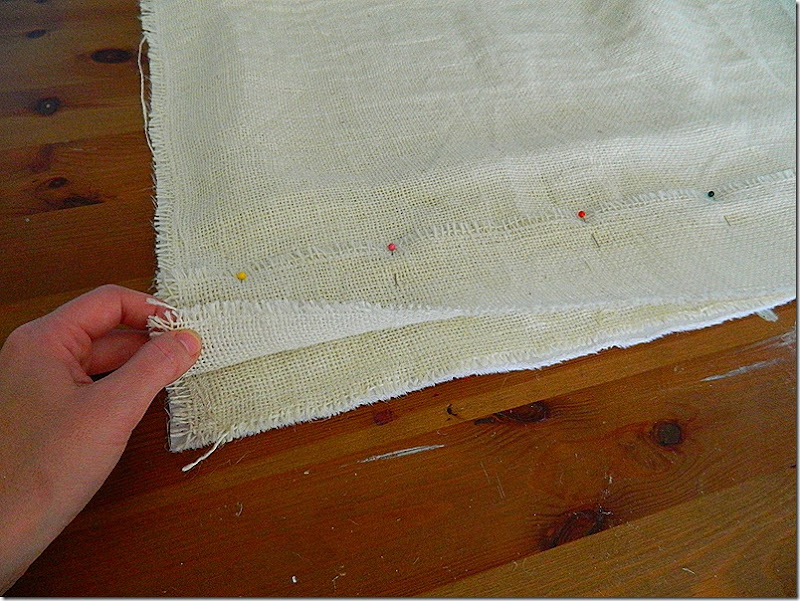 Take one of the strips you cut out for ruffles and pin it on to the bottom of the skirt. Be sure everything lines up. I pulled out the measuring tape to measure from waist to end of ruffle hem to be sure. But hey…if you don’t care!
 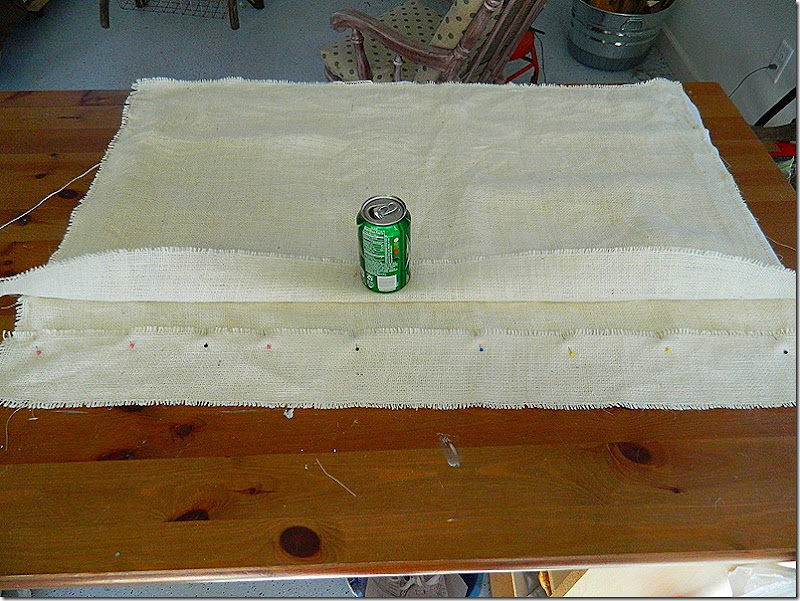 Now for the second ruffle. Flip up the ruffle you just did and add the second ruffle to the very bottom hem of the skirt. I suppose you could simply do this one first and the top one second. Whatever. Just so you get those darn ruffles on there and they are nice and straight.
 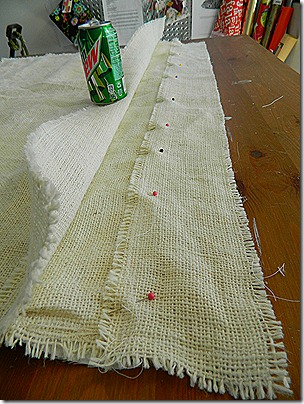 I used what I could to help. Mountain Dew happened to be there…hmmm, wonder how that got there?
 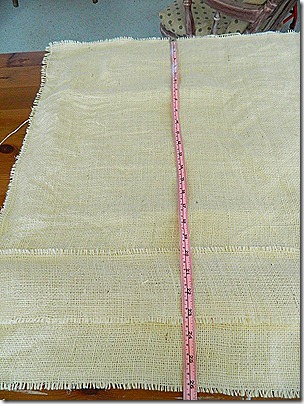 Don’t go sewing that ruffle on until you measure in multiple places to be sure the length is the same everywhere! You don’t want to look like you have one leg shorter then another…that would just be unnecessary.
 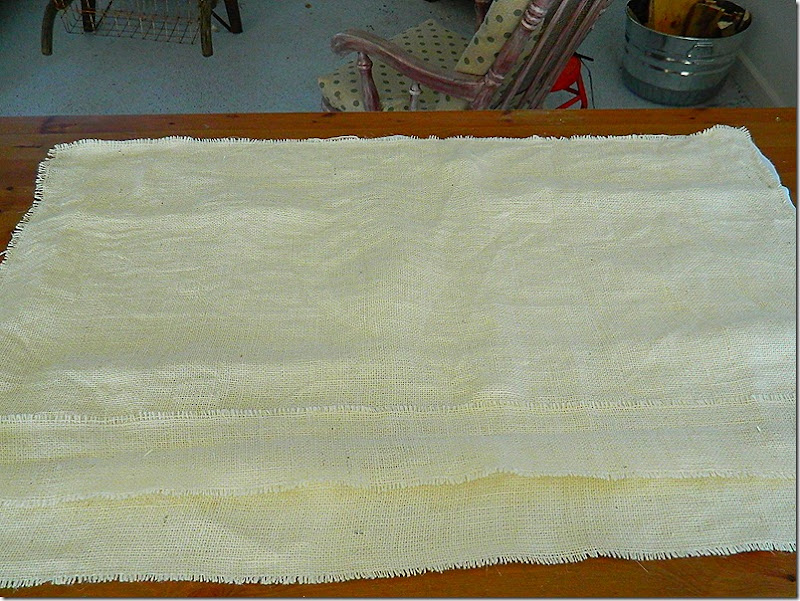 There you have it…the basic skirt piece. If you wanted to add more ruffles you would need to add up the skirt. Or…have burlap touching your legs. Up to you. Now to assemble…
 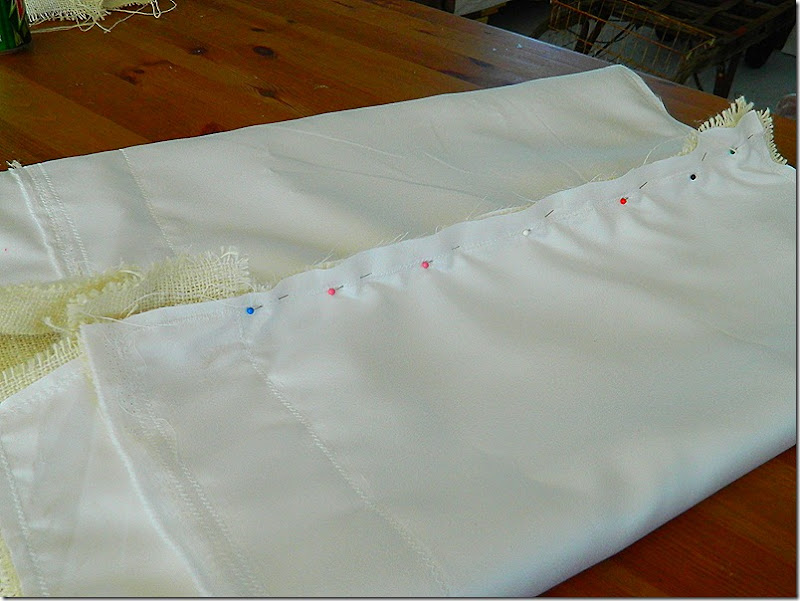 I have no idea what they call this type of seam. It has a name. Basically, you flip the skirt over onto the satin liner. Join the burlap sides together with about a 1/2 inch allowance for hem. Be sure to pin and watch that you have them lining up straight. I should mention that I did not sew all the way to the bottom of the skirt hem. I had some fancy stuff to do. So I stopped about 2 inches above where the ruffles start.
 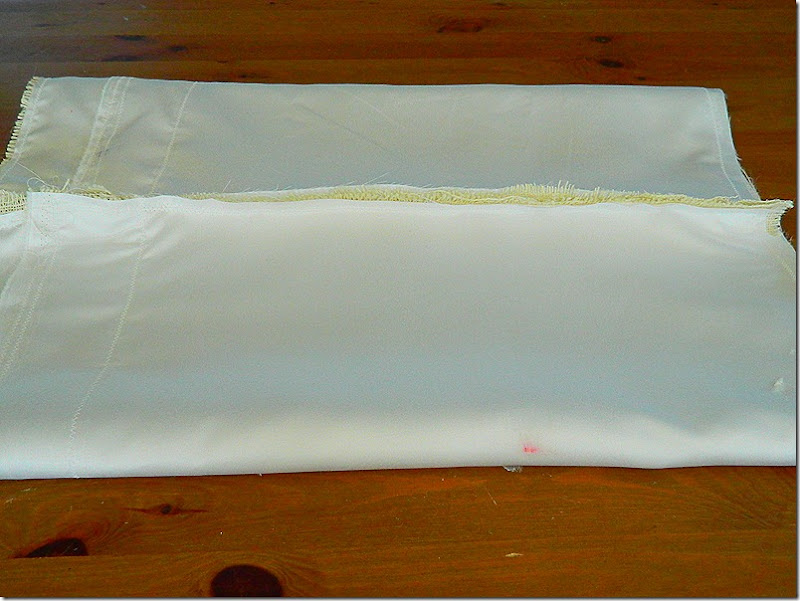 All sewn up. Now, this would be a bad idea to leave this hem like this. It would look bad, not to mention be uncomfortable. So, we pull out the iron. Fold down those sides and iron them flat. Like this…
 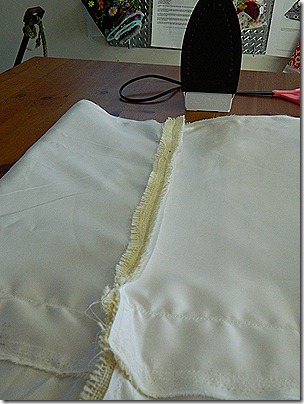 Much better. But now, that burlap would irritate the skin. Uncomfortable…bad!
 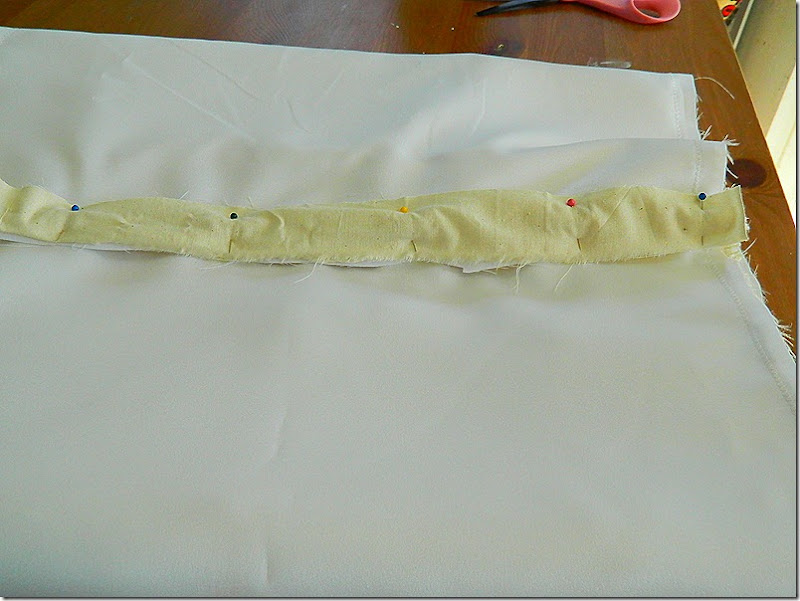 I tore a piece of muslin the same width as that seam. Pinned it in place.
 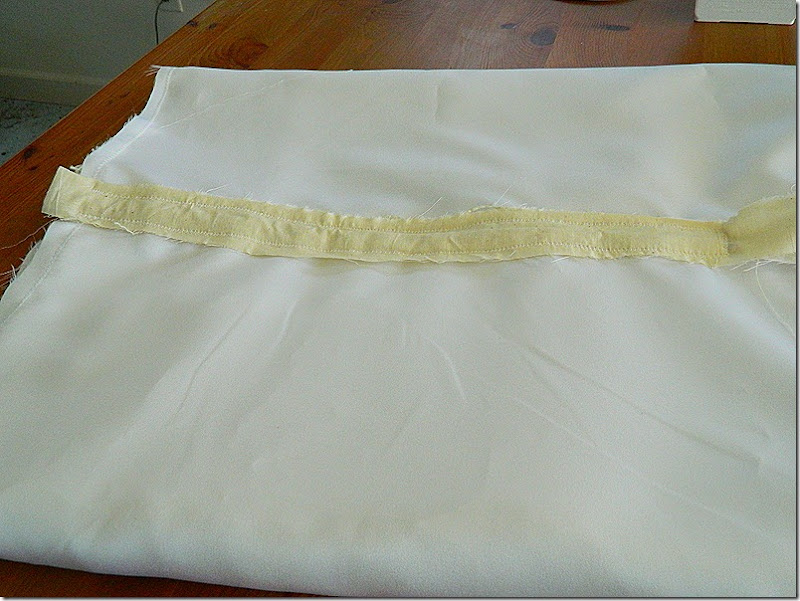 And sewed it down. This not only helped so the wearer isn’t irritated by the burlap. It also helped hold the seam down flat.
 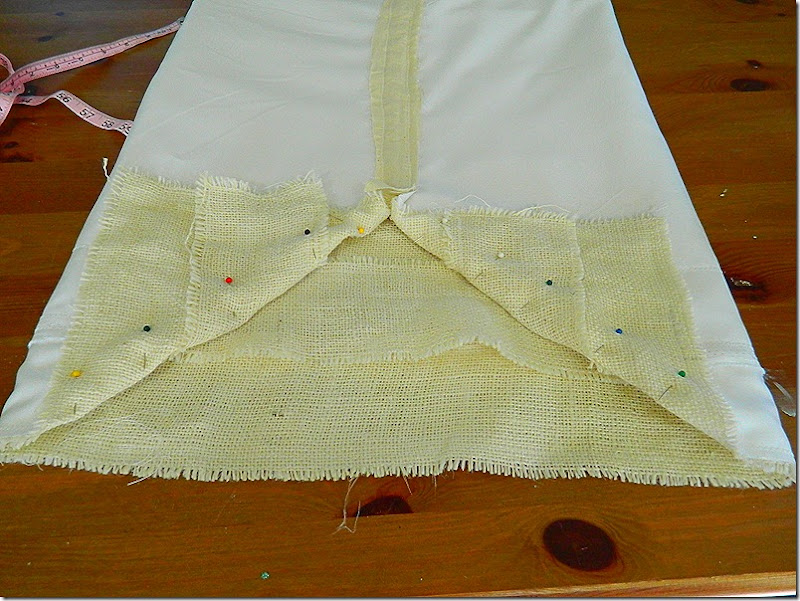 Okay, disclaimer here… I have no idea what part of my brain told me I could do these next steps. I have no experience whatsoever in making clothing. So, please feel free to skip this. Do something different. Or simply comment on my no no’s. But, I really think these next steps make the dress. And I want you to be able to do it. In my head I saw a dress that was basic with just something off kilter. This is the way I style, the way I dress, the way I decorate my home. Contrast. So… I took the dress and created a V in the back. The widest part of the V was at the hem and the smallest around the thigh. This is why I hadn’t sewn the seam all the way down. It made it nice and easy to form this shape. I pinned it in place, measured everything. Then sewed along where the pins were. Then I cut the skirt off that was not used. Gasp! (I realize there are all sorts of technical words I am not using. Because I don’t know them. Sorry!)
 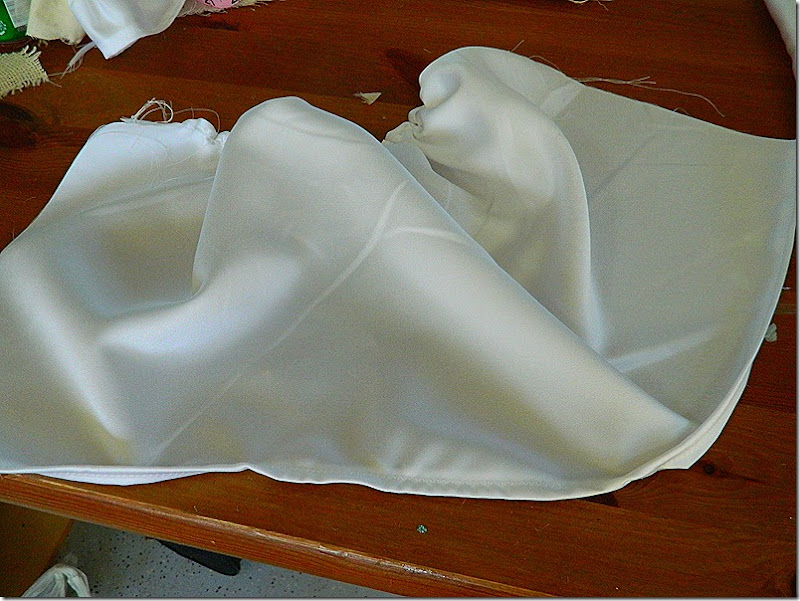 I took the same satin as the liner. Measured the length and height of that V. I then added 3 inches or so to the width and about 1 inch for the height. This allowed for gathering and hems. I sewed up all the sides. And then gathered the top. (Can I just say I didn’t even know HOW to gather until this project. I had to look up how to achieve what was in my head. I found out that it was gathering that achieved that look. So, I gathered.)
 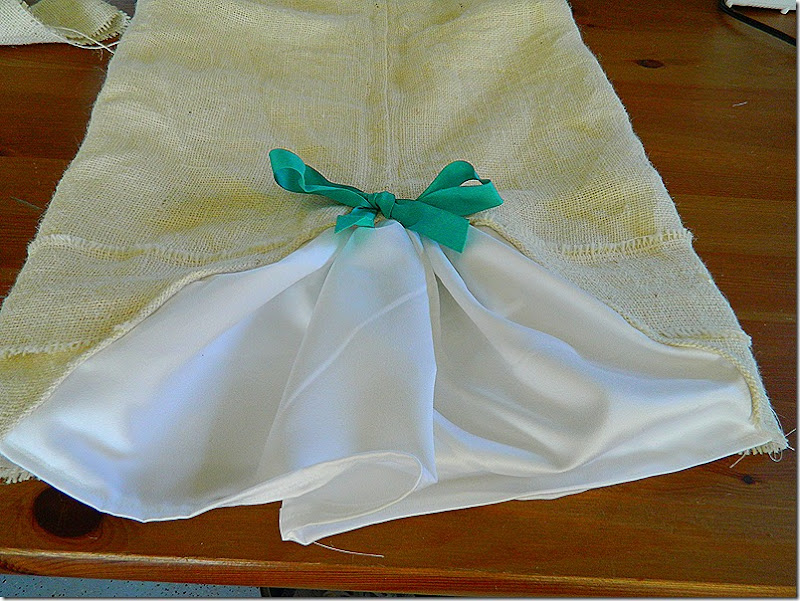 Okay, it looks easy peasy. This was actually a bit tricky. I had to pin everything in. Pinning and pinning until I had everything laying the way I liked it. And then sew it in. Being sure to sew on the hem that had been already created when I cut the burlap into the V shape. I didn’t want all sorts of hems showing. I then had a moment of AHA! A turquoise piece of vintage ribbon was screaming at me. I listened. (you should always listen to ribbons screaming at you…it’s kind of strange) I made a bow, ironed it and then tacked it on. I really can’t believe the back of the skirt actually ended up like this. This is the back that was in my head! So pretty! On to the waistband. ugh.Okay, here is the short story… I originally wanted to do a 1 inch elastic waistband. Burlap does NOT work right for elastic waistbands. Not a plan. I really can’t explain completely how I achieved the waistband. I knew my sisters measurements and what I needed to get to. And…I knew she was worried about gapping in the bum area. And…I knew that she needed to be able to put the dress on around the hips and bum, and the waist fit. And…I knew there was no way I could manage a zipper (what this skirt should probably have) So…I put a strip of elastic in the back of the waistband. And ran a wide satin sash across the entire waistband (being sure to pull that elastic tight when sewing!) I achieved the sizing, the ability to put it on, and it looks cute! A little ribbon bow and woot…she is done! Please remember…it is the nature of burlap to be wrinkly, that is part of the charm. You won’t be able to stop that. So, if you don’t like that…choose linen fabric.
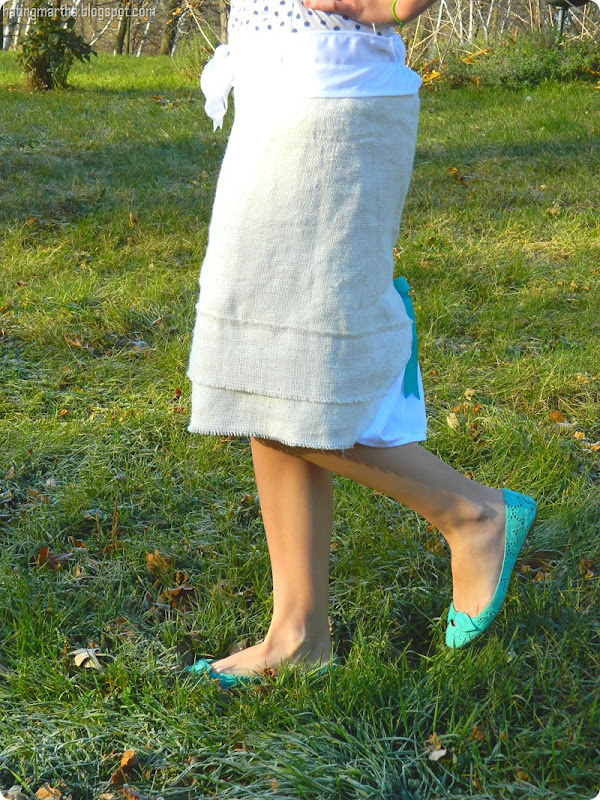
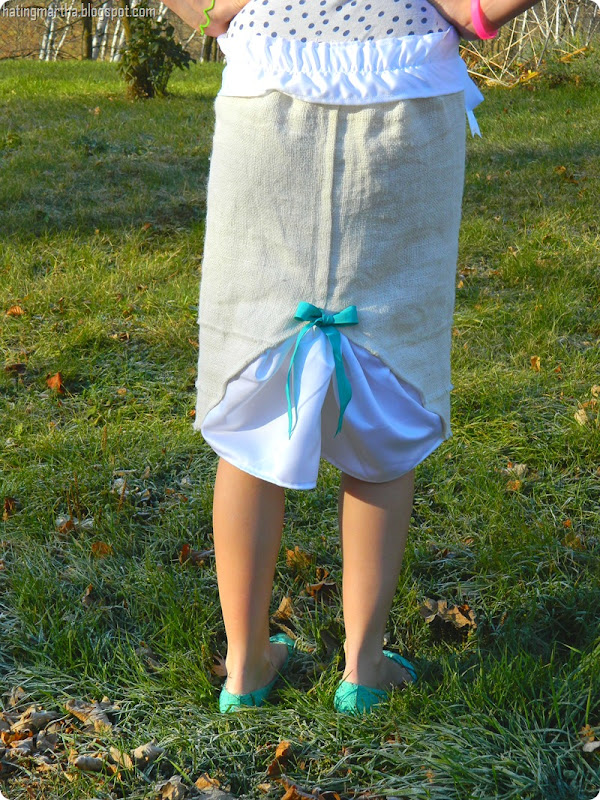
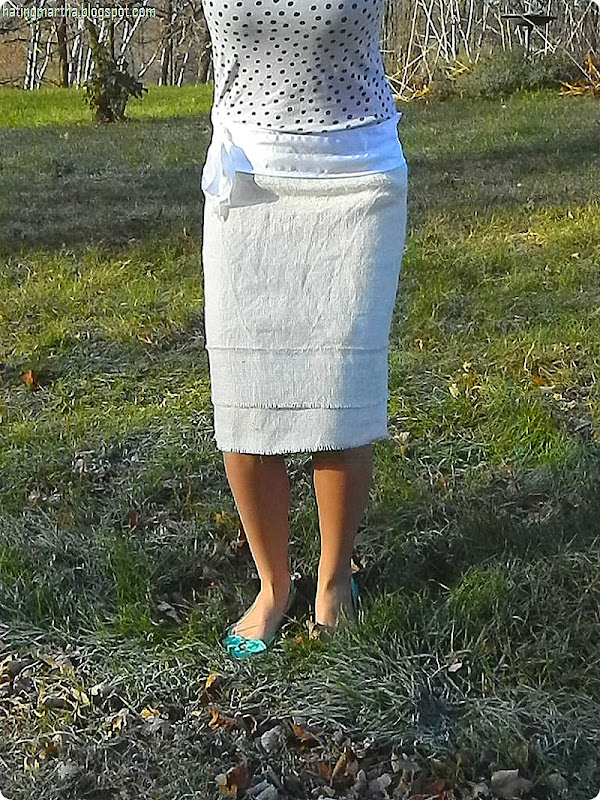 This is off to my sister in Texas…hopefully it fits her. I know she will love it. And, she is a seamstress so she can fix all the little mistakes that are glaring at me. I will post a pic of her in it as soon as I get one! Hint, hint! Thank you for my dear daughter who kindly tried on the skirt and modeled it! There was still frost on the ground at 10am when we went outside to shoot these pictures! Well…there you have it. Thanks for reading, ignoring my mistakes, and coming along while I learn a new skill! Come over to Hating Martha to check out my tiered tin tower, a tour of my oh so great craft room, more about me, or simply to blog stalk ( I am A-ok with that!)! I love new faces…profiles! Definitely not Martha! Just me,Janel


Oh my…the formatting went jiggy. But, thanks so much for letting me share!!