


You guys – I’m new to planners. It’s been a HUGE saga, ha! I’ve been asking you all about it on Instagram stories – which ones you recommend, what you like about them, etc, etc. I bought 4 different planners because I just couldn’t decide! But then I finally settled on one and thought my planner saga was over – until I started using it and I realized I didn’t know how?! So again, I asked you – you came up with so many great ideas, I thought I’d compile them here in a blog post so everyone can benefit!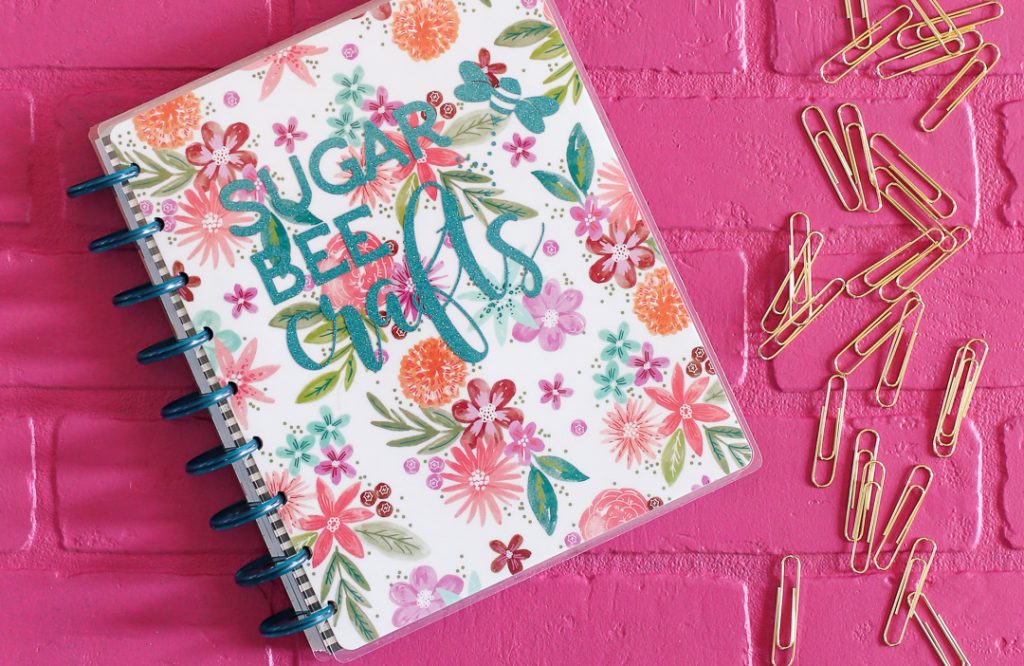
I know this is a little late, since it’s already February, but since it took me this long to figure out what works best, I thought maybe some of you were still looking for tips and tricks as well – I can’t be the only one! This post may contain affiliate links.
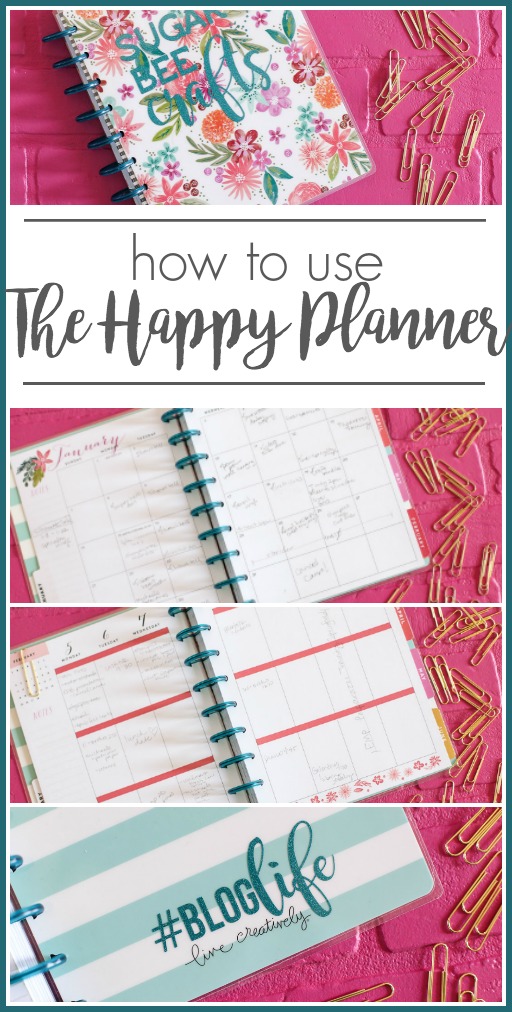
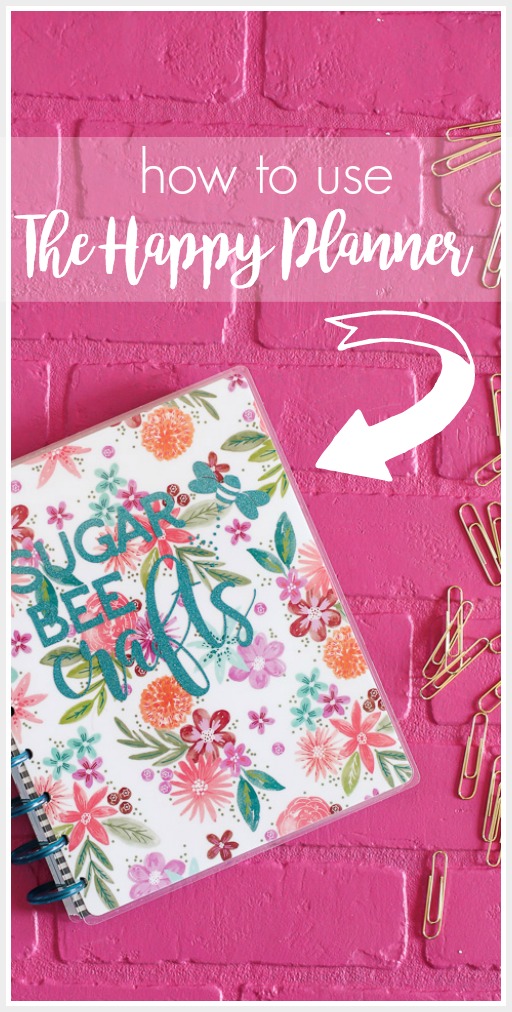
How to Use The Happy Planner
You can pin your favorite image so you can keep coming back to this info when you need it:
The Happy Planner – my choice
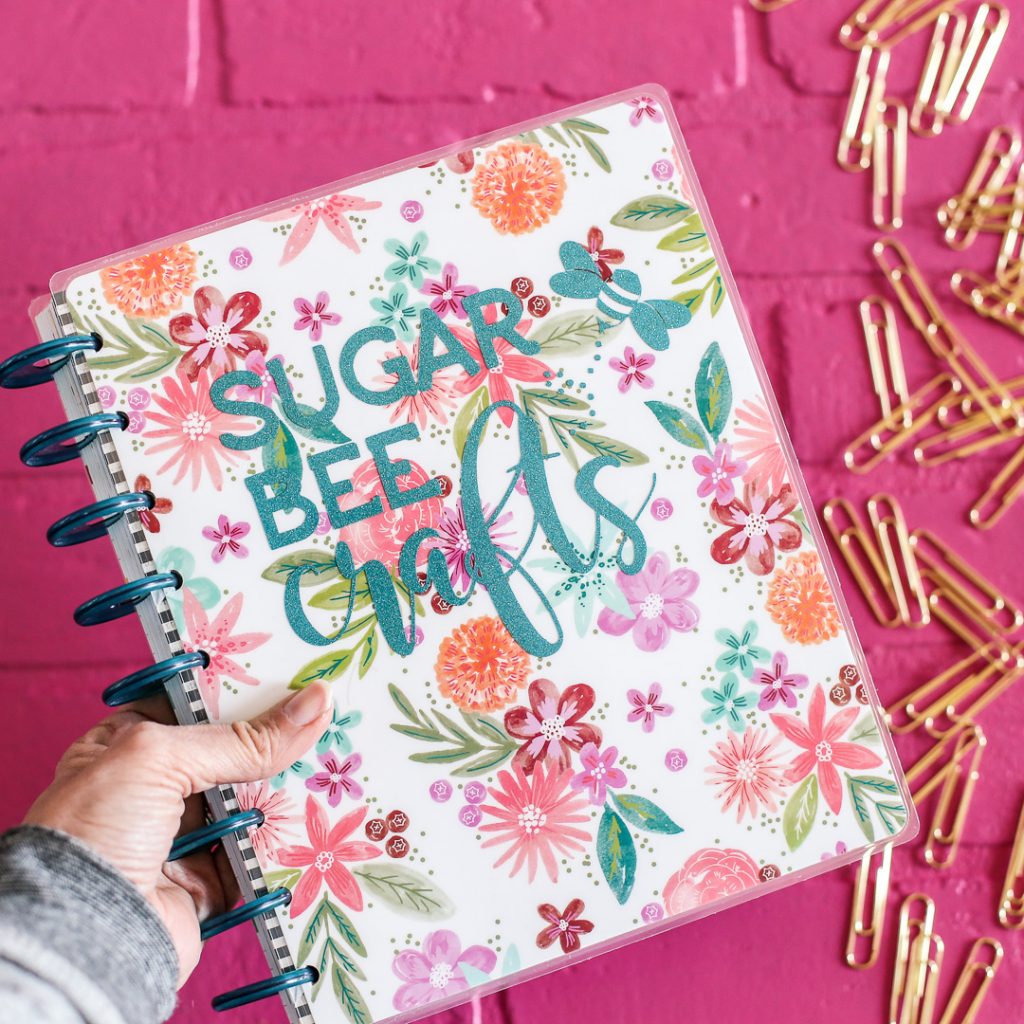
First up, I finally settled on purchasing The Happy Planner. THIS is the one I got. Some of the must-haves for me were printed dates (there’s no way I’m writing in dates!!), full month calendar view, and cuteness. The one I picked is actually an 18 month calendar when means it started in July 2017, BUT, it was the cover that I was drawn to the most, so I didn’t let that stop me. I just took out the pages of July 2017- Dec 2017 and now all it has in it are this current year, which is what I wanted, January 2018-December 2018. I bounced back and forth on which size to get, I finally settled on Medium and am really happy with it.
The majority of you recommend The Happy Planner, but several of you loved other brands/types as well. My recommendation is to just list YOUR Must-Haves and then find a planner that meets all of those requirements.
How to Use a Planner
So here’s the deal – I’m a die-hard for a monthly calendar, it’s all I’ve ever used in the past. It was on my must-have list in a planner. I use my planner for an editorial calendar for my blog, and I like to see in a glance the posts I need to write, when projects are due, etc, so I felt comfortable using this section.
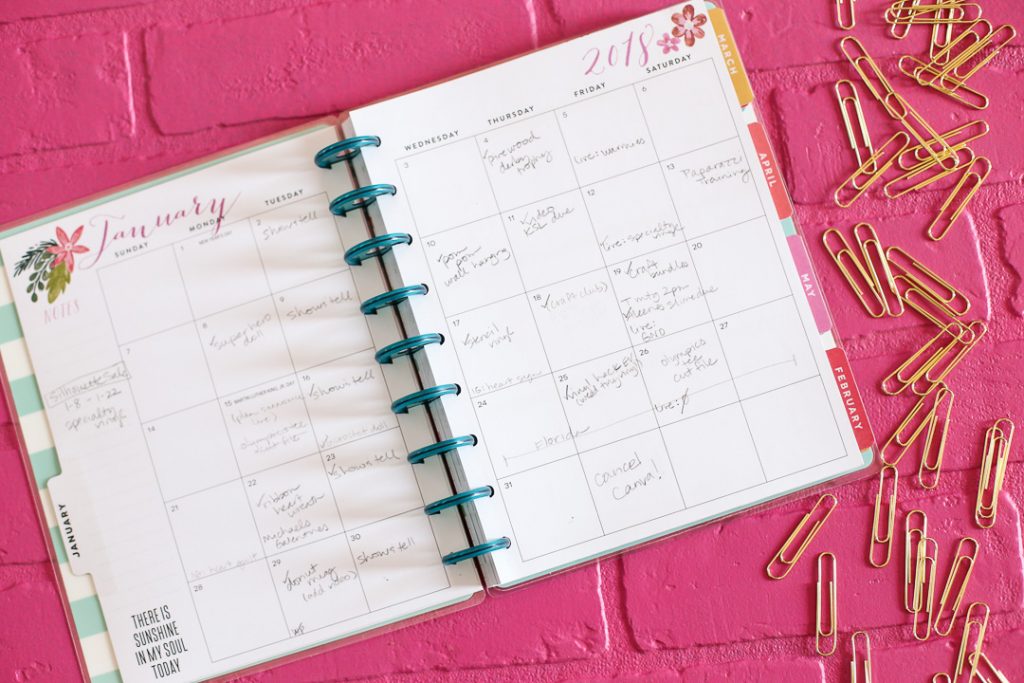
But then I started diving in, and there’s a page for weekly calendars as well. THIS is where I struggled!! If it’s written on the monthly calendar, then what’s the point of the weekly calendar?
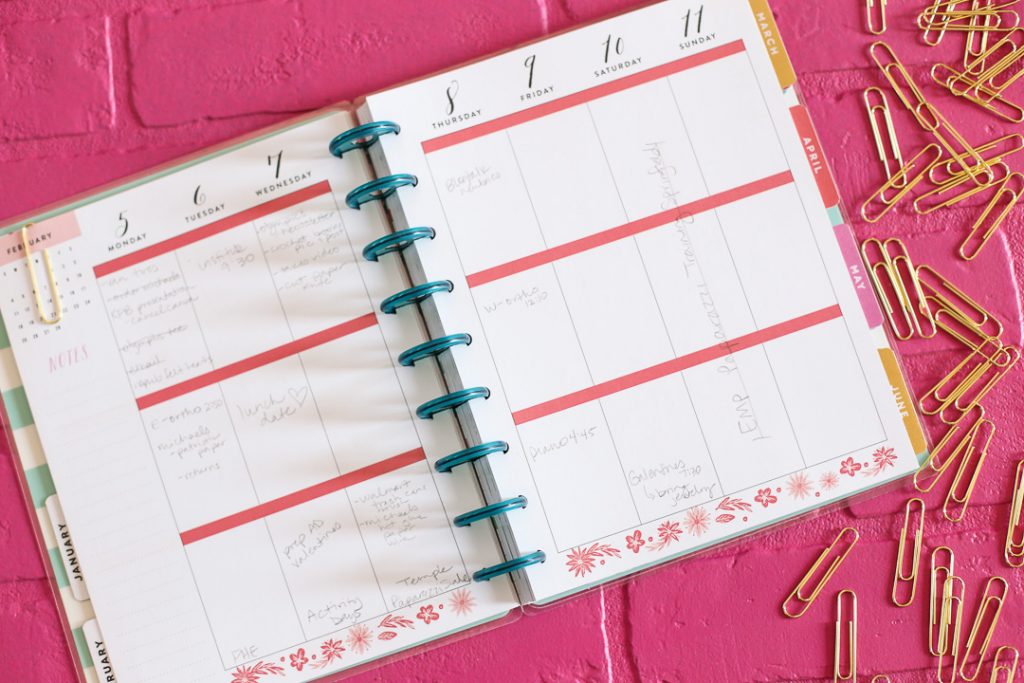
So I turned to you – you all had so many good ideas! I love that there were tons of different ideas – all planners are about the same, yet everyone is tailoring them to fit their own needs, isn’t that awesome? I am now using the weekly calendar as a to-do list of daily tasks – I write the moring to-dos in the top box, the afternoon to-dos in the middle box, and the evening to-dos in the bottom box. That’s working for me. Here are a bunch more ideas so you can find what will work for you:
Ideas for How to Use a Planner:
–Weekly: one block for due dates/appointments/birthdays/etc, next block is to-dos, bottom block as a daily gratitude, exercise, and tracking health issues
—Repeat monthly calendar onto the weekly one, but with added details
–Use monthly calendar as a perpetual calendar (birthdays/anniversaries) and use weekly for appointments, to-dos, and daily things.
–Monthly for quick titles, weekly for details and lists.
–Buy a monthly-view only planner 😉
–Plan ahead using the monthly, plan for the week using the weekly. Weekly: top line for kids activities, appointments, meetings – middle line for to-do list – bottom line to track work outs. Add pages for extra planning.
–Use stickers to pretty it up.
–Monthly for due dates (bills, paperwork), birthdays, weddings. Weekly: top for daily appointments, middle is to-do list and chores, bottom is meal planning and fitness
–Highlight on the Monthly, elaborate on the Weekly. Use the weekly like a bullet journal.
–Use the daily section as a journal for future scrapbooks.
–Monthly is only birthdays/holidays. Use Weekly as main calendar – top section for blog/work, middle for kid things, bottom section for family things.
Personalizing a Planner:
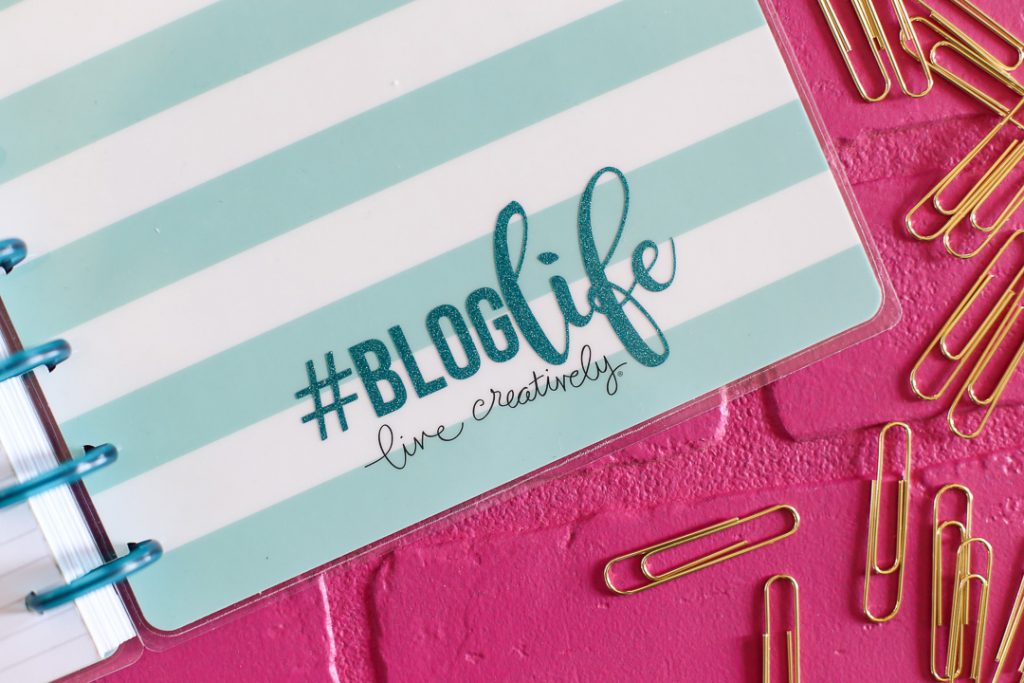
I didn’t start loving my planner until I had added a crafty touch to it – there’s just something about personalizing a planner that makes you love it! I added my blog logo to the front and then inside the back cover I added this #BlogLife decal (it already said Live Creatively, which I kind of thought was pretty perfect). I used my Silhouette machine to cut it out of Glitter Adhesive Vinyl – because everything is better in glitter!!
There are also SO many sticker pack and planner add ons out there for personalizing a planner – I haven’t tried any yet, but I’m sure they’re awesome!
Do you have a favorite planner that you use? Do you have a favorite way to use it that wasn’t mentioned?? Let us know!!
I love it! I got an Erin Condren planner this year and it’s been great. But I’m always on the lookout for a good planner and planer tips!
Chelsea @ Life With My Littles recently posted…“Preggers” by Chelsea Johnson
I always think the idea of a planner is great, and they are so cute in the store, but then when I try and think of what I’d actually put in one, I step back and don’t buy one. Not sure if I’m doing the right thing, or if I’m missing out.
Susan recently posted…Valentine Craft Roundup
Thank you for all the ideas. Love your pages. I’ve been turned away from the happy planner because all the posts I’ve read about it, it seems to be more decorating and less planning. Yes, they look pretty but I need something functional. Yours looks very simple, which is what I need. I may have to look into getting one and trying it out.
DIY Home Sweet Home recently posted…7 Craving Busting Dill Pickle Recipes
What gorgeous idea ! Perfect for staying organized and be inspired!!