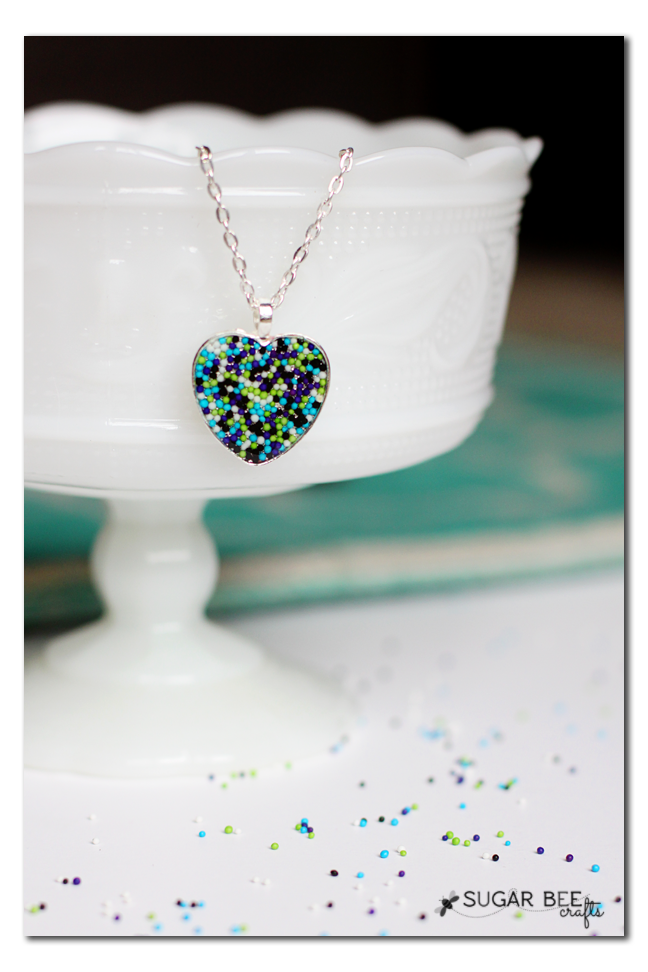
A few months ago I made some sprinkle pendants – the images were a big hit on Instagram! And today I’m sharing the tutorial with you – get excited, these are fun! It’s WIWW – what I wore Wednesday, jewelry edition 🙂
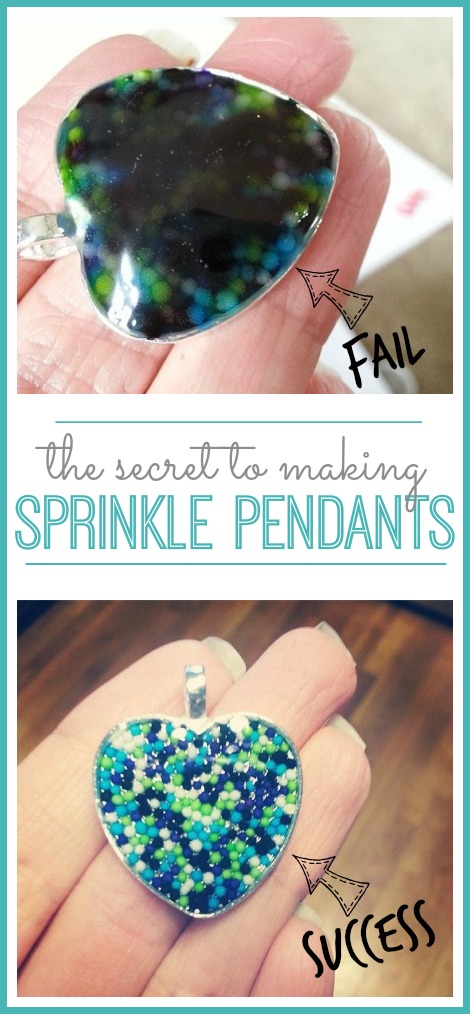
If you’re like me, you think that you can just put some sprinkles in a pendant tray, cover them in clear mod podge, and bam, necklace. Well, this started as a FAIL…. but then I figured it out (phew!) and I’m here to tell you the secret to not get melty cloudy pendants:
I put this project together for Simply Create and now I’m sharing it here on my blog. Everyone loves sprinkles! These pendants are a fun new way to showcase sprinkles. An easy craft (once you know what to use) with a variety of sprinkle options allowing you to customize it and make it all “YOU”!
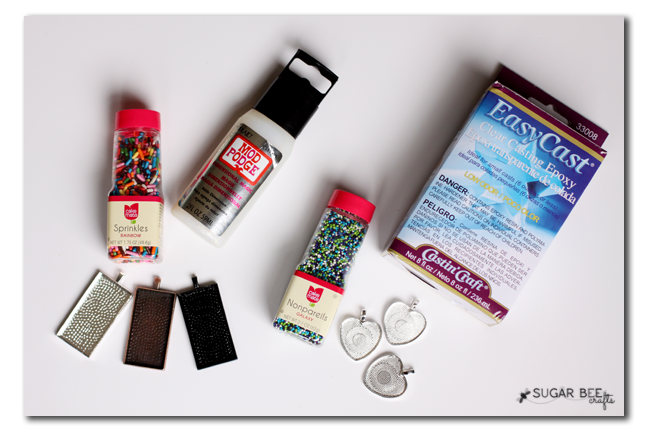
You’ll need:
–Sprinkles
–Pendant Jewelry Trays
–Dimensional Mod Podge and/or Epoxy Resin
–pin and/or hair dryer
First pour a single layer of sprinkles into your pendant tray, if you would like a smooth pendant surface. If you want added dimension and depth to your pendant, you can try filling the tray with layers of sprinkles.
Now, THE SECRET: After various experiments, I found that some sprinkles dissolve with water-based sealant. That’s what makes them cloudy and melty-looking.
This post covers two types of sprinkle pendants, and the supplies are different for each:
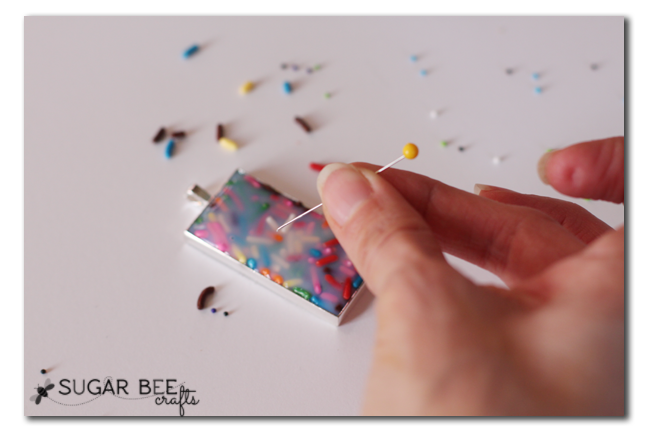
If you are using Rainbow Sprinkles (the stick-looking ones), you are safe to use a water-based sealant. Cover the sprinkles in the tray with Dimensional Mod Podge. Air bubbles may form on the surface – gently release them with a pin. Let dry overnight.
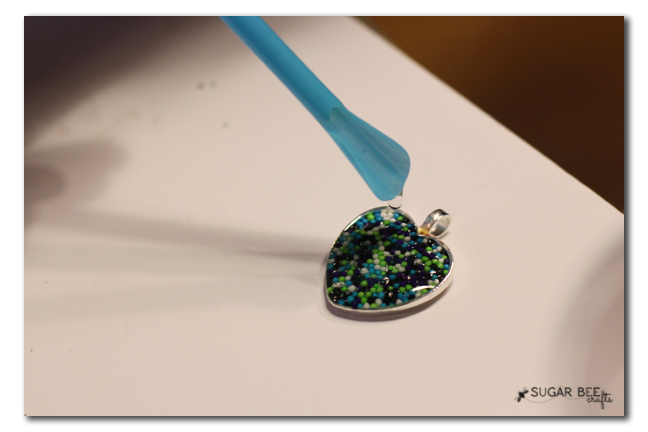
If you are using Nonpareils (the round sprinkles), you will need to use an Epoxy Resin. Follow the
directions on the package – you will mix the two liquids and immediately pour that mixture over your
sprinkles. Air bubbles will rise to the surface – using a hair dryer, gently heat the top surface to release
the air bubbles. Let dry overnight.
Once you know what supplies to use for which types of sprinkles, you are good to go!
That’s it! Place on a chain and enjoy wearing your unique pendant, spreading the love of sprinkles to all who see it 🙂
If you love this project, you will also want to check these ones out:









What a great and fun idea!
Cranberry Morning recently posted…Robin Family and the Wednesday Hodgepodge
it’s super fun – – thanks!
Love your tutorial and will share with our Facebook page!
Thanks so much! It was a fun project!
Hi Mandy, I love this post! It would be great for my afterschool class. Can you just tell me where you got the pendant holders? Are they from good ol’ Michaels?
Kathy recently posted…Draw a Megalodon Shark
Hi Kathy!! I think Michaels might carry them, but I grabbed them off of etsy from this shop: https://www.etsy.com/listing/166354107/5pk-heart-pendant-traysmix-and-match?ref=shop_home_active_24
and you can get 10% off at CandyTiles if you enter “sugarbeez10″ in the coupon code area – – they’d be fun for your class! I did grab the resin stuff at Michaels
turned out adorable! tell me…how are you getting your pictures side by side???
a stinkin’ collage – – that’s the worst part of WP!!! I can actually get them side-by-side sometimes, but then I can’t center them
Love this! Would it be ok to use epoxy resin for the rainbow (stick) sprinkles too? I’m using it for another project so I’d love to just keep using the same stuff.
I think it should be??