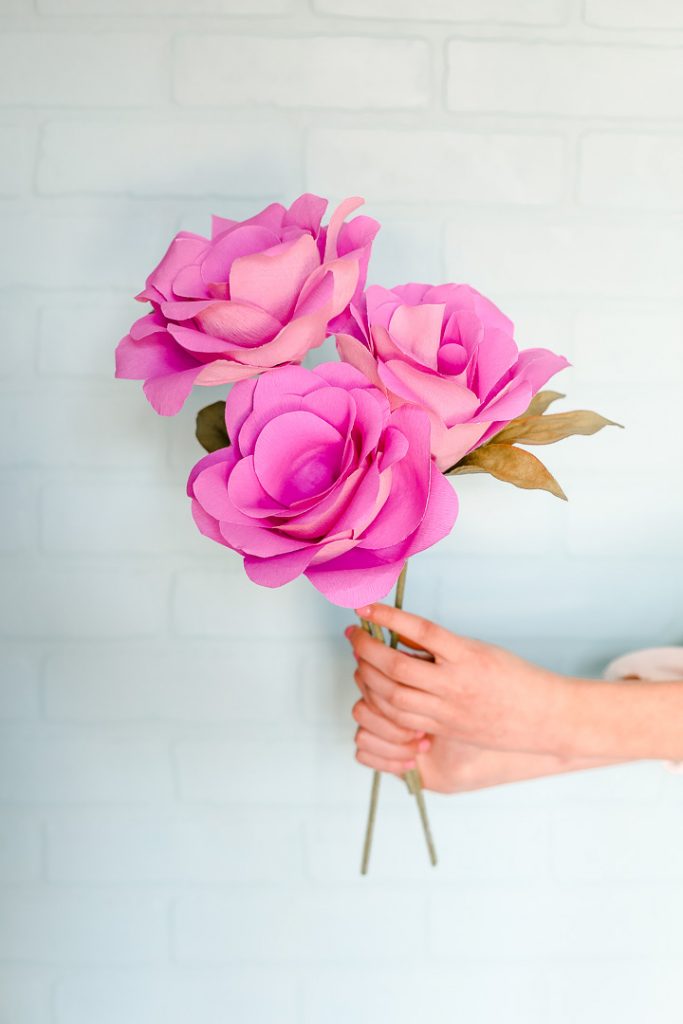
Spring is in the air!! Flowers aren’t quite here yet, so we’ll just have to do what any crafter would do – make our own 😉 Here’s the deal – there are paper flower artists out there. I’m not one of them! I took a paper flower class and was discouraged because I couldn’t get it. So today’s tutorial is for us everyday crafters, not the paper flower professionals. I’ve found what makes paper flowers FAST and EASY and so ANYONE can make them! So let’s tackle these Simple Paper Flowers. These ones are meant to resemble roses – I thought they turned out pretty great.
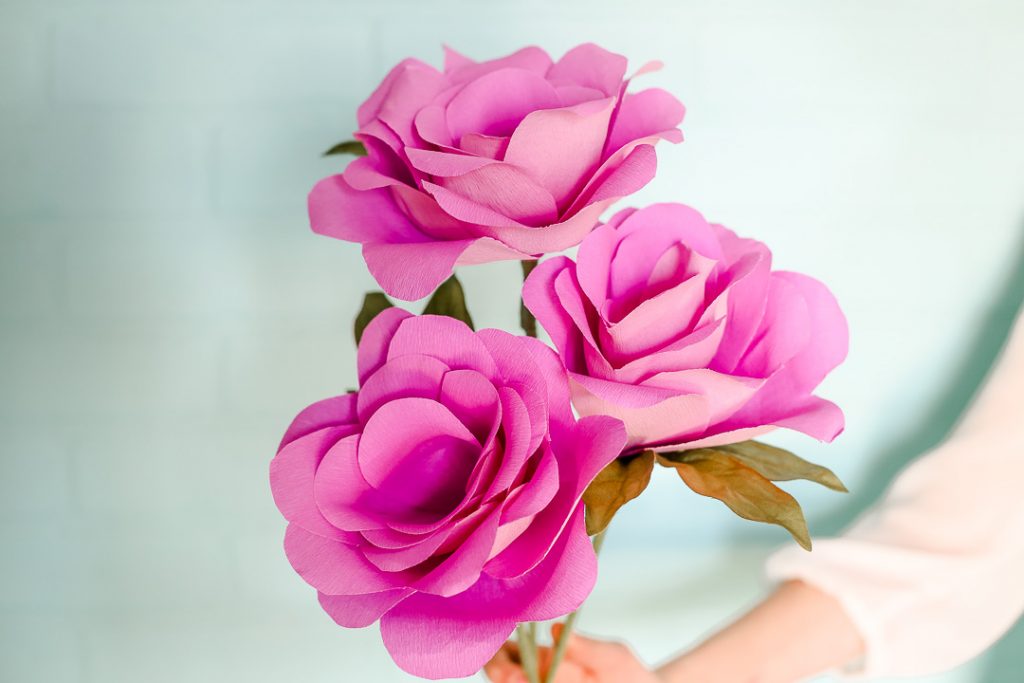
So pretty, right?! You can make them any size, but I love these ones, they’re a little bigger than the size of your hand. I can’t wait to try to make a super huge one!
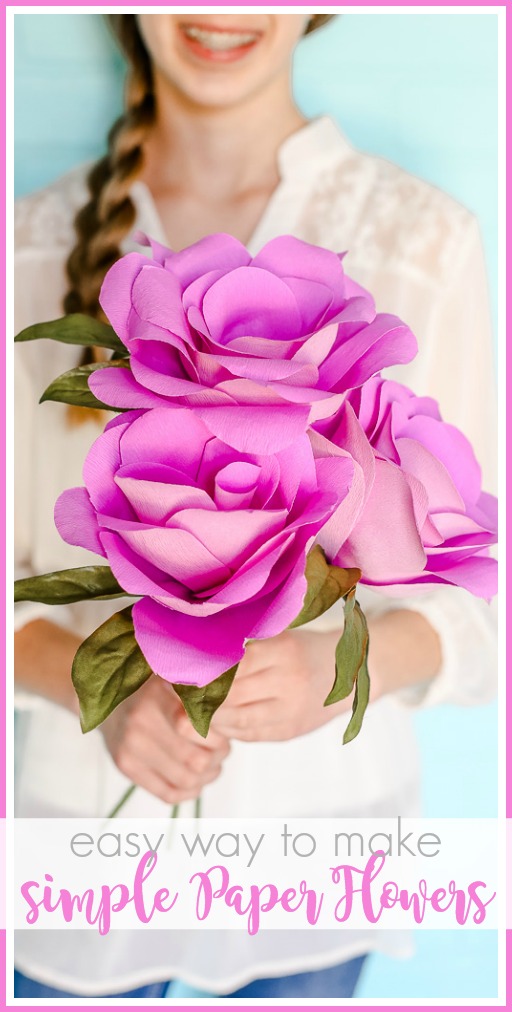

What are you going to do with yours? Give them away? Put them on display? (possibilities are endless!)
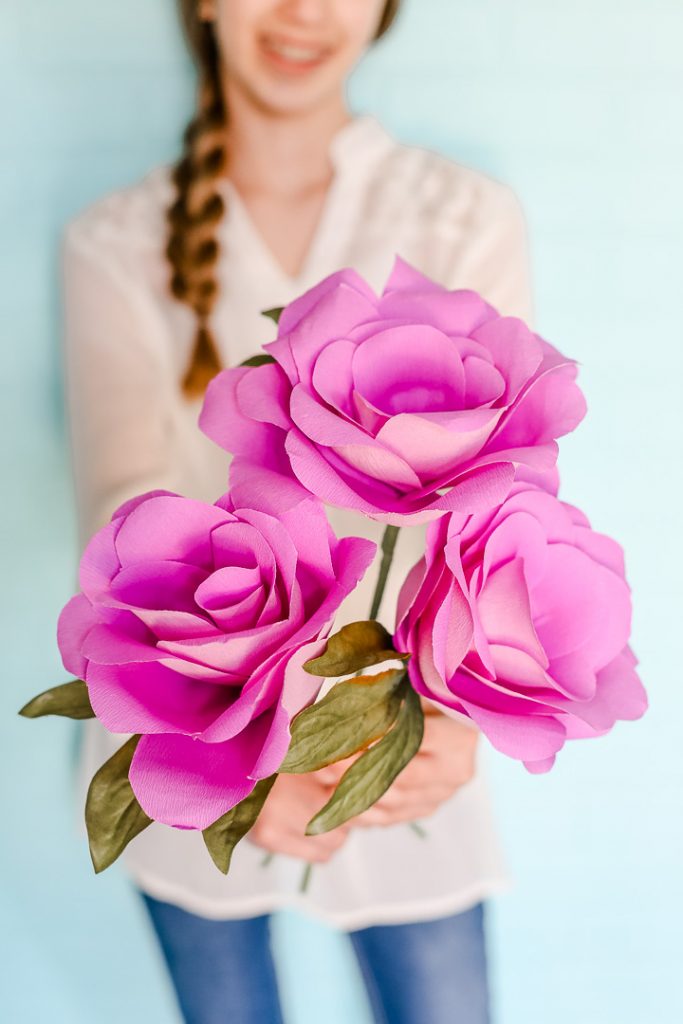
Simple Paper Flower Roses
You’ll need:
Making Paper Flower Roses
Part of what makes these so great is starting with the right material – using Crepe Paper makes it SO EASY. Seriously, it’s worth waiting while you order the crepe paper. It’s only about $2.50 and I was able to get 2 flowers out of one pack, so $1.25 a flower. There are lots of different color options, and I love that it’s Double-Sided Crepe Paper. I went with the Lilac but think it would be really pretty in a pink or a yellow as well.
Flower Roses Video Tutorial
I have a brief step-by-step on down, but I do have a narrated video as well, if you like to watch and learn:
Paper Flower Rose Tutorial
I used the prefolded sections of the crepe paper to cut the flower petals. Freehand a heart shape out of the large sections. Freehand a teardrop shape out of the small sections. Both shapes don’t need to have a point at the bottom – they should be more flat at the bottom.
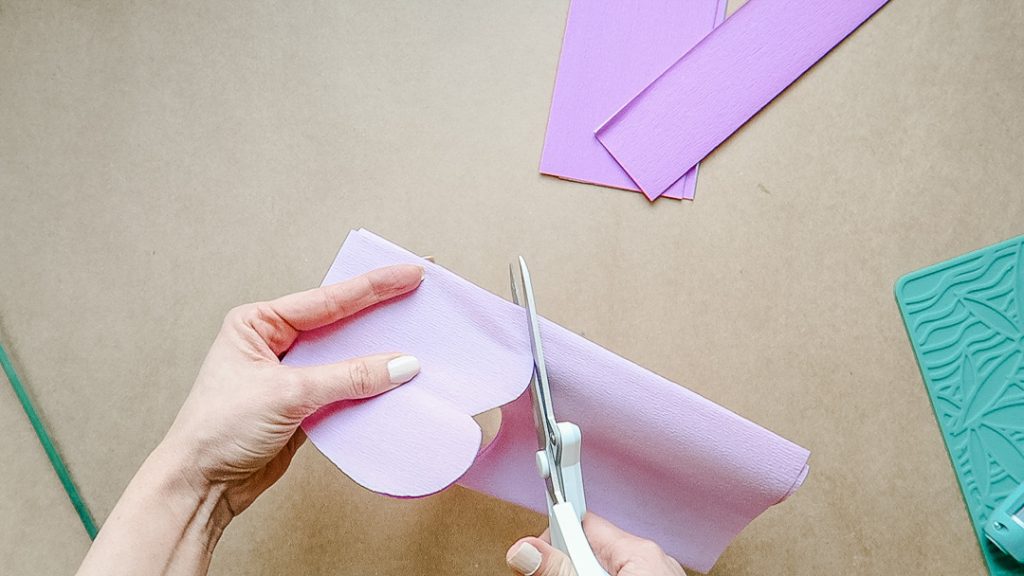
Wrap the top around a pencil – that will curve out the flower petal. Because you’re using crepe paper, it will hold it’s shape really easily. Then – with the magic of crepe paper – you can “pull” out the middle of the petal – this will make a bowl shape in the middle of your petal. Don’t stretch the top or sides, just the middle.
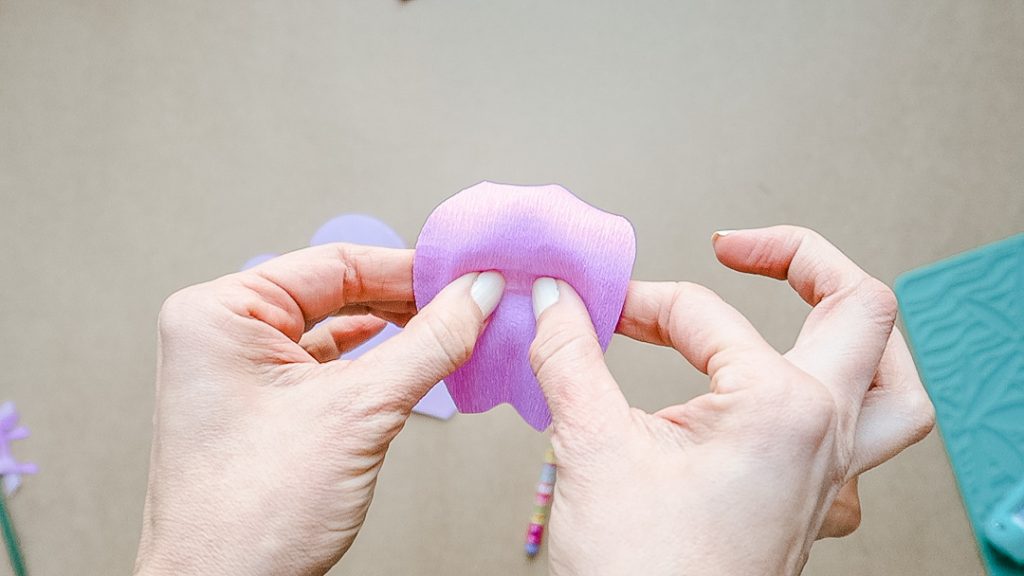
Do this to all the petals. Remember, we’re just crafters, not paper flower artists – we’re not aiming for perfection 😉 . Just do your best and quickly breeze through prepping all the petals.
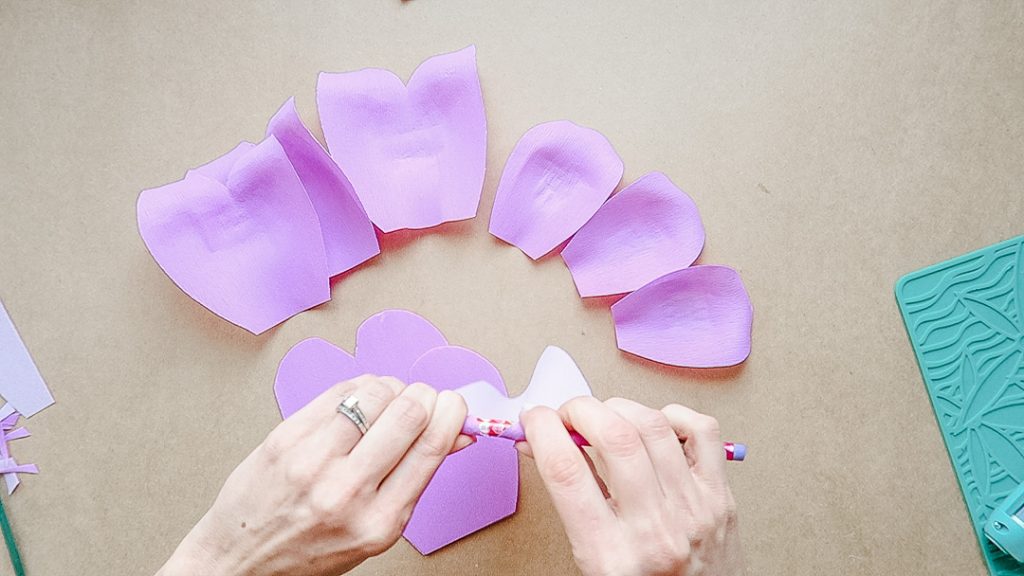
Then using HOT GLUE, attach the petals one by one to the dowel rod. Start with all the drop petals and then do the heart petals. This part is probably explained best in the video. Just make sure you stagger the petals and that the seams don’t all line up. Using hot glue is a GAMECHANGER! In the class I took they had use use floral tape to try to attach the petals and I about went crazy – that stuff doesn’t really stick and I couldn’t get the hang of it. Now hot glue – that sticks! I did use floral tape in this project to wrap the dowel rod, but that’s optional. If you do use it, remember that it needs to be stretched, that’s what activates its glue. We’ll use the word “glue” loosely 😉
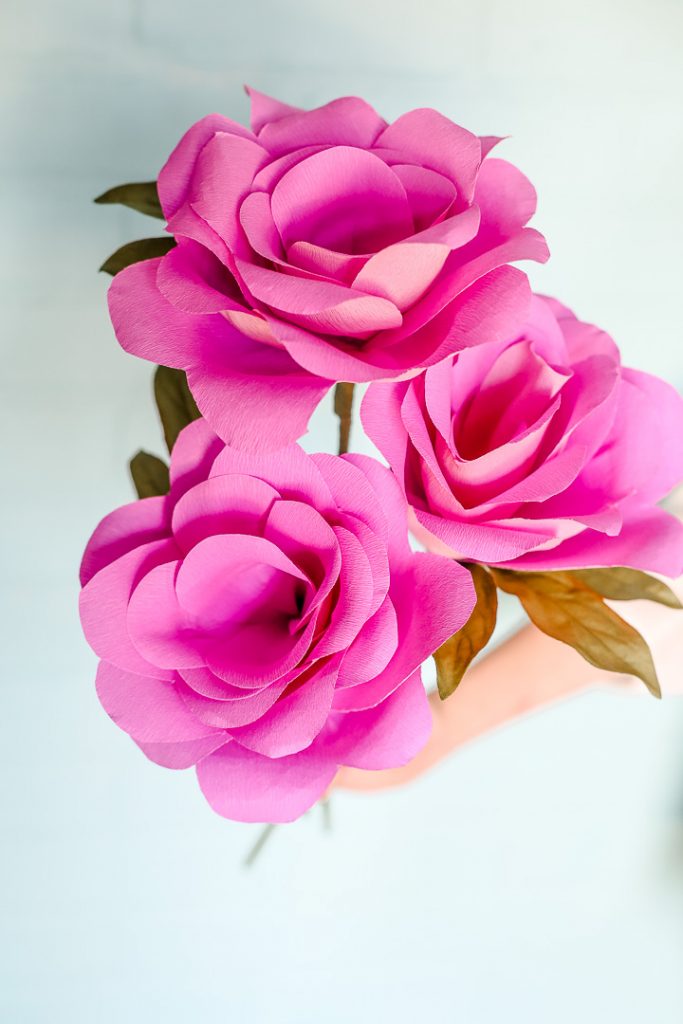
Can’t wait to see what you make! If you love paper flower crafting, you might also like:


