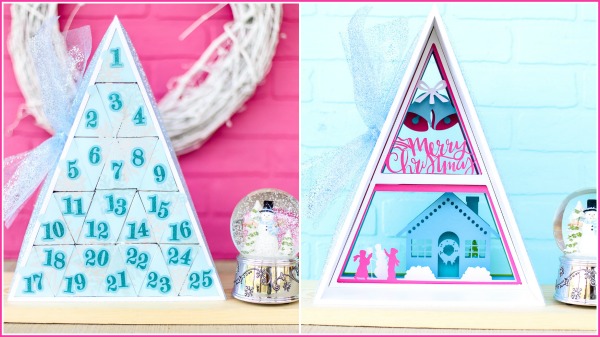
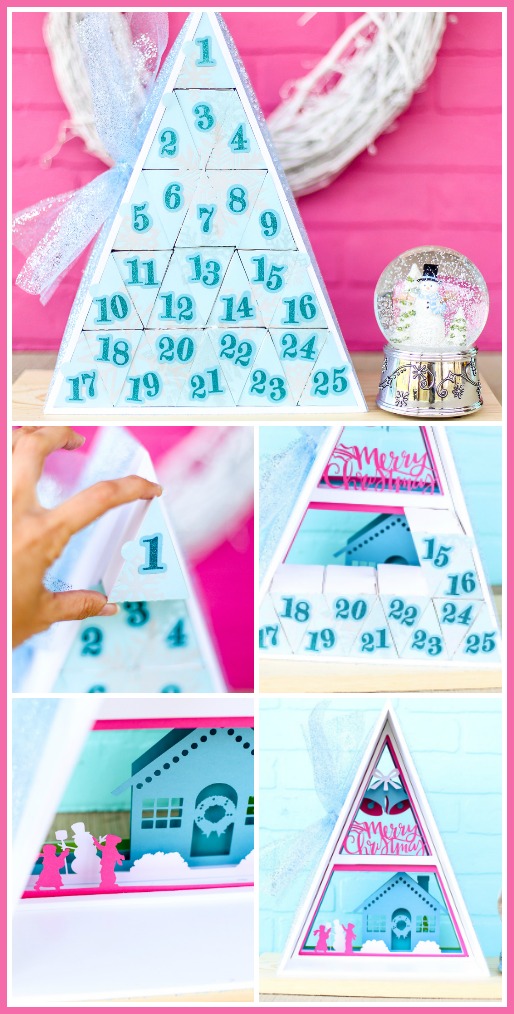
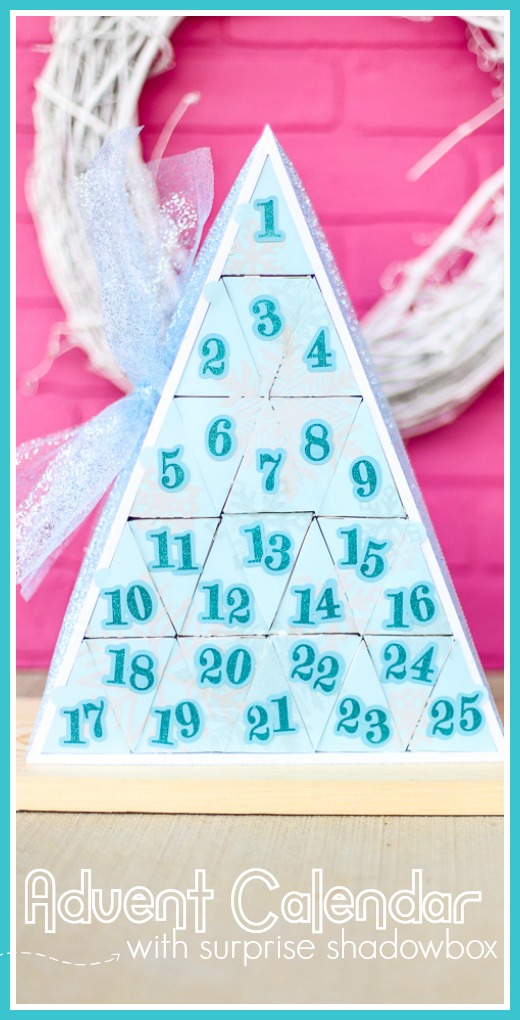
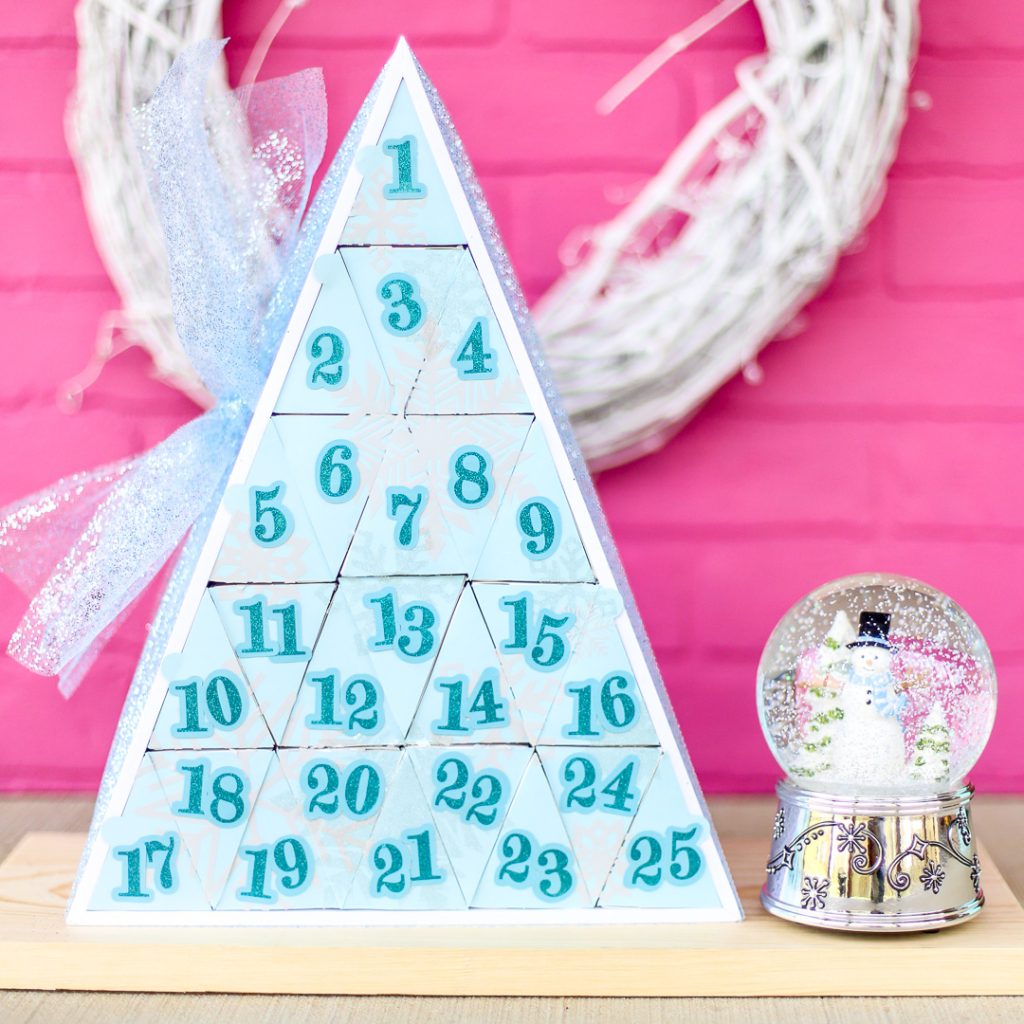
You all know how I LOVE Advent Calendars – you can never have too many! Today I want to show you a fun one from Silhouette – and it’s not just an Advent Calendar, it’s also a Shadowbox! Super fun, as you take out the boxes, the shadowbox decals are revealed, love that. I have a quick rundown for you of the Silhouette Advent Calendar Shadowbox.
You’ll definitely want to pin this idea so you can save it for later!
What comes with the Silhouette Advent Calendar Shadowbox?
-get your Silhouette Advent Calendar HERE and use code SUGARBEE at checkout
-the large triangle frame
-all the triangle boxes – premade!! in white
-CUT FILES!! that fit the boxes exactly, plus numbers. Plus the cut files for the shadowbox, and there are several fun scenes to choose from.
How to make a Silhouette Advent Calendar Shadowbox
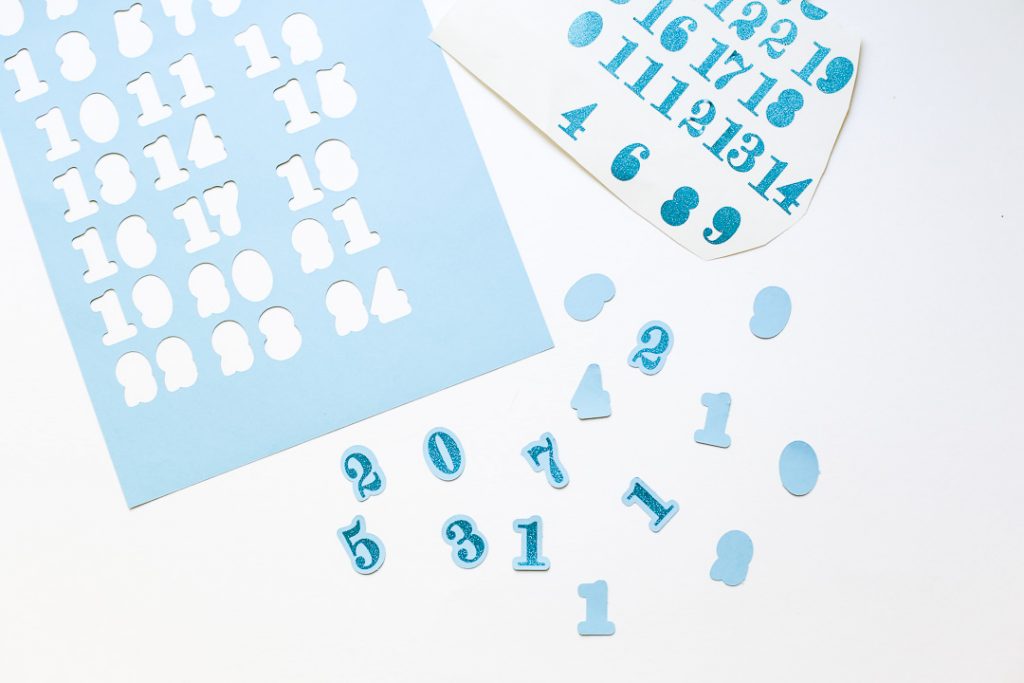
First you’ll want to cut out all of your elements. I started with the numbers. I cut the numbers out of glitter vinyl but wanted them to pop a bit more, so I used the “offset” tool to make an outline around all the numbers. Then I cut the outlines out of cardstock. I put each vinyl number on top of its corresponding cardstock outline. Set those aside until you need them.
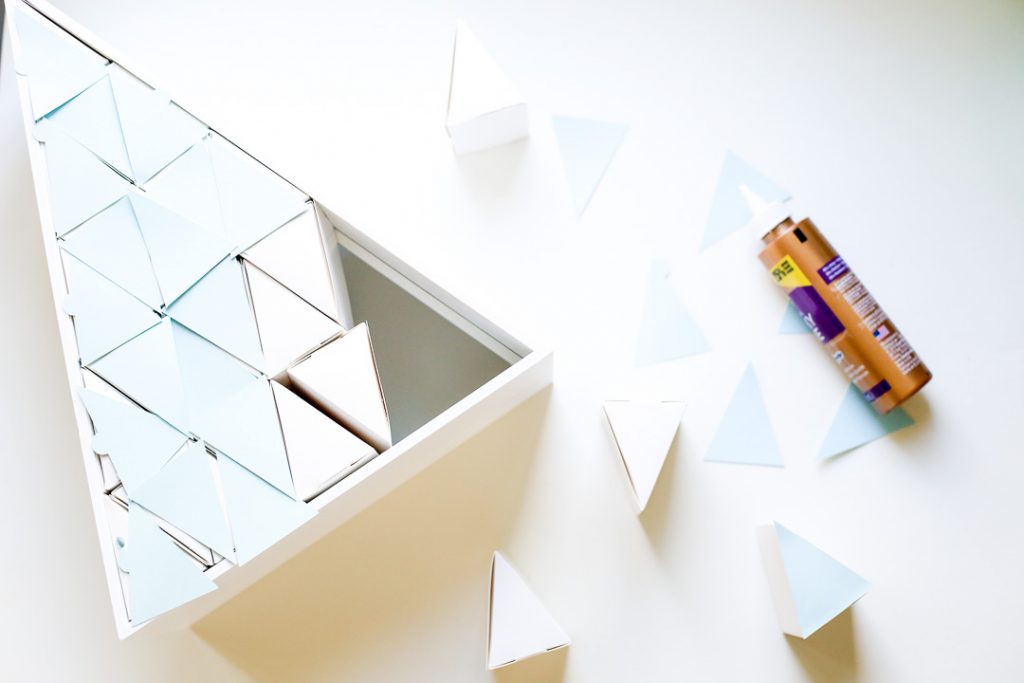
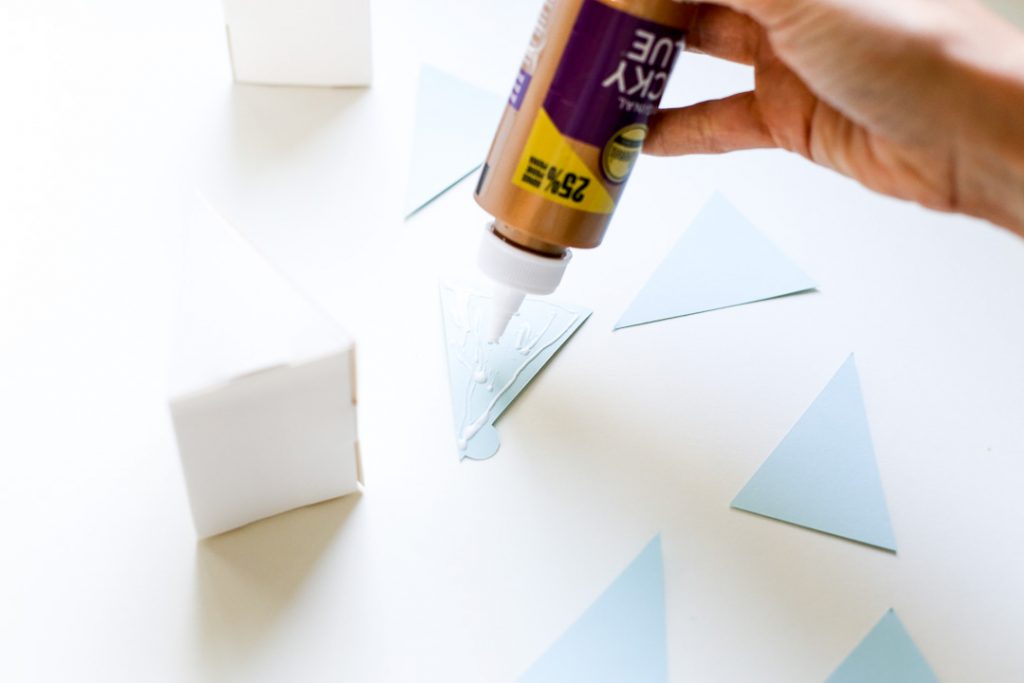
Next cut all the faces to the boxes. I almost went with a super colorful theme – the possibilities are endless! But I ended up going with a neutral snowflake theme – all of my holiday decor is heavy on snowflakes, I just love snowflake decor! First I cut light blue cardstock and used glue to adhere it to the front of all the boxes:
Next I cut snowflakes out of gray and glitter vinyl (snowflakes are cut files in the Silhouette Design Store).

You can decorate each box individually, but I wanted a more cohesive look so I treated the fronts of all the boxes as one big background.
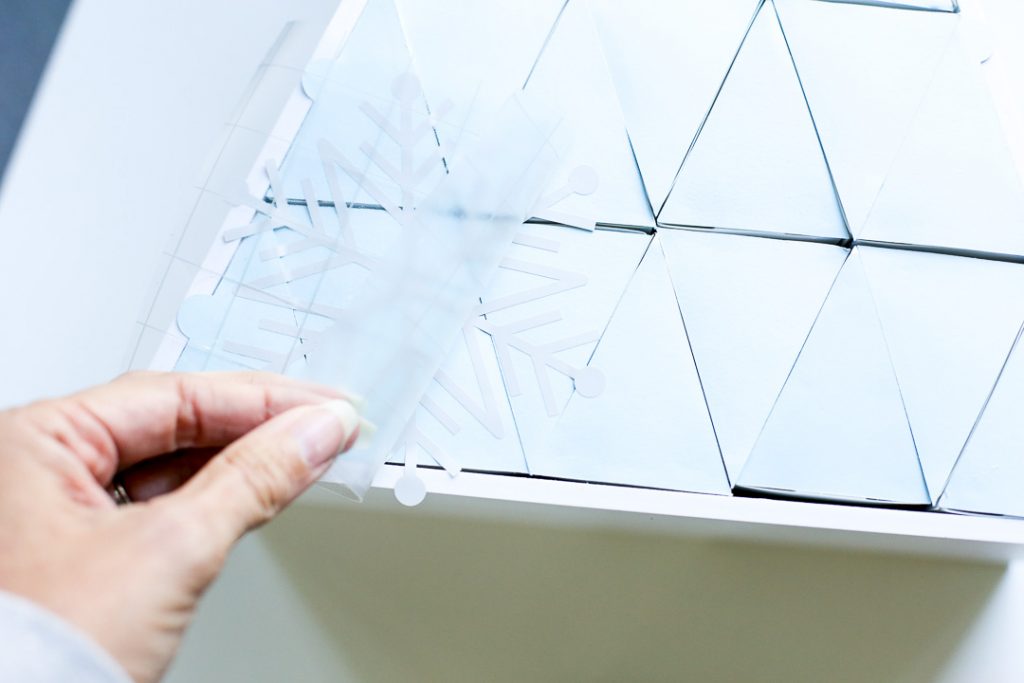
I layered on the snowflakes wherever I thought they’d look best:
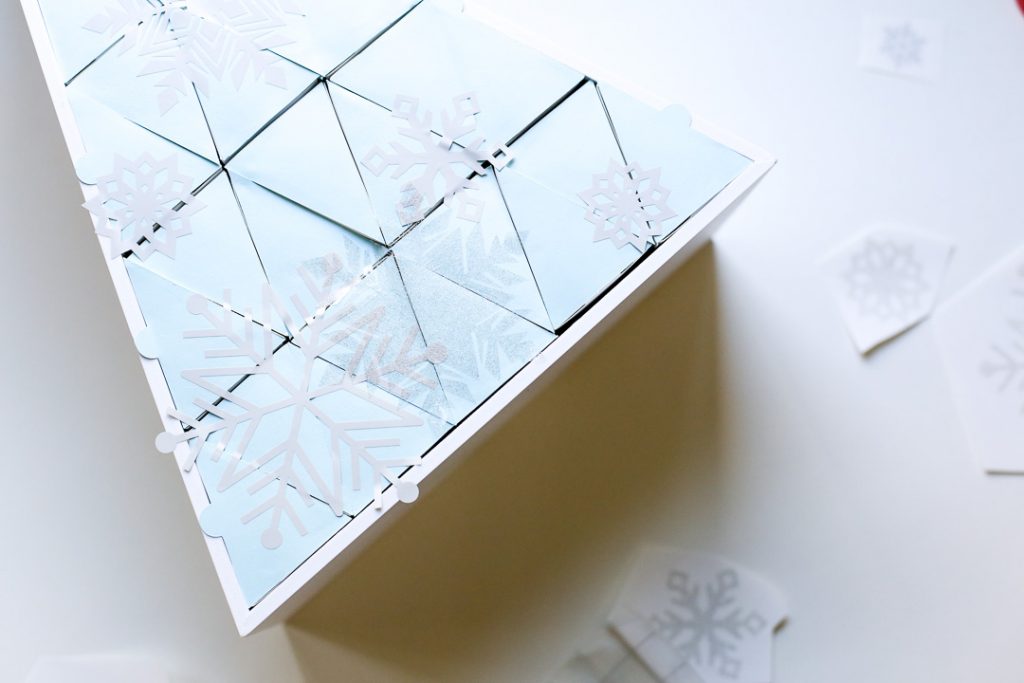
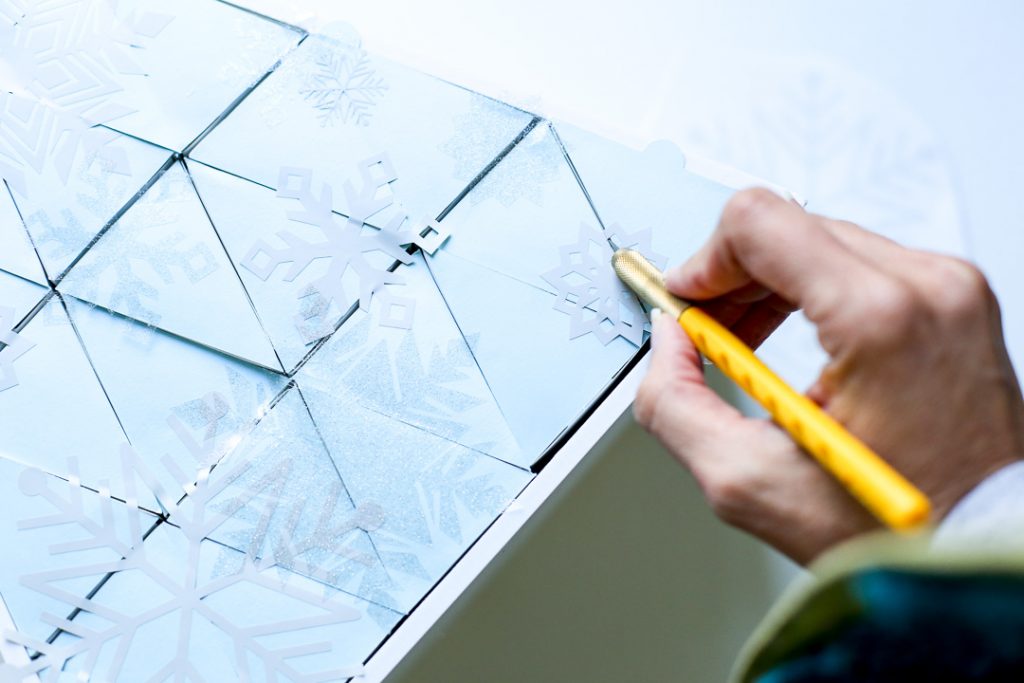
Then I used an exacto knife to cut along all the cracks to separate all the boxes.
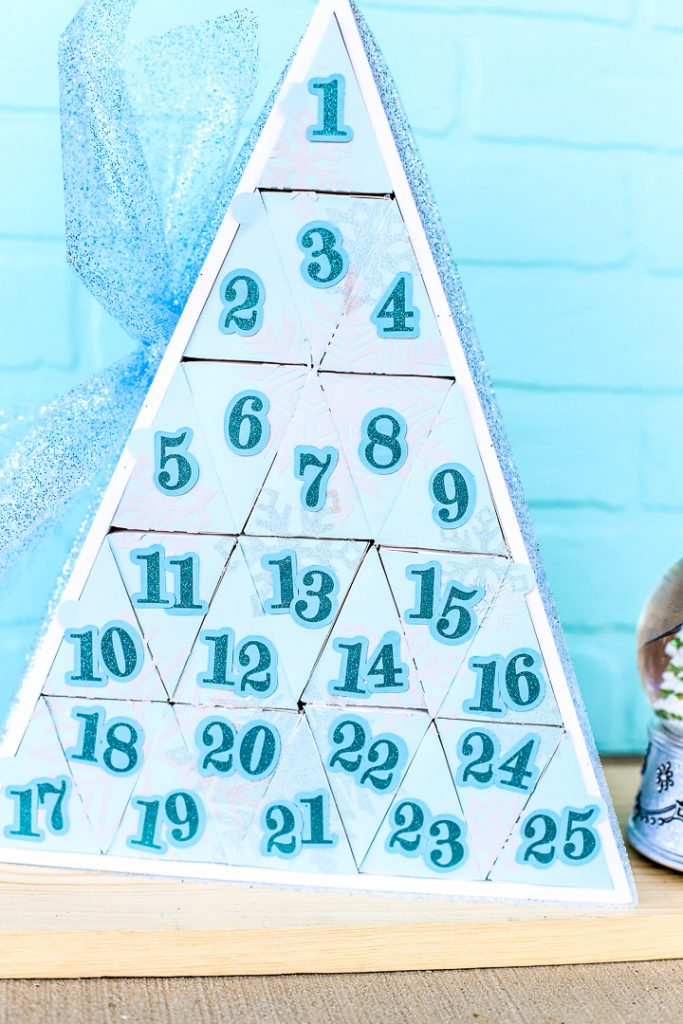
Next I used glue to attach the numbers to the front of each box, starting at the top and working my way down.
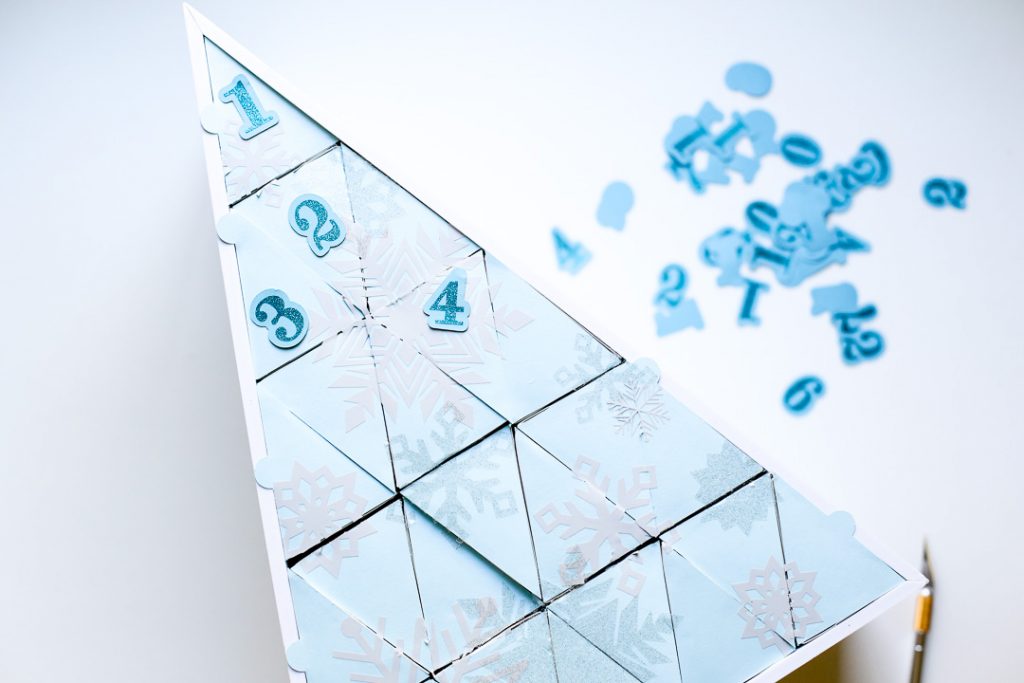
That was it for the front!!
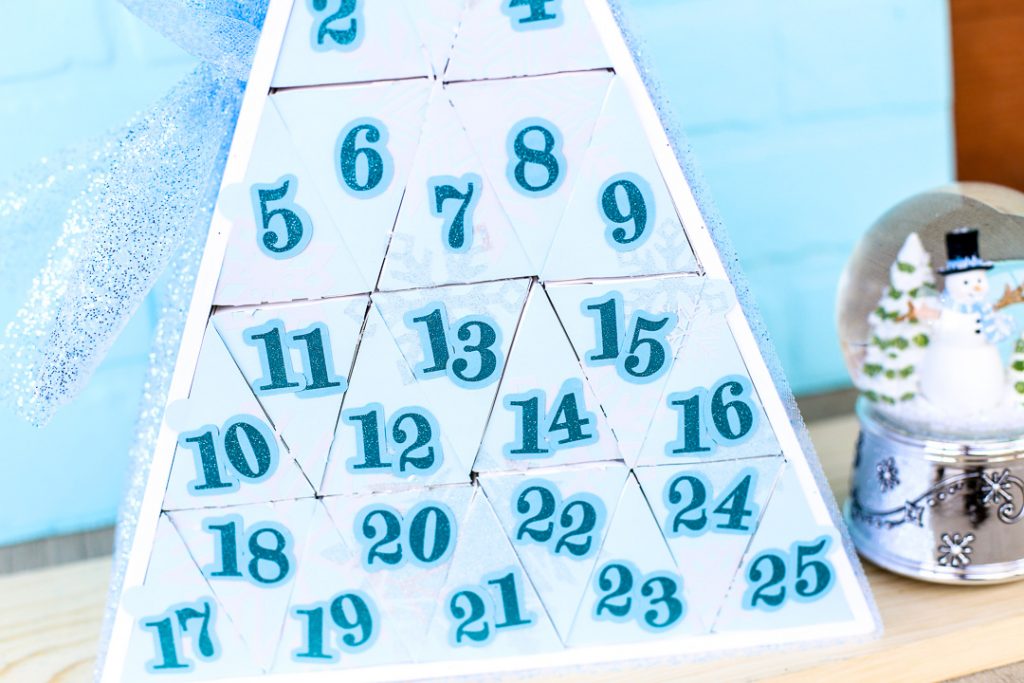
How to assemble the Silhouette Advent Calendar Shadowbox
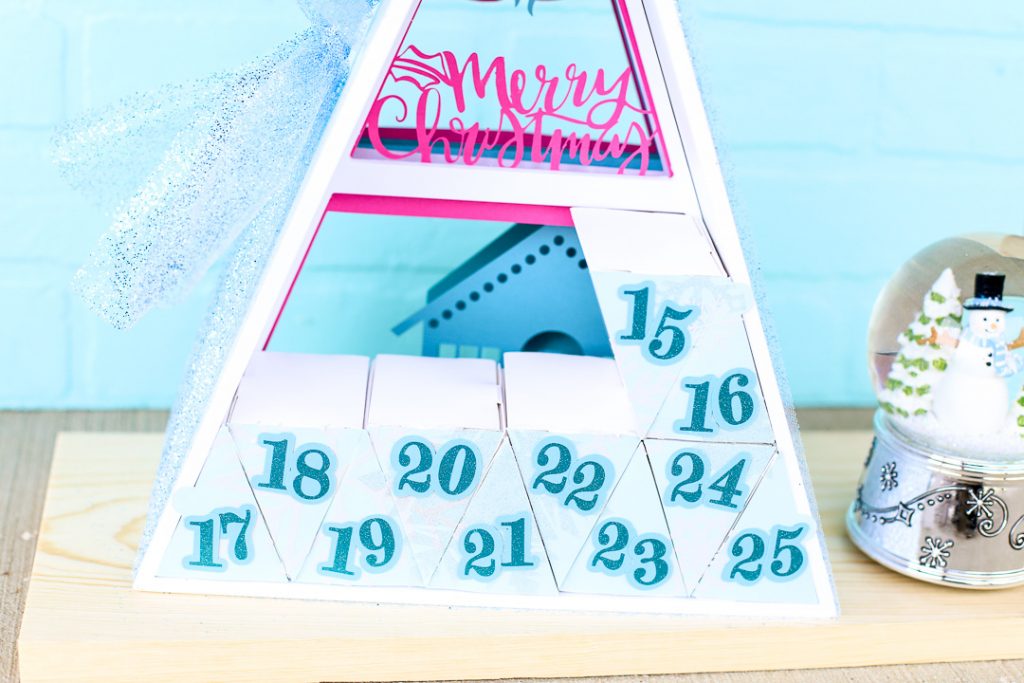
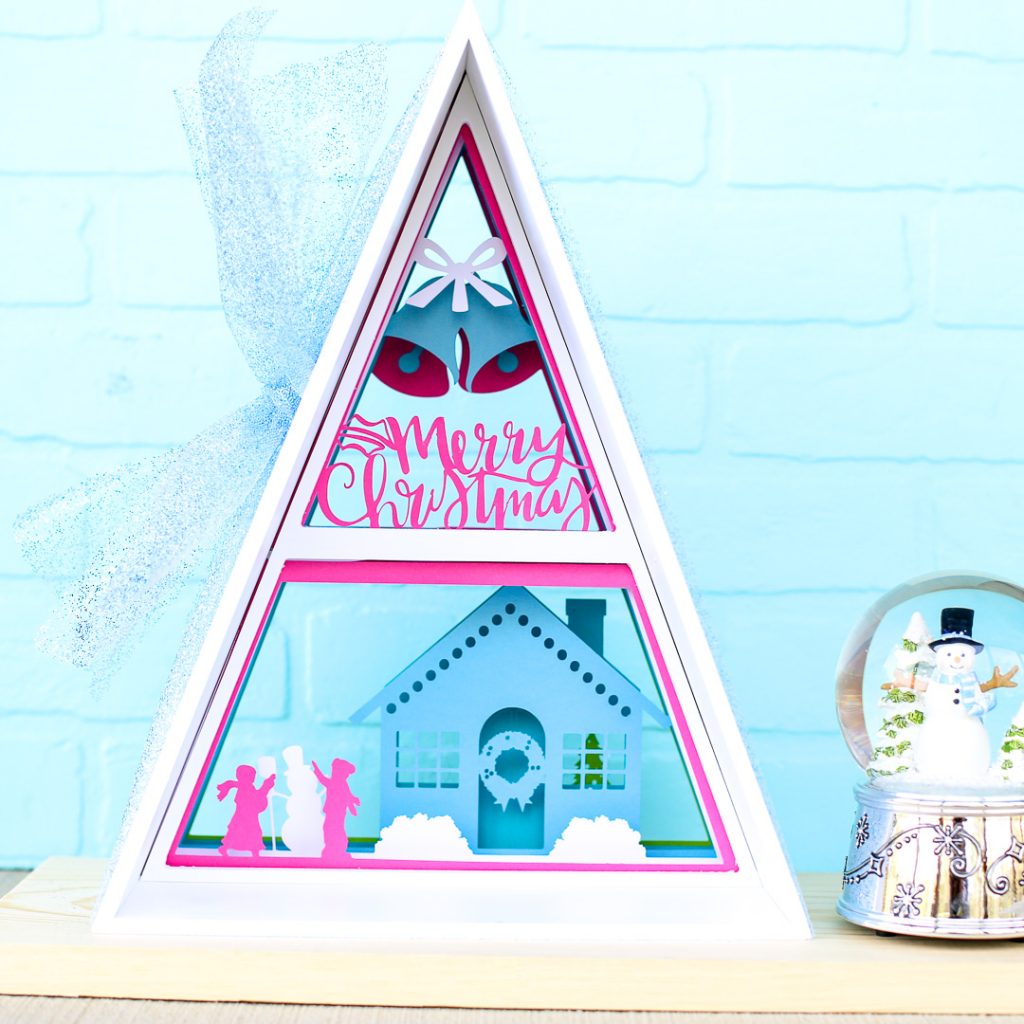
Remember, this is like 2 projects in one! First you get to make the advent boxes, then you get to make the shadowbox. When you remove the boxes, the shadowbox is revealed!
The shadowbox portion is made up of 5 different layers. On the edge, each layer is numbered so you can keep track – how awesome is that?! You fold the edges down (side note, make sure your fold lines are on your design if you happen to ungroup it – I missed grabbing them!) and you can tack the corners down with glue if you’d like, but once they’re in the frame they’ll stay put without glue.
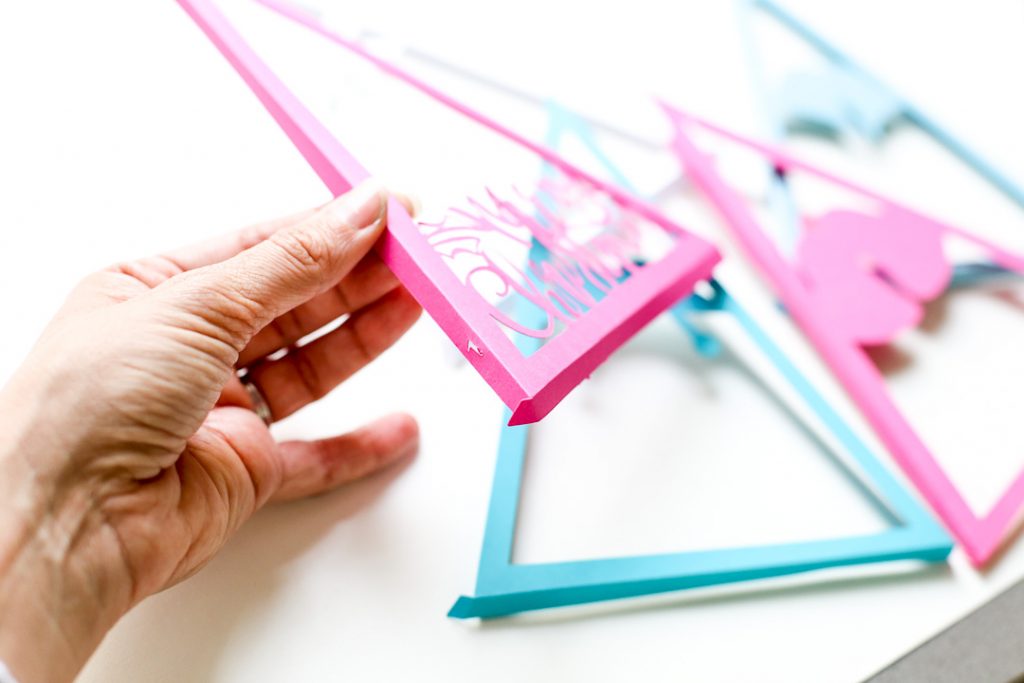
Layer one goes in first, facing the back of the boxes. There is a groove in the top for you to slide the piece into the frame.
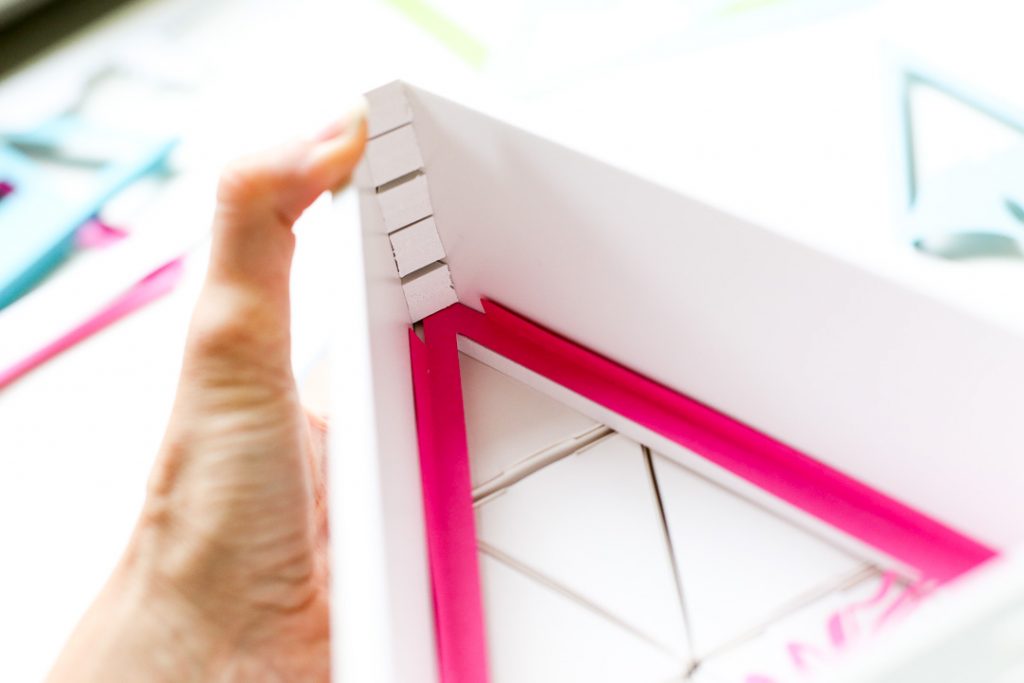
Then there are also notches that you can slide into the grooves on the bottom. It makes it super easy!
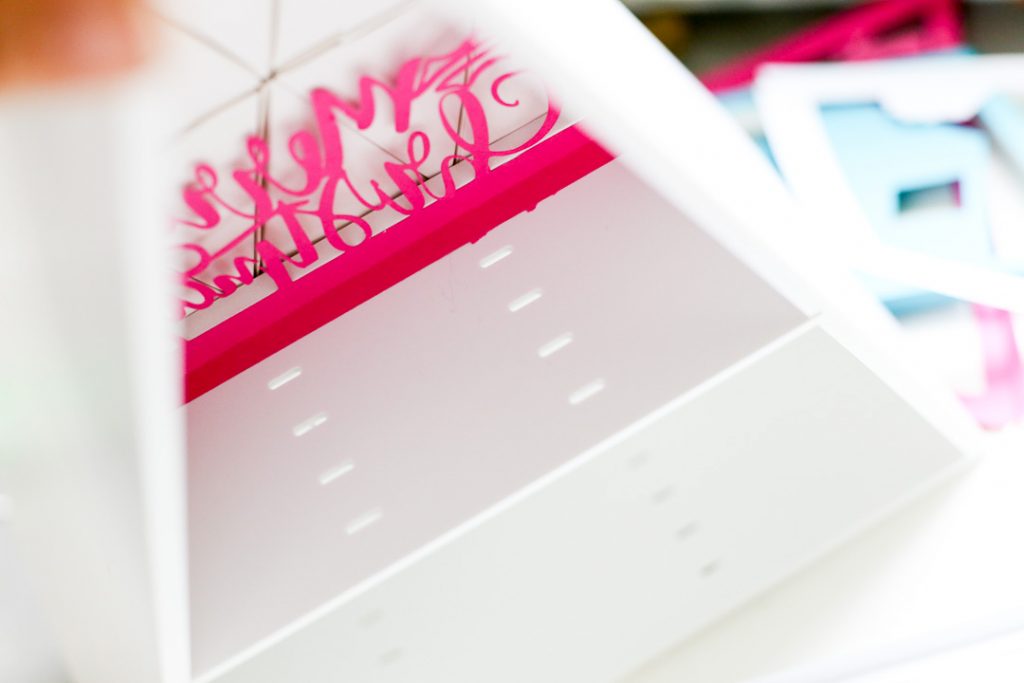
Then just repeat that as you add in the other layers. I wish you could come over and see how fun the shadowbox part is in person, the way it adds that awesome dimension!
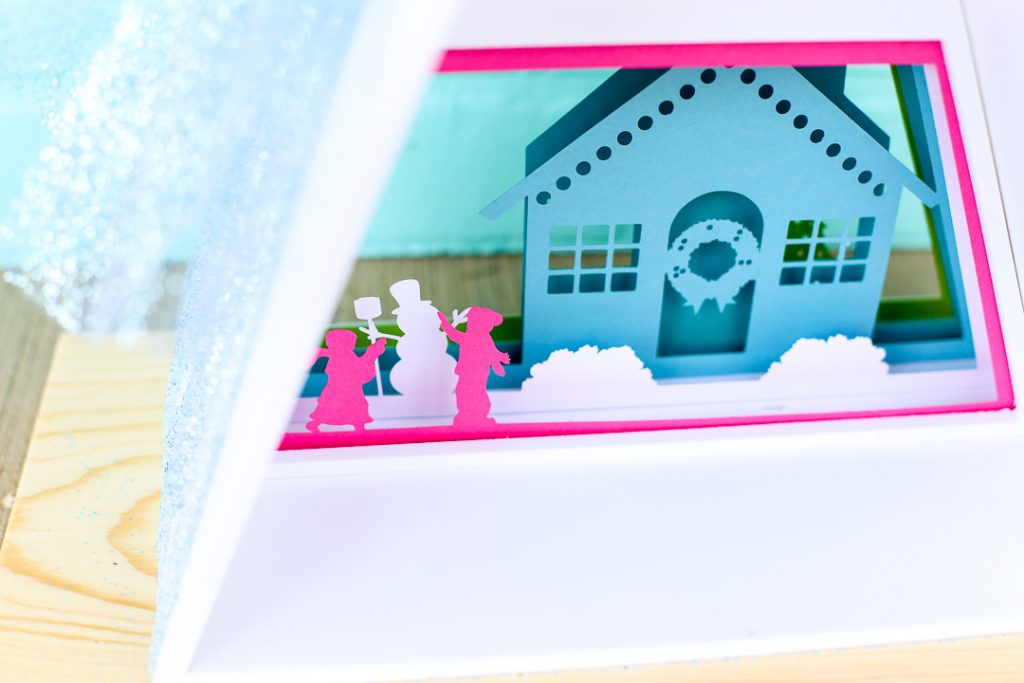
Using the Silhouette Advent Calendar Shadowbox
Now just pull out a number each day, find the treat you hid inside, and watch as the shadow box design is slowly revealed.
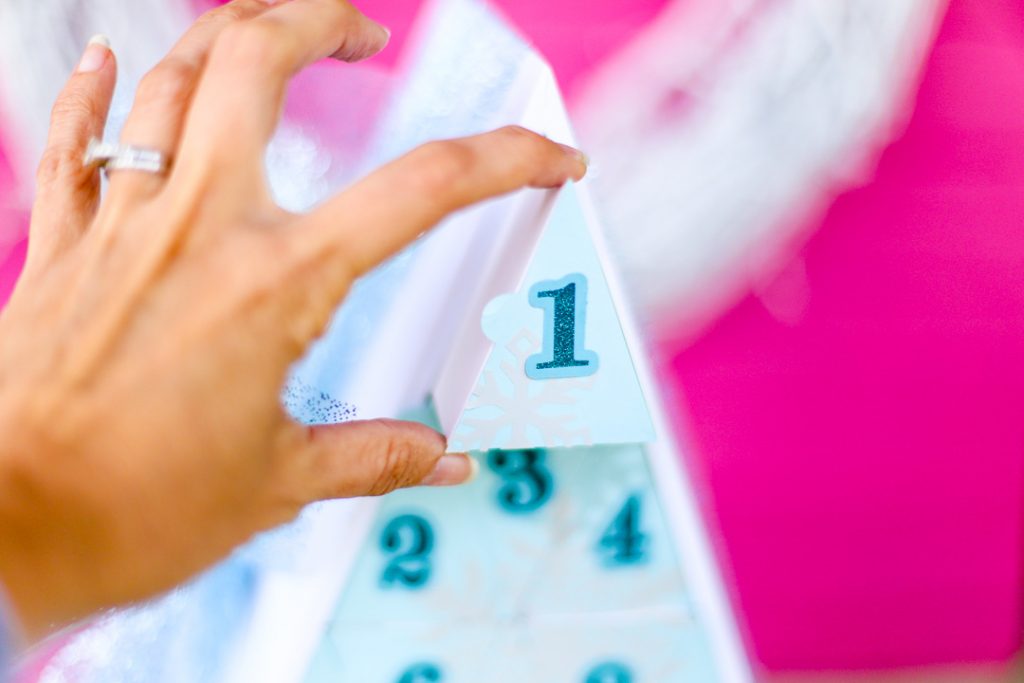 You could also mix up all the numbers to that is is revealed randomly and not in order.
I’d love to see how you design and assemble yours!!
Silhouette Advent Calendar Ideas
Want to browse other ideas of what you can do and make with your Silhouette Advent Calendar?? These other awesome bloggers have made some that you don’t want to miss!
Bright and Cheery Advent Calendar
Remember to get your Silhouette Advent Calendar HERE and use code SUGARBEE at checkout


where can I buy the kit for this advent calendar? It’s not just a cut file, is it?
I’m having trouble getting the Merry Christmas piece to cut cleanly. Do you have any suggestions?